Adding binding is the final step in making a quilt. I love the look of binding that has been hand-stitched down. But that takes a lot of time – four hours or more to hand-bind a quilt. And, although that isn’t a lot of time when you consider the overall time it takes to make a quilt, if I’m up against a deadline, or making a quick and easy quilt, I turn to machine binding. It takes a quarter of the time (or less), and although it doesn’t look quite as nice as hand binding, it is possible to make it look very professional.
You can use whatever size binding you like. I like to cut mine into 2″ strips.
Stitch the strips together, on the bias, to make one long strip. Press open these seams, then press the entire length of the binding in half, making it 1″ wide. Stitch the raw edge of the pressed strip against the raw edge of the trimmed quilt top, with a 1/4″ seam. The binding goes on top of the quilt, it will get stitched to the back later.
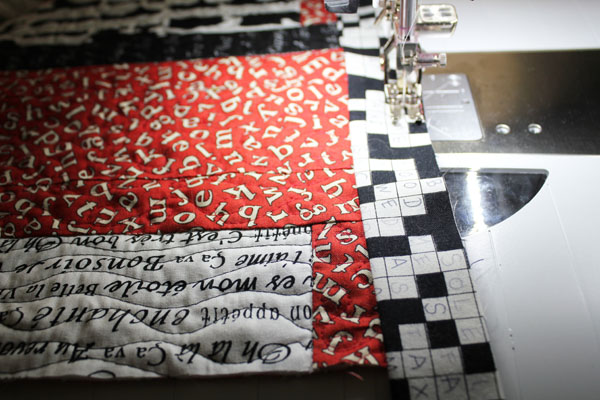
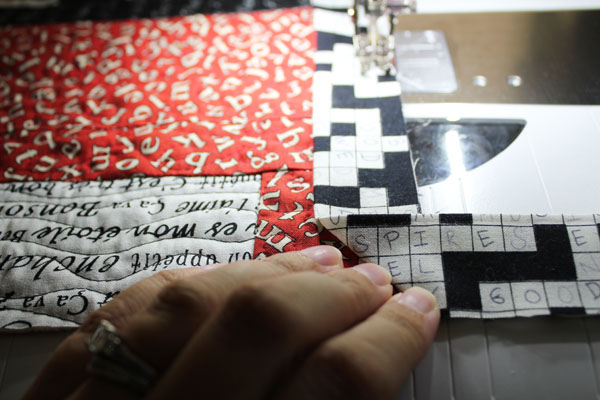
When you get to a corner, fold the binding away from the quilt to make a 45 degree angle.
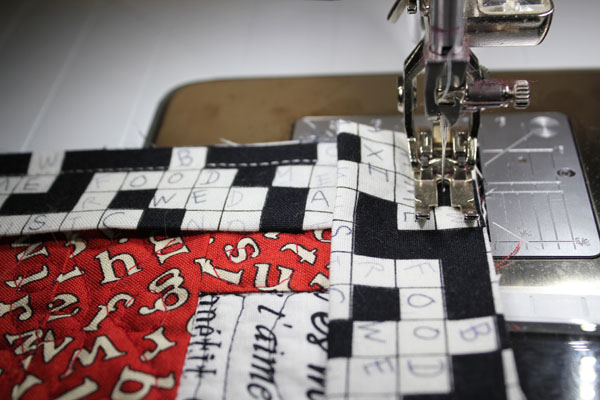
Then fold the binding back to the quilt, so it lines up with the next side of the quilt.
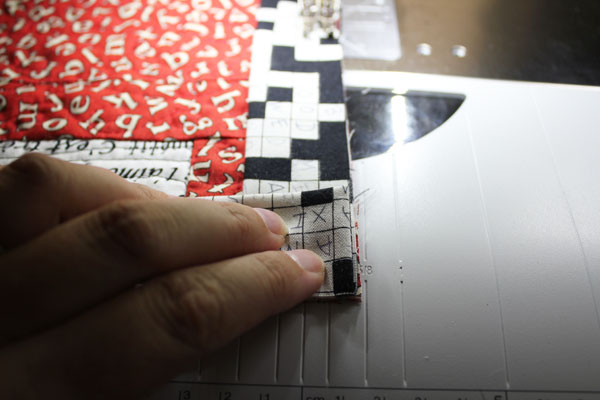
When you get to the corner, fold down the triangle so it is out of the way. You do NOT want to stitch this triangle down.
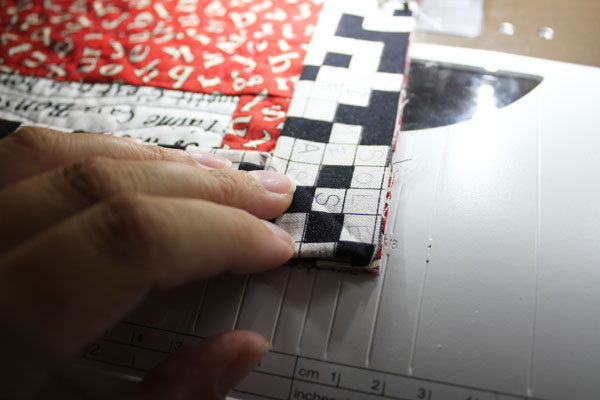
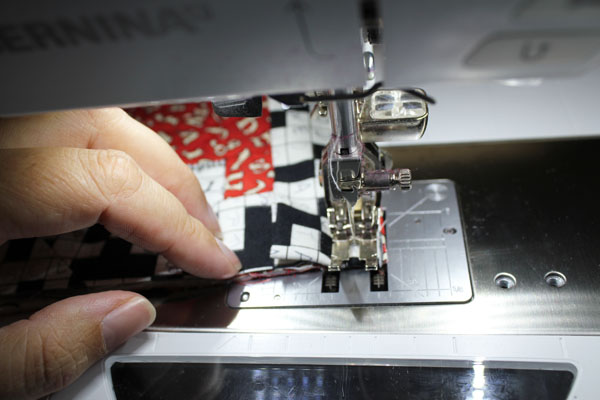
Stitch up to the fold. I like to go backward and forward a couple stitches right at the corner, just to make it extra secure.
Lift up your needle and presser foot, fold the triangle flap back, and start stitching again at the fold. I like to go back and forth a couple stitches here, as well.
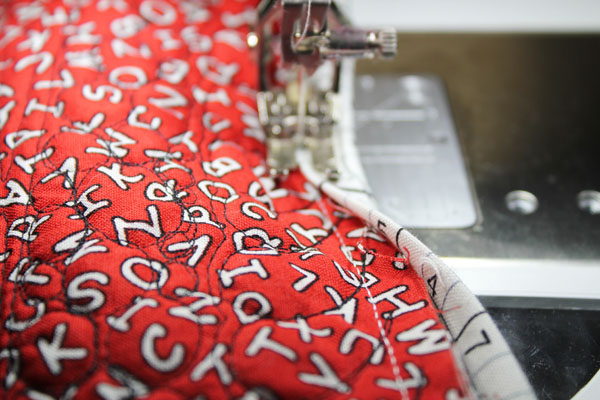
Continue all the way around the quilt. When you all the way around, back to the beginning, secure the two ends together. Then it is time to stitch it over the edge, to the back. Flip the quilt over, and pull the binding around to the back. Stitch right at the edge of the binding, and just to the left of your stitching line. This keeps your stitching off the binding on the front. The closer you get to that stitching line, the neater the front of your quilt will look. If you use a thread that matches your quilting, and it will blend right in to the front.
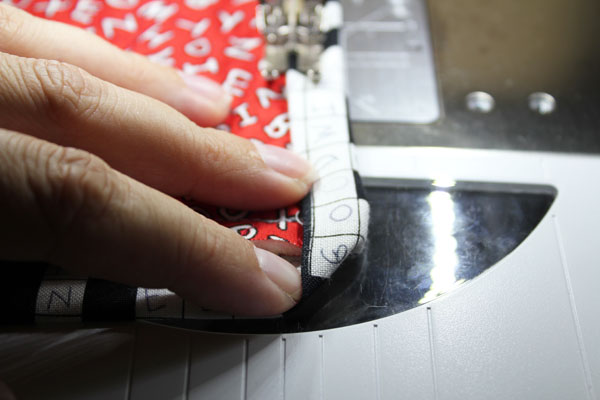
When you get to a corner, fold the binding into a point.
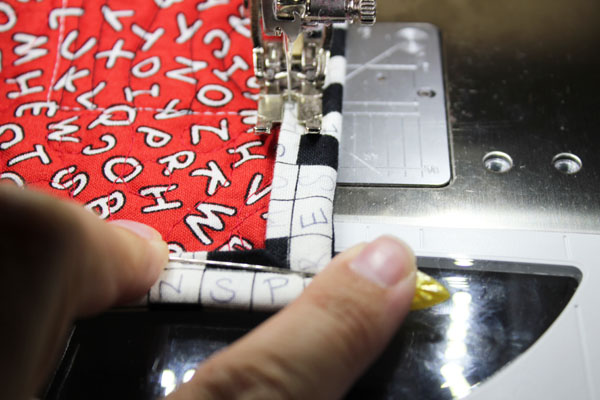
Before you stitch the corner, flip the point up. I find that pinning moves the fabric too much, so I hold the edge down by pressing a pin down on top of the binding. This slips under the presser foot, and I can move it out of the way before the needle comes down.
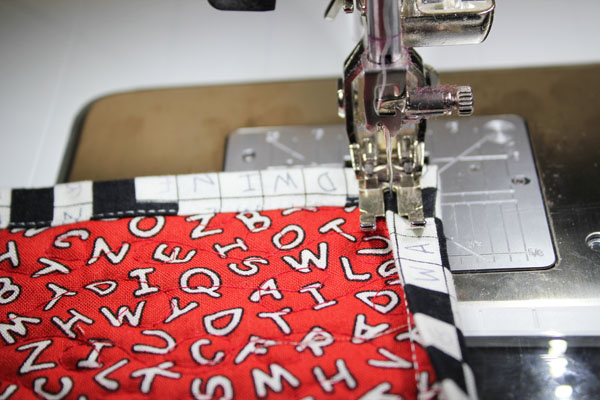
Stitch to the corner, and with the needle down, pivot.
Keep stitching this way, all the way around the quilt.
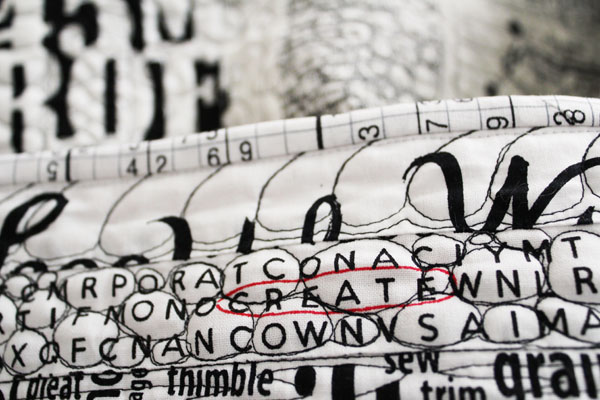
You can see what it looks like from the front – nice and neat!


Leave A Reply!