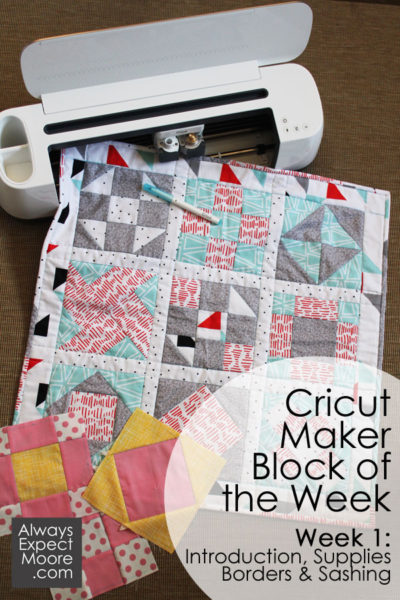
I’m so excited to share with you this project that I have been working on for weeks and weeks! As I mentioned in my last post, Cricut gave me one of their new Cricut Maker machines to play with. It has a special rotary blade attachment designed for cutting fabric! As a thank-you, and to pay it forward, I designed a FREE mini quilt pattern that is cut entirely on the Cricut Maker – a Cricut Maker Quilt – and I’ll be sharing it step-by-step each week so you can make it yourself! I have recorded videos if you learn best by watching, and I’ll have step-by-step instructions here, if you like to read the instructions at your own pace.
This post includes affiliate links. These links pay a small commission back to me, at no extra cost to you.
Here are the basic supplies you’ll need to make the Cricut Maker Quilt:
If you want detailed supply information, check out the expanded supply list.
The Cricut Maker Machine
Fabric bundle (either the Cricut bundle or 5 pieces of fabric, each 1/3 yard)
Cricut Fabric mat, you’ll need a 12×24″ mat, and a 12×12″ mat: on the Cricut site
Cricut Fabric pen
Printable Vinyl (optional)
Sewing Machine
Thread
Iron & Ironing Board
Device with Cricut Design Space installed
Tweezers (optional)
If you’d like to watch the video, you can watch it here:
Preparing the fabrics:
The quilt is made using blocks that are combined with sashing, and has a border around the outside. In the videos, I’m using the Garden Girl Fabric. Here on the site, I’m showing the quilt made with the Rockstar collection.
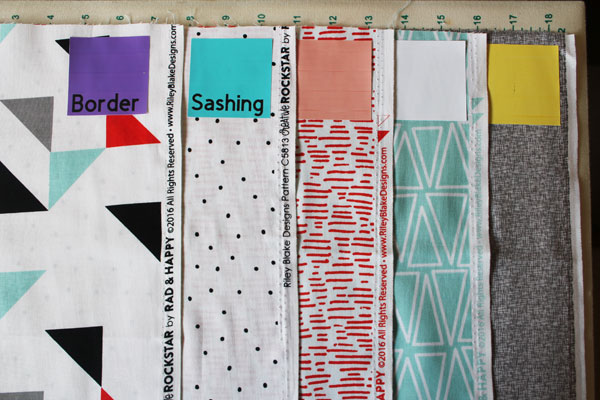
If you’re using the fabric I’m showing, you can just follow along and use the same fabrics. But if you’re using a different set of fabric, or your own fabric, you’ll want to label each fabric so that you know which is which. I created a set of colored stickers that coordinates with the colors on the pieces in Cricut Design Space. So, if you see yellow and white pieces, you know to use the fabrics you’ve labeled as yellow and white. Use the print then cut label file, and print it onto Cricut Printable Vinyl.
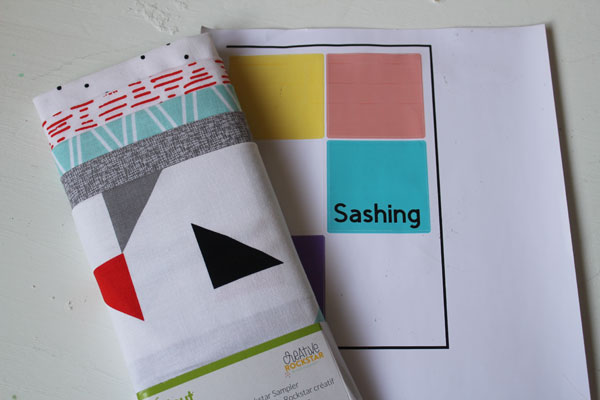
Here are the stickers on the fabric, identifying which fabric belongs with which color in Design Space.
Remove the protective cover from your 12×24″ mat. While working in the mat, try not to touch the adhesive. The oils in your fingers can reduce the tacky-ness of the mat.
Place the border fabric (marked with a purple sticker) right side DOWN on the mat. The raw edge of the fabric should be across the top of the mat. Make sure to press down the fabric securely, especially along the sides. This is where the rollers feed the mat into the machine, and could potentially move the fabric. Having these sides pressed down securely is key. Set aside until you are ready to load the mat into the machine
Cutting the Borders
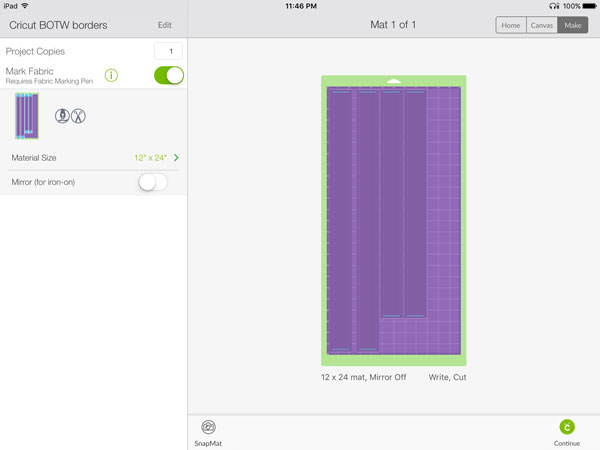
Open up the Cricut Maker BOTW Border file in Design Space.
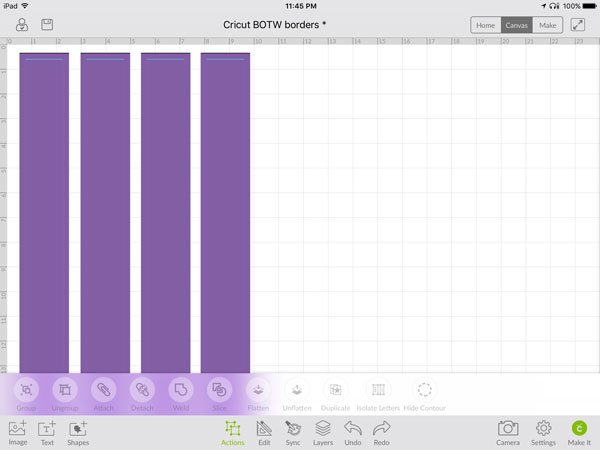
It will tell you that you need the larger, 12×24″ mat. Click OK. You’ll see two longer pieces and two shorter pieces. The light blue lines show the seam allowance that will be marked with the blue fabric pen.
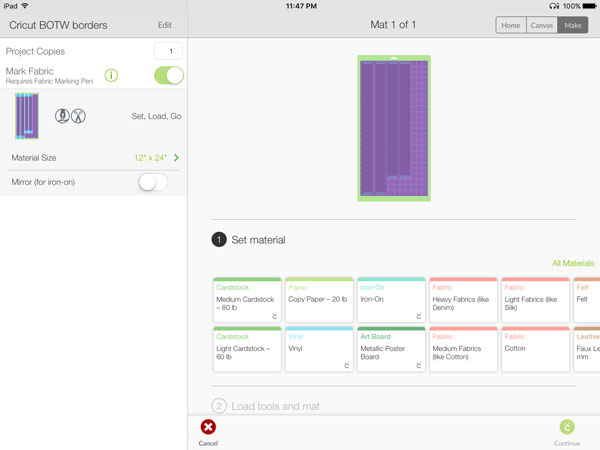
Press “continue” in the bottom right hand corner. Then it takes you to a screen where you set the material. The fabric we are using is “Cotton”. Press on “Fabric – Cotton” on the bottom right.
The next screen will prompt you to install your fabric pen and rotary blade before loading the mat. The fabric pen is inserted by opening the lever on side A, uncapping the pen, inserting it into the housing, then closing the housing. I like to put the cap on the back of the pen so that I can find it easily later.
If your rotary blade is not already installed, open side B. Remove the existing blade, and install the rotary blade. Close the lever.
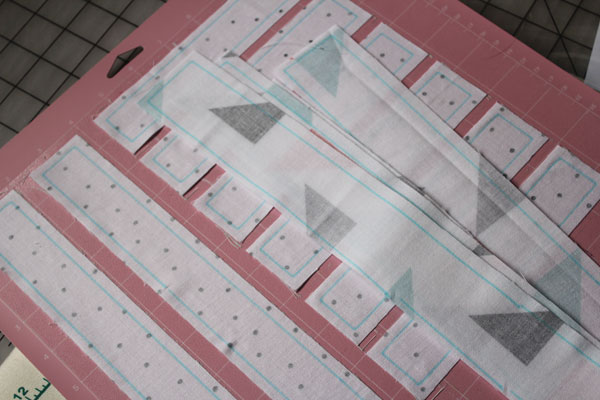
Hold the mat up to the rollers, guiding the sides between the two white tabs on the sides, then press the arrow key. The machine will load the mat. Press the blinking Cricut “C”, and the machine will do its magic! First, it will mark the borders with the pen. Then it will cut with the rotary blade. When you’re done, it will prompt you to unload the mat using the arrow button. Make sure to remove the pen, and replace the cap. This will keep it from drying out.
Take the mat to your table, and remove the extra fabric by lifting from one corner, and pulling up. You can trim off the small strings, then set the rest aside. We will be using this for one of the blocks, and the binding. Use tweezers to gently lift off the border pieces. Go slow, and pull up any fraying threads to keep fraying to a minimum.
If you have threads left on the mat, you can use tweezers to pick them up. A piece of strong grip transfer tape works well, too. Don’t use a scraper tool, don’t use your fingers… and don’t worry if there are a few stray threads left. It will not hurt to use a mat with a few threads left on.
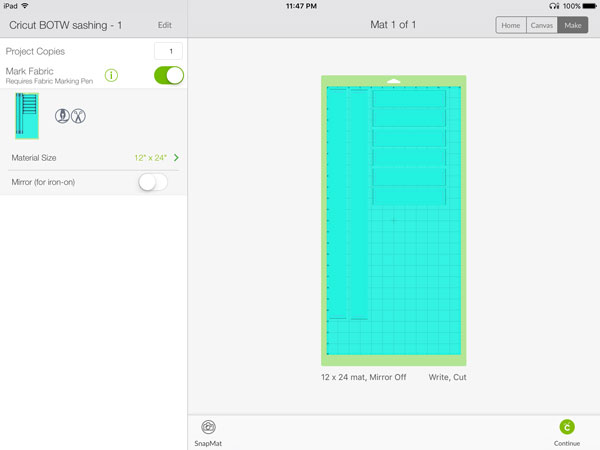
Cutting the Sashing
Repeat these steps, this time for the Sashing Fabric (the aqua/teal color sticker), using the Sashing File in Cricut Design Space.
When you are done cutting, make sure to remove the pen and put the cap back on, so it doesn’t dry out.
Gently remove these strips, and set aside with the border strips.
Originally, this was all I had planned for today. But I knew that some people would be sad they didn’t get to do any sewing! So, later today I’ll be sharing the first block both here and on YouTube!

Comments & Reviews
I would like to make the quilt- block of the week one. I am confused. I have never used my cricut for quilting before. I just purchased it a couple weeks ago. When I watch your videos, it talks about the BOTW files? Where? I looked it up on design space. Can’t find anything. Can I make a recommendation for beginners like me: to show step by step on the big screen and not far away from the camera. Because I am new at Design Space, I have kinda no clue what I am doing.
The files are all linked here on the site. All you have to do is click the links here from a computer (not a mobile device), and it will open right up. Just like clicking any other link.
Cricut doesn’t give me access to upload my own designs to their database of designs (yet), so it will not be searchable there. Just click the links here, and on each of the videos/posts, and you’ll get right to the files.
If you need any one file, you can find everything here: http://www.alwaysexpectmoore.com/CricutMakerBOTW
Hi, where would I find the video on binding the nine patch quilt please? Thank you for this tutorial. I am gathering all the instructions and products to make it.
Everything can be found at http://www.AlwaysExpectMoore.com/CricutMakerBOTW
Wow – I just found this. I just ordered a longer fabric mat, so that I can try this. The idea that I can cut my quilting pieces on my Cricut sounds very appealing and fun. Thank you so much for sharing this.
Glad it was helpful!