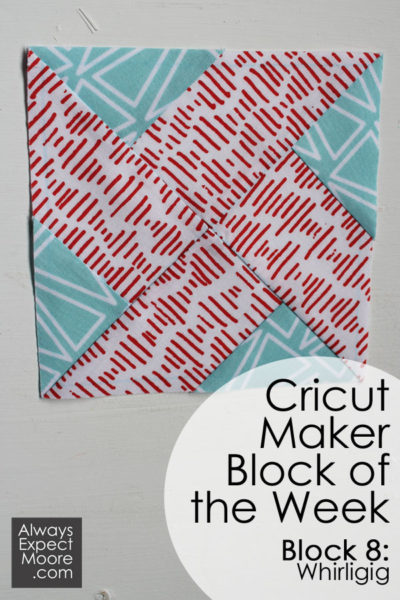
It is time for Block 8 of our Cricut Maker Block of the Week! Just one more block, and then we will start to put the whole quilt together! WHEE! I can’t wait! I will be showing you every step of the quilting process, all the way through binding the quilt. When we finish, you will have a completed quilt that you made yourself! This week, for Blcok 8, we are making the Whirligig block! This block is different than other blocks we have done in the past, because the units that make up the block are not square. We are making triangular units, then stitching those together. This is the Cricut Maker Quilt Block Whirligig.
If you’re just joining in, check out the Cricut Maker Block of the Week Reference Page. It has everything you need to make this quilt from the very beginning, so you can get all caught up!
This post contains affiliate links which help support this site at no extra cost to you.
You can watch the video as I take you through the steps of making this fun block, or you can read below for written instructions and step-by-step photos.
Start by opening the Whirligig Block file in Cricut Design Space. Cut out the pieces and lay them out so you can visualize the block.
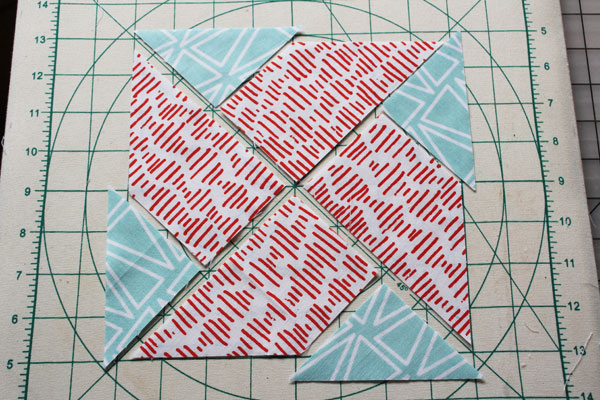
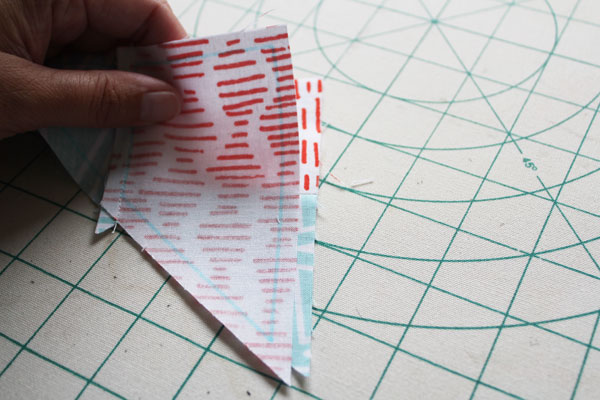
Place the triangle right-sides-together with the larger piece.
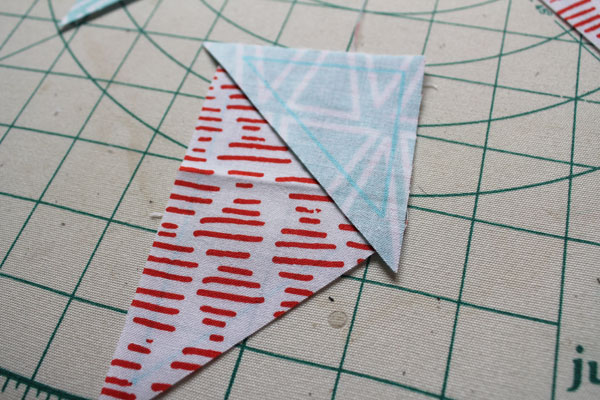
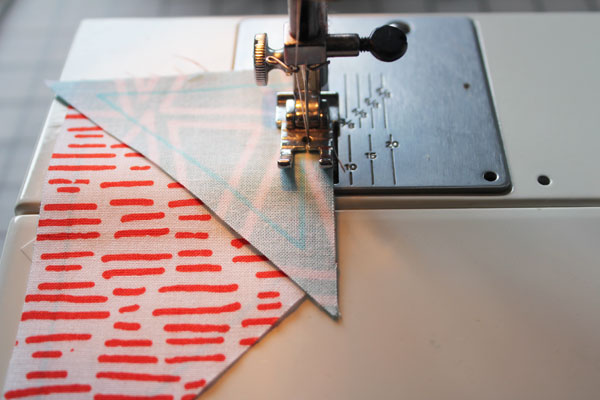
Stitch the triangles onto the larger pieces to make larger triangles.
Press.

Lay the pieces back out. Stitch pairs together to make two halves. Press.
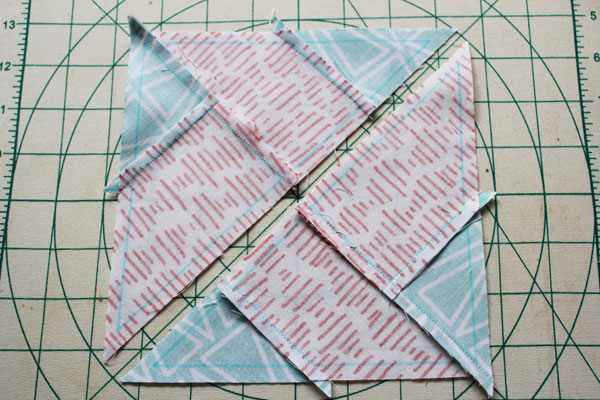
Stitch the two halves together to make a whole. Press.
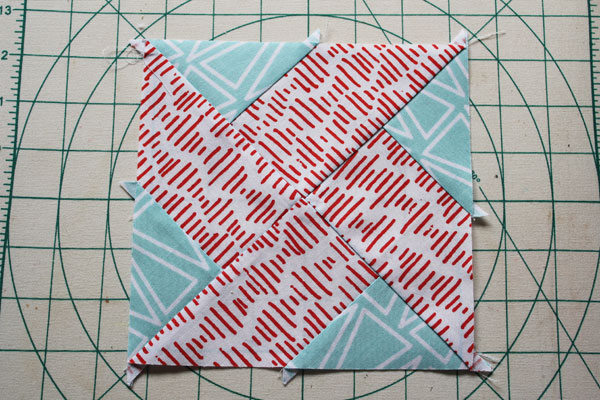
You’ve finished the Cricut Maker Quilt Block Whirligig. One more block to go!!

Leave A Reply!