I found someone who loves Scrap Tape almost as much as I do! So, when Kate of Seamingly Kate asked, I sent her a box full of my Art Gallery Fabrics Scraps, and she made this beautiful version of her Portland Quilt! And, she’s sharing all the details here… make a scrappy quilt with Kate and get a FREE Portland Throw Quilt Pattern! She also has some great tips on taming your fabric scraps that you should check out! Because you know I love creative ways to use scraps!
Take it away, Kate!
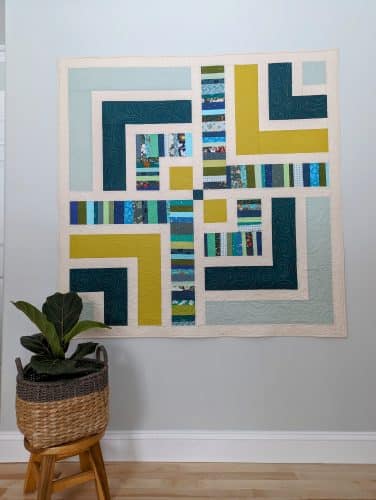
Let’s meet Kate!
Hello fellow makers! I’m Kate of Seamingly Kate and today I am bringing you a FREE throw sized (54 ½” x 54 ½” to be precise) quilt pattern called Portland. This pattern is FREE over on my website www.seaminglykate.com just by signing up for my newsletter (and I promise I will NEVER spam you or give out your email, only send you an occasional newsletter jammed packed with fun tutorials, tips, tricks and information)! You can also find me on Instagram @seaminglykate.
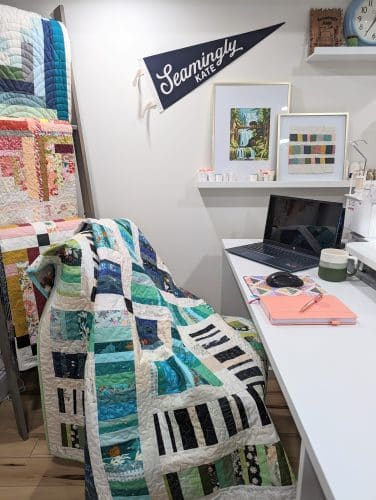
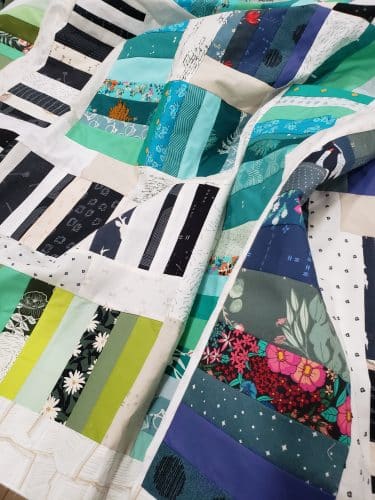
I teamed up with Carolina to bring you this tutorial on how you can turn my FREE pattern Portland (get it HERE) into a majestic modern scrappy quilt that has improv vibes. Carolina sent me all the scraps I needed for this (She is seriously the best!). I had so much fun going through all the beautiful Art Gallery Fabrics. I couldn’t stop at making just 1 quilt, so I made 2. One version is made of all scraps and the other one is a bit less scrappy but just as fun.
Do you love scraps?
Before we get started let me just add that if you have piles of scraps and just aren’t sure what to make with them then this quilt might be your ticket. Also, be sure to check out my blog posts about scraps HERE on my blog. I talk about how I precut my scraps so I actually use them, how to organize them and stay on top of processing them so they are less overwhelming. If this sounds enticing to you then be sure to check out my blog. It should be noted that for this project I essentially used all strings…basically any scrap strip that is less than 2 ½” but more than ¾” wide. But if your scraps are not pre cut like mine then just cut some strips of fabric in your choice of colors and you will be good to go!
Okay, let’s get down to business, it’s why you clicked on this blog post, am I right?!
Materials Needed:
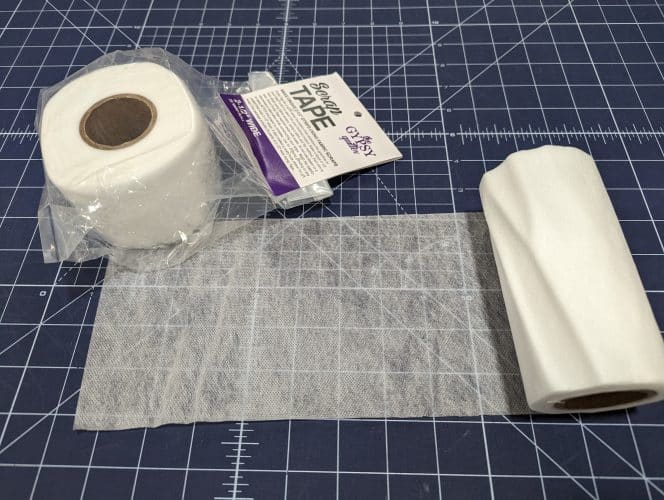
- Gypsy Quilter 5” scrap tape from Carolina’s Shop HERE
- The Portland pattern (HERE with newsletter sign up)
- Scrap fabric
- Scissors
- Sewing machine and thread
- Iron or Seam Roller
- Ruler, cutting mat & rotary cutter large enough to cut folded WOF pieces.
- Fabric and other supplies listed on the Portland quilt pattern
- Gypsy Quilter 2 ½” scrap tape (optional) from Carolina’s shop HERE
Make the Scrap Tape Portland Quilt
- You will absolutely need my Portland pattern to complete this project, so be sure to download it HERE by signing up for my awesome newsletter. Did I mention the pattern was FREE (wink wink)?!
Sorting the Scraps
- Gather some scraps and cut them into strips that are as narrow or as wide as you want (I generally stick to a range of strip widths between 2 ½” and ¾”, but you can use whatever strip widths you want…there is no right or wrong, they don’t even have to be straight). The only must here is that the strips have to be longer than 5” so they can cover the scrap tape.
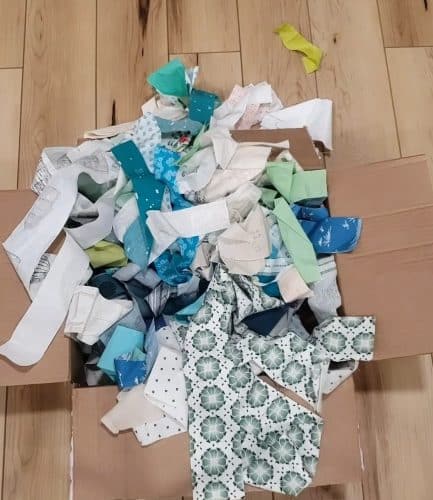
3. You can organize your scrap strips or strings by color, color temperature (cold colors vs warm colors). Or you can throw them all together and have a scrap party! The choice is yours.
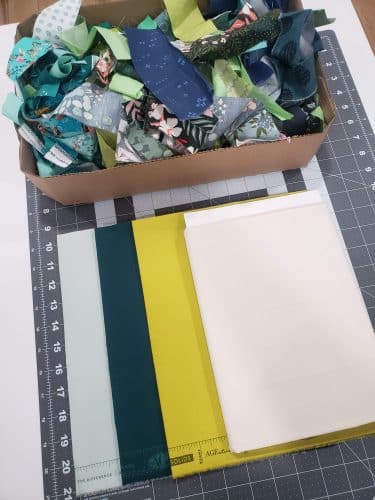
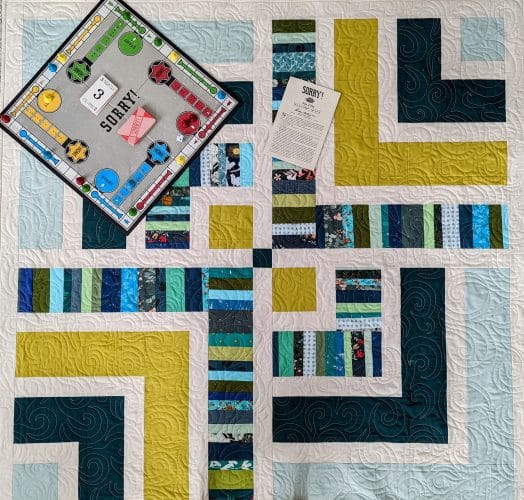
- Decide which color you want to replace in the Portland pattern with a scrappy strip. For the less scrappy quilt I choose to replace color 3 (the Pure Solids by AGF colors are Pacific, Evergreen, Olive Oil and Creme De La Creme in the picture). But in my most scrappy version I replaced all the colors with scrappy strips. Once again, whatever you decide, it will look great. If you decide to replace the background with scrappy strips you will want to purchase the 2 ½” wide scrappy tape mentioned in the materials list above.
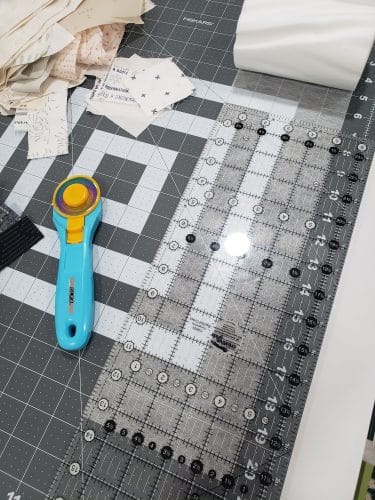
- Using the Portland pattern as a guide, cut the 5” scrap tape (or 2 ½” scrap tape if replacing the background) into strips about a ½” longer than what the cutting directions say for the color you chose to replace. For example, if the cutting directions say cut (2) 5” x 7” strips you will cut (2) 5” x 7.5” strips. This extra half an inch allows for some wiggle room. We will be trimming to size after the scrap tape is covered with fabric strips.
Sewing Scraps to Scrap Tape
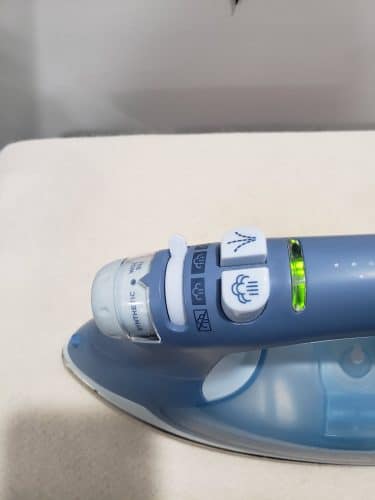
- Be sure to turn your iron to a very low or synthetic heat setting and make sure your steam is off. A seam roller may be used as well. I used both for my quilt since the scrap tape can come off the roll with some creases or wrinkles. Since the scrap tape is water soluble, don’t use steam! Also, keep the heat LOW, otherwise the scrap tape will melt… ask me how I know (HAHA)!
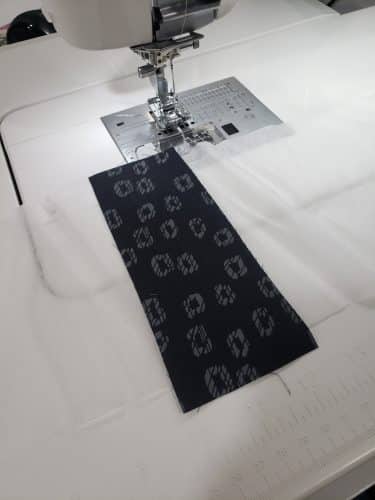
- Take one of the precut scrap tapes and begin to cover it with strips. Start by adding 1 fabric strip right side up (can be placed anywhere on the scrap tape).
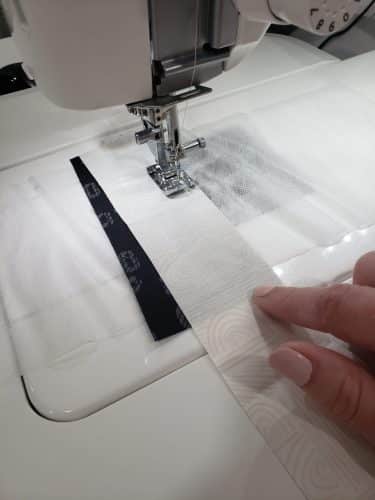
- Place a second fabric strip with the right side down so the fabrics are right sides together (RST) and aligned along one edge of each other. Sew along the aligned edges using a ¼” seam. Flip the top fabric back and press with seam roller or iron. Trim excess fabric strip if it is longer than scrap tape to avoid waste.
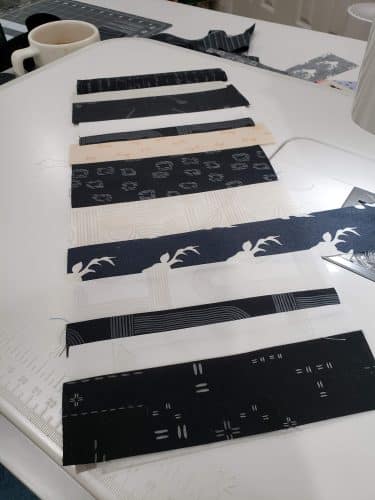
- Repeat step 8 until the entire scrap tape is covered.
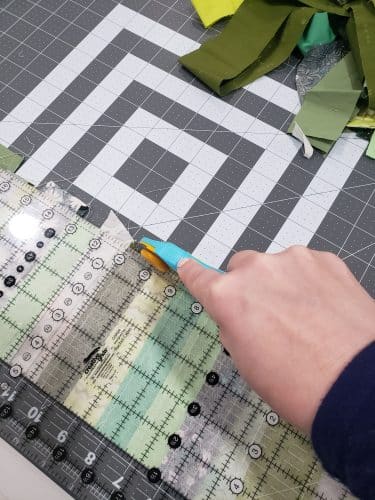
- Trim the fabric covered scrap tape to the size needed according to the Portland pattern.
- Repeat steps 7 through 10 for the remaining scrap tape cuts.
Putting the Quilt together
- Use the Portland pattern to build the blocks and sew together the quilt top!
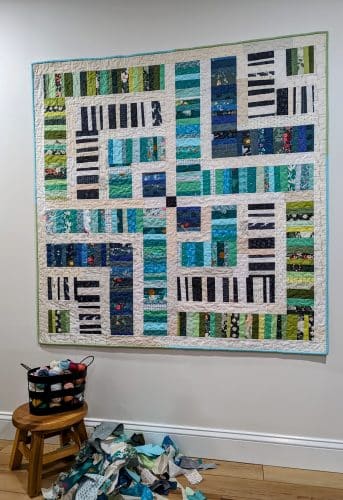
I hope this tutorial is a fun way to use up some of those scraps. As mentioned earlier you can go as scrappy as you want for this quilt. For this super scrappy version I replaced all 4 of the colors in the Portland quilt with scrap tape strips. I did NOT, however, use scrap tape for the background. What I did was just sew 2 ½” strips together on the short ends to make a very long strip and then sub cut that down until I had all the background fabric cuts I needed.
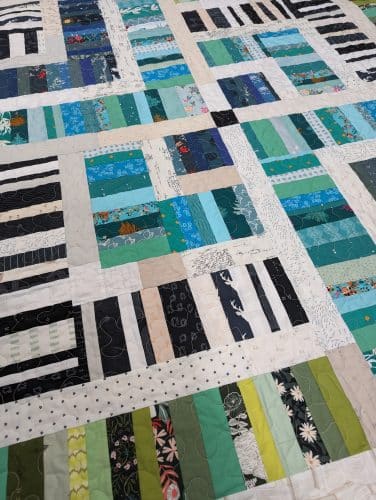
I hope these quilts inspire you to make your own scrappy Portland quilt and please tag me on Instagram @seaminglykate and use the hashtags #portlandquilt #seaminglykatepattern and #scrappyportlandquilt so I can awe over your handy work! If you are not on Instagram you can always email me at Kate@seaminglykate.com. Thank you maker friends and happy sewing!

Comments & Reviews
Your subscribe button is not working. please sign me up to recieve emails
It only works once, it ignores multiple attempts to prevent spam.
Thanks so much Kim for the U tube video on the Sashiko machine. Well, I really did not use this until last week. When I purchased this machine from a dealership, I was promised that there would be a class for all of us “newbies”. Well time has passed by and never had any classes. So after watching you breeze thru your quilting, I thought I would give it a try. BINGO, I figured this out. Love how my project front is looking. WOW, I can’t believe I waited so long to get going.
Thanks Kim
So glad you gave it a go! I love my Sashiko!
Perfect, going to use this idea for my two gallon bags of strips.
Love it!
I love this idea, I love using strips like this. I’ve added this quilt to my “To Do” list.
I hope you’ll share a photo when you make it!
Great pattern. I have tons of scraps.