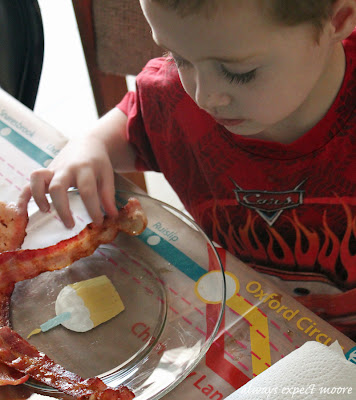
For a kid, birthdays are super special. And so are birthday traditions. Getting to pick his favorite foods for the day is just one of the perks our birthday boy got earlier this month. And he also got to eat them on a special birthday plate thanks to the new Martha Stewart Glass Paint.
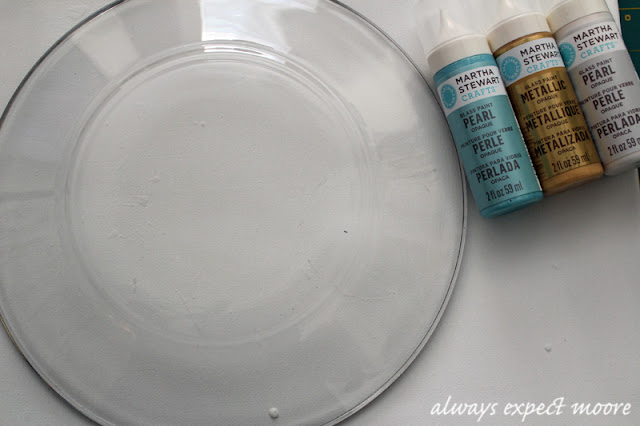
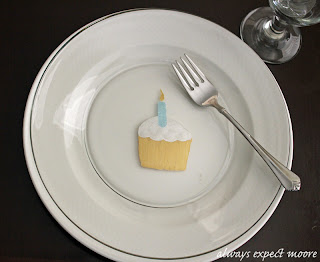
Using a plain glass plate I picked up at Target, and just three colors of glass paint, I was able to make a special birthday plate that is top-rack dishwasher safe. My birthday boy will look forward to eating off of this plate for many birthdays to come.
The glass paints are painted on the back of the plate, so the top is completely paint-free. No worries about eating off of a painted surface or getting knife marks on my cupcake design.
To prepare my plate, I washed it and then cleaned the area I was going to paint with rubbing alcohol. This removes any oils from the plate being handled, so that nothing prevents the paint from adhering to the plate.
The secret to working with glass paints this way is that you have to paint the front objects first, and build the layers that will show up behind top of that. You also want to keep your paint from getting too thick, because thick globs of paint will prevent the plate from laying flat on the table.
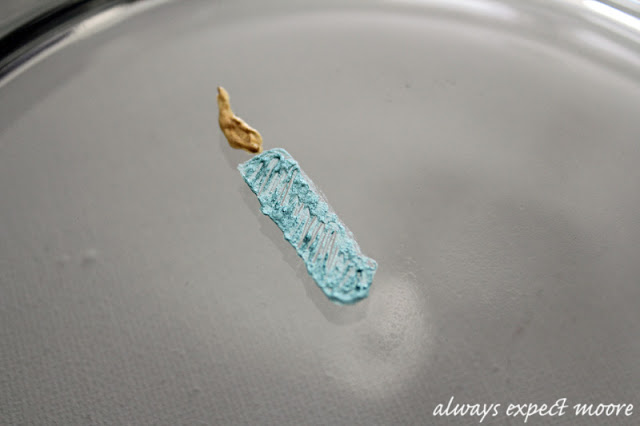
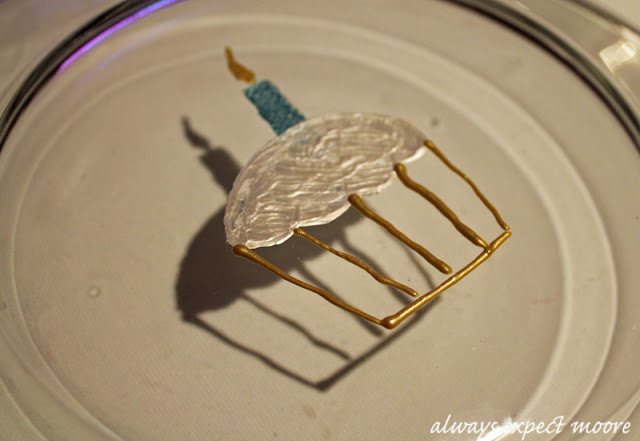
Since the candle with its flame is on top of the cupcake, it was the first thing I painted.
It is tricky to get the glass paints to be a smooth and even fill. Rather than fight it, I incorporated the paint strokes into the design. For the candle, I brushed the paint at an angle, mimicking the spiral of a birthday candle. For the flames, I painted in the direction that the flames would go so that the variations in paint thickness would make the flame look more lifelike. To make sure I was getting the coverage I wanted, I carefully picked up the plate by the edges and peeked at the front periodically.
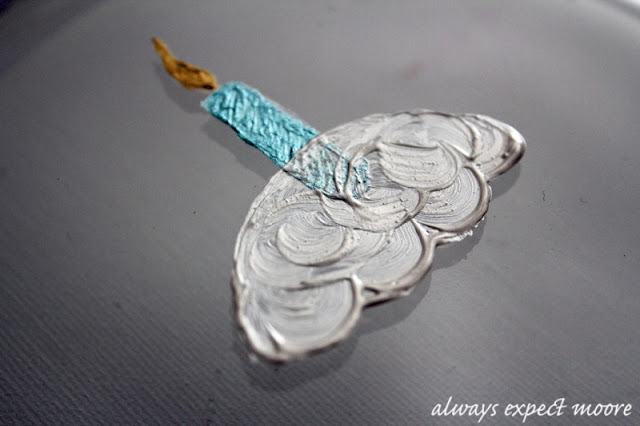
After letting the painted candle dry thoroughly for several hours, I drew in the area for the frosting with paint, and then added some extra paint in the middle. Using a paintbrush, I drew swirls in the paint to give the frosting a nice, fluffy looking texture.
After letting the frosting dry thoroughly, I painted in the base of the cupcake, and then made vertical strokes in the gold paint, which gives a hint of the accordion-style cupcake wrappers that I use when I make my cupcakes.
After drying overnight, I baked them according to the directions on the Plaid website so that the paint would cure thoroughly.
I made two, just in case one breaks (and with two young boys that is more “when” than “if”). Another option would be to write a name on the rim of each, or name and birthdate. If I do that, I’ll write on the back backwards so that it is readable on the front of the plate.
For more fun things you can do with Martha Stewart Glass Paint, check out these projects:
I wrote this post for Plaid’s Martha Stewart Glass Paints as part of The Blueprint Social.




Comments & Reviews
Very cool!
That’s cute. I love those completely clear glass plates – so much fun for crafting.
WOW thanks for sharing!! That is very cool 🙂 L is so cute with his birthday plate!!
http://www.lilmsadventures.blogspot.com
Cute cute!!! Love the swirly strokes on the icing. 🙂
That is such a cute idea. It’s my twins’ 6th birthday next week, I might try to get one of these made for them.