When I found out my son needed a Wizard Costume to wear to Summer School, I looked up pictures of Wizards online, and he and I studied them. We decided that what he needed was a hat, a wand, and a robe. We headed to JoAnns to get our supplies. I wasn’t quite sure what we would use, so I got a variety of things:
What I ended up using for the hat was:
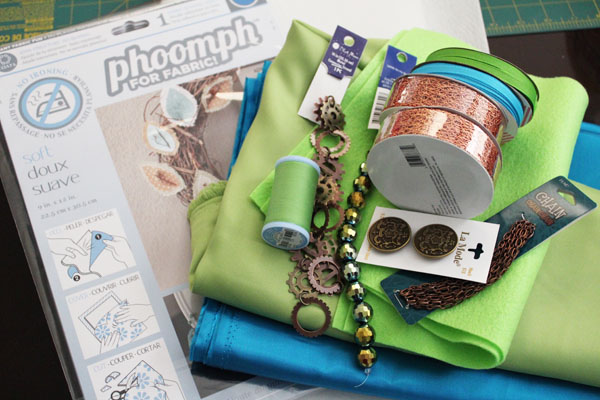 Pellon Peltex 71F (fairly stiff, and fusible on one side – not shown in photo)
Satin in blue and green
Phoomph (a double-sided adhesive felt/foam)
Copper colored ribbon (this one was like a netting or lace)
Some Gear Embellishments (I wanted to make sure the hat looked more Wizard than Princess)
Large Bead
Glue Gun
Coordinating Felt
Copper Chain (optional)
Needle & thread
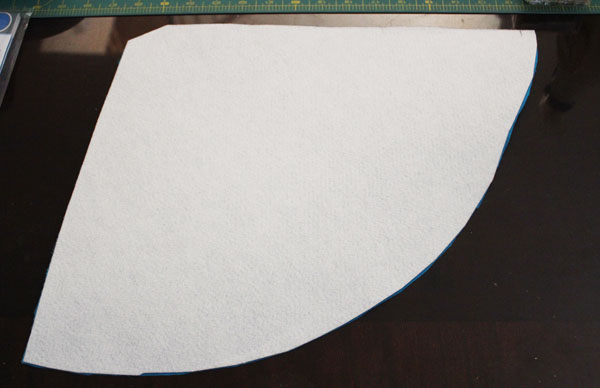
I started by cutting the Peltex to make a cone for my son’s head.
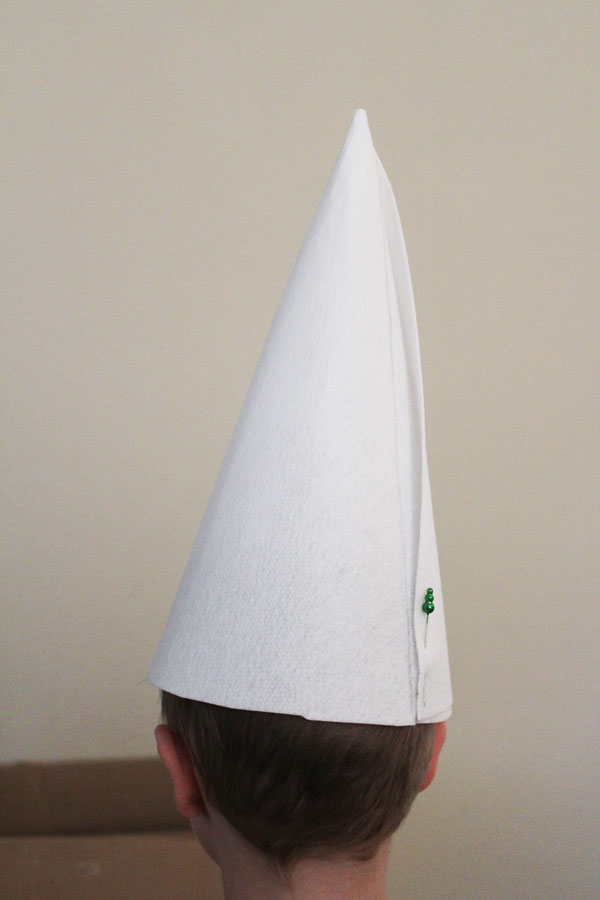
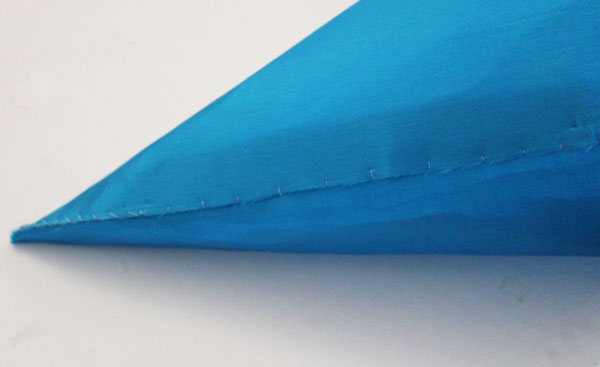
Once I had my cone shape, I unpinned it and laid it flat. I ironed my blue satin to the fusible side of the Peltex. Follow the instructions on the Peltex to make sure you get a good fuse. Be careful not to melt your fabric if you are using a synthetic fabric like I did.
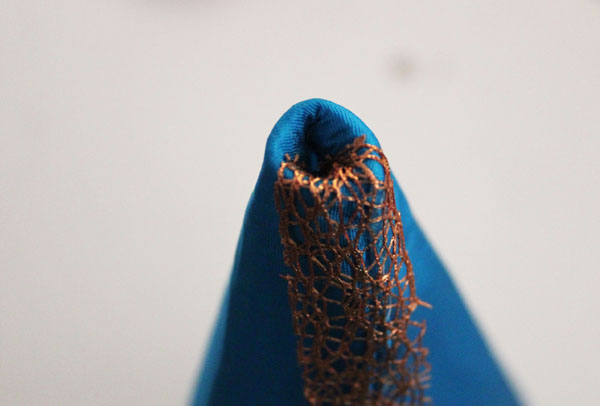
Roll the cone back up and stitch in place. You could hot glue, but I thought that adding a few stitches would be more secure. I then ran the copper ribbon down the seam to cover it up, and secured it with a couple dabs of hot glue.
Then it is time to make the band at the base of the Wizard Hat. I cut the Phoomph into 2″ strips. I cut my green satin into 3″ strips – 4″ strips would be better, though. It took 3 strips of Phoomph (cut from one sheet), and two strips of fabric for a hat to fit my 4-year-old.
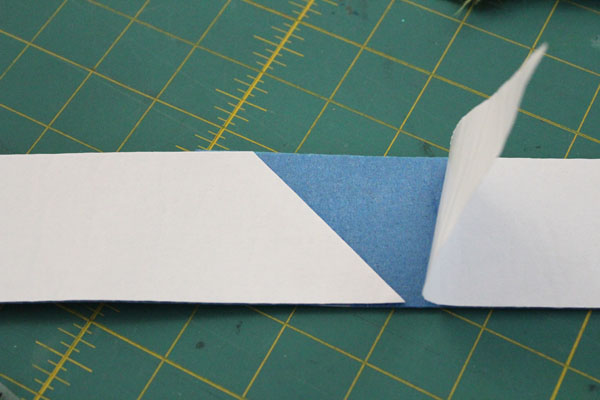
I started by joining up the Phoomph strips. I cut each end at an angle, and lifted up the paper on each section to attach them together. Putting the joints together in this way prevents a big crease or bulge in one section of the hat band by distributing the seam over a larger area. Measure and cut the Phoomph strip to size to fit around the bottom of the hat.
Once I had the Phoomph in one long strip and cut to size, I started “ruffling” the fabric with my fingers. Pushing the ruffles down on the Phoomph was fast and easy, much easier than trying to ruffle it with a sewing machine or by doing a running stitch by hand.
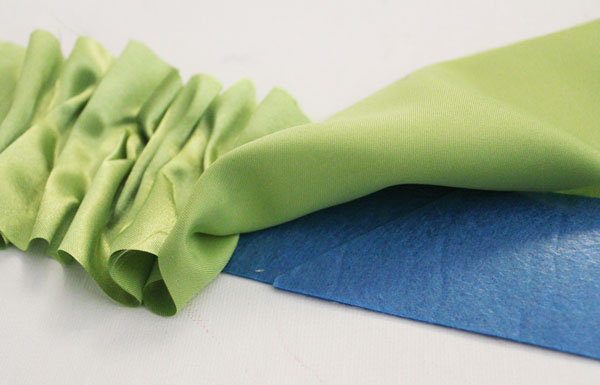
Once I ruffled it all the way to the end, I flipped it over, pulled off the paper on the back side, and folded over the raw edges of the fabric to adhere them to the Phoomph on the backside. My strips were 3″, but because of the ruffling, 4″ strips would have been better.
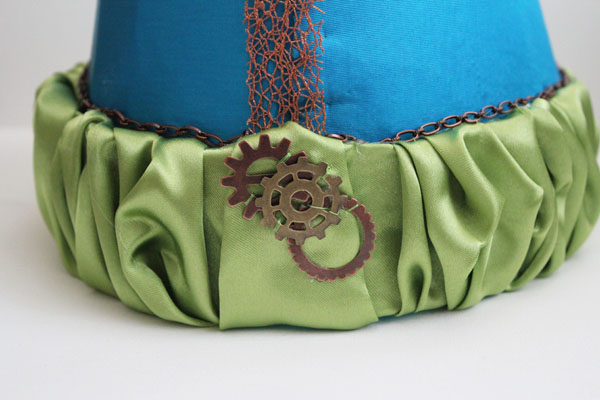
I cut strips of coordinating felt in 1 3/4″ widths, and glued it down on ONE edge with hot glue, securing the raw edges of the satin between the Phoomph and the felt. Once I had the felt on, I wrapped the hat band around the Wizard Hat, putting the felt on the inside and the satin covered Phoomph on the other side. I then glued both sides in place with more hot glue.
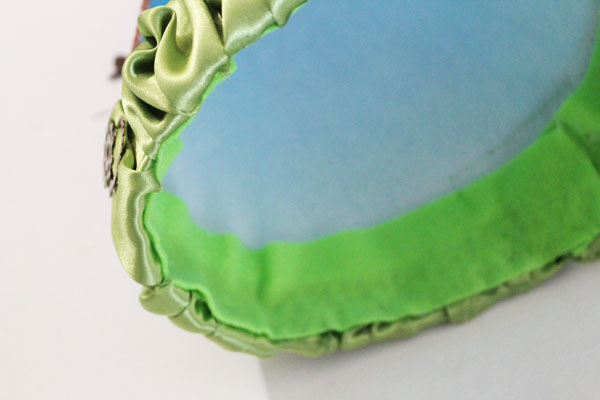
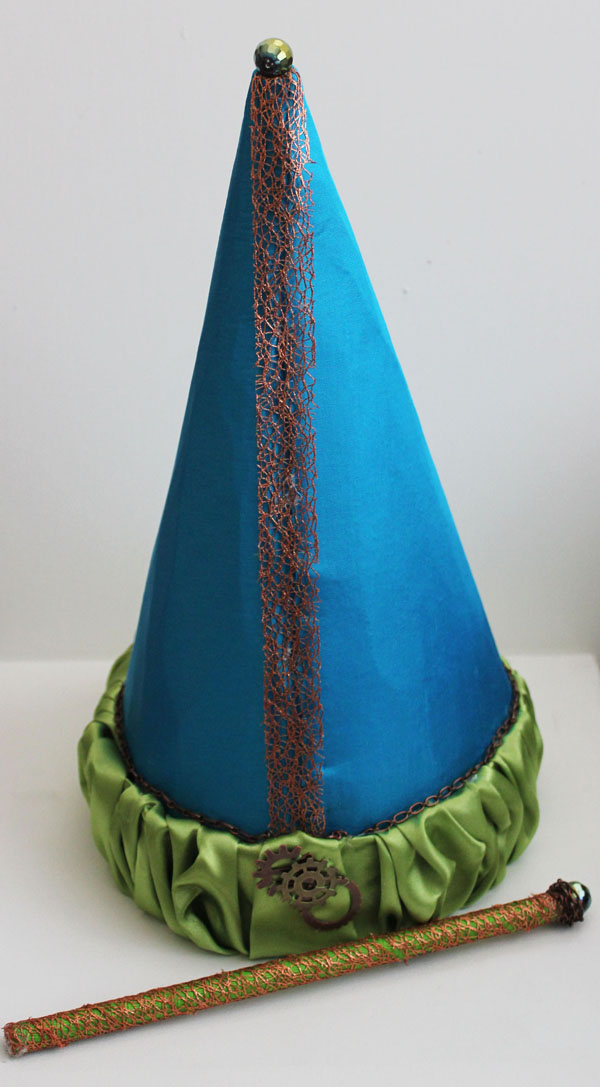
I pushed in the top point of the hat in, and glued a bead in place.
My finishing touchs – where the two pieces of fabric met on the hat band, my ruffling wasn’t so great. I made this the “front” of the hat, and glued on a couple gear embellishments. I wasn’t sure they would hold up to a day with a 4-year-old, so I added a few stitches for security. I added a little copper chain around the edge and tacked it in place as well.
Paired with the Wizard Wand I made, these were some great accessories. Tomorrow I’ll show you how I made his Wizard Robe…

