• Skip to primary navigation
  • Skip to main content
  • Skip to primary sidebar
Home About Subscribe Summer Sew Camp Disclosures

Always Expect Moore

Quilts & Pattern Design

  • Cricut Maker BOTW
  • Quilty5k
  • Gallery Wall QAL
  • Trunk Show
  • Guild Resources
  • Pattern Shop
  • Free Patterns
Home About Subscribe Summer Sew Camp Disclosures
  • Cricut Maker BOTW
  • Quilty5k
  • Gallery Wall QAL
  • Trunk Show
  • Guild Resources
  • Pattern Shop
  • Free Patterns
Home » Blog » Quilt » Cricut Maker Block of the Week Quilt: Block 3 – Diamond in a Square

Cricut Maker Block of the Week Quilt: Block 3 – Diamond in a Square

Created On: October 5, 2017  |  Updated: August 22, 2022  |   1 Comment

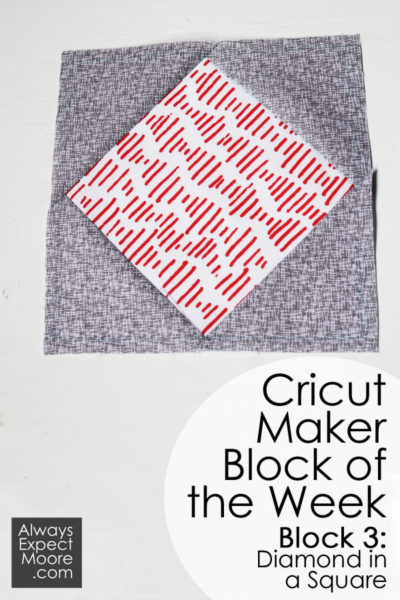
This week in our Cricut Maker Block of the Week Quilt, we’re working on Block 3, the Diamond in a Square! You’re going to be so excited by how easily this block stitches up. There are a couple new things I’m showing you this week. The first is the bias on triangles. The second is using Snap Mat to conserve fabric.

If you’re just joining in, let me help you catch up! I’ve designed a small quilt that is cut entirely on the Cricut Maker. I’m showing you start-to-finish how to make the quilt, teaching you a new step each week. At the end, you’ll have a completed quilt, and learned all the steps for making your quilt! To get started from the beginning, check out the Cricut Maker Block of the Week Quilt Resource Page.

Cricut Maker Block of the Week Quilt - Block 3: Diamond in a Square

This post contains affiliate links. Clicking on these links helps support this site at no additional cost to you.

To make the Diamond in a Square, start by opening up the Cricut Maker Block of the Week Diamond in a Square file in Cricut Design Space. From there, you can open it up on your mobile device or tablet.

You can watch the step-by-step video here, or follow the instructions below.

Cut out the pieces, just like we have been doing on the last 2 blocks. To conserve fabric, select mat 2 (the mat with the 4 triangles), and move the triangles over to the right. In the video, I show you how to use Snap Mat to do this.

Lay out your pieces.

lay out block

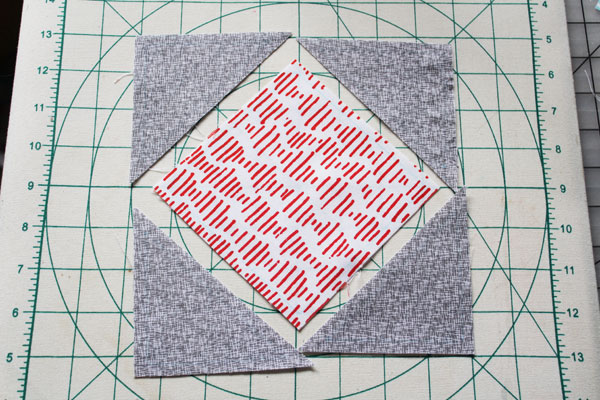
Your triangles are going to look WAY bigger than your square. This is the way it should look. I promise. You are doing it right.

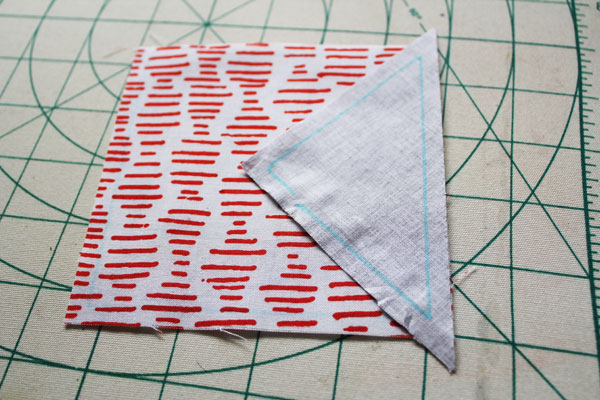
When stitching triangles, you want to be extra careful that you don’t stretch the fabric. Triangles always have at least one edge that is cut “on the bias.” “On the bias” means that the fabric is cut at an angle. This cuts across all the threads, which makes that side much more stretchy. We want our fabric to keep its shape, so try not to stretch any of the sides.

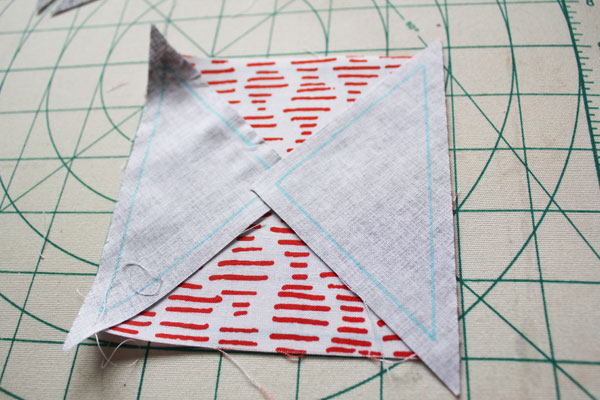
Place one triangle on top of the square, with the long side of the triangle lined up with the square. The blue lines on top should line up with the blue lines on the bottom. If you need another reference point, you can fold the square and triangle in half to line up the midpoints.

line up

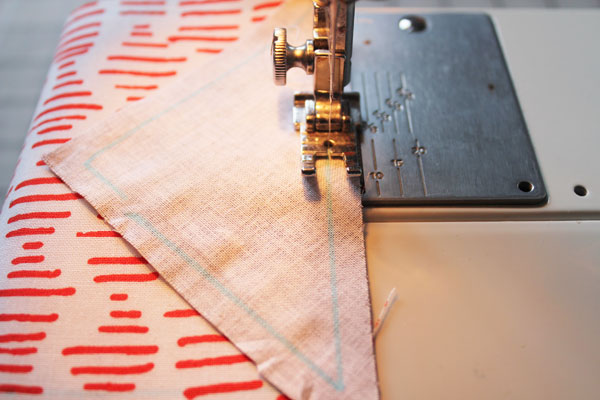
Stitch this side in place.

stitch

Stitch the opposite side in place.

stitch second corner

Press the seams, so that the triangles lay flat. Line up a third triangle, and stitch in place.

stitch the other corner

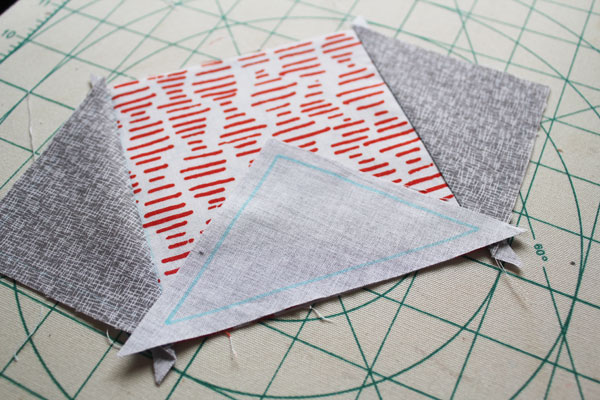
Stitch on the final triangle. You’re almost done! This is such a quick block!

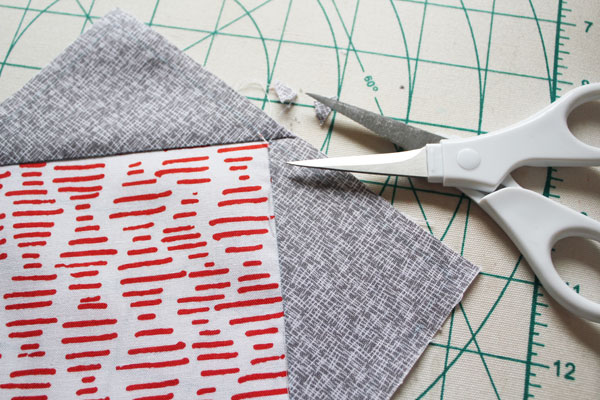
Trim off the “Dog Ears” before you press these last two triangles. Dog ears are the extra points that are left over when sewing triangles.

trim dog ears

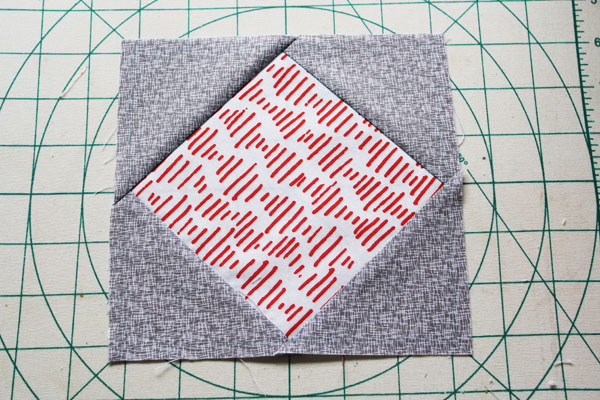
Press the triangles. You can trim the second set of dog ears now, or wait until you square up the block later.

trim dog ears

Block 3, the Diamond in a Square Quilt block, is complete!

finished diamond in a square quilt block

posted in: Craft Tutorials, Cricut Maker Block of the Week, Cricut Maker BOTW, Quilt, Quilt Pattern, Sewing, Sewing Tutorials

Previous
Floss Fairy DIY
Next
Cricut Maker Block of the Week Quilt: Block 4 – Broken Dishes

Reader Interactions

    Leave A Reply! Cancel reply

    Share your thoughts!
    Your email address will not be published. Required fields are marked with *

    This site uses Akismet to reduce spam. Learn how your comment data is processed.

    Comments & Reviews

  1. Blanca says

    October 13, 2017

    I can not wait to see the completed quilt!!

    Reply

Primary Sidebar

Hi, I'm Carolina!

I’m a Quilt Pattern Designer, Award Winning Quilter, and fan of all things quilting. I live in San Diego with my husband, our two boys and our pets. I love keeping both my hands and mind busy, so I’m always working on lots of projects. You’ll find lots of them shared here!

More About Me

Let's Keep In Touch!

I'll let you know about what's new in quilting, freebies you'll want to snag, and brighten your inbox about once a week!

subscribe
90% Faster Than Rotary Cutters

Fat Quarter Shop Quilting Fabrics and Supplies

Instagram Facebook Pinterest YouTube

Recent Posts

  • Flying Pig Quilt Block
  • Bunny and Carrot Quilt Block
  • Free Fancy Drink Quilt Block
  • Dutch Row Houses Quilt Block
  • Quilted Sports Jersey Numbers

Archives

Featured Projects

  • Everything you want to know about Pre Cut Fabrics!
  • Scrappy Placemat - easy to make scrap project
    Scrappy Placemat using Strips and Scrap Tape
  • Sewing Kaleidoscope SVG File
  • Drawstring Backpack
  • Carolina holding fabric marking pens
    Choosing Fabric Marking Pens

Let's Keep In Touch!

Brighten your inbox about once a week!

Always Expect Moore Submark Shop Patterns

Browse

  • Ruler of the Month
  • Quilty5k
  • QuiltMath
  • Cricut Maker BOTW

Shop

  • Digital Download Patterns
  • Quilting Notions
  • Quilt Stickers
  • Quilt Tees

Connect

  • YouTube
  • Instagram
  • Facebook Group
  • TikTok
©2025, Always Expect Moore. All Rights Reserved. About Disclosures
Back To Top
Design by Pixel Me Designs
×

Let's Keep In Touch!

I'll let you know about what's new in quilting, freebies you'll want to snag, and brighten your inbox about once a week!