When my friend Cheryl asked if I wanted to be part of her sewing room blog tour, of course I said yes. In part because I really don’t know how to say no to anything… and in part because I really needed a deadline. My sewing and crafting room has been in serious need of a facelift for months, and having a deadline would give me the motivation I needed to get it all put together. Read on to for the story of my new space, and be sure to check out the links at the very end of other fabulous sewing spaces!
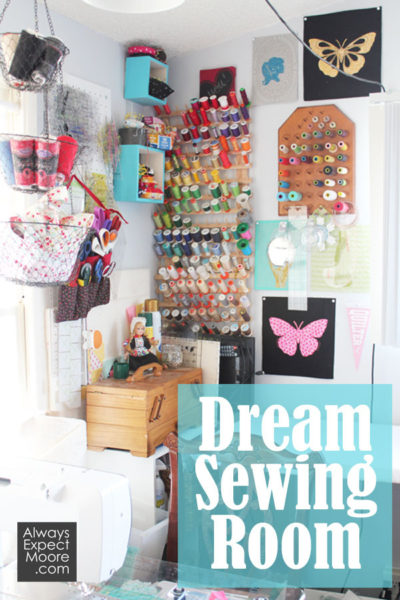
For months I have been dreaming of my new sewing and crafting room. About four months ago, we had a flood in our kitchen. The drainpipe in the wall behind the sink in our 1957 Bungalow was made of cast iron, and had cracked. Water leaked into the walls, and soaked the floors. All the cabinets and flooring were going to need to be ripped up. Which was made more complicated because there was asbestos found under the living room carpet, and in the walls. And the glazing of the tiles was found to have lead in it.
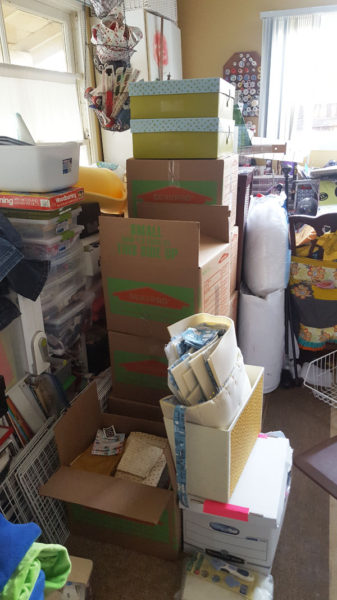
The process ended up being fairly involved. My sewing room looked very much like it did the last time I did a sewing room tour in 2016. I had to pack up the closet, which meant my sewing room looked like this:
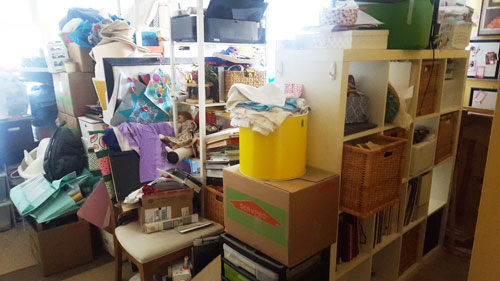
Then, I had to move everything away from the other interior wall so that the bathroom that shares that wall could be re-piped. So my sewing room looked like this:
Before putting everything back, I re-painted the walls. They were a yellow-beige, and are now a soft blue-grey. And, I decided not to put everything back where it had been. My needs have changed since I first set up the room 3 years ago. I do a lot more typing at my desk, so need some real desk space. And I need dedicated work space for crafting. And I needed video set-up, preferably set-up that would work for crafting, and set-up that would work for sewing. I had two months to plan and dream up how my crafting space would look when I could finally move back in.
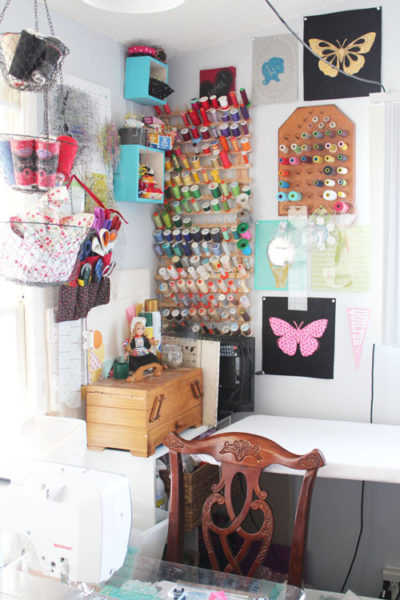
First, a dedicated sewing space. The machine could stay set up at all times. The ironing board is right behind the machine for easy access. And all my threads are close at hand on the wall. Plus, the backdrop of thread and mini quilts is great for filming video.
Second, a dedicated crafting space. Right up against the window for great natural light in the afternoons. A bright, white desktop for taking photos. This faces the sewing space, so I also have great eye candy.

Third, a desktop space for typing at the laptop. With a great background for Facebook Live videos and for YouTube videos.
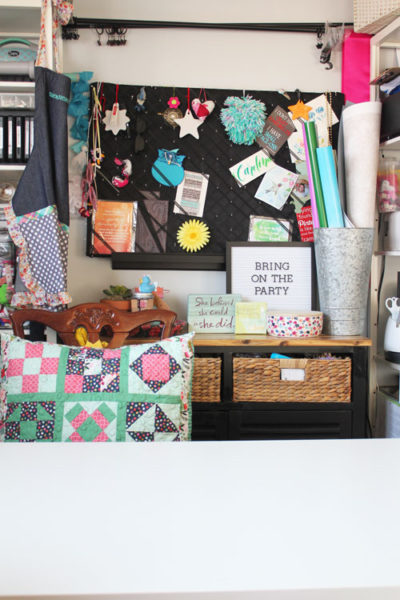
This is flanked by large shelving on either side that hold papercrafting supplies, my Cricut Machine, and printers.
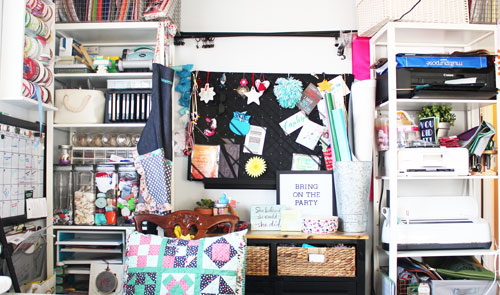
While I do feel a pang of envy when I see my friends have beautiful, all-white spaces with everything tucked behind cabinet doors, I find that this setup works best for me. I’m very visual, so open shelving means I get to see my supplies and be inspired by them. The spaces are all designed to be flexible, I can easily change out the video backdrop by removing the black bulletin board from the shelf it sits on. And above the bulletin board are curtain rods with clips I can use to hang quilts, streamers, or anything else I want to use as a video background.
And while I love having a clean space to start crafting on, it doesn’t always stay this crisp. As I cycle through projects and deadlines, you’ll find different projects on each surface…
This was when I was working on the pizza pillow for Fairfield…
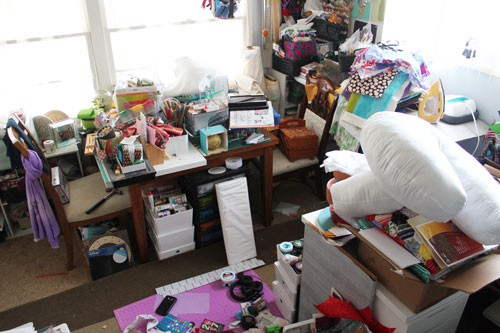
This was when I was working on clay pot craft projects.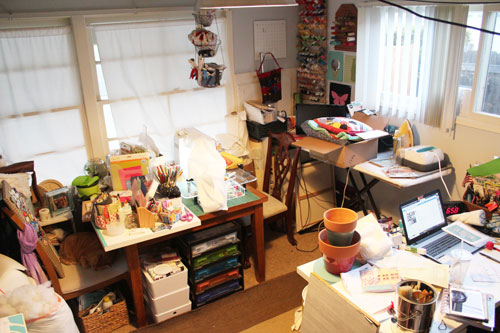
This was when I was finishing up my hot glue gun book (which will be out this fall).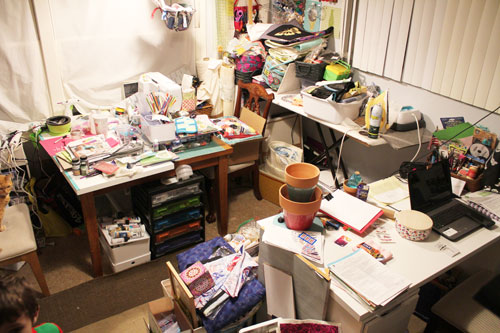
And this is what it looks like now!
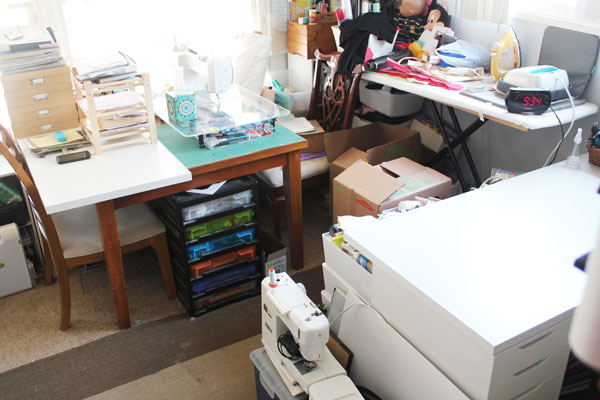
I’m currently working on re-organizing the closet. Having a functional closet in this room will make such a difference in being able to manage the clutter in this space!
Thanks so much for joining me on this tour of my craft room! Be sure to check out these other Dream Sewing Spaces!
April 24 – Jennifer Thomas – https://curlicuecreations.blogspot.com
April 25 – Robin Koehler – https://nestlingsbyrobin.blogspot.com
April 26 – Andi Barney- https://www.andibarney.com/
April 27 – Misty Cole – https://www.mistycole.com/blog
April 28 – Carolina Moore- https://alwaysexpectmoore.com/
April 29 – Heather Pregger – https://heatherquilts.blogspot.com/
April 30 – Linda Bratten – https://lindabcreative.blogspot.com/
May 1 – Lisa Reber – https://www.dippydye.blogspot.com/
May 2 – Teresa Coates – https://www.crinkledreams.com
May 3 – Lisa Chin – https://www.lisachinartist.com/
May 4 – Jamie Fingal – https://www.jamiefingaldesigns.com/
May 5 – Sam Hunter – www.huntersdesignstudio.com
May 6 – Jessee Maloney – www.artschooldropout.net/blog
May 7 – Rhanda Parrish – https://www.sewartsyfartsy.com/
May 8 – Sarah Vedeler- https://meaningoflifedesigns.com/
May 9 – Jessica Darling – https://jessicakdarling.com/
May 10 – Melody Crust – https://www.melodycrust.com/
May 11 – Debby Brown – https://higheredhands.blogspot.com
May 12 – Cheryl Sleboda – https://blog.muppin.com

Comments & Reviews
Amazing!! So glad you came through with a space you now love!
Beautiful space, Carolina! It looks like a wonderful place to work!
Thanks for sharing your space. When you use the pool noodles to roll your quilts, do you put fabric between the quilt and the noodle, do you roll then with the fronts inside our on the out side? I have heard of this, but just wondered if the material the noodle is made of could harm the fabric.
yummiest!
Great space to work.
Nice post and nice information too. I read your post. It’s really nice and I like your post.