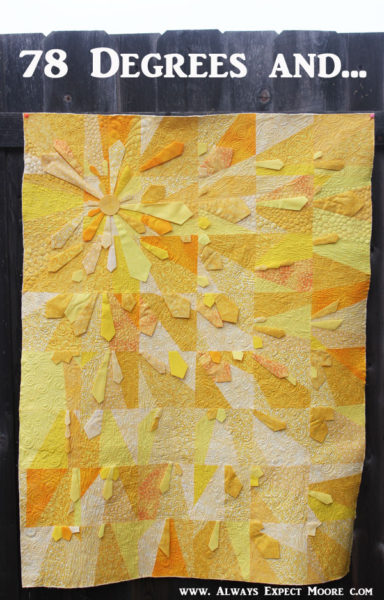
Living in San Diego, you’d think it was always 78 degrees and sunny. Unfortunately, it isn’t… but this quilt makes it feel like it is! So I named it “78 Degrees and…” Not to be mixed up with “98 degrees and…” because that is way too hot! 78 is perfect for a beach day… or a hammock day!
I made this quilt using the new Dimensional Dresden ruler that Nancy’s Notions sent to me to play with. I’ve played with other Dresden techniques before, like in my Roots and Wings quilt and Watermelon Coasters. I also made a Dresden Plate in Block 7 of the Technique Block of the Month.
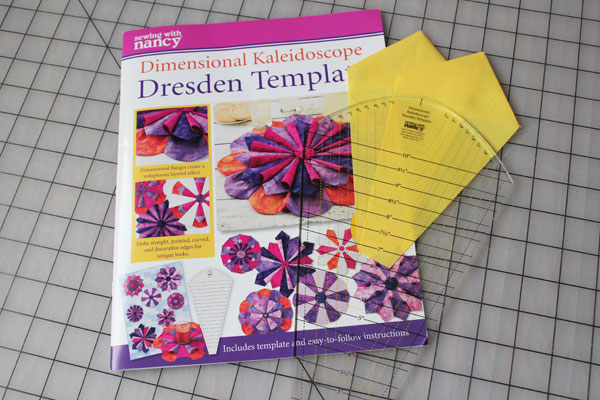
The Dimensional Dresden ruler does much more than the average Dresden Plate template. First, it is HUGE! It can make a petal 10″ – which means you can make a Dresden Plate that is over 20″ across! You can use it to make curved ends, pointed ends, and flat ends. Also, it comes with a detailed instruction book. Not only telling you how to make a traditional Dresden Plate – but how to kick it up a notch. Making layered Dresdens. There are so many examples of how to layer the pieces by inserting them into the seams in different ways. The possibilities are completely limitless! Plus, it is on sale right now! Any ruler less than $20 is usually a good deal – but less than $10 is a steal (and since it is on sale, you can avoid the bad karma from actually stealing).
If you want to make a quilt similar to “78 degrees and…”, you’ll need:
Lots of assorted yellow fabrics (about 6 yards)
Nancy Zieman Dimensional Dresden template Regularly $17.99 – now $9.99 through July 31st!
6 1/2″ square ruler
Rotary Cutter and mat
Scissors
Seam Ripper
Blue wash-away marker or chalk pencil
Sewing machine and matching thread
I was feeling like I needed a little sunshine, so I grabbed my entire stash of yellows, pulling out anything that felt too orange or too brown. Leaving just the pieces that could read as solid from a distance. I might have given myself permission to head to my local quilt shop to add a couple yellows. Just to round it out.
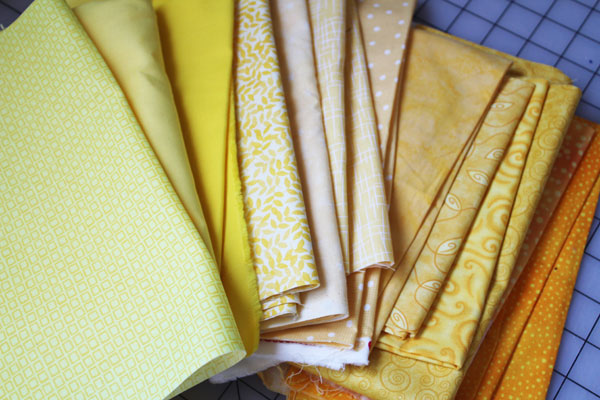
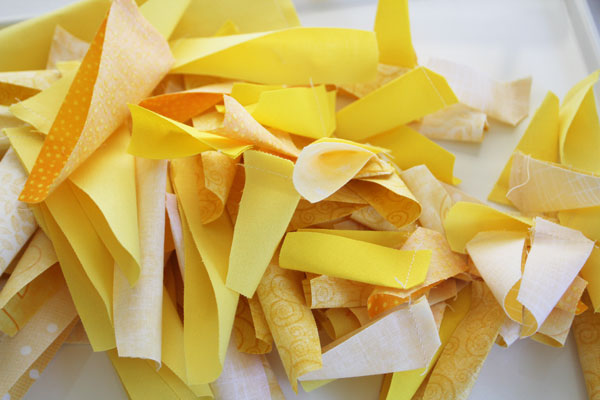
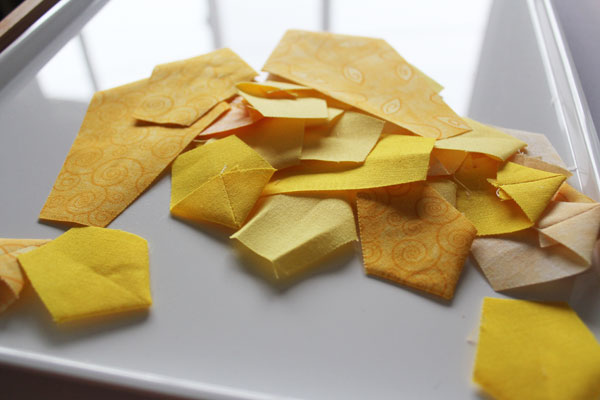
Spoiler Alert: I used it all. Or, pretty close to all. I have a healthy bag of yellow scraps… and an excuse to shop for more buttery and sunshiney yellows. I might have a thing for all yellow quilts.
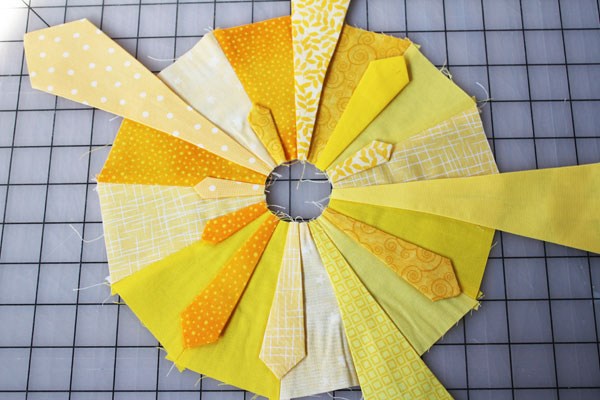
Using the ruler, I cut lots of wedges. First, I cut a strip the height of the wedges I wanted, then cut the strip up into pieces using the wedge ruler. No waste at all!
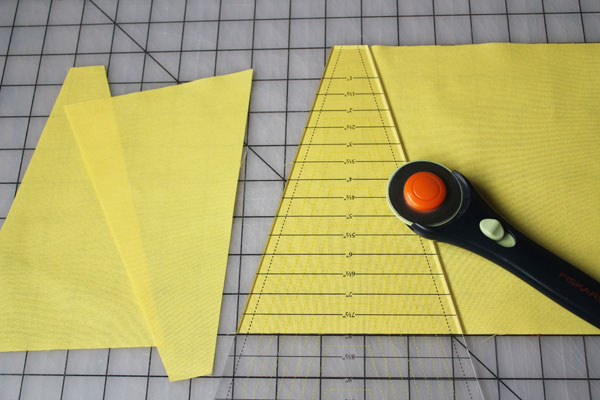
Lots and lots of wedges.
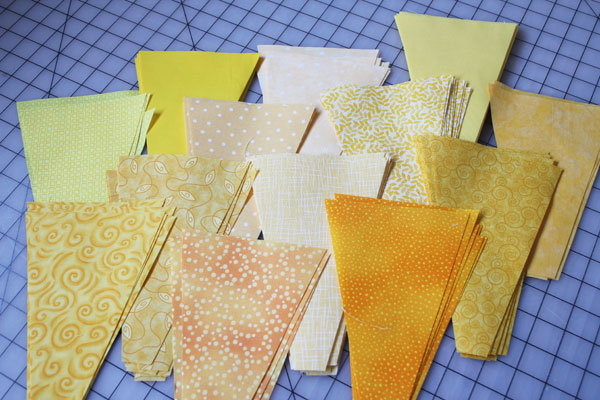
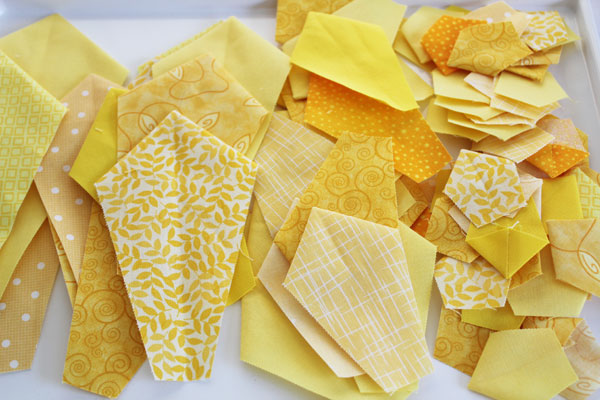
I cut different sizes. More than half were 8″ or 9 1/2″. These would be my big background pieces. I also cut lots and lots of small 4″ pieces, and a variety of pieces in between.
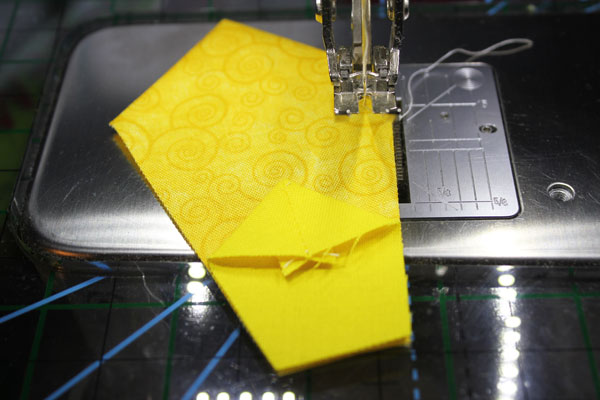
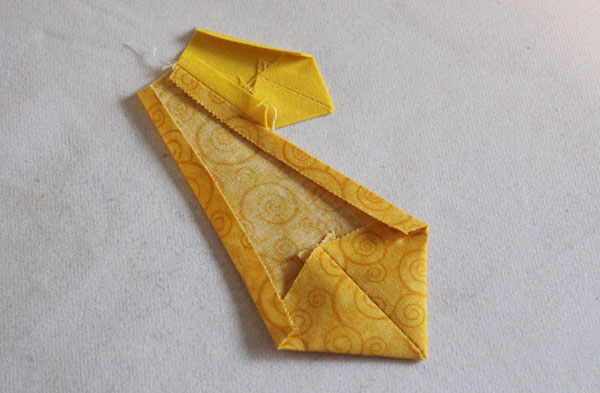
All the smaller pieces, and some of the larger pieces, were stitched along the top to make dresden points.
And then pressed.
There is a handy template that comes with the ruler for centering the seam on the back. So smart!

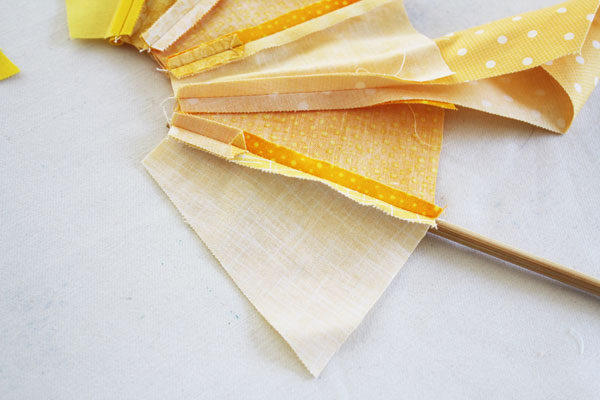
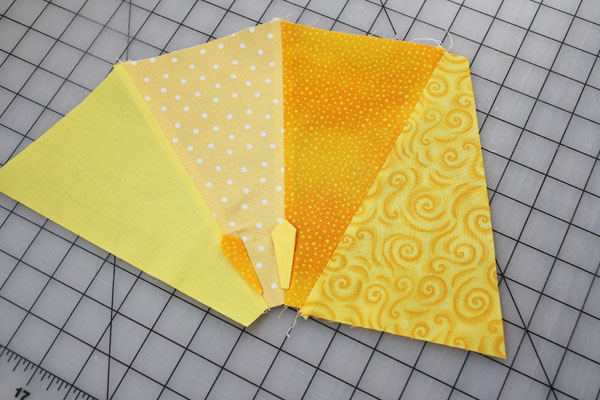
Once I had all these points created, I used the instruction booklet to stitch together partial dresden plate blocks.
Pressing was sometimes tricky with all the bulk in the seams. I found that inserting a wooden point turner into the front of a tucked-in dresden helped. I could press the back seam open without pressing creases into the tucked in dresden. A round wooden chopstick would work well, too.
Three 8″ wedges going the same direction, and then a fourth going the opposite direction was enough to trim to 6 1/2″ square. For the blocks where I wanted the seams more diagonal, I used 9 1/2″ wedges.
I just used my 6 1/2″ square ruler to trim them up.
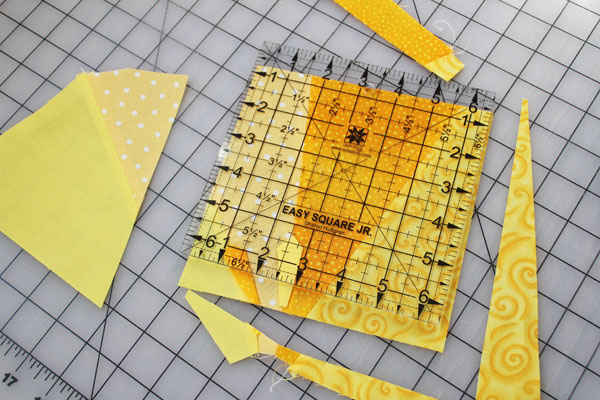
I kept the scraps to stitch to the sides of other blocks that needed a little more width to make it to 6 1/2″ x 6 1/2″
On some, the inserted dresden extended beyond the edge of the 6 1/2″ block. I didn’t want to cut off the points – I wanted to keep the dimension!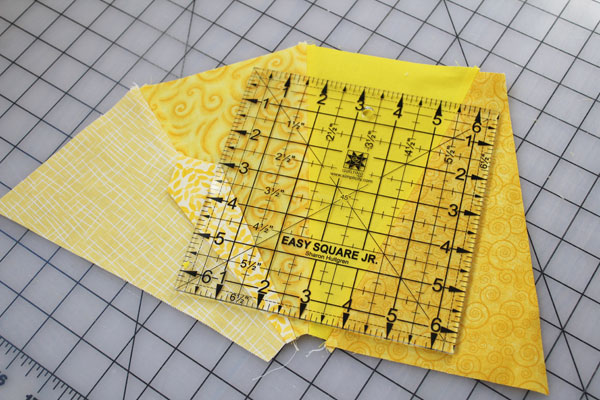
I cut the sides that didn’t have the point. On the last side, I marked using a blue water-erase marker.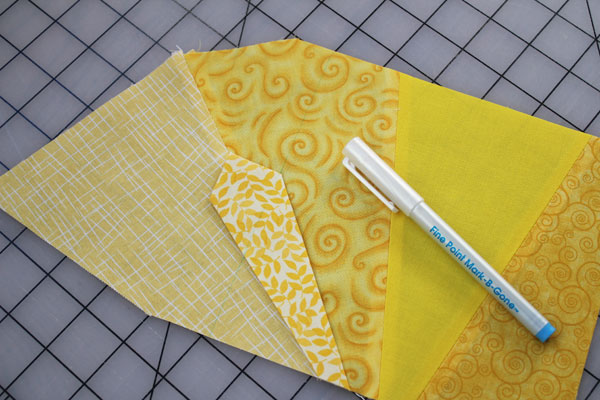
I carefully cut both sides with scissors, all the way up to the seam allowance. I ripped the seam on the part that needed to be removed, and removed it.
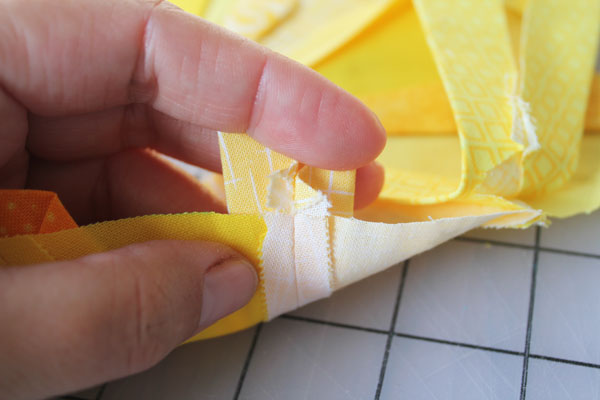
Then I pulled back the point, and cut into the dresden at an angle, towards the crease. I got to almost 1/8″ of the crease.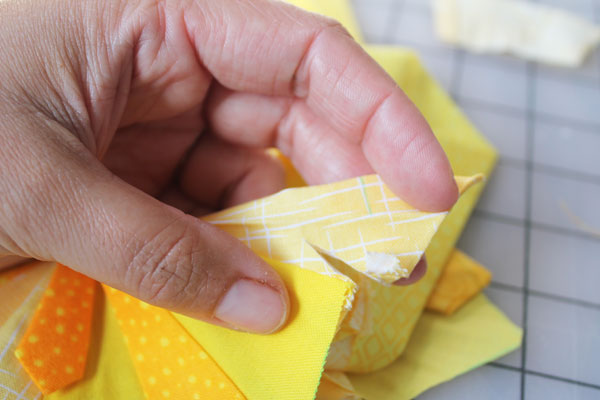
This allowed me to pull the point up and away from the side of the block, leaving plenty of room for the seam allowance. And all these raw edges will be protected when the point is appliqued down.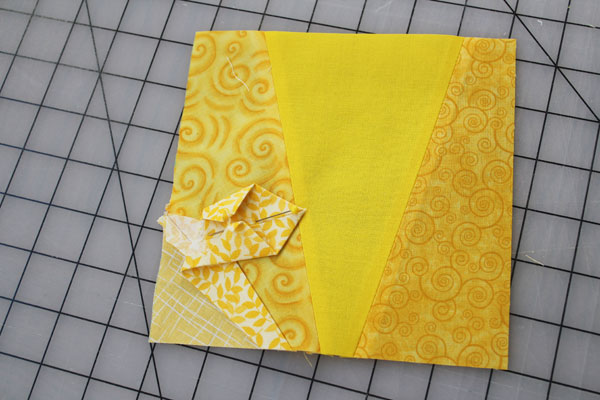
I repeated this process, making 47 blocks. The 48th block was special.
For this last block, I made a full Dresden with lots of points sticking out. Some sticking very far out!
Of course they wouldn’t fit within my 6 1/2″ square. I traced around the square.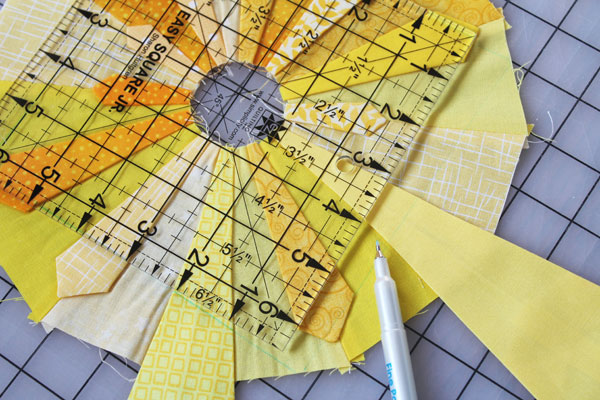
I carefully trimmed each side like I had with the regular blocks – but this time I needed to trim all four sides.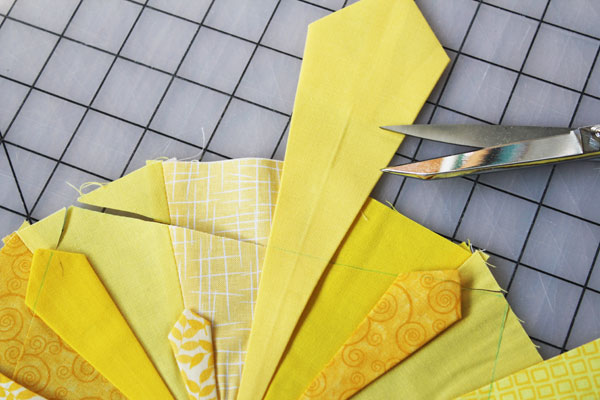
Carefully moving all the points out of the way for cutting.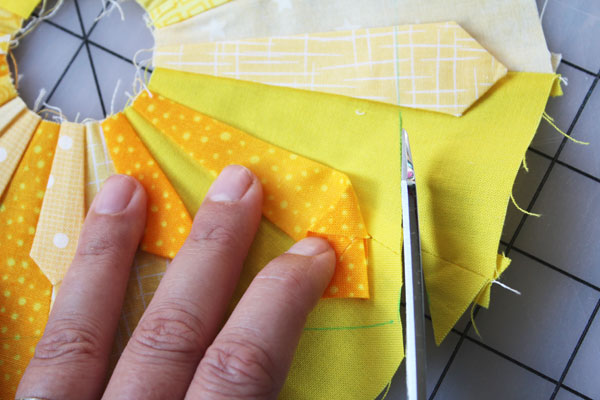
Or cutting right up to that seam allowance like before.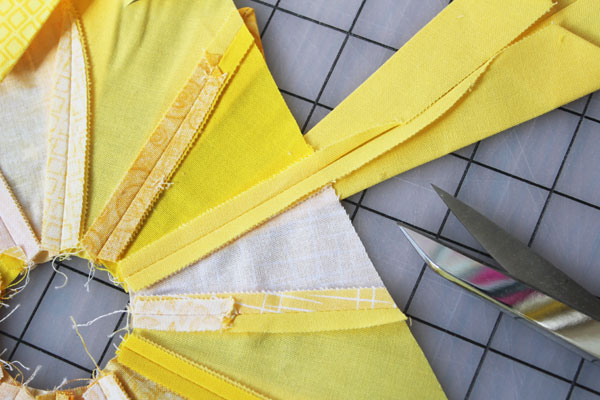
Cutting on all sides.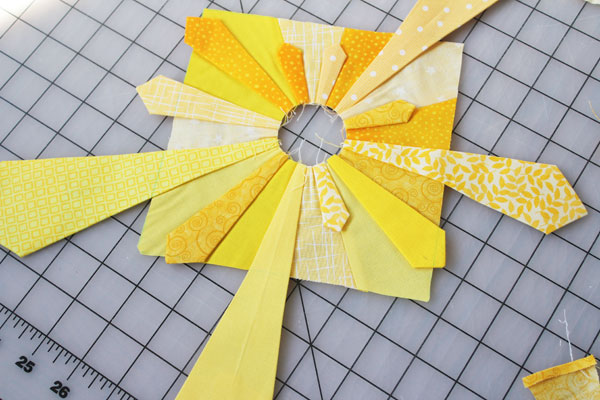
Once I cut in, I was able to pin the points out of the way.

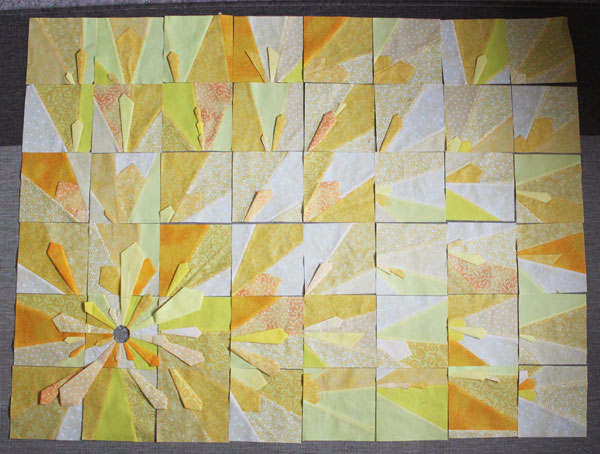
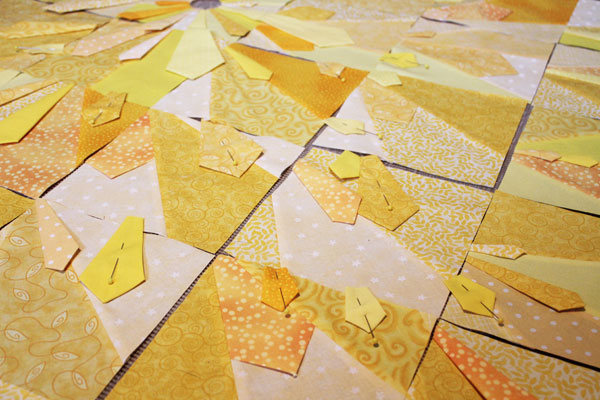
Then it was time to lay out the blocks.
I made sure to have more points to insert in the seams.
Some I stitched together.
All of them I pressed 1/4″ in on each side to tuck in the raw edges.
I pinned them so that the raw edges of the bottom extended beyond the edge of the blocks.

And pinned them all over the quilt.
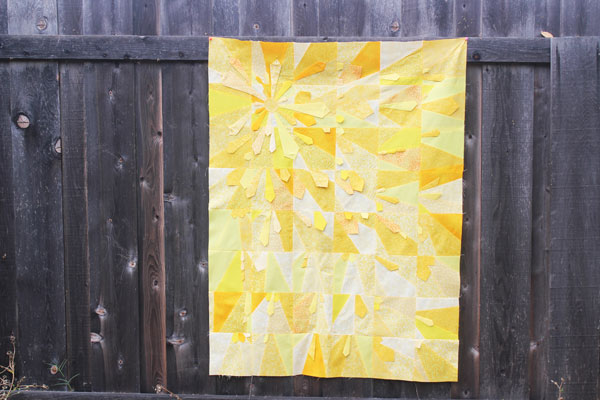
Then I stitched the blocks into rows… and the rows into a quilt!
Then it was time for quilting. I used a walking foot to make rays out from the center. Then quilted the rays.
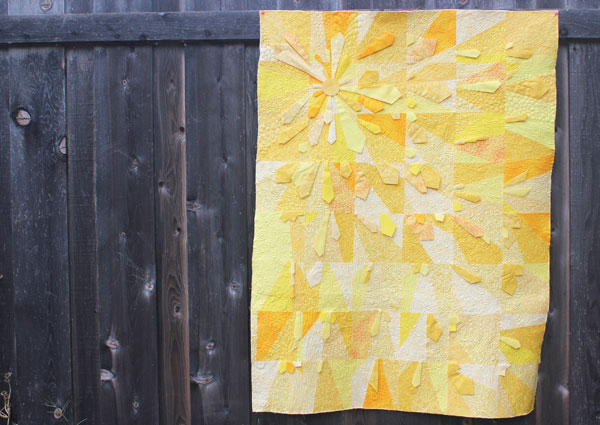
Swirls and pebbles, mostly.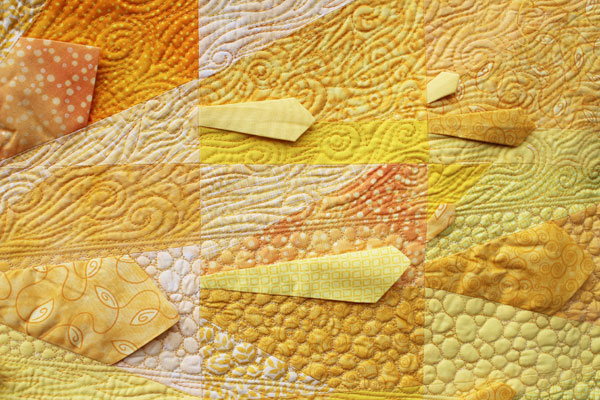
Swirls mixed in with wavy lines.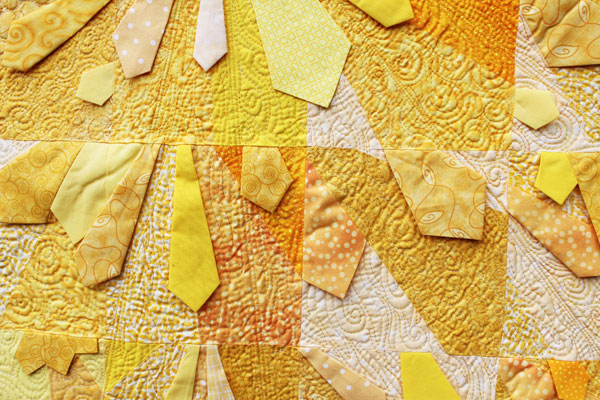
I might’ve snuck in one feather.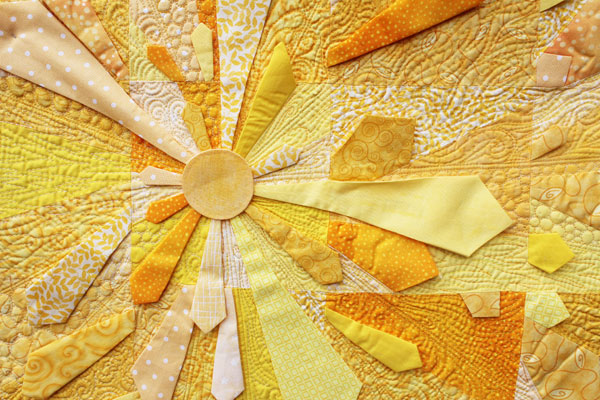
Technically, she isn’t done yet. I want to hand-applique down all the points so they still have lots of dimension, but all the raw edges are tucked away and protected. And it isn’t bound yet. I’m undecided on if she will get a traditional binding, or if I’ll add a facing instead.
What do you think? Binding or facing?
Oh – and be sure to grab that Dimensional Dresden while it is still on sale! I have a couple more fun projects planned that you might be tempted to make!

Comments & Reviews
You are amazing and this quilt is just as amazing as you!
Thank you so much for sharing this gorgeous piece!
Awww… thank you! <3
It looks awesome. Great post. I will try it later. Thanks for sharing your creativity.
Awesome and beautiful
Carolina, Hands down for this pattern. The instructions are so very clear with pictures. This is the most awesome pattern I have ever came across. I am new to knitting/crocheting and have been taking online classes and so far i have created many small items and this is a great idea for my weekend project to try my hands on the big items.Thanks for the inspiration. I will be subscribing to you for more posts like this..
Yay! I’m so glad you enjoyed it!! <3
Stunning.
I love this quilt. I was wondering where I can download the pattern? I thought it would be embedded in the tutorial but didn’t find it. Also I tried the link for the Dresden ruler of Nancy and got a whoops sorry no such site. Hopefully you can help me.
This is an improv-style quilt, so the instructions are here in the tutorial. There is no pattern.
I think that Nancy’s Notions was purchased by Missouri Star Quilt Co. They may be re-doing the site? Just Google “Dimensional Dresden Ruler” and you should be able to find it…
I love this quilt! Just my kind, not fussy, all different blocks! I need to work on one,
were do I get the dresden plate ruler and book?
I love yellow as well so this quilt pulled me in as soon as I saw it. But as I was reading the directions I thought for a minute I was confused but then it all started making since. I love your creative mind. This is a beautiful quilt! Thank you for sharing with us!