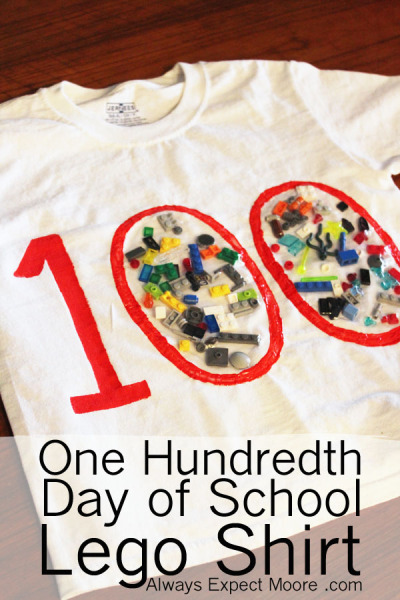
So, apparently, the 100th day of school is now a “thing”. Which I think is fun. Any time I can get my son to celebrate going to school is a win in my book! Our school invited students to wear a shirt with 100 things on it to celebrate the 100th day. Most kids would pick something simple – stickers, buttons, pom-poms… but my son wanted Legos. A 100th day of school Lego shirt. Okay.
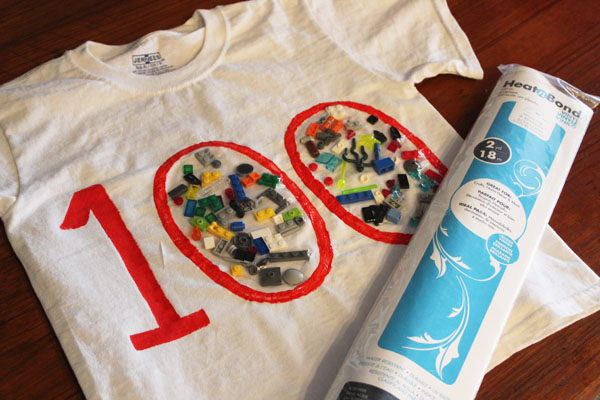
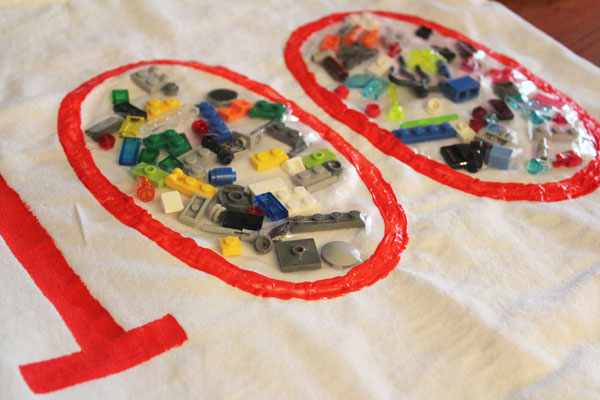
My first thought was to paint 100 Legos onto a shirt. But I knew that would be tedious. I then thought about hot gluing the Legos onto the shirt… but I wasn’t sure how well it would hold up with my very active 6 year old… I knew it needed to be more secure. That’s when I came up with the idea of using Thermoweb’s HeatNBond Iron-on vinyl. The vinyl is most often used on top of placemats or coasters so that you can just wipe them off… but in this case, it is PERFECT for making a clear “window” to secure the Legos in place! And, because of the heat-activated adhesive, the Legos all stay in place in the zeros, instead of falling to the bottom in a heap, like they would with regular vinyl.
You could absolutely use this technique for something other than Legos – buttons, bows, beads – anything small that is fairly heat-tolerant (it needs to at least be able to go through the dryer without melting).
Of course, I made this shirt the night before, and wasn’t sure if it would work, so I didn’t take step-by-step photos. But I’ll walk you through how to make the shirt yourself:
You’ll need (affiliate links added for your benefit and mine):
Plain shirt
Thermoweb 17-Inch by 2-Yard Heat’n Bond Iron-On Vinyl, Gloss
Iron, ironing board
Washcloth
Fabric Paint
Paintbrush
100 small Legos (or other object)
Scissors
1. Decide how big the ovals for your zeros are going to be. You can draw them on the backing paper for the Heat n Bond. Cut them out.
2. Divide the Legos into two piles, each with 50 pieces.
3. Place one pile of Legos on the shirt, and spread out. Flip them over, rotate them, do whatever you want to get them into position. Peel the backing paper off the vinyl oval, and place on top of the Legos. Make sure you have a border on ALL sides of at least 1/2″. You are placing the HeatnBond so that the side that used to have the paper on it is facing DOWN.
MY SUGGESTION: According to the directions on the HeatnBond, you cover your oval with the paper, and then press. If your oval is at all wonky, this leaves vinyl exposed. Instead of risking my shirt, I cut a large piece from the roll of vinyl, removed the vinyl and used the large piece of paper. I felt this protected the whole area better. I threw the extra piece of vinyl in the garbage. Call me wasteful, but wasting the entire shirt when I ruin it by burning a hole in the vinyl is worse in my book.
4. So… cover the oval with the backing paper, and then a washcloth, and press. Move the iron frequently, leaving it in each spot for just a second. I don’t know how much heat a Lego can take – I didn’t want to find out.
5. Once you’ve set everything in place, remove ONLY THE WASHCLOTH. Using the edge of the iron, seal all the edges of the vinyl by securing them to the shirt. This is what that 1/2″ border is for.
6. Repeat these steps with the second oval.
7. At this point, I stitched the edges of the ovals in place. I think this was overkill, and not needed. You can stitch yours if you’re worried about it… but for a shirt that only needs to last a day, it might not be worth getting the sewing machine out. Vinyl is a pain to stitch on – it sticks to the bottom of a standard sewing machine foot. You can use your walking foot, but it might be too wide (mine was). You can put masking tape on the bottom of your zipper foot, or you can use a free-motion foot (which is what I did).
8. Last step! Put a piece of paper inside the shirt to keep the layers from sticking together from the paint, then paint in the 1 and around the ovals to make the zeros. I used puffy paint and a small paintbrush. Let dry overnight. Your shirt is DONE!
I did tell my son not to play with the shirt at school – I don’t know how easy it would be for him to tear a hole through the vinyl with a pointy-edged Lego. And I told him that if the shirt breaks or gets destroyed at school, not to worry. It is really just for today, and he doesn’t need to get upset if it gets messed up.
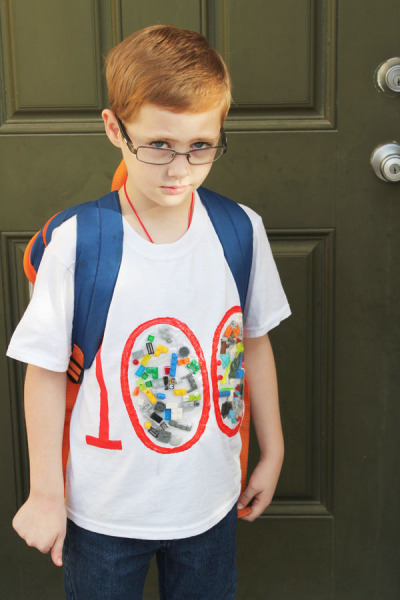
He was super excited to put it on. He is pretty confident that it will be the best 100th day shirt in the class. I think any 100th day shirt with Legos is pretty ambitious, and I’m really excited with how this one turned out. AND – it was super easy! I might have to use a technique like this on a quilt in the future – it was so fun and easy!


Comments & Reviews
awww so cute!!! love l’s expression 🙂 tee hee
Well I made two of these Lego shirts for my kids but the first one didn’t do to well. It was my fault I found out how long a Lego can stand the heat before melting. Not a pleasant smell as we ran the shirt to the bathtub. However the second shirt turned out very nice. Great idea…thanks for sharing wit us.
Donna
http://www.dazzledideas.com
Oh no! I can only imagine that a melted Lego is not a great smell! Glad your second shirt turned out well!