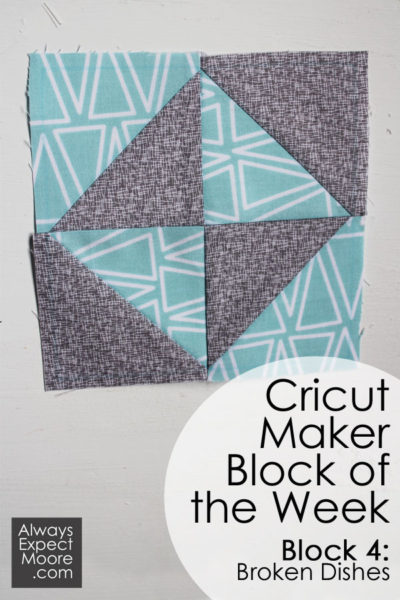
I’m so excited to share week 4 of our Cricut Maker Block of the Week with you! Today’s quilt block is called Broken Dishes. I’ll show you step-by-step how to make this quilt block. The Cricut Maker Quilt Block Broken Dishes. And, if you watch the video, I’ll show you how a quick twist turns Broken dishes into a Pinwheel block! Two blocks using the same simple steps!
This post contains affiliate links. Making a purchase through these links helps support this site at no extra cost to you.
If you’re just joining in, you can start from the beginning by going to the Cricut Maker Block of the Week Reference Page.
You can follow along the photos and written instructions below, or you can watch this week’s video:
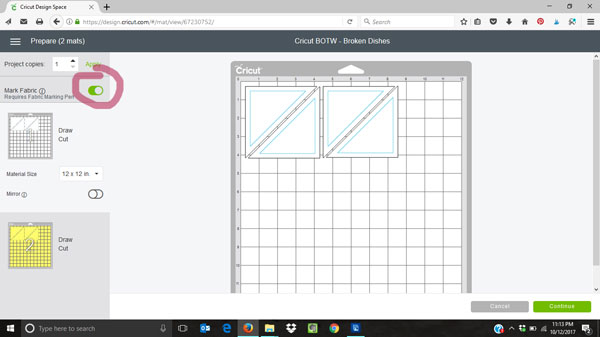
If you feel super comfortable with your 1/4″ seam at this point, you can turn off the pen using the little toggle switch on the left. I’ll be keeping mine on, though.
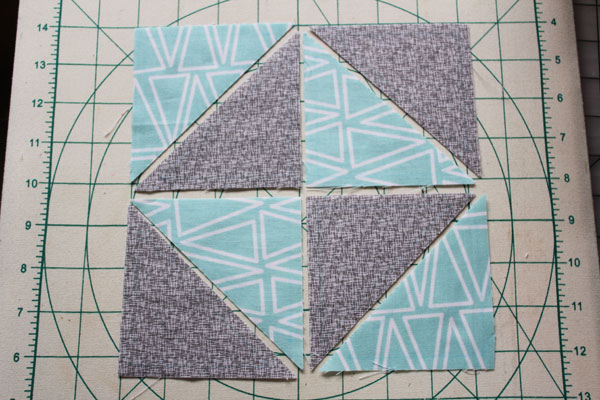
Lay out your pieces.
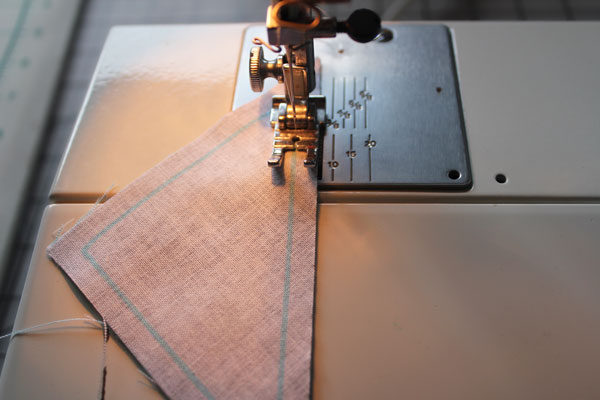
Grab two triangles (which make a square – that’s where the term “Half Square Triangle” comes from), and stitch them together along the longest edge.
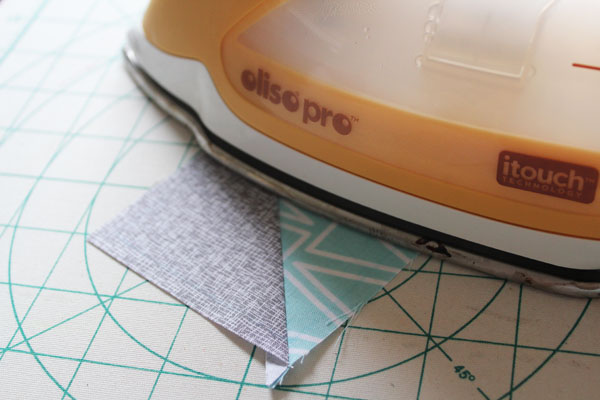
Repeat for the other 3 sets of triangles. Press all the seams towards the dark side.
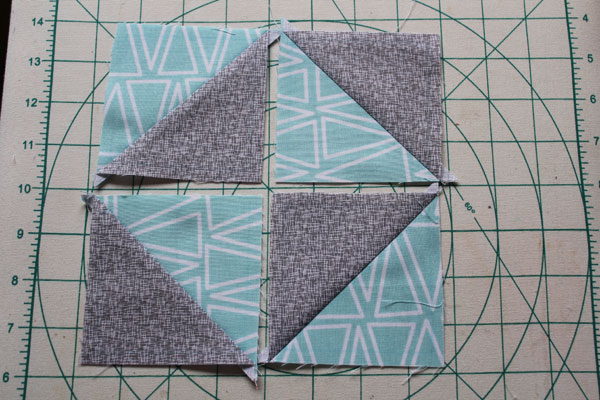
Lay out your block again. Now we have a four-patch made of half-square triangles.
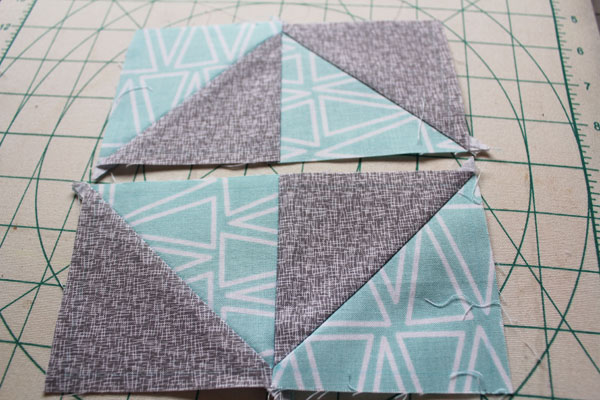
Stitch the top to half-square-triangles together, and the bottom two together. Press the seam allowance towards the darker side. This will automatically make the top seam allowance go in the opposite direction of the bottom seam allowance.
Put your top row on your bottom row. “Nest” the center seam – this means that you feel with your fingers so that the seam allowances butt up against each other. When your seams are nested, your points will match perfectly.
Turn the block over. You’ll see that the two seam allowances are going in opposite directions. In this case, they go clockwise. Press the other two seams so that they follow. In my case this would mean all my seams are going in a clockwise direction. On your block, it might mean that all the seams go in a counter-clockwise direction. Either way is just fine.
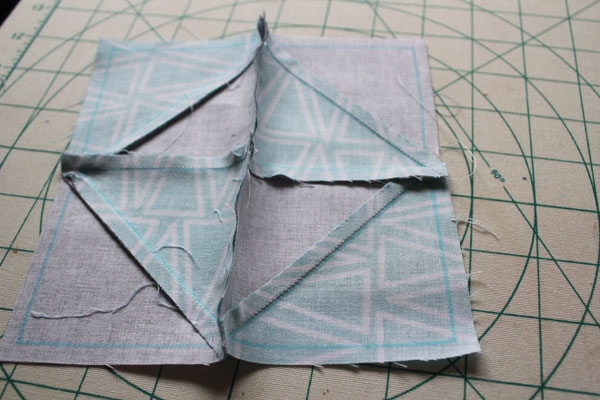
When you do this, you’ll be able to swirl the center, where all the seams come together. Swirling the center means there will be less bulk in the middle – which you’ll appreciate when it comes time to quilt!
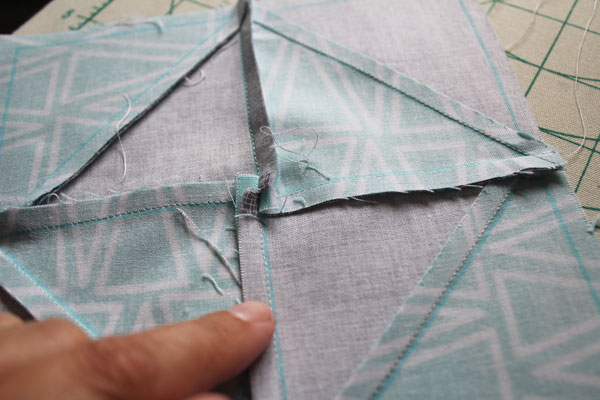
Press the swirl flat, and your quilt block is complete!
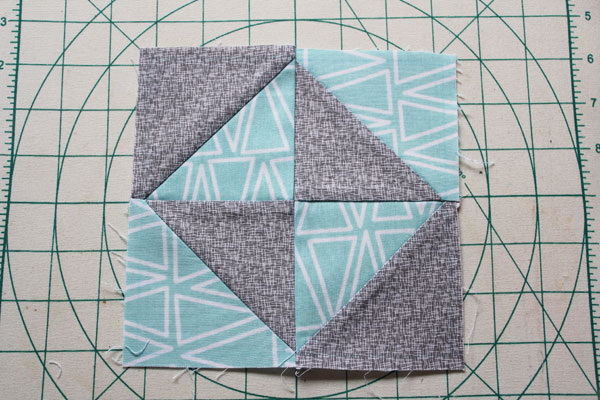
I want to add a little comment here that will help out the new quilters. See how the points match, but thy are not all the way on the edge of the fabric? At first glance, you might think that is wrong. That nothing lined up the way it was supposed to. But fear not! You should have 1/4″ between the points and the edge of the fabric. This is your seam allowance for when you put the block into the quilt.
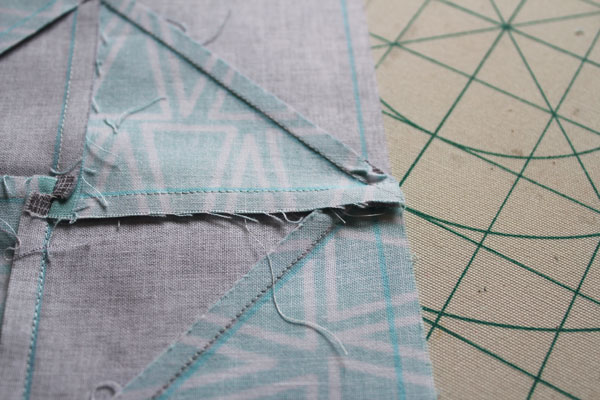
To make sure you’re doing it right, just flip your block over. You’ll see that your points line up with the blue seam allowance line on the back.
That is it – the Cricut Maker Quilt Block Broken Dishes! Next week we’ll be on to block 5!

Comments & Reviews
I love this quilt. When is the next block coming out? Thanks
The blocks are published each week. If you want the earliest access, subscribe to my YouTube channel. I put the post up sometime Thursday night (Pacific Time). http://www.YouTube.com/craftmoore