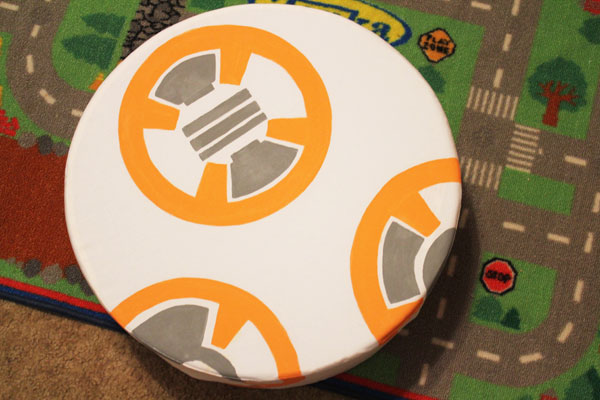
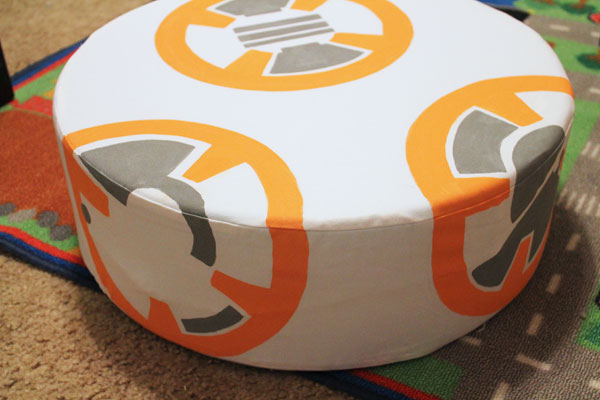
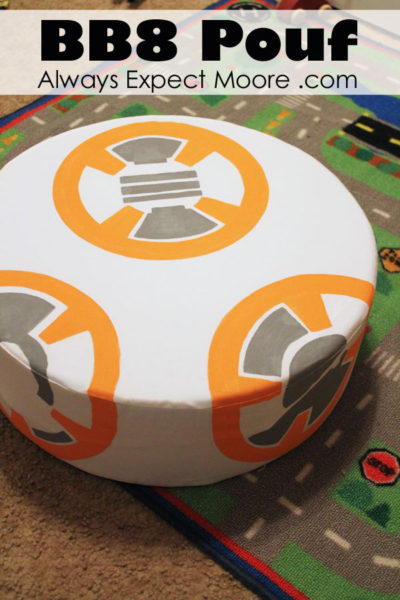
Is your family Star Wars Crazy? With a house full of boys, you can bet mine is! My 3 and 7 year old boys love Star Wars. And the adorable Droids in it. R2D2, Chopper, and BB8 are their favorite! So, when Fairfield offered to send me a foam Pouf to design with, I knew what I would make with it! It HAD to become a BB8 Pouf!!
Adorable, right? And really simple to make – I whipped this out in an evening – from sewing the cover to painting it. When my kiddos woke up in the morning, this BB8 was waiting for them!
You’ll need:
Fairfield 6″ tall foam Pouf (leave the plastic packaging on)
Pencil
Fabric – I used 1.5 yards of Robert Kaufman Outback Canvas
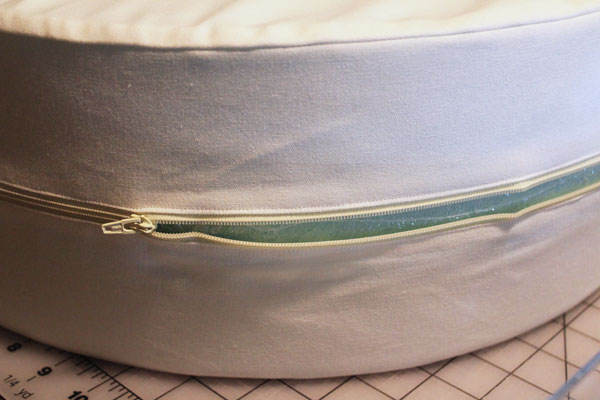
24″ white zipper
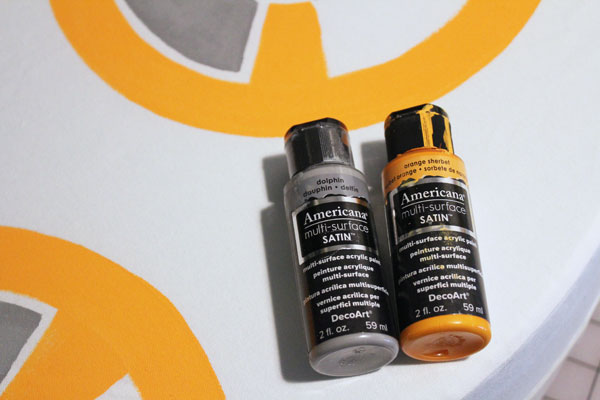
DecoArt Multisurface paint in Dolphin and Orange Sherbet
Paintbrush
Sewing Machine and thread
If you read that supply list and the word “zipper” scared you, don’t be afraid! Zippers are not hard, and I’m going to show you a very basic way to insert the zipper that doesn’t take crazy sewing skills. Also, you’ll be glad you have the zipper because white fabric in a boys’ room is going to need to be washed fairly often!
Start by cutting your fabric. Trace the pouf onto a double layer of the fabric with a pencil.
Then cut two strips of fabric – one 4″ and one 6.5″, both the entire Width of the Fabric.

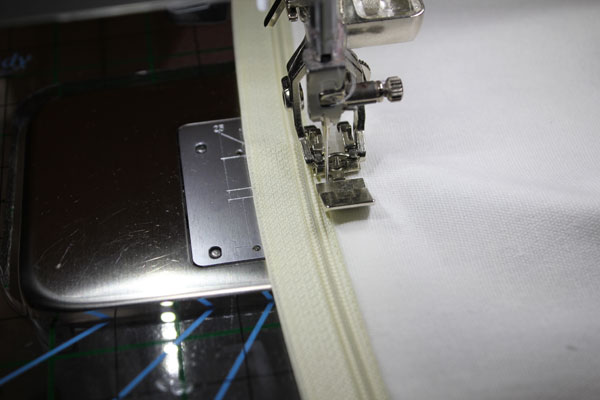
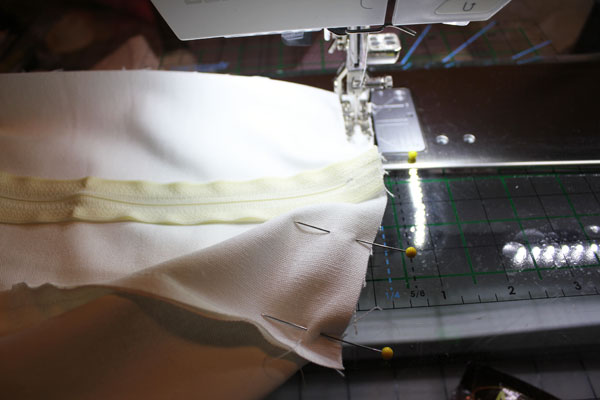
Cut the 4″ strip in half. Lay one on top of the zipper, and with your zipper foot on, stitch all the way down the zipper. If the zipper pull gets in the way, stop with your needle down, move the zipper pull, then keep stitching.
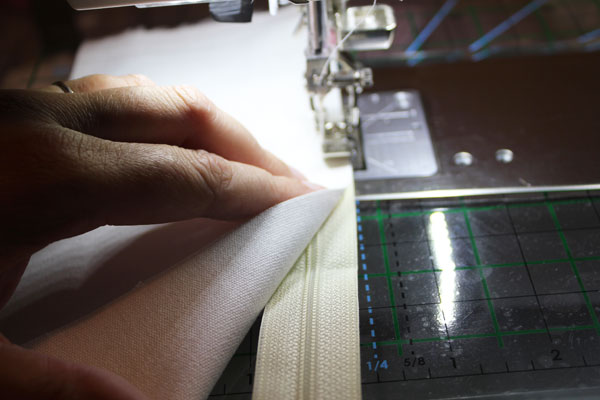
Flip the fabric over to expose the zipper, then top-stitch down to secure.
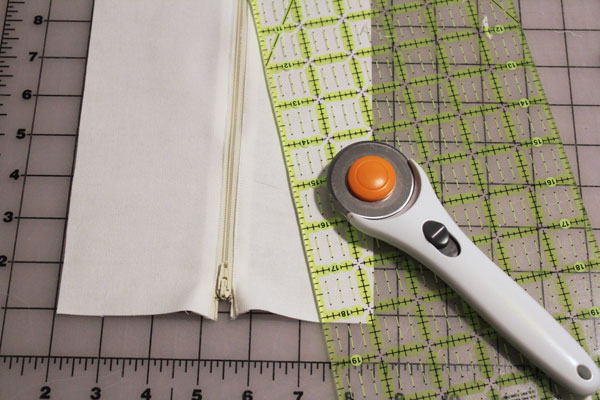
Repeat with the other side, then trim the fabric to the length of the usable portion of the zipper, plus 1/4″ on each side for seam allowance.
Trim the width to 6.5″
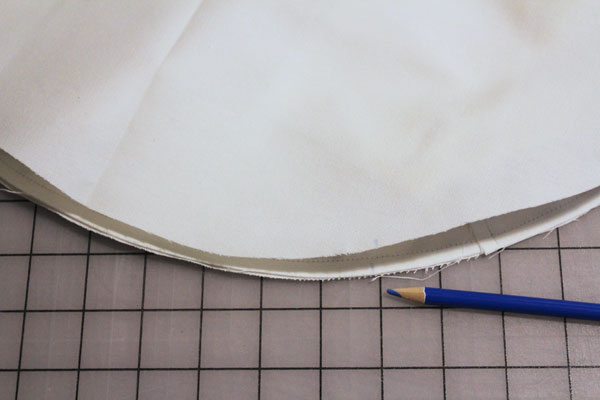
Stitch the two strips together on the short ends, to make one long strip.
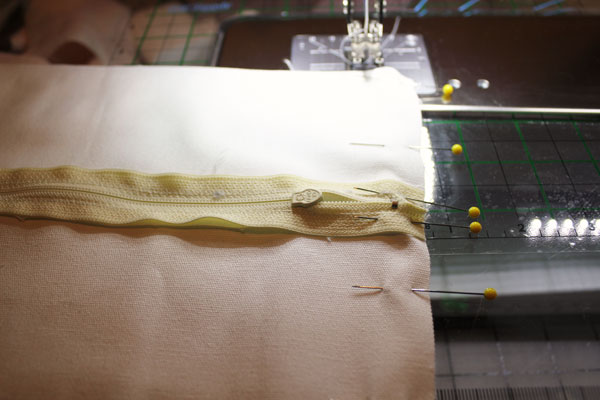
Pin the side to one of the circles, then stitch on using a 1/4″ seam allowance.
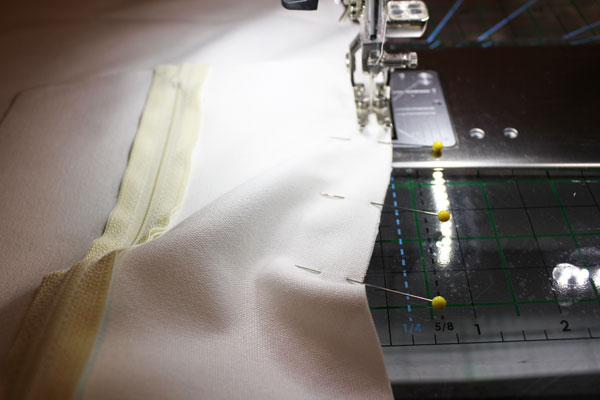
Stop stitching about 2″ from the end. Match up the two ends, trim, and stitch closed.
Lay the top circle on the bottom, and draw registration points to line up.
Use these registration points as guides to pin the circle to the edge of the side. This will prevent puckers.
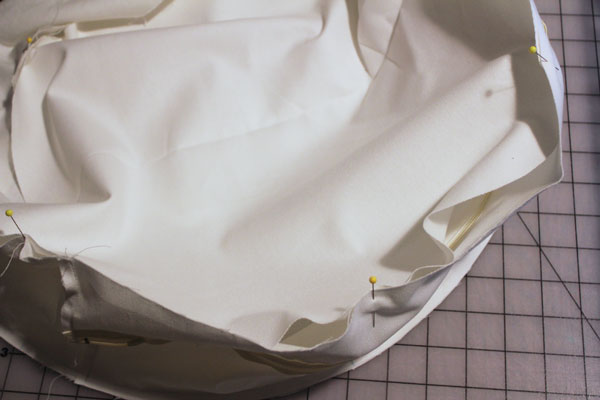
OPEN THE ZIPPER. Don’t forget to do this!! You’ll want to open the zipper partway before you continue, so you can turn it right side out in the next step. Then, stitch all the way around the circle.
Turn the cover right-side-out, and insert the Pouf with the plastic packaging still on.
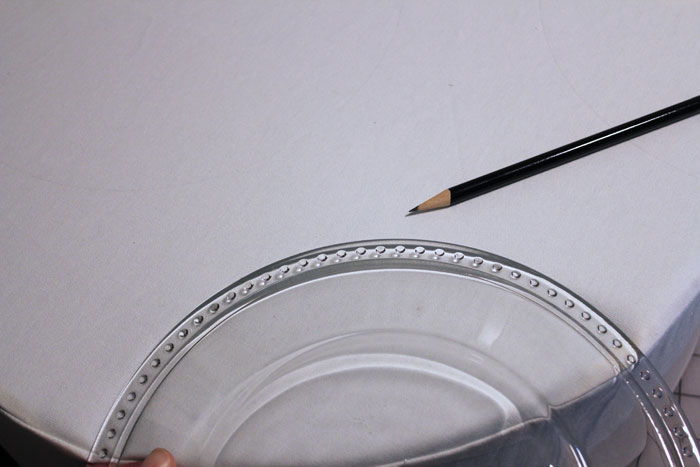
Using a dinner plate, draw circles onto your pouf lightly, with a pencil.
Paint them in. I looked up images of BB8, then free-handed the design based on what I saw, but you can use a ruler and pencil to sketch in your designs before painting.

Allow the paint to dry. After it is completely dry, you can pull out the pouf, remove the plastic, and re-insert it. You’ll see that the plastic protected the foam from any paint that seeped through the fabric.
Your kids (of any age) will be so excited!