• Skip to primary navigation
  • Skip to main content
  • Skip to primary sidebar
Home About Subscribe Summer Sew Camp Disclosures

Always Expect Moore

Quilts & Pattern Design

  • Cricut Maker BOTW
  • Quilty5k
  • Gallery Wall QAL
  • Trunk Show
  • Guild Resources
  • Pattern Shop
  • Free Patterns
Home About Subscribe Summer Sew Camp Disclosures
  • Cricut Maker BOTW
  • Quilty5k
  • Gallery Wall QAL
  • Trunk Show
  • Guild Resources
  • Pattern Shop
  • Free Patterns
Home » Blog » Uncategorized » Christmas Ornament with Quarter Square Triangles

Christmas Ornament with Quarter Square Triangles

Created On: October 4, 2012  |  Updated: October 4, 2012  |   2 Comments

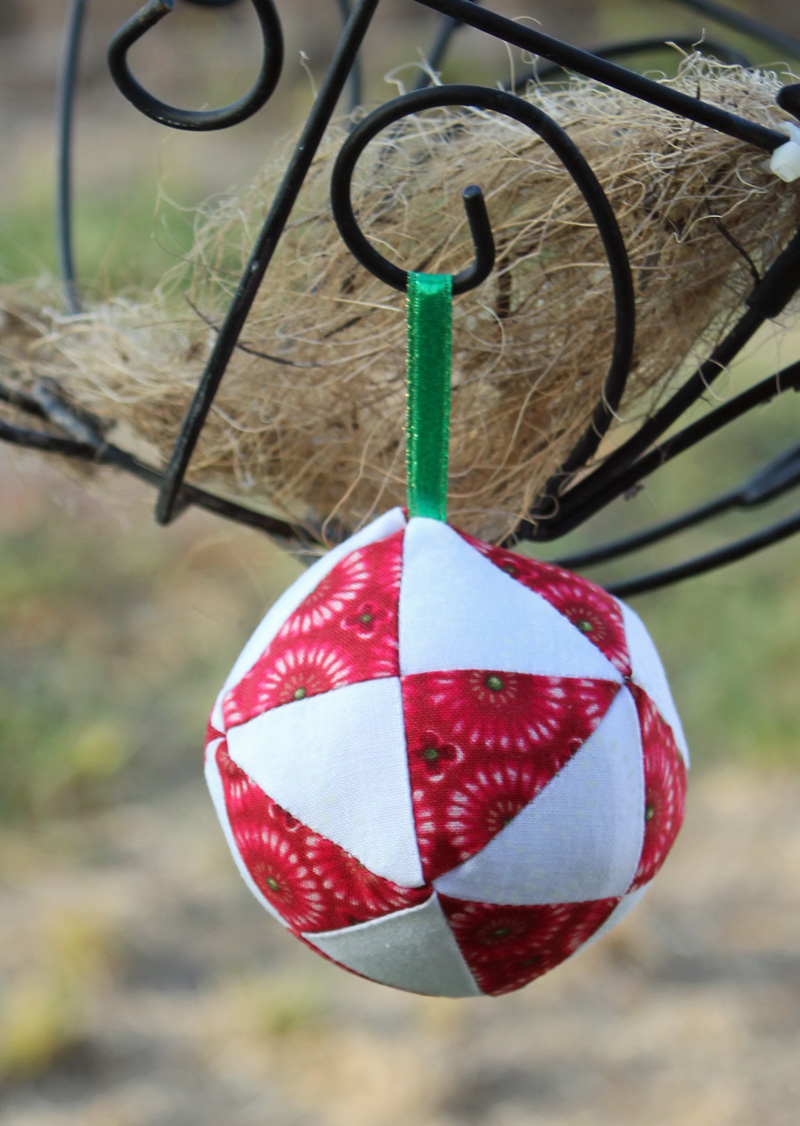
I love quilted triangles. They are fun, but were not always easy for me to make. I now have some tricks and tools to make my triangles turn out just right. I used those to make this Christmas ornament out of quarter-square triangles.

 I started with four 5″ squares, two of each color. If you have pre-cut 5″ squares, those would work great. I stitched all the way around all 4 sides of each pair (with right sides together), 1/4″ away from the edge.

I then cut both sets into an X shape.

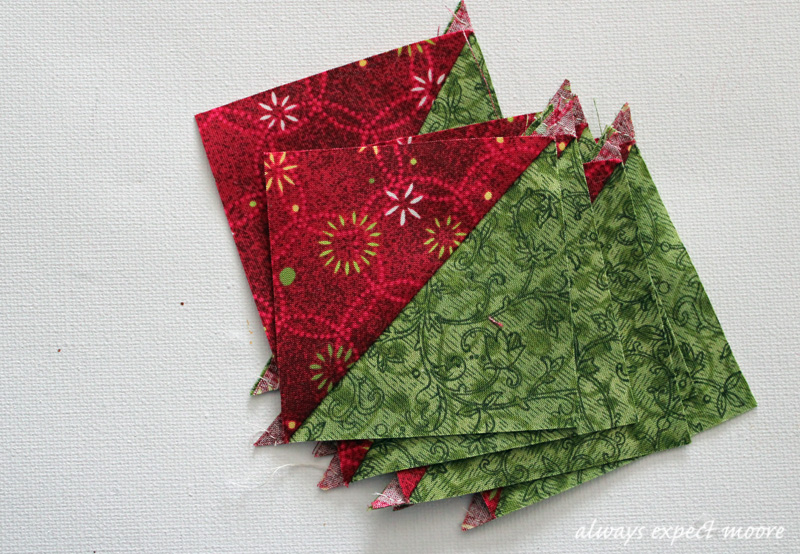
Each triangle set was pressed, with the seam towards the darker side.

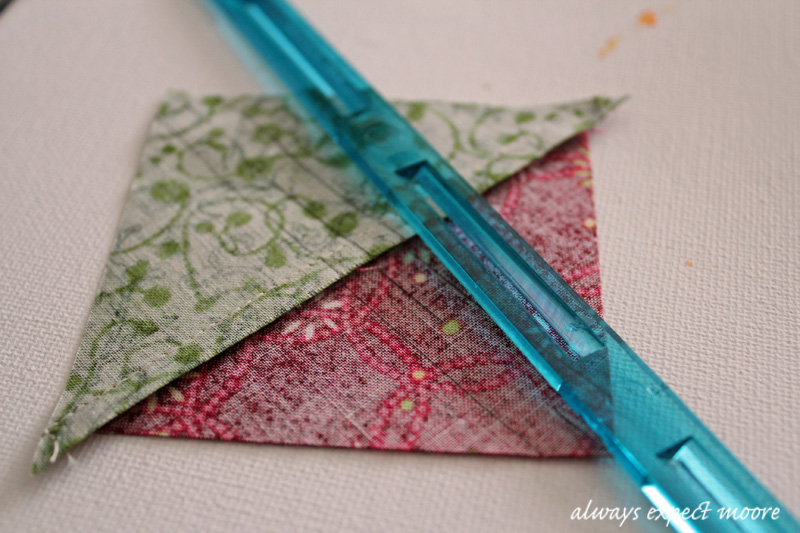
I used my quick quarter ruler to mark down the middle, diagonally, going the opposite way of the previous seam. The  quick quarter ruler lets me make 3 lines. One down the middle for cutting, and one on either side for sewing.

 
After being pressed, each square was trimmed down and squared up. I put a silver dot on my ruler to mark where the center of my block should be. This makes 8 squares. We’ll only need 6 for this project, so there will be two left over for a future project. 
After making the 8 squares, I stitch 4 end-to-end, and press the seams open.
 

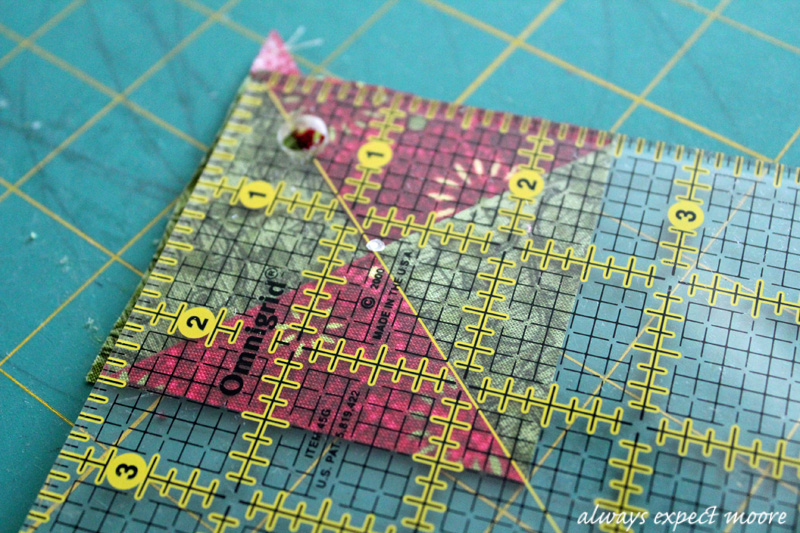
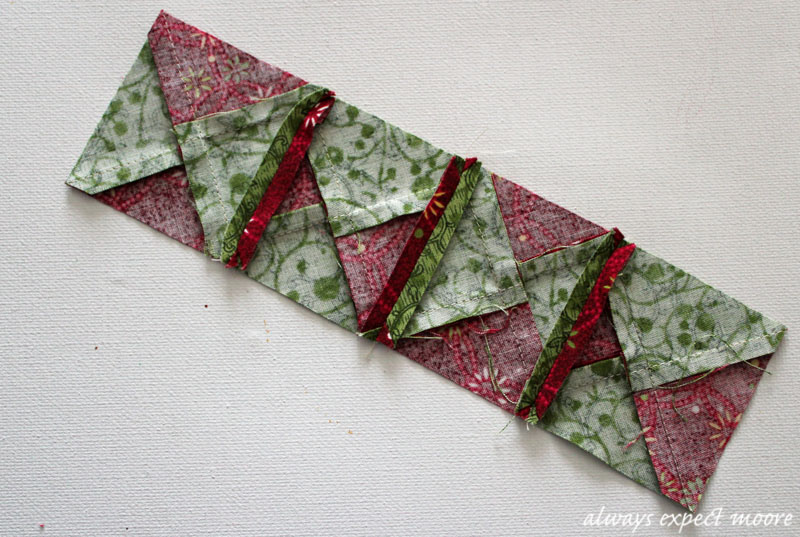
Here is the front of the squares stitched together.

 The two remaining are the sides.Starting 1/4″ from the back edge, I stitch each side up to 1/4″ before the edge. When I get to the next edge, I anchor my stitches, lift my presser foot, and start the next side 1/4″ away from the edges.

Here is the block with one side still missing. When attaching these sides, tuck in a loop of ribbon to use to hang the ornament later.

After all four sides have been put on, It is time to turn the cube right side out. Then stuff it. Full. The more it is stuffed, the less it will look like a cube, and the more it will look like a sphere.

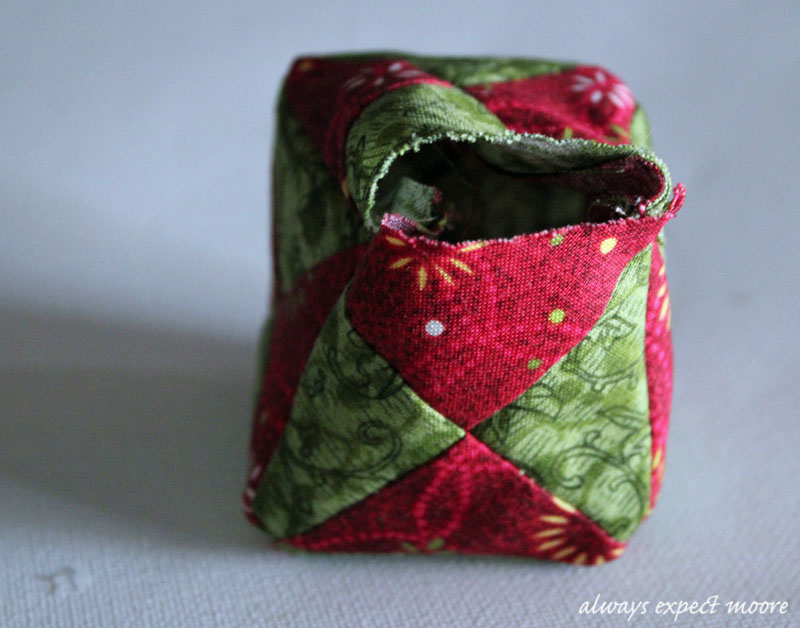
After filling the ornament with batting, I stitched the opening closed by hand. Such a quick and easy way to create a hand-made ornament… now maybe I’ll embellish it. How would you embellish this ornament?

Always,
Carolina

posted in: Uncategorized

Previous
Hamilton Beach Durathon Iron Giveaway!
Next
Easy Mini Candy Corn Cookies

Reader Interactions

    Leave A Reply! Cancel reply

    Share your thoughts!
    Your email address will not be published. Required fields are marked with *

    This site uses Akismet to reduce spam. Learn how your comment data is processed.

    Comments & Reviews

  1. Jaclyn N Lil M says

    October 4, 2012

    Love the idea!! Would be cute to sew a pic of your boys on it 🙂 with the year!!! Might have to do this and pass out to all the aunts/uncles with Lil m’s face 🙂

    Reply
  2. Andrea Turner says

    October 4, 2012

    This is really cute. I’m in the process of doing several HST projects right now.

    Reply

Primary Sidebar

Hi, I'm Carolina!

I’m a Quilt Pattern Designer, Award Winning Quilter, and fan of all things quilting. I live in San Diego with my husband, our two boys and our pets. I love keeping both my hands and mind busy, so I’m always working on lots of projects. You’ll find lots of them shared here!

More About Me

Let's Keep In Touch!

I'll let you know about what's new in quilting, freebies you'll want to snag, and brighten your inbox about once a week!

subscribe
90% Faster Than Rotary Cutters

Fat Quarter Shop Quilting Fabrics and Supplies

Instagram Facebook Pinterest YouTube

Recent Posts

  • Flying Pig Quilt Block
  • Bunny and Carrot Quilt Block
  • Free Fancy Drink Quilt Block
  • Dutch Row Houses Quilt Block
  • Quilted Sports Jersey Numbers

Archives

Featured Projects

  • Everything you want to know about Pre Cut Fabrics!
  • Scrappy Placemat - easy to make scrap project
    Scrappy Placemat using Strips and Scrap Tape
  • Sewing Kaleidoscope SVG File
  • Drawstring Backpack
  • Carolina holding fabric marking pens
    Choosing Fabric Marking Pens

Let's Keep In Touch!

Brighten your inbox about once a week!

Always Expect Moore Submark Shop Patterns

Browse

  • Ruler of the Month
  • Quilty5k
  • QuiltMath
  • Cricut Maker BOTW

Shop

  • Digital Download Patterns
  • Quilting Notions
  • Quilt Stickers
  • Quilt Tees

Connect

  • YouTube
  • Instagram
  • Facebook Group
  • TikTok
©2025, Always Expect Moore. All Rights Reserved. About Disclosures
Back To Top
Design by Pixel Me Designs
×

Let's Keep In Touch!

I'll let you know about what's new in quilting, freebies you'll want to snag, and brighten your inbox about once a week!