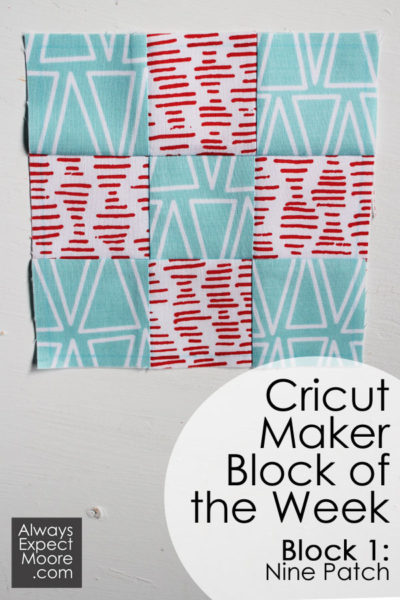
As promised, here is the first quilt block for our Cricut Maker Block of the Week, the Nine Patch Quilt Block! Yup, we’re making a Nine Patch Cricut Quilt Block this week! Each week I’ll share with you how to make another part of this quilt, until we have the whole quilt finished. The fabric is all cut and marked on the Cricut Maker machine. If you want the details, check out my Introduction to the Cricut Maker Block of the Week. If you want to join in and don’t know where to start, check out the Cricut Maker Block of the Week Reference Page. It will get you current, and give you all the information you need.
This post contains affiliate links. Clicking these links gives me a small commission at no cost to you.
Before you start here, you need to have followed along on the introduction, borders, and sashing instructions. Make sure you’ve done that before you continue.
You can watch the video here, or follow along the steps below.
Cut the fabric for the Nine Patch Cricut Quilt Block
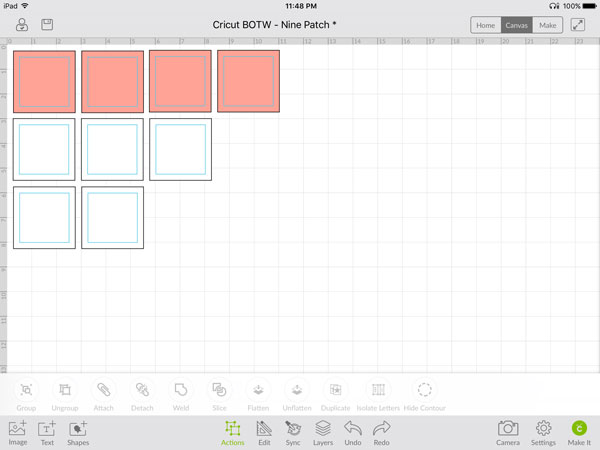
Open up the Cricut Maker Block of the Week Block 1: Nine Patch in Cricut Design Space. You need to do this on a desktop or laptop computer with Design Space installed. From there, you can save the file, and open it up in Design Space on whatever device you like best.
We are using the fabrics you chose to be your “pink” and your “white” when you labeled your fabrics. Place them on the mats, right side down. Make sure to rub down the sides of the mat, as that is where the rollers can catch the fabric, and lift it up.
Press “Make It” in Cricut Design Space. You will see the two mats with the blue lines.
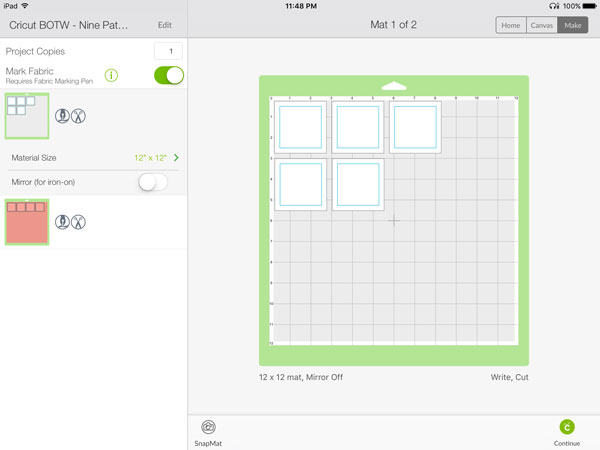
Press “Continue.”
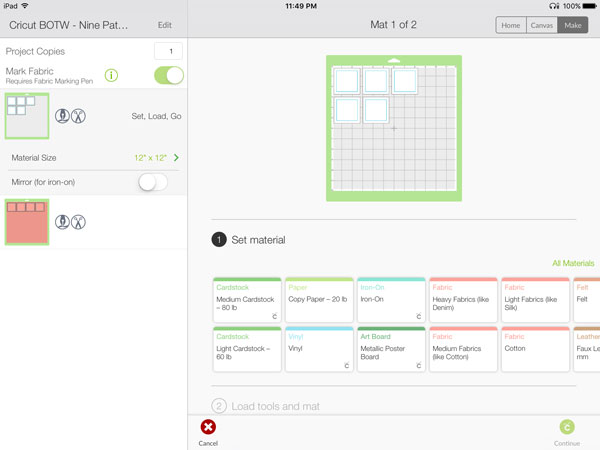
Select Material as “Cotton.”
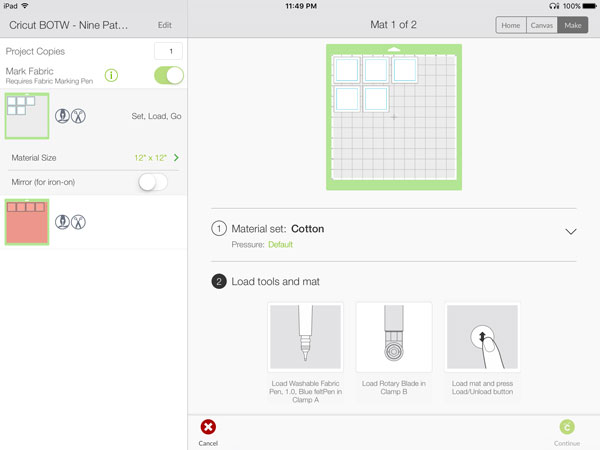
Install the Cricut Fabric Pen. I like to put the cap on the back of the pen so I don’t lose it. Install the rotary cutter. Place the mat up to the rollers, and press the flashing arrows key. The mat will load into the machine.
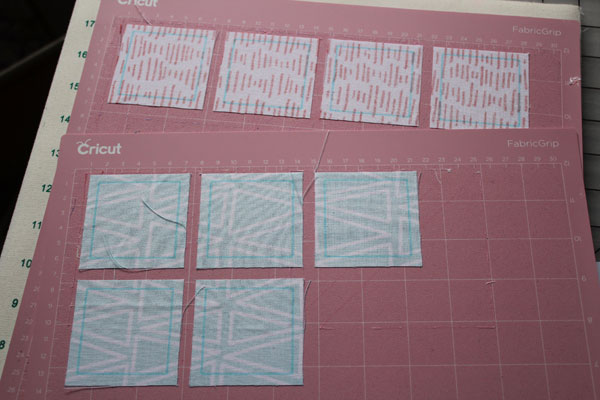
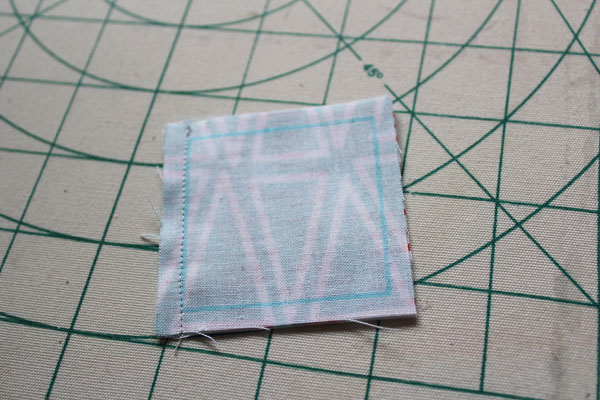
Cut both mats. Peel away the extra fabric, and you’ll have something that looks like this.
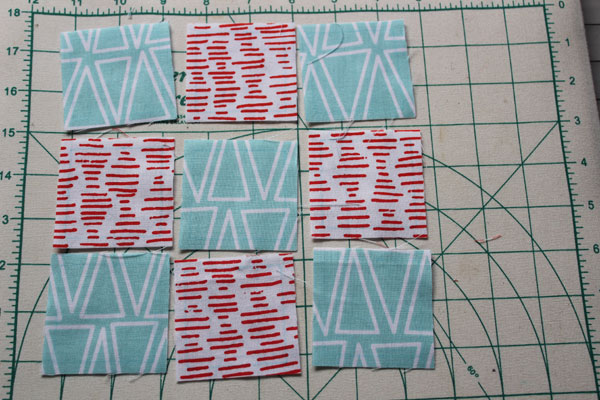
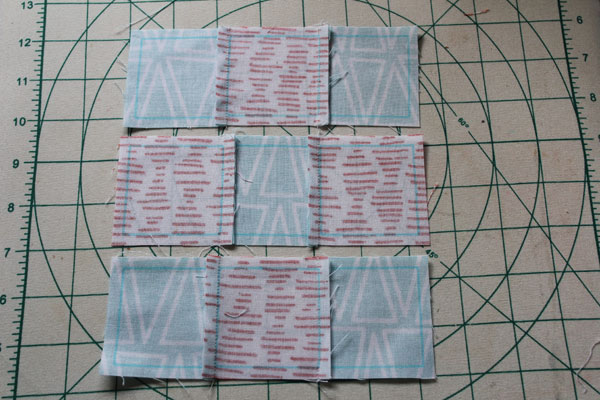
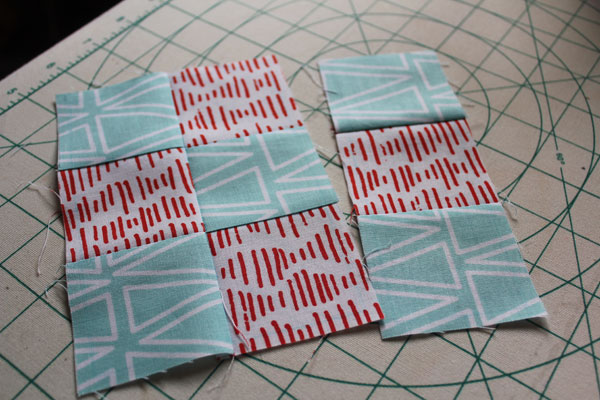
Use your tweezers to remove the squares, and lay them out to create the block design. It will look like a checkerboard.
Sew together the Rows of your Nine Patch
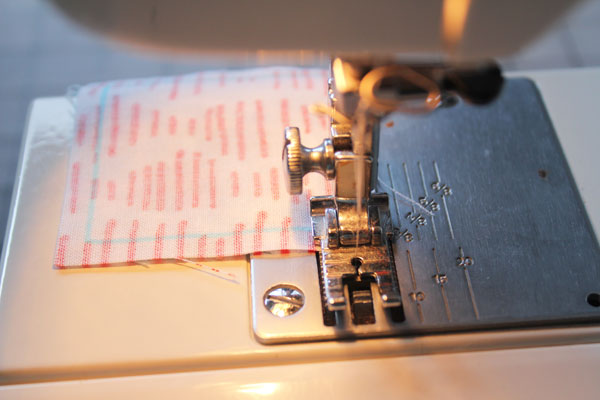
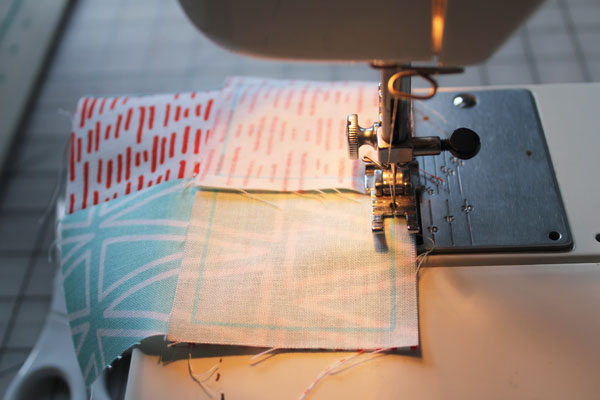
Take the first two pieces in the top row – the teal and the red as shown in this image (the white and pink as labeled on the fabrics). Put them right-sides-together, with all the edges lining up. Stitch them together using a 1/4″ seam allowance. You can stitch right on that blue line, going all the way across from edge to edge.
Congratulations! You’ve sewn your first seam! This quilt is officially underway!!
**pause for a happy dance**
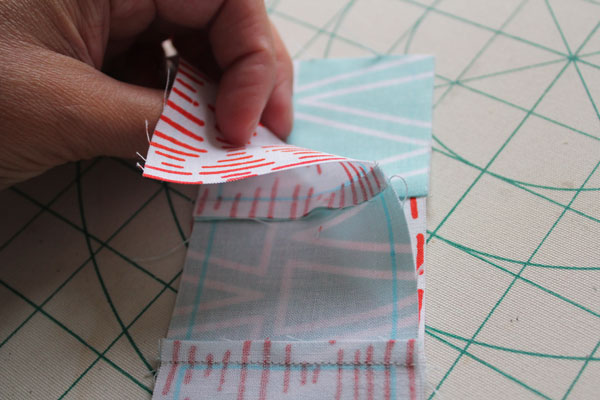
Lift up that teal fabric, exposing the red. Put the other teal on top of the red, and stitch down. You now have a teal piece on each side of the red stripe. YES!
Repeat with the other two rows, making sure to keep the checkerboard design.
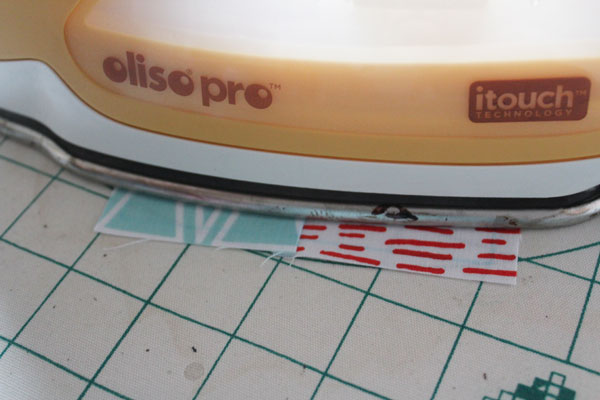
Press the seams to the side. Have all the seams go towards the “dark” fabric, whichever one that is for you.
Finish the Nine Patch Cricut Quilt Block
Here you can see the back of the block, with all the seams pressed. If you watched the video, you’ll notice that the seams are in the exact opposite directions from in the video. That’s because in the video the pink was my dark, and here the teal was my “dark”. If you’re not sure which of your fabrics is darker, just choose one. It won’t matter too terribly. I pinky promise.
What IS important is that if your seams go out in one row, that in the rows above or below it, they are going in. And vice versa. This allows your seams to nestle into each other, which helps your points match.
Place your top row on top of your bottom row, right sides together. Stitch down one side… making sure it is the correct side (the side they are supposed to meet up on).
Then repeat, stitching the bottom row onto the other side.
Press these seams (I like pressing out, but it won’t make too much of a difference), and your block is complete!
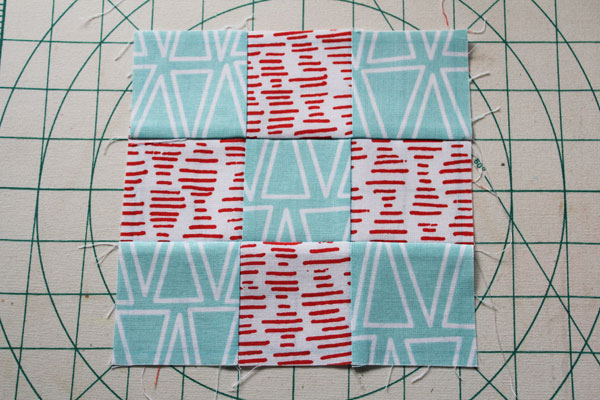
YAY!!
Make sure to come back next week. Each week I’ll be sharing another step in making this quilt. Next week we’ll make an uneven nine patch, using three colors! So fun to see what a difference a slight variation makes!

Leave A Reply!