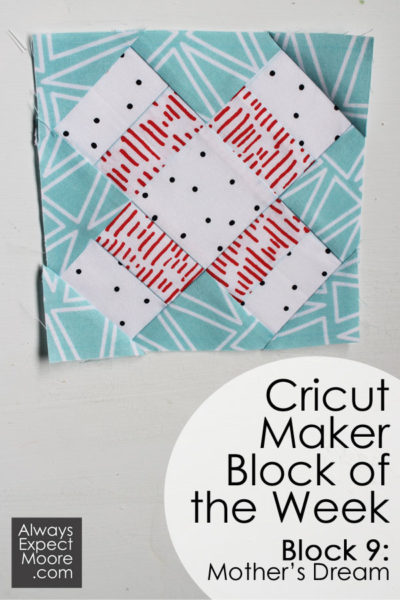
The final block in our Cricut Maker Block of the week! Today we’re making Block 9, the Mother’s Dream. But don’t worry, we won’t be stopping here! Next week I’ll show you how to put the blocks together with the sashing we cut in Week 1: Intro, then we’ll add borders, quilt our mini quilt, and I’ll show you how to bind and finish the quilt! This final block is the Cricut Maker Quilt Block Mother’s Dream.
If you’re just getting started, head over to the Cricut Maker Block of the Week Reference Page. There you’ll be able to start from the very beginning, with all the videos and links to get you started in making the quilt!
This post contains affiliate links which help support this site at no additional cost to you.
If you’d like to watch this week’s video, I’ll show you step-by-step how to put the block together. I’ll also show you a slightly different way to piece this block in the step-by-step photos and instructions that you can find by scrolling down a little further.
Make the Cricut Maker Quilt Block Mother’s Dream
Start by cutting out all the pieces. Here is the Mother’s Dream Quilt Block Design Space File. Lay out all the pieces like this:
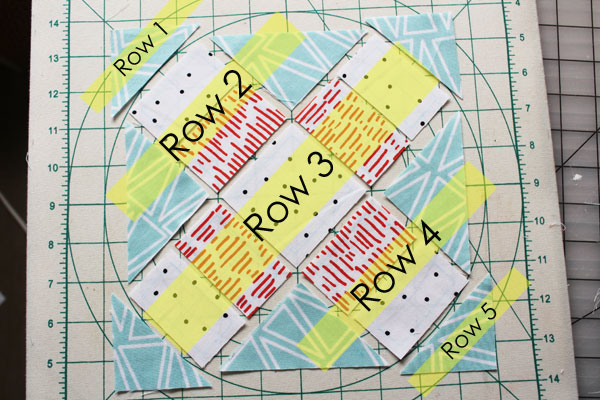
Yes, we’re laying out the pieces in diagonal rows. But before we can put the rows together, we have to stitch the two rectangles together to make squares. Sew each set together, and press towards the dark.
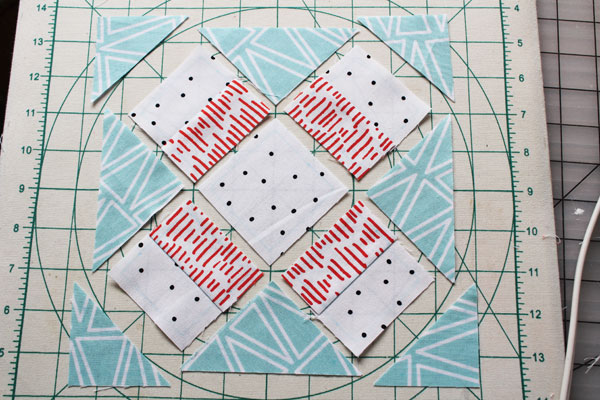
Now we can start stitching our rows. Sew the three pieces in row 2 together. And the three pieces in row 4. In row 3, go ahead and just stitch together the three center pieces.
For rows 2 and 4, press the seams out. For row 3, press the seams in. This will allow everything to nest beautifully when you stitch the rows together.
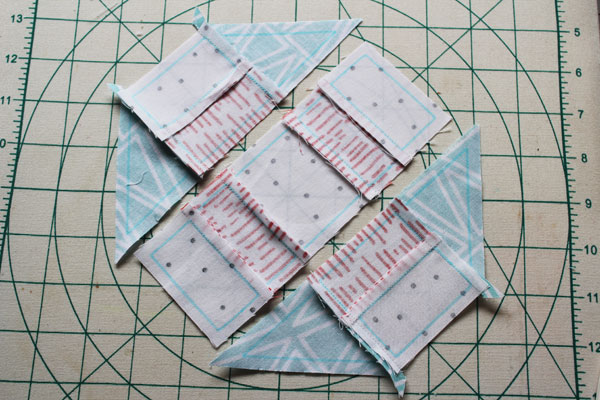
Stitch row 1 to row 2, and row 4 to row 5.
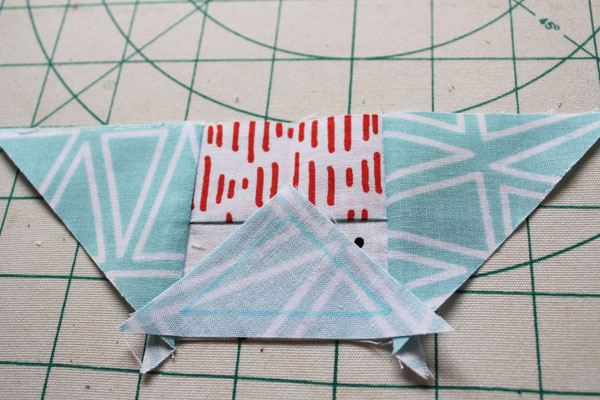
Then stitch these sides to the middle. Press.
All that is left is to stitch on the other corners.
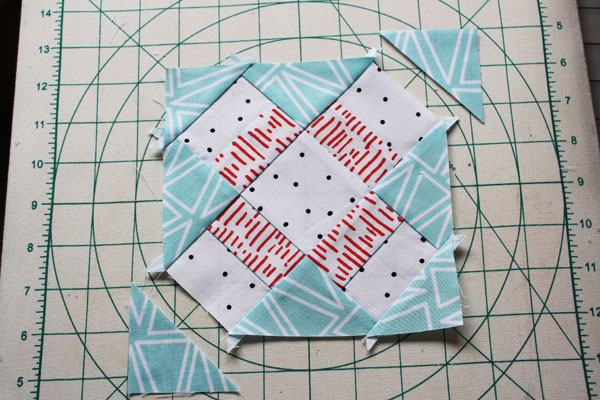
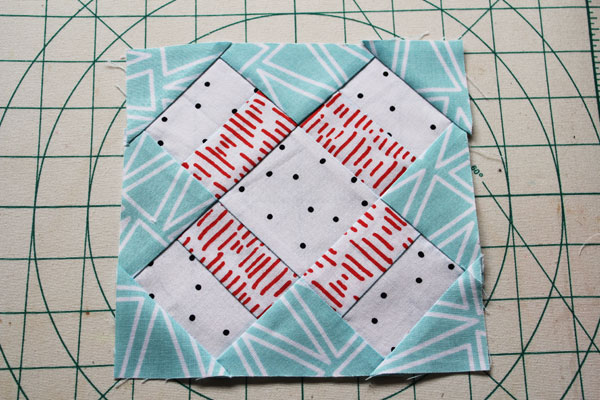
Go ahead and clip off the dog-ears now. Your quilt block is finished! The Cricut Maker Quilt Block Mother’s Dream.
Next week we’ll combine it with the other 8!

Comments & Reviews
I cant tell you how excited I am to see this all put together!!! I am wanting to create a throw quilt using a couple of the patterns – can you recommend a source on how to figure out how much material to purchase to make a quilt based upon the squares?
Calculating yardage is a fairly simple process, but requires a little math.
Figure out how many of each block you are going to make, and which fabrics will go where.
Use that to figure out how many of each piece you’ll need from each fabric. For example, from one fabric you might need 8- 4×4″ squares, 16 – 2×4″ strips, and 8 – 2×1″ strips.
Start with your largest piece. The 4×4. You’ll need to cut a 4″ strip, and sub-cut that into 4″ squares. Since you need 8 of them, you need 32″. Since the Maker uses 24″ long pieces of fabric (with 23.5″ being usable). There is usually a little space between each square, so I would calculate 5 pieces in one column (strip) and 3 in the other. Leaving about 10 inches left on the other column. This is plenty of space for the 8 – 2×1 strips.
Now you need to figure out if the 2×4″ strips can fit in the 4×24″ left (which is really 3.5″ x 23.5″ of usable space). The answer is no- so you would need another piece of fabric to fit those pieces.
Sometimes grabbing a piece of graph paper helps. 🙂