We’re up to week TEN of our Cricut Maker Block of the Week! I’m so excited!! This week we get to put all those quilt blocks together into a quilt top, using the sashing that we cut in Week 1: Intro. So, we will have no actual cutting today! Just sewing and pressing as we add the sashing pieces and make our mini quilt top for our Cricut Maker Block of the Week quilt! It is so fun to make a quilt with the Cricut Maker!
If you’re just finding this series, start by going to the Cricut Maker Block of the Week Reference Page. That has all the links and videos to get you started from the very beginning.
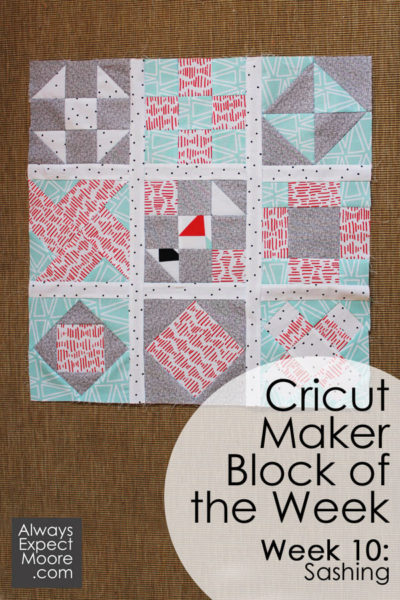
Let’s get started on adding the sashing! No cut file this week, since we cut the sashing at the very beginning. The reason we cut the sashing first, even though we didn’t need it until now, was because there are such large sashing pieces. We want to cut these larger pieces first, and then our smaller pieces after. If we cut the smaller pieces first, there might not be enough room on our fabric to cut the larger pieces later.
If you’d like to watch the video, you can watch it here. Or you can follow along in the step-by-step photos below.
Make a quilt with the Cricut Maker
Grab those sashing pieces that we set aside. Leave the border pieces. We’ll be using the border pieces next week.
Lay out all nine blocks, and the sashing pieces. You don’t have to use the same layout I did. Depending on the fabrics you chose, your quilt might look better with a different layout. And even if you chose the exact same fabrics, you might like a different layout than mine. There are no wrong choices here.
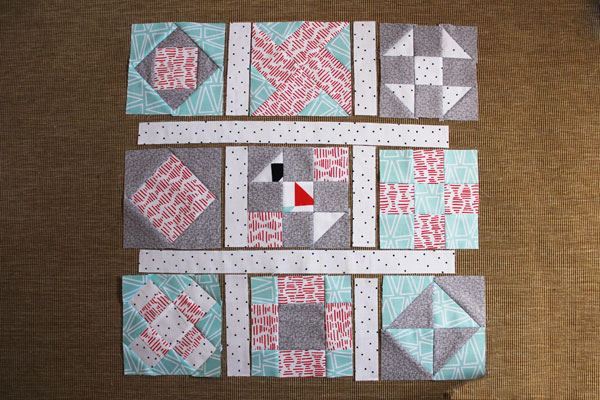
If you’ve been following along, you know that each step builds on the previous steps. This step builds on past steps. Because this part of the quilt looks remarkably like something else we have done before…
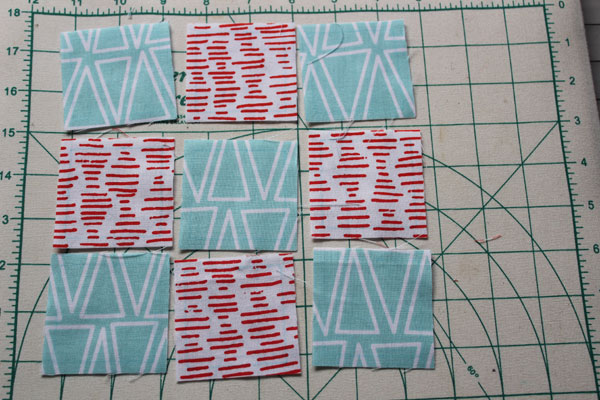
That’s right! The nine patch! Putting together this quilt top is just like a nine patch… but with adding the sashing pieces between the blocks. Which is easy.
Start by stitching your sashing and blocks into rows. Press the seams towards the sashing strips.
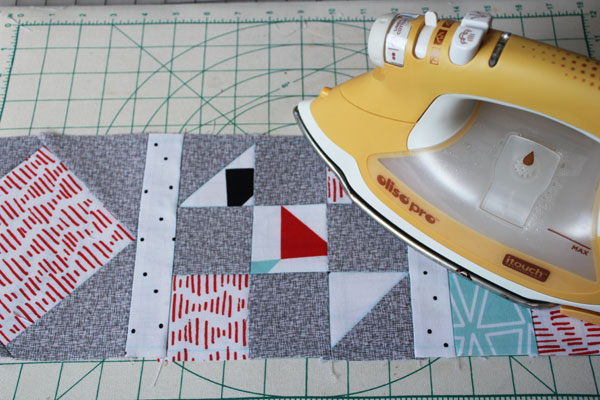
Lay the quilt back out.
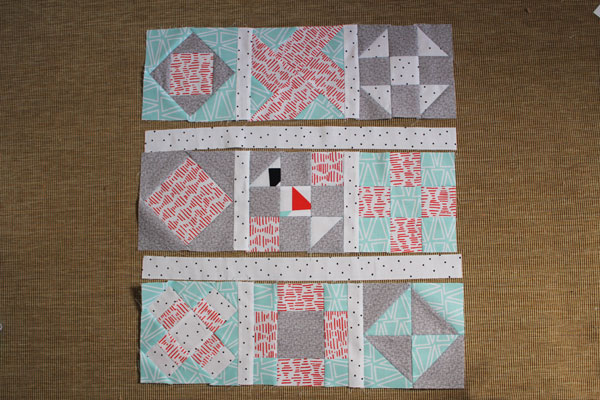
Now stitch the sashing to the top and middle rows. It helps to pin the sashing on each end, and then in the middle. This ensures that the sashing is even along the length of the whole row. Press the seam allowance towards the sashing.
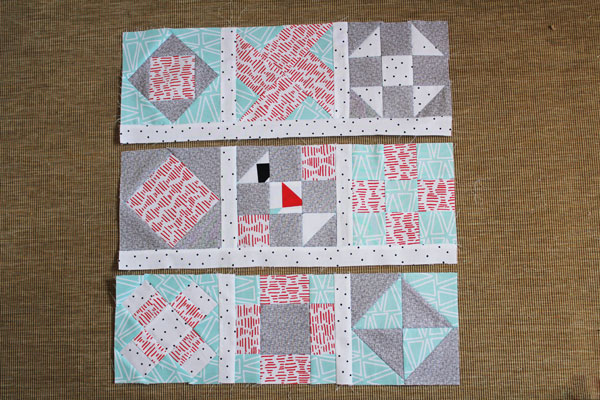
I don’t have photos of this step, but you can watch in the video. What we want to do here is line up each vertical sashing strip with the sashing strip above/below it. That would be easy to do with seam allowances. But the horizontal sashing doesn’t have seam allowances. Use a ruler (or any straight edge – the edge of your mat will do) and your blue water-soluble marking pen from the Cricut machine to extend the seam allowance lines down across the back of your sashing pieces. Then match up the rows, pinning where the seam allowance from the bottom row matches up with the line that you’ve drawn. Then stitch the rows together.
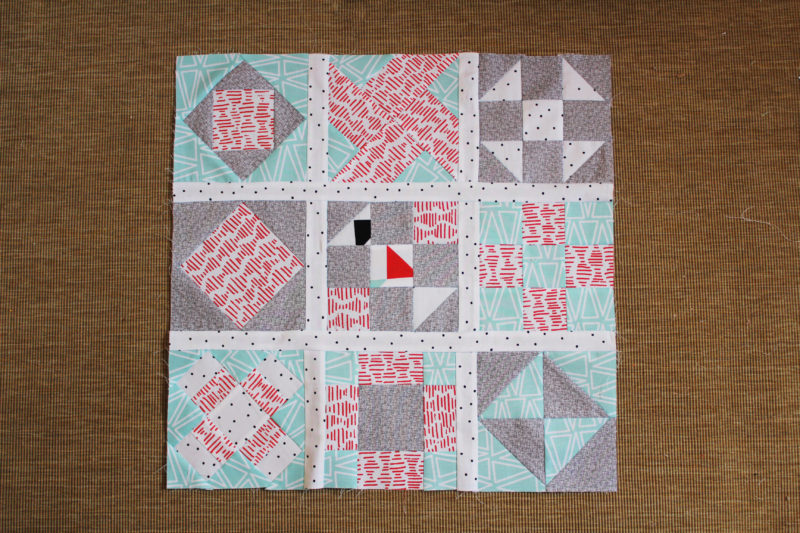
Press all the seam allowances towards the sashing, and you’re all done!
Next week we’ll add the borders. And the week after we’ll get to my favorite part… quilting!

Comments & Reviews
I just purchased the materials to make the block of the week quilt with my new Cricut Maker. Unfortunately , your directions show cutting the sashing and borders first, but when I go to Design Space, it starts out cutting blocks. What should I do???
The sashing is its own file, from the first video – the intro video. It only has sashing and border cuts in that file, so it will not cut out blocks.
Perhaps you are cutting from the wrong file?