Welcome to week 11 of the Cricut Maker Block of the Week! This week we’re going to finish the quilt top. Yup – we can add quilt borders with the Cricut Maker. We’re going to be adding the borders that we cut in Week 1: Intro. Adding the borders means that the quilt top is complete, but our quilt isn’t finished yet. Next week I’ll show you how to quilt your quilt top, and the next week I’ll show you the final step: Binding. I promised you 14 weeks of making this quilt. In week 1 I shared both the into and the first block because I knew you wouldn’t want to wait to start sewing. So in the final week, I’ll share a fun bonus project with you!
If you have just found this series, start by going to the Cricut Maker Block of the Week Reference Page. That has all the links and videos to get you started from the very beginning.
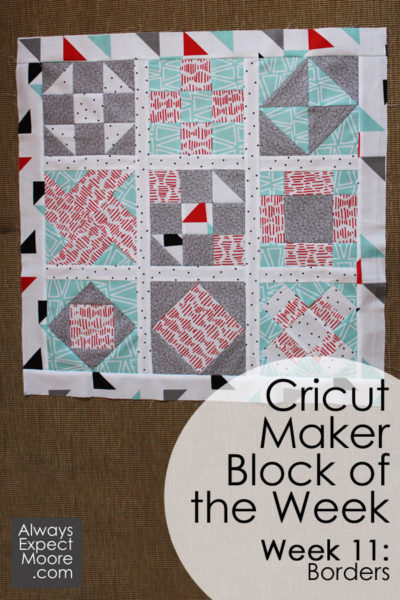
You can follow the written steps below, or you can watch this video as I show you how to put on the borders:
Add quilt borders with the Cricut Maker
Start by laying out the borders. There are two long strips and two short strips.
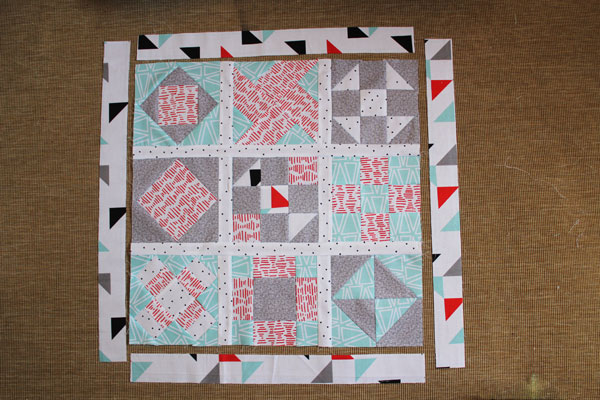
Stitch the short borders to the top and bottom of the quilt top. In the video I show you how to pin the strip to the quilt top to keep them even. Here are the basic steps:
Place the border piece on top of the quilt. Line up the top edge and corners. Pin at the corners.
Find the middle of the border and quilt edge. Add a crease if needed. Pin to secure the centers together.
Add more pins as needed on each side. Often, either the quilt is slightly bigger than the border, or the border is slightly bigger than the quilt. Pinning allows you to ease the extra fabric into the seam without ripples or puckers.
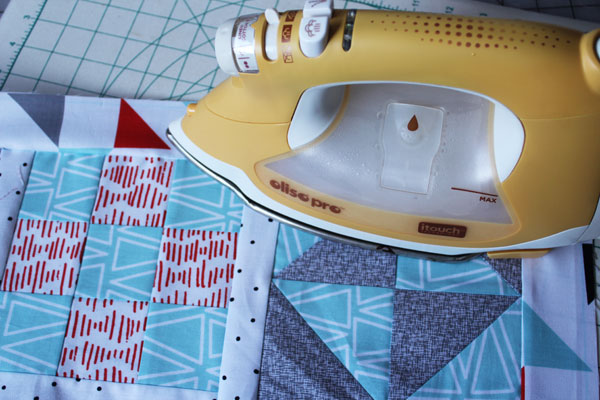
Press. The seam allowance should go towards the border.
Now it is time to add the other borders.
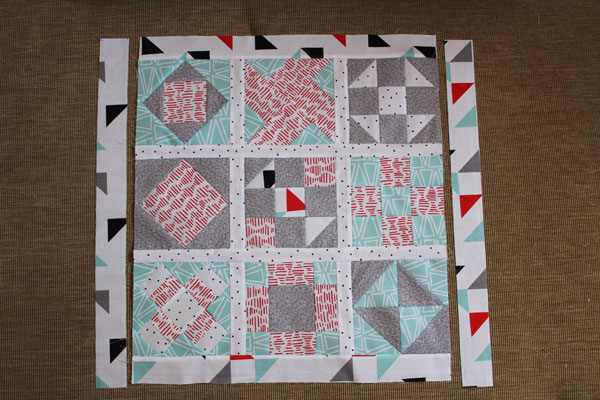
Follow the same steps to pin the borders to the quilt. Press again, and your quilt is complete!
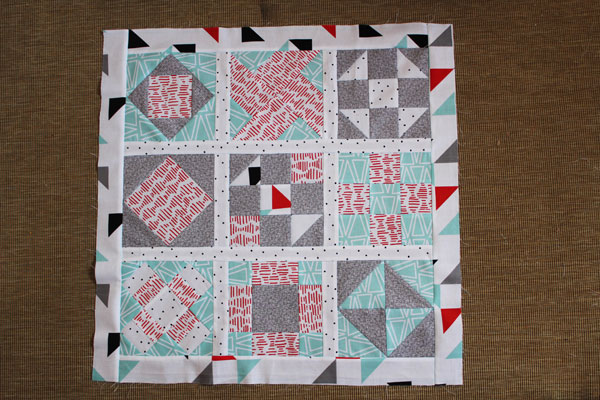
Come back next week as I show you how to quilt the quilt top!

Leave A Reply!