I teach classes at a local quilt shop. One of the classes I teach is a block of the month class. Every second Saturday, bright and early, I teach a new block. After 12 months, these blocks will come together to make a quilt.

I always make 2 versions of each block. One I sew completely together, and the other I sew some parts, and leave other parts unsewn so that I can demonstrate how the block comes together. I was transporting this second block as a stack of cut pieces in my sewing caddy, but some of the pieces were getting lost.
I decided a Mini Design Wall was in order. This will help me design blocks of my own, as well as help me easily transport my cut fabric for class. Also, after teaching class, all the pieces are already laid out in place for me to to stitch together quickly.
I’ve discovered the Mini Design Wall great for keeping stacks of fabric or block pieces in one place. Like a special tray for holding quilt fabrics. I just lay them on here, and as long as part of the fabric is touching the batting, they stay pretty well in place. Great for when I have to get one project out of the way to work on another.
Materials:
Artists Canvas
Batting Scraps
Fat Quarter of Fabric
Glue
Fabric Marking Pen
Quilt Ruler
Needle and thread
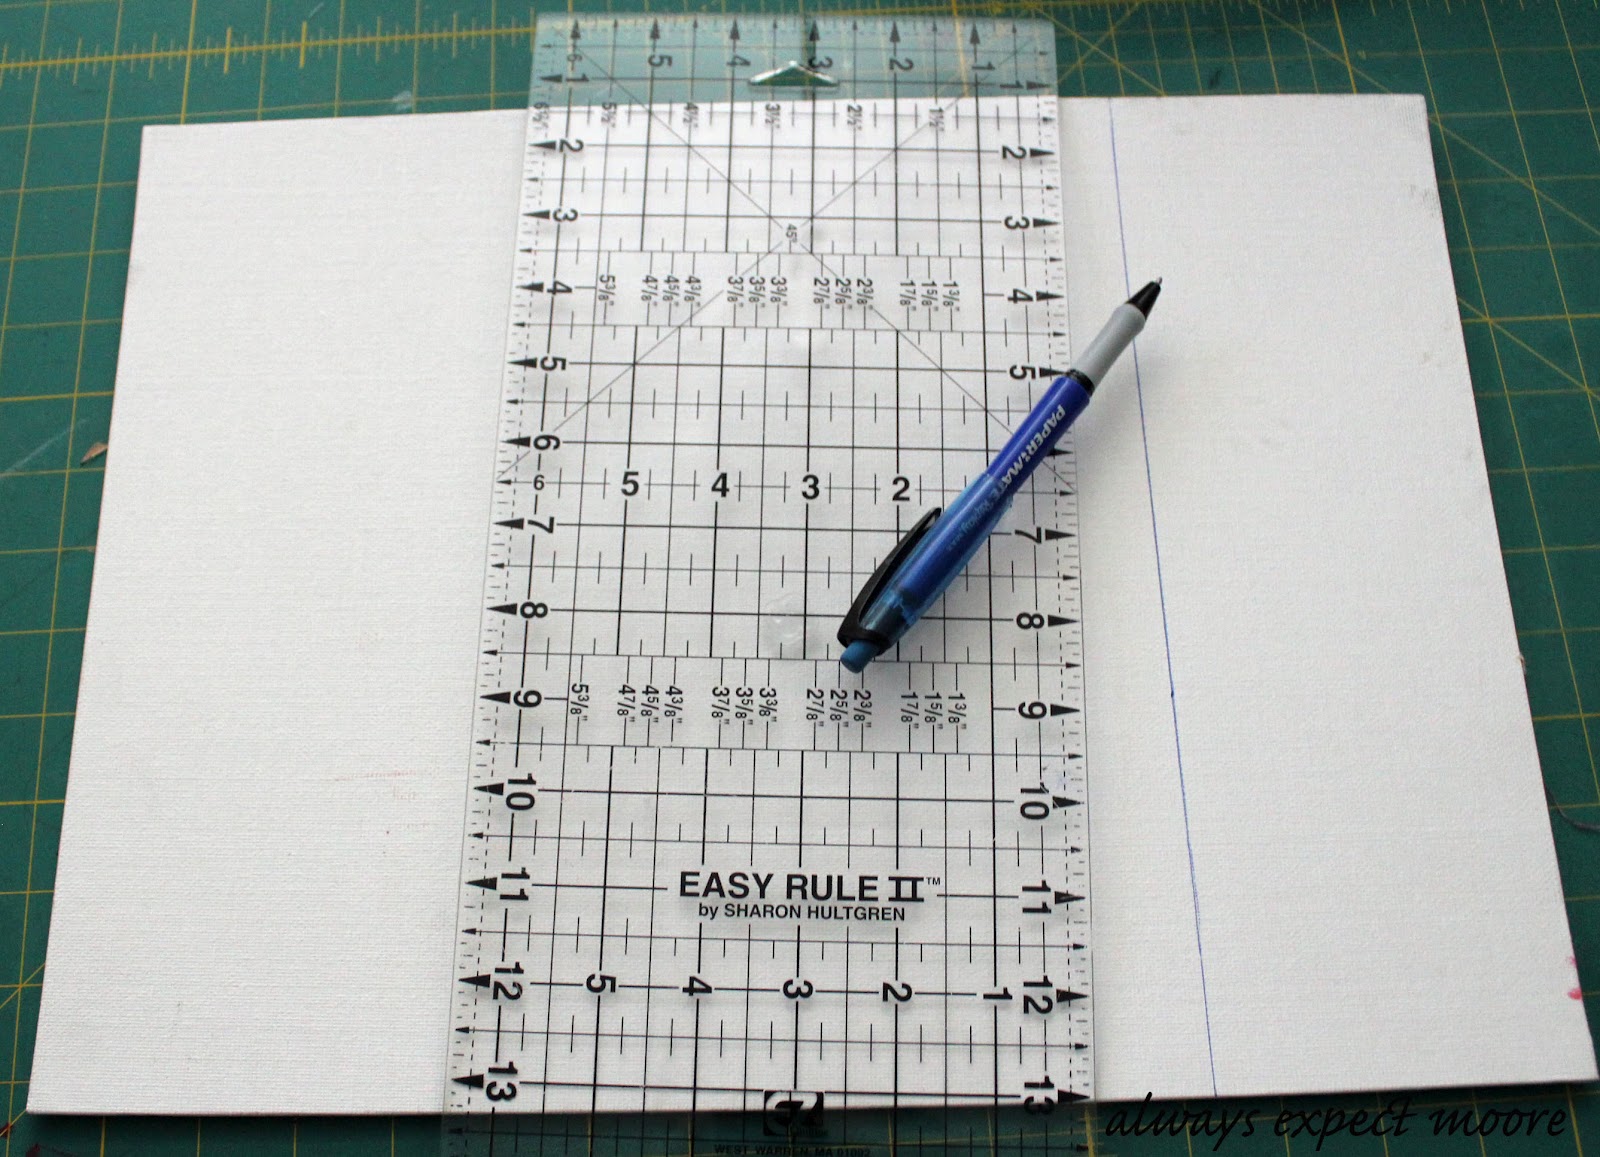
As the base, I used this Artist’s Canvas. It has a hard cardboard back. To fit in my caddy, I cut it to 12″ x 12″, but if I were going to keep it in the quilt room, I probably wouldn’t cut it, because extra space is always good. I marked where I was going to cut…
Then I went to town with an exacto knife. I didn’t worry about a little bit of rough edging, everything is going to get covered.

I cut two layers of batting the size of the canvas.

With a liberal amount of glue, I glued the batting down.

I then picked a neutral border fabric, and cut it 14″ x 14″ (2″ larger than my canvas). I marked 1″ away from all the edges with an air-soluble fabric pen.

I pressed the sides in 1/2″

I put the canvas, batting side up, on top of the fabric, and pinned the fabric in place all the way around. The best way to do this is put a pin in the middle on one side, and then a pin in the middle on the opposite side, then do the other two sides… then pin all the way around. This makes for more even tension on the fabric.

The corners are a little more tricky. I trimmed off the excess at a 45 degree angle.
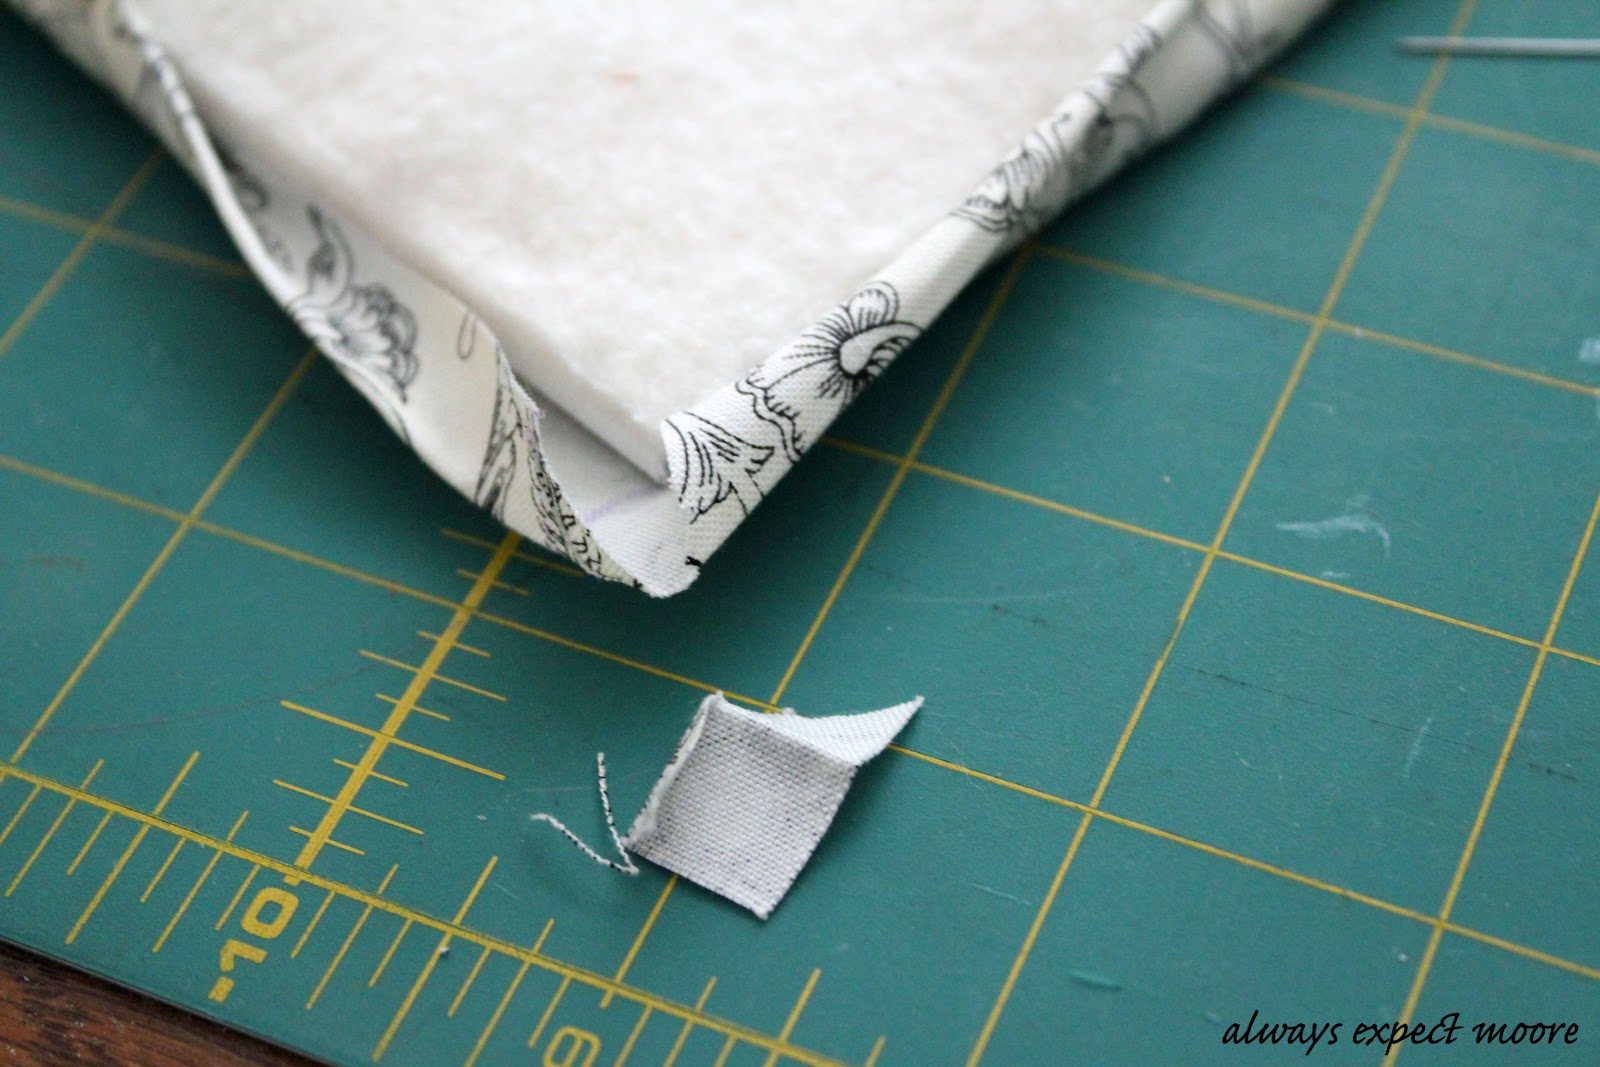
Folded the sides where I had pressed, then folded in the corner

and pinned it in place.

I considered hot-gluing everything down, but decided to hand-stitch it in place instead. It took longer, but I’m happier with the result!
If you decide to make one, just remember that you will want your mini quilt wall bigger than your finished block. Because of the seam-allowance, the fabric pieces will be bigger than the finished sewn block. Also, a 12″ finished block is 12.5″ before it goes into the quilt.

Always,


Comments & Reviews
beautiful!! like! 🙂
I love how you show all the technical aspects of creating this wall quilt. Makes me feel like I could go right out and do it myself!
What a great tutorial..