Wednesday… middle of the week… known by many as “hump day,” because once you get over the hump, you’re on the downward slope towards the weekend!
To celebrate Hump Day here at Pocket Week, we’ve got TWO wonderful sponsors giving away prizes to two different followers! Make sure you’re a follower so that you have a chance to win a Tissue Pocket from Purses Totes and Things, or a Pocket Tin from Miss Fi’s Kingdom!

These cargo pants are easier to make than they look… and than I make them look! There are a lot of pictures… not because there are that many steps, but because I wanted to clearly show the process.
I used a stiff tan canvas for this project, I hope it softens up a bit in the wash, these pants practically stand up on their own! I may have to wash them a couple times.
Also, I left my flaps “flappy” with no buttons or velcro closures. This is because Little Moore is a little young to try using snaps or buttons, and the flaps are fine without anything extra.
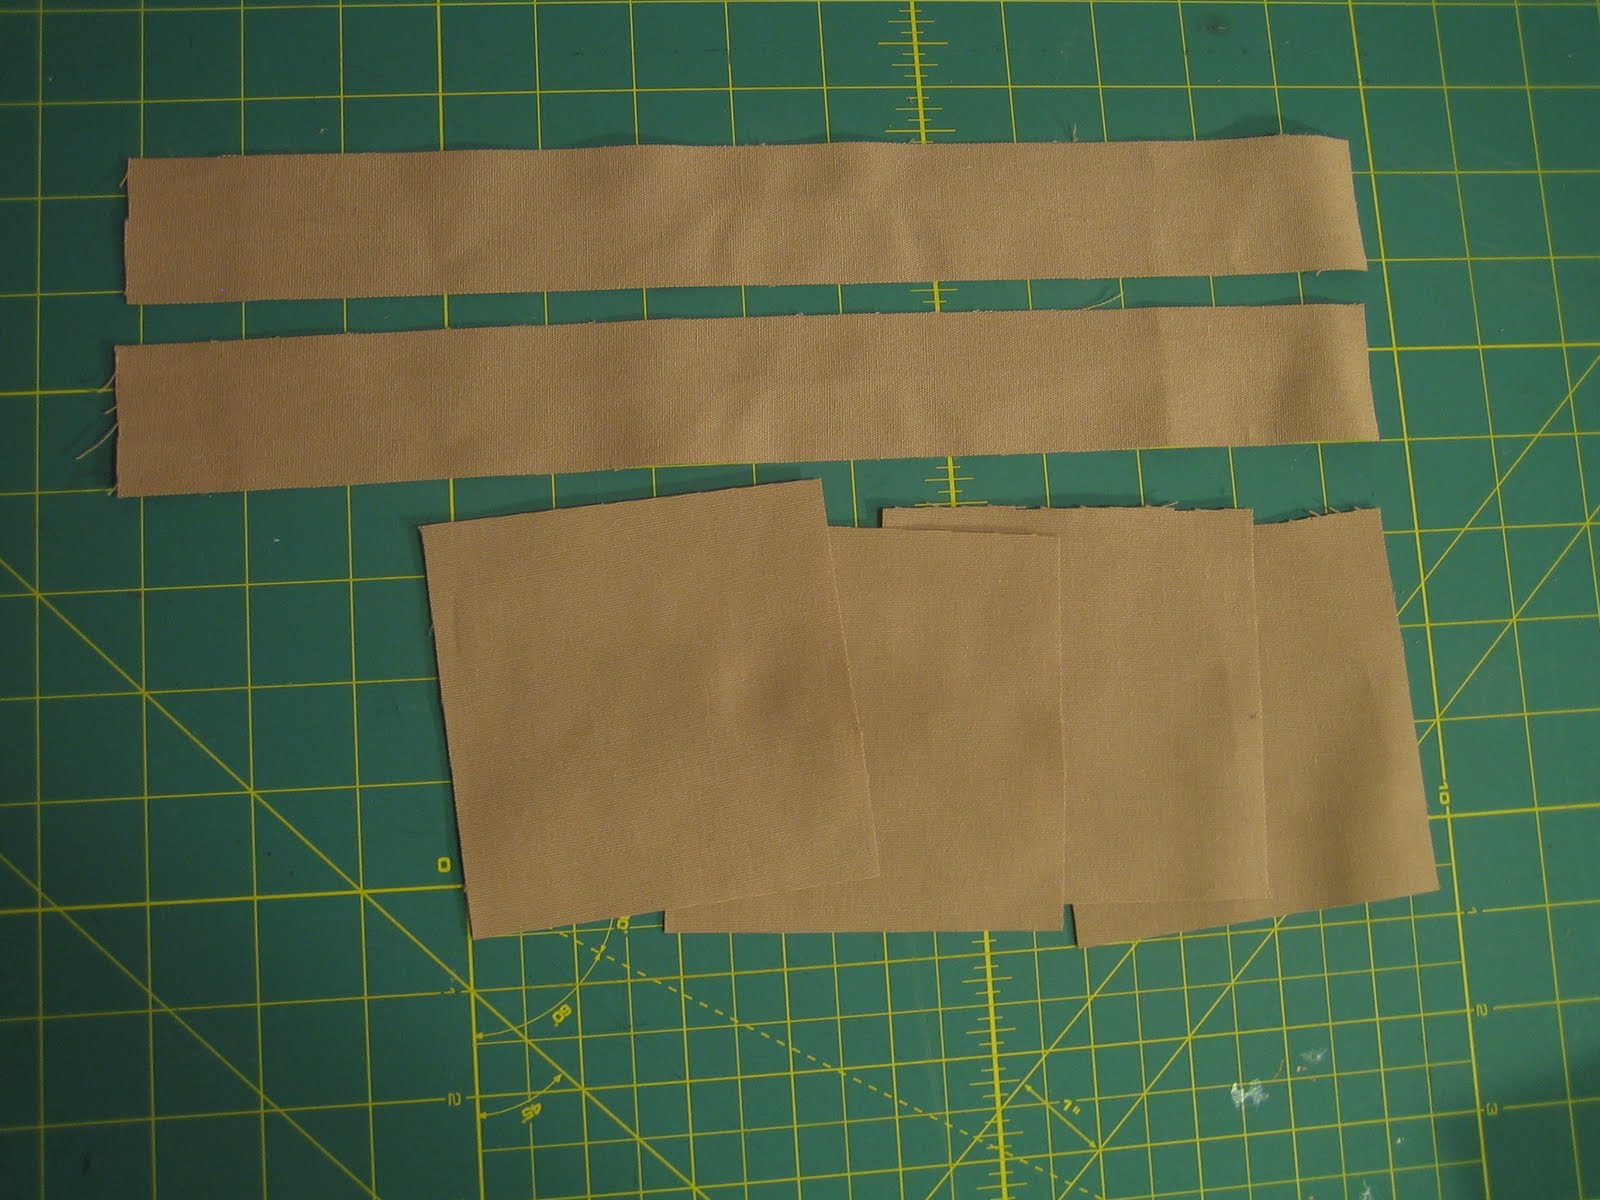
Start by cutting your pieces. 2 strips, each 1 1/2″ wide by 13″ long. 4 squares, each 4″x4″. You can adjust your sizes, but you want your strip to be at least an inch longer than 3 sides of your squares added together.
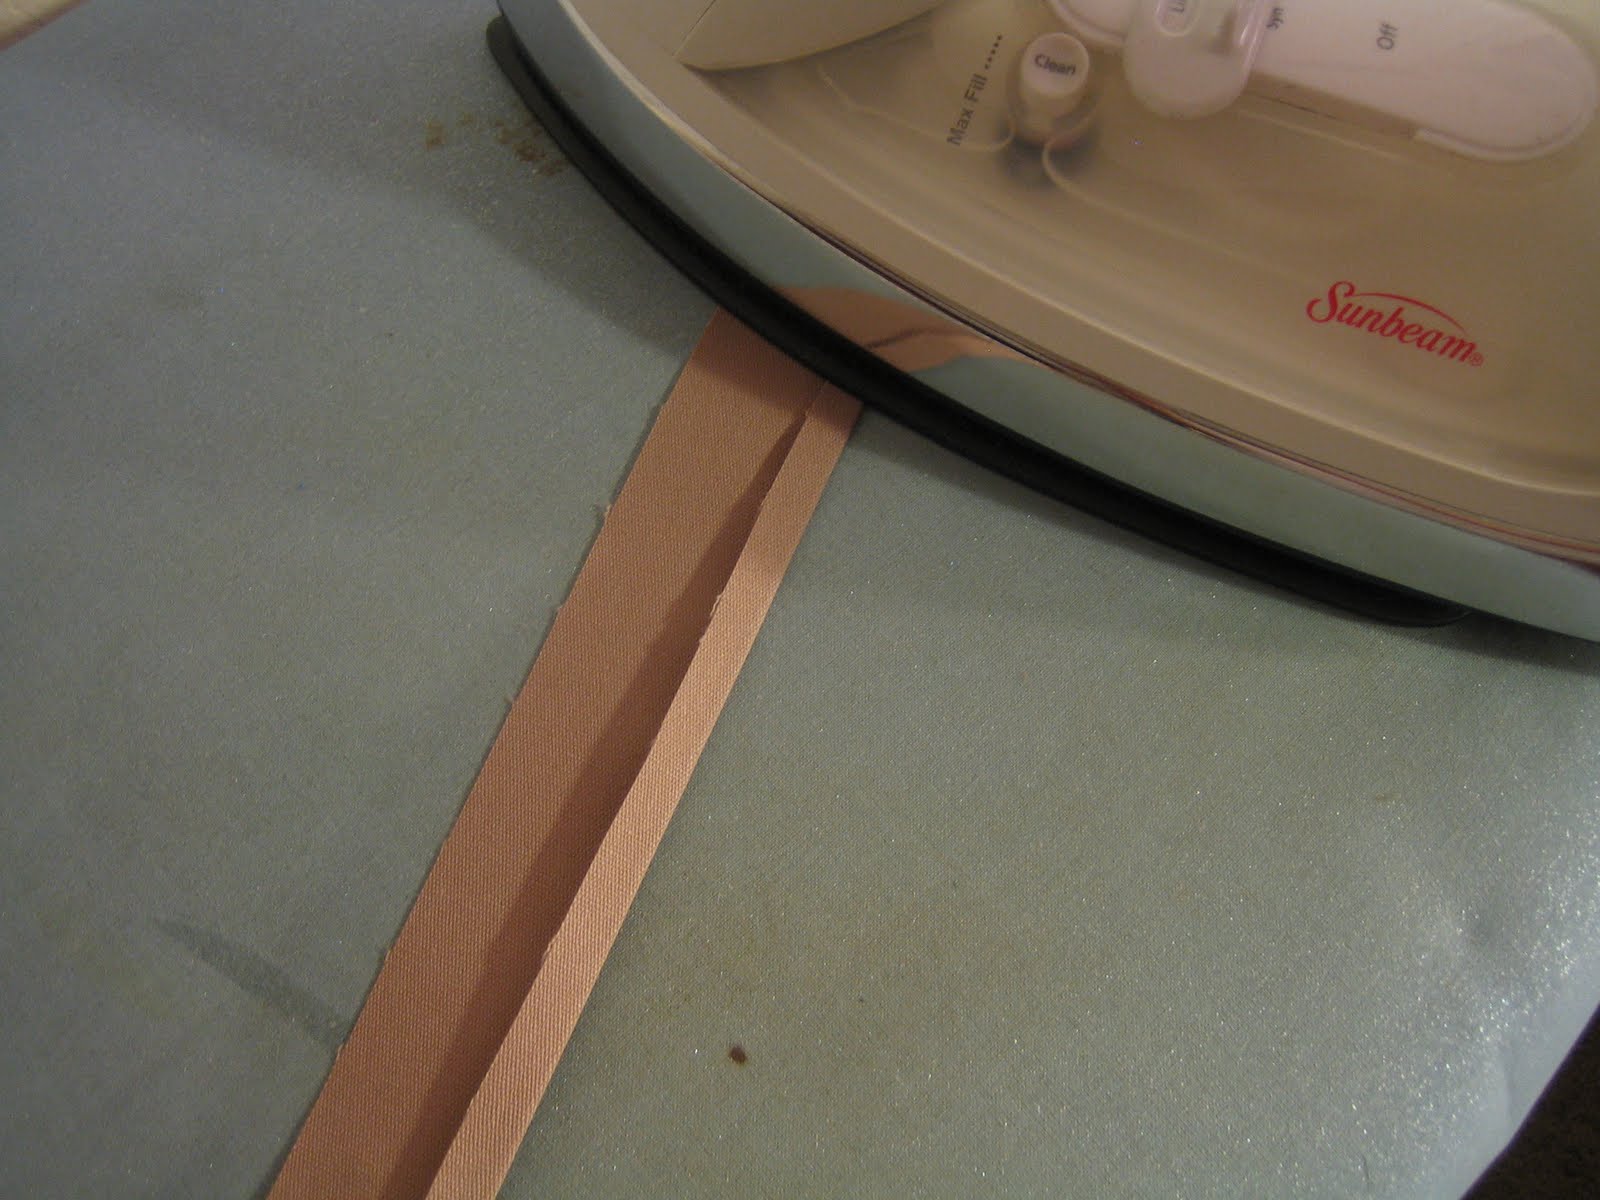
Iron over 1/4″ over on one side of each strip, towards the wrong side of the fabric.
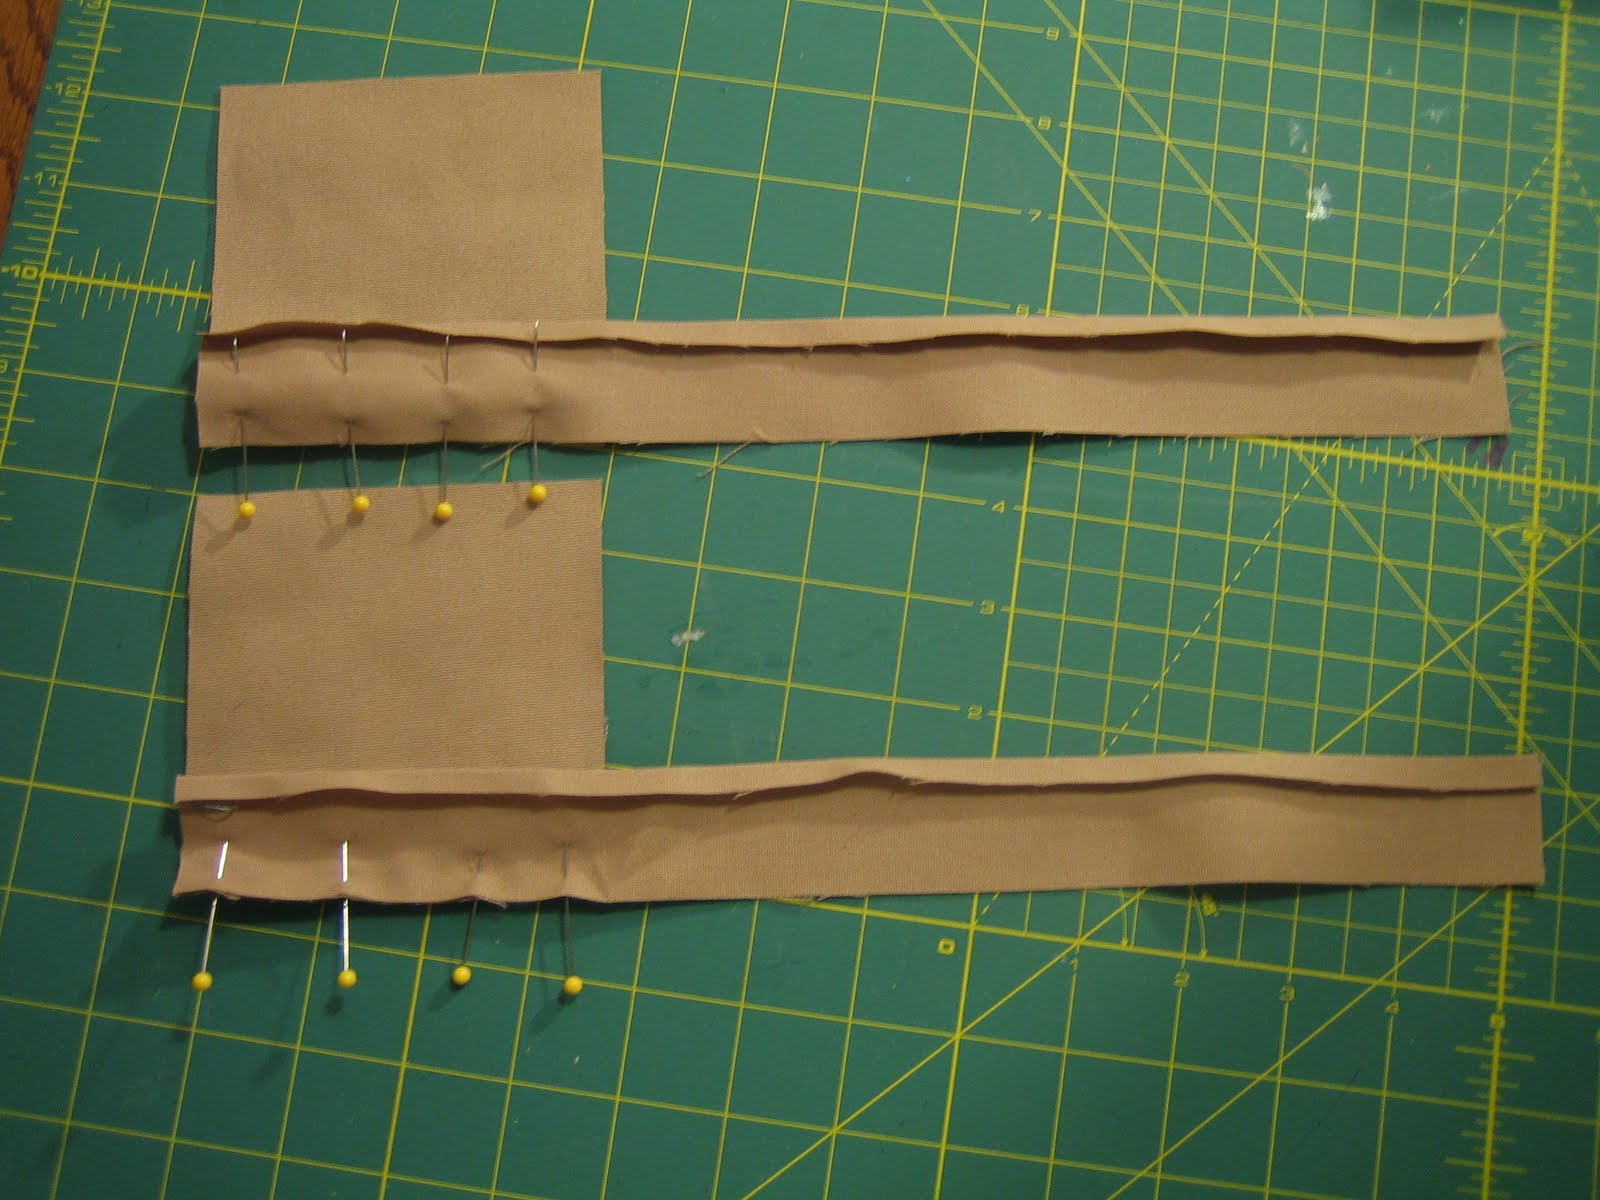
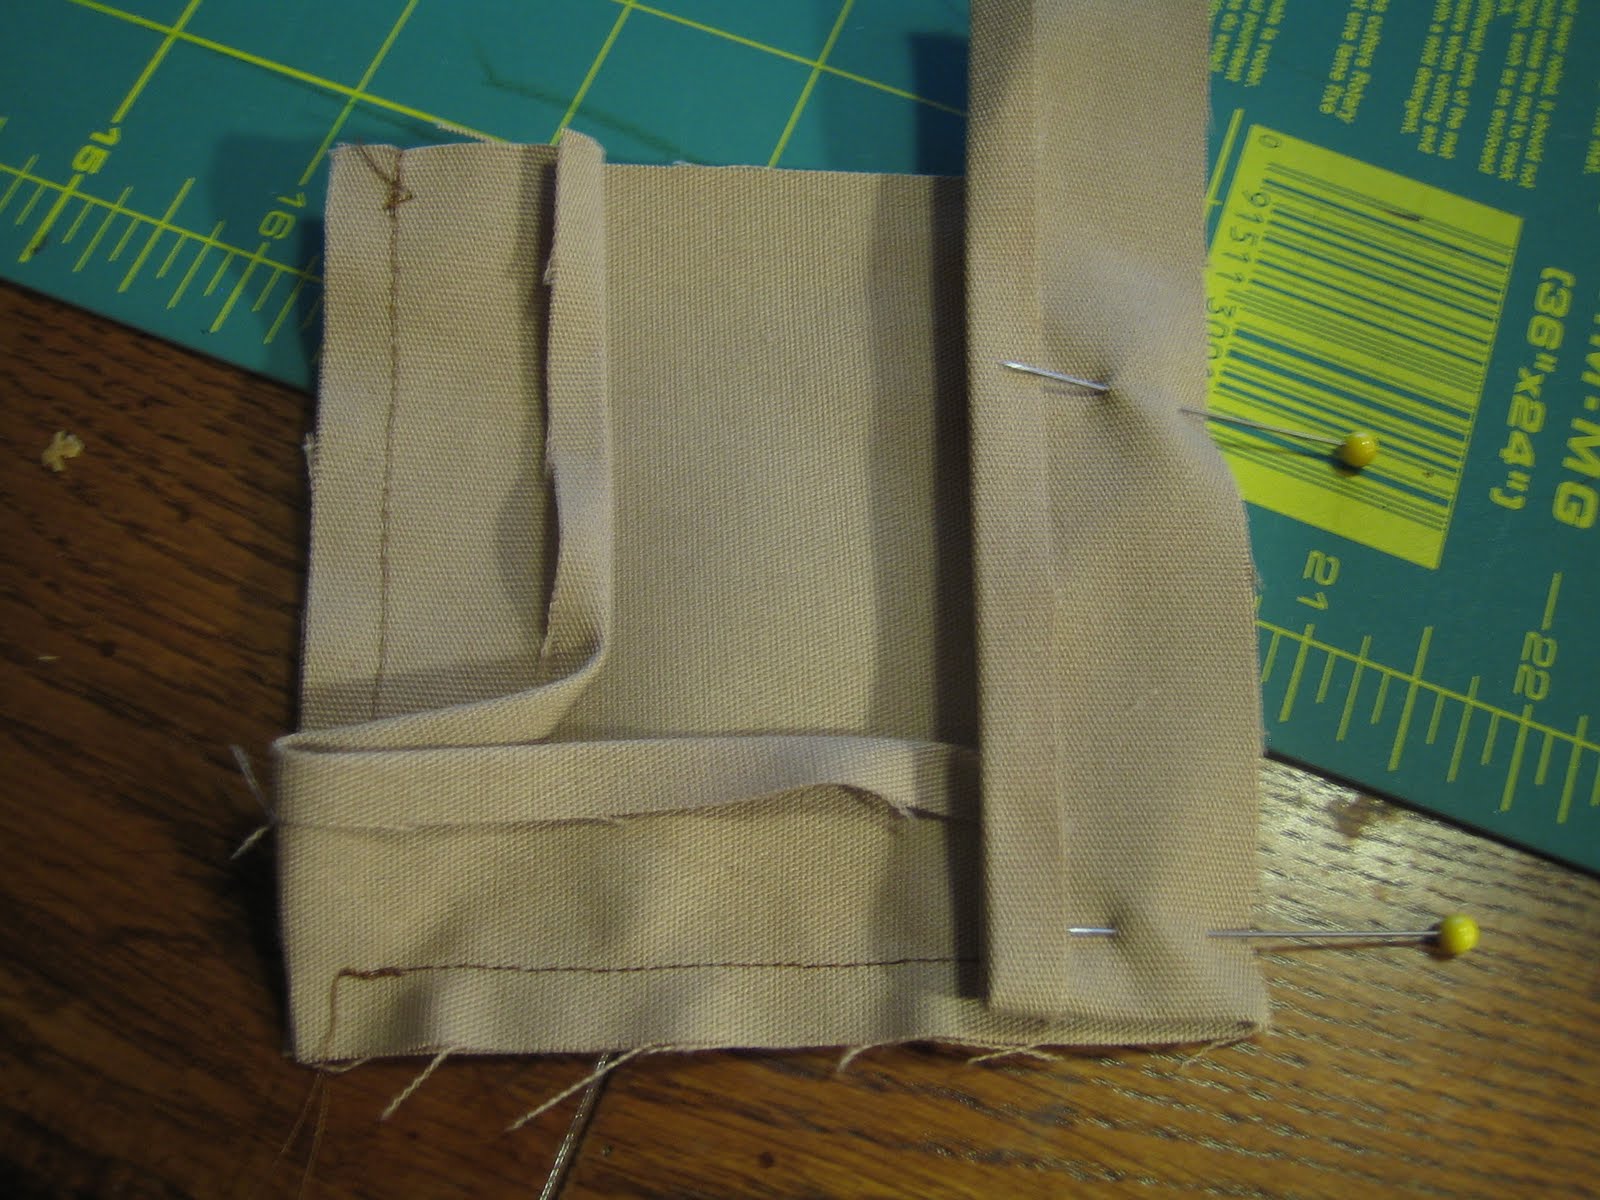
Pin the strip to one side of one square, raw edges together (leave the folded over edge alone for now).
Stitch down, then turn the strip towards the next side. Pin and stitch down.
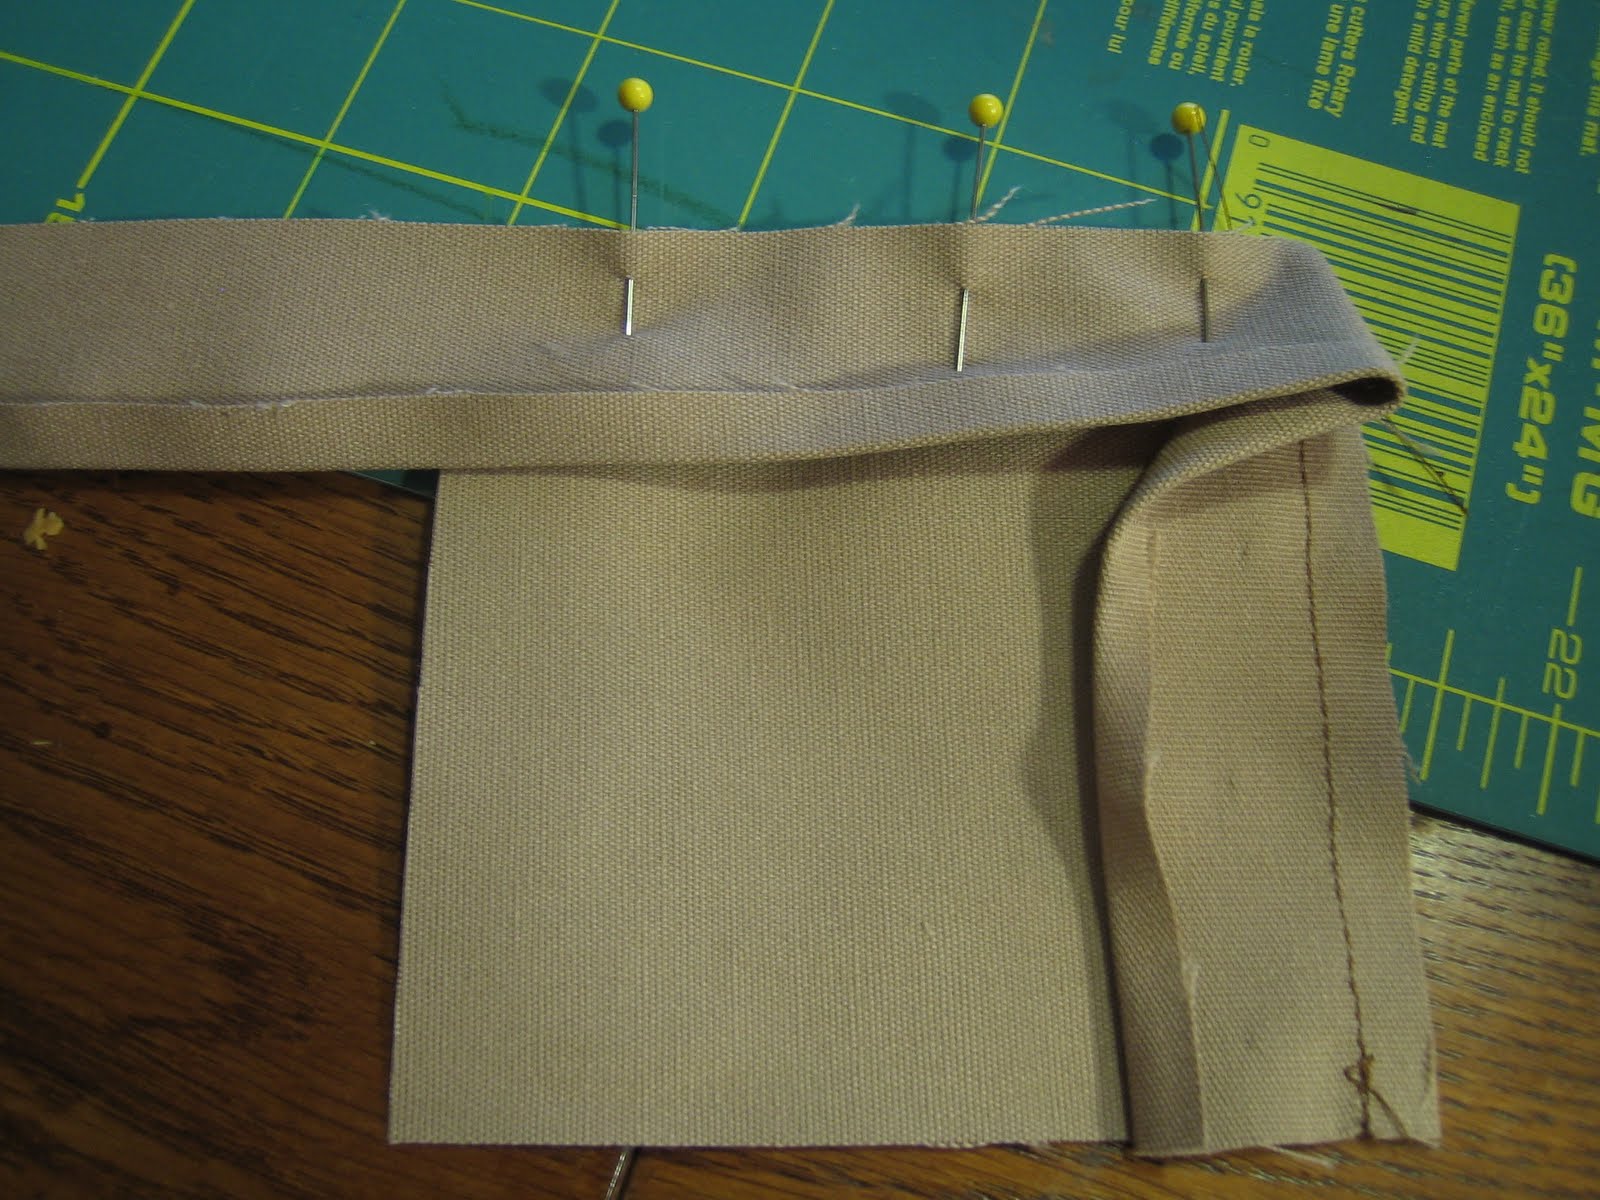
Again for the last side.
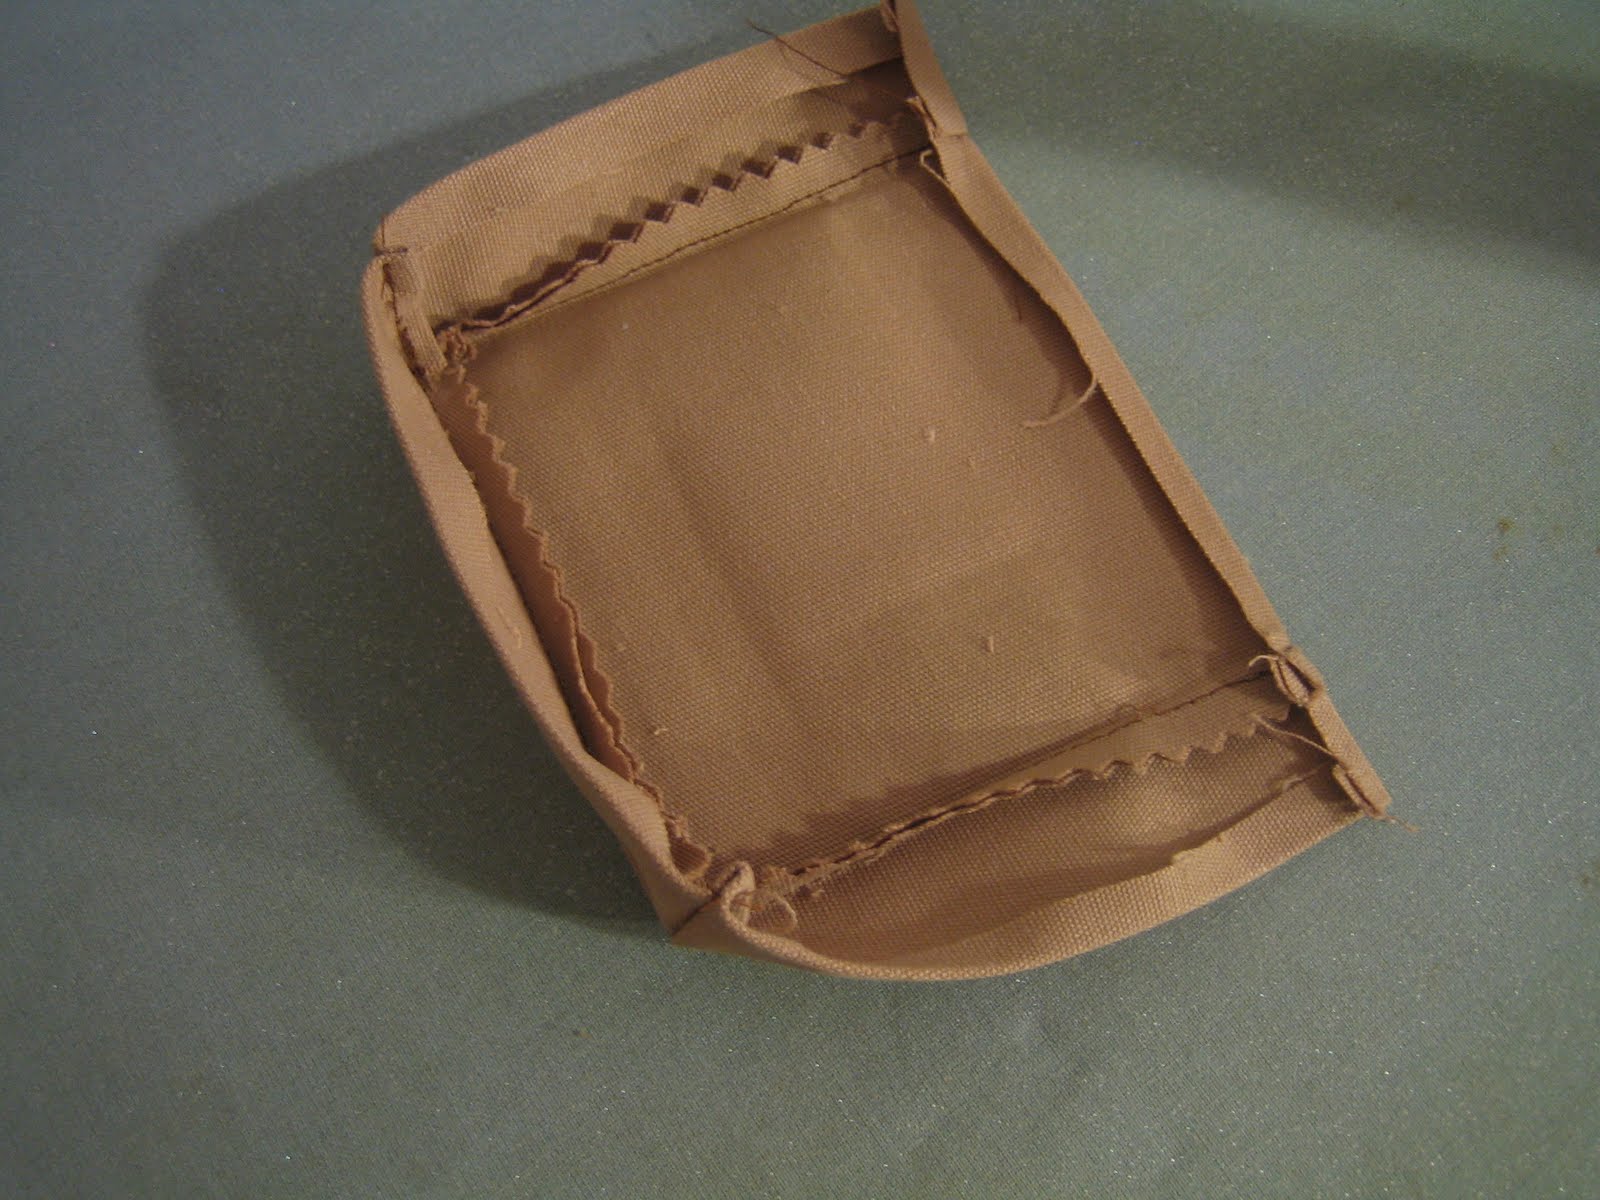
Trim off the excess strip. Trim the corners, and use pinking shears on the raw edges to minimize fraying. Then take the corner, and pinch it between your fingers to stitch it down.

Once stitched down, you should have a 3-sided box that looks like this:

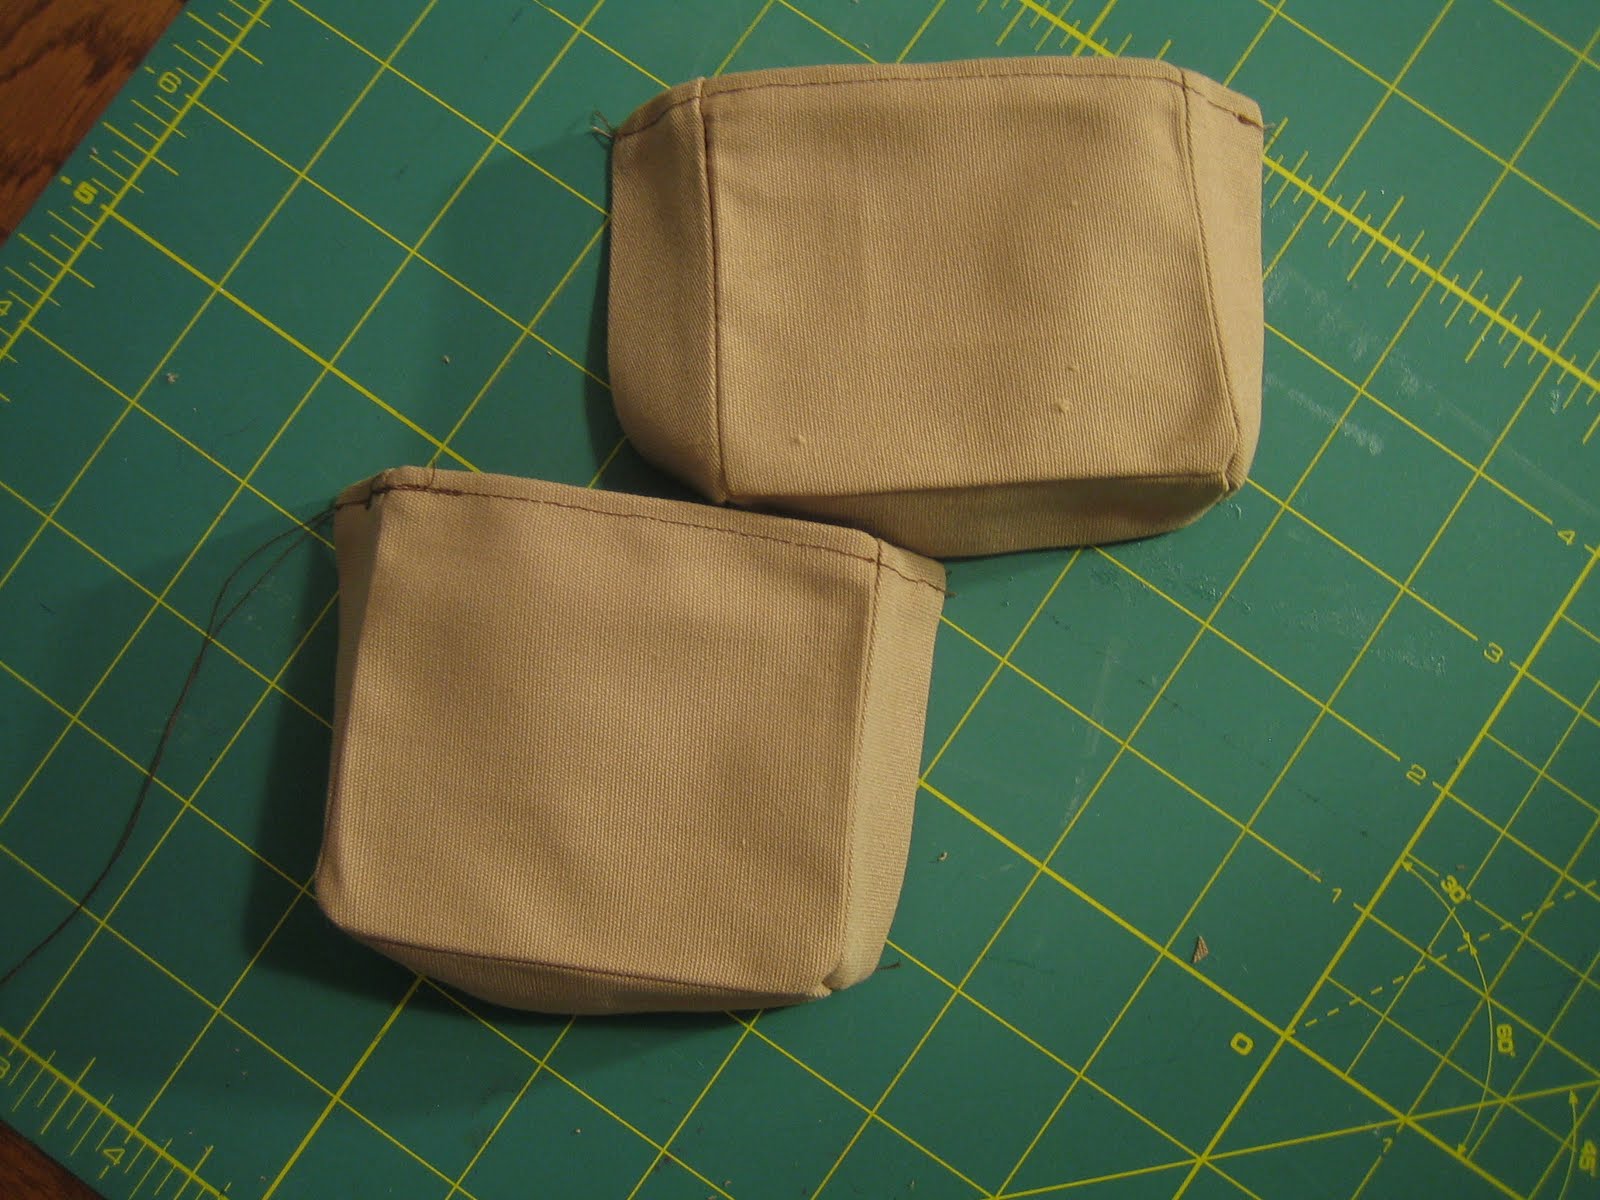
Fold down the top raw edge about 1/4″, iron. Fold it down again, about 1/4″. Press again. Stitch down.
Repeat all these steps with the second pocket. You should have two pockets that look like this:
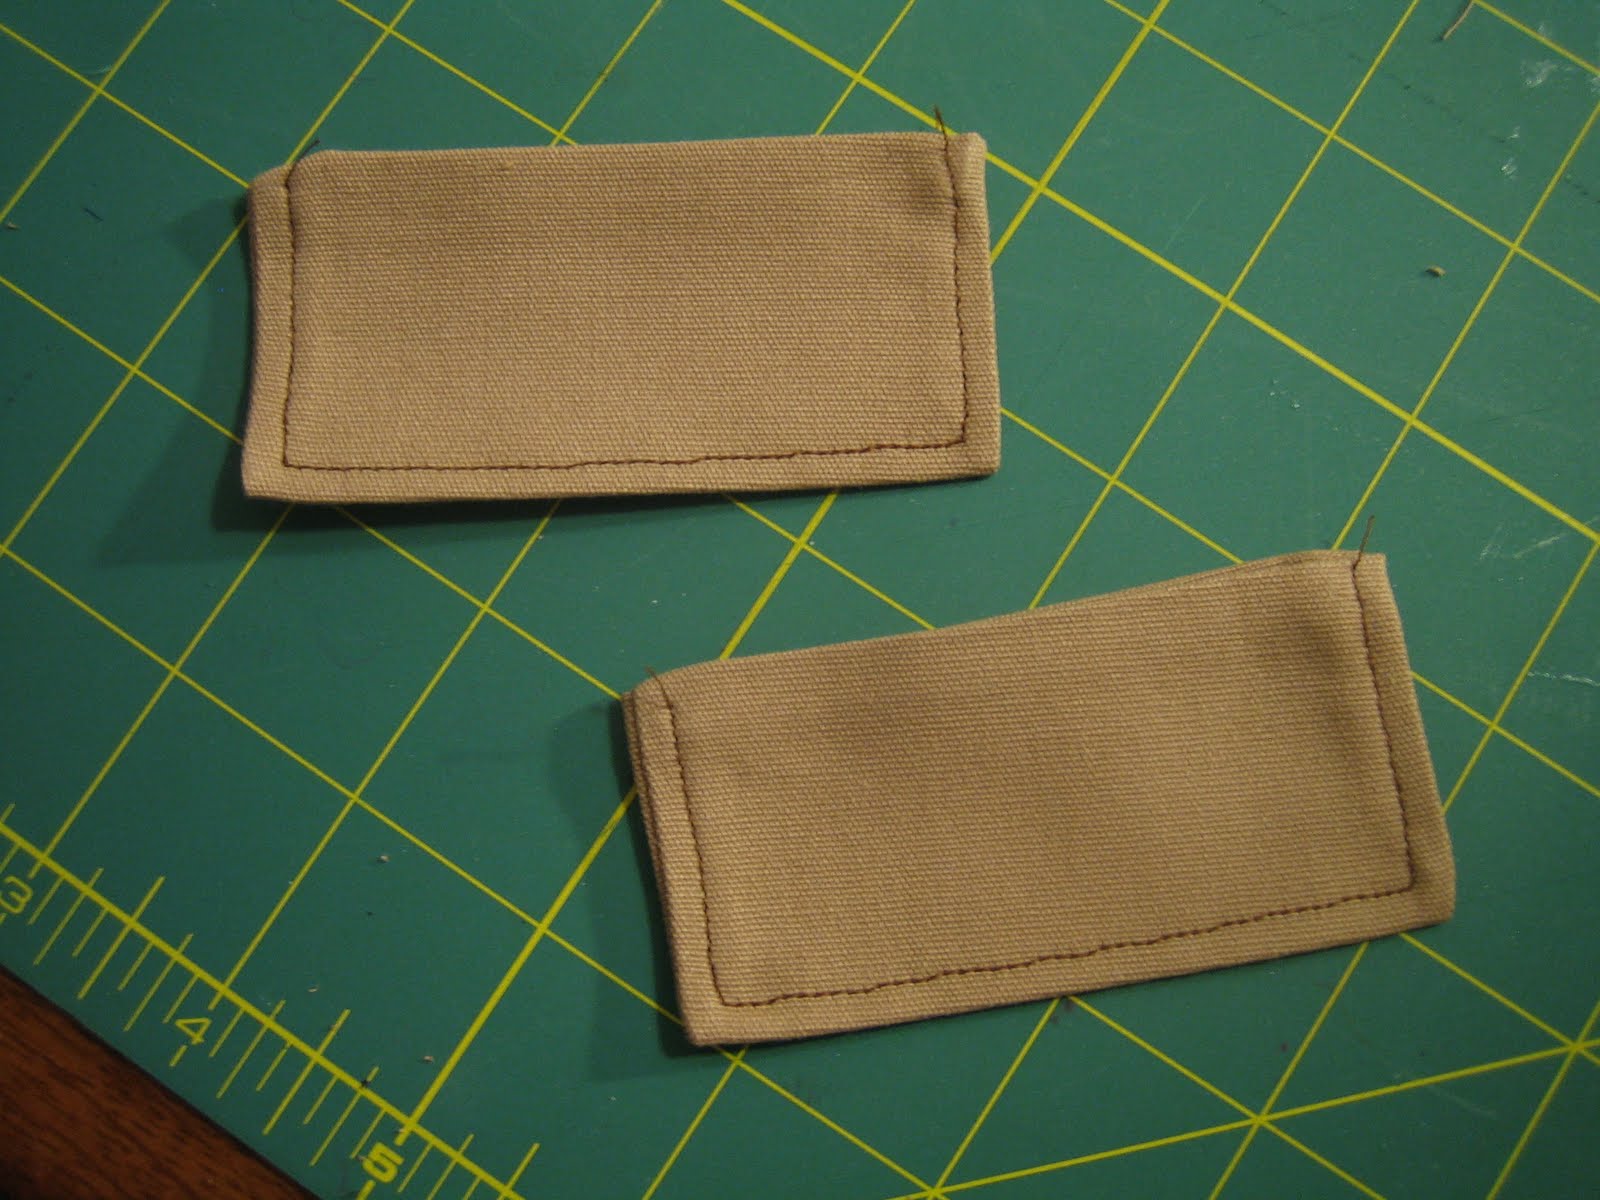
Fold the remaining 2 squares in half, stitch down the short sides. Clip the corners and turn.

Fold in the raw edge about 1/4″, and press down. Top stitch around the 3 finished sides, leaving the open side unstitched.
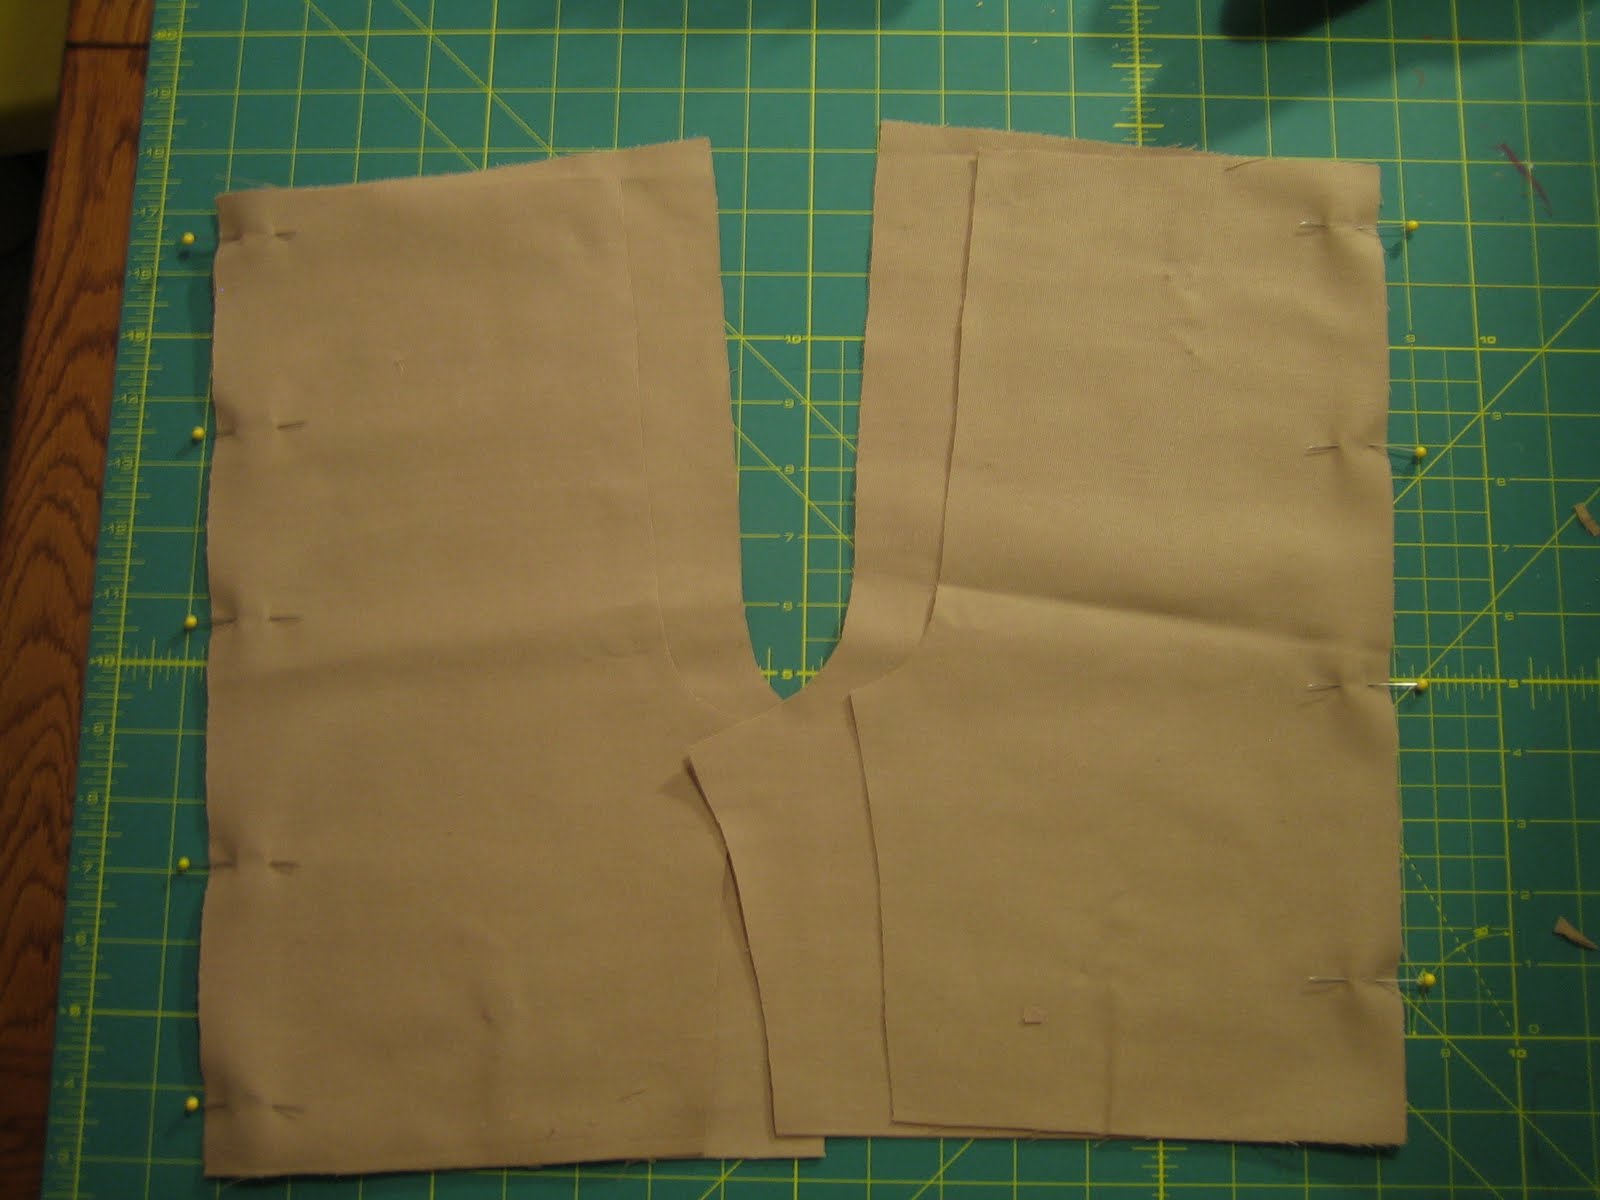
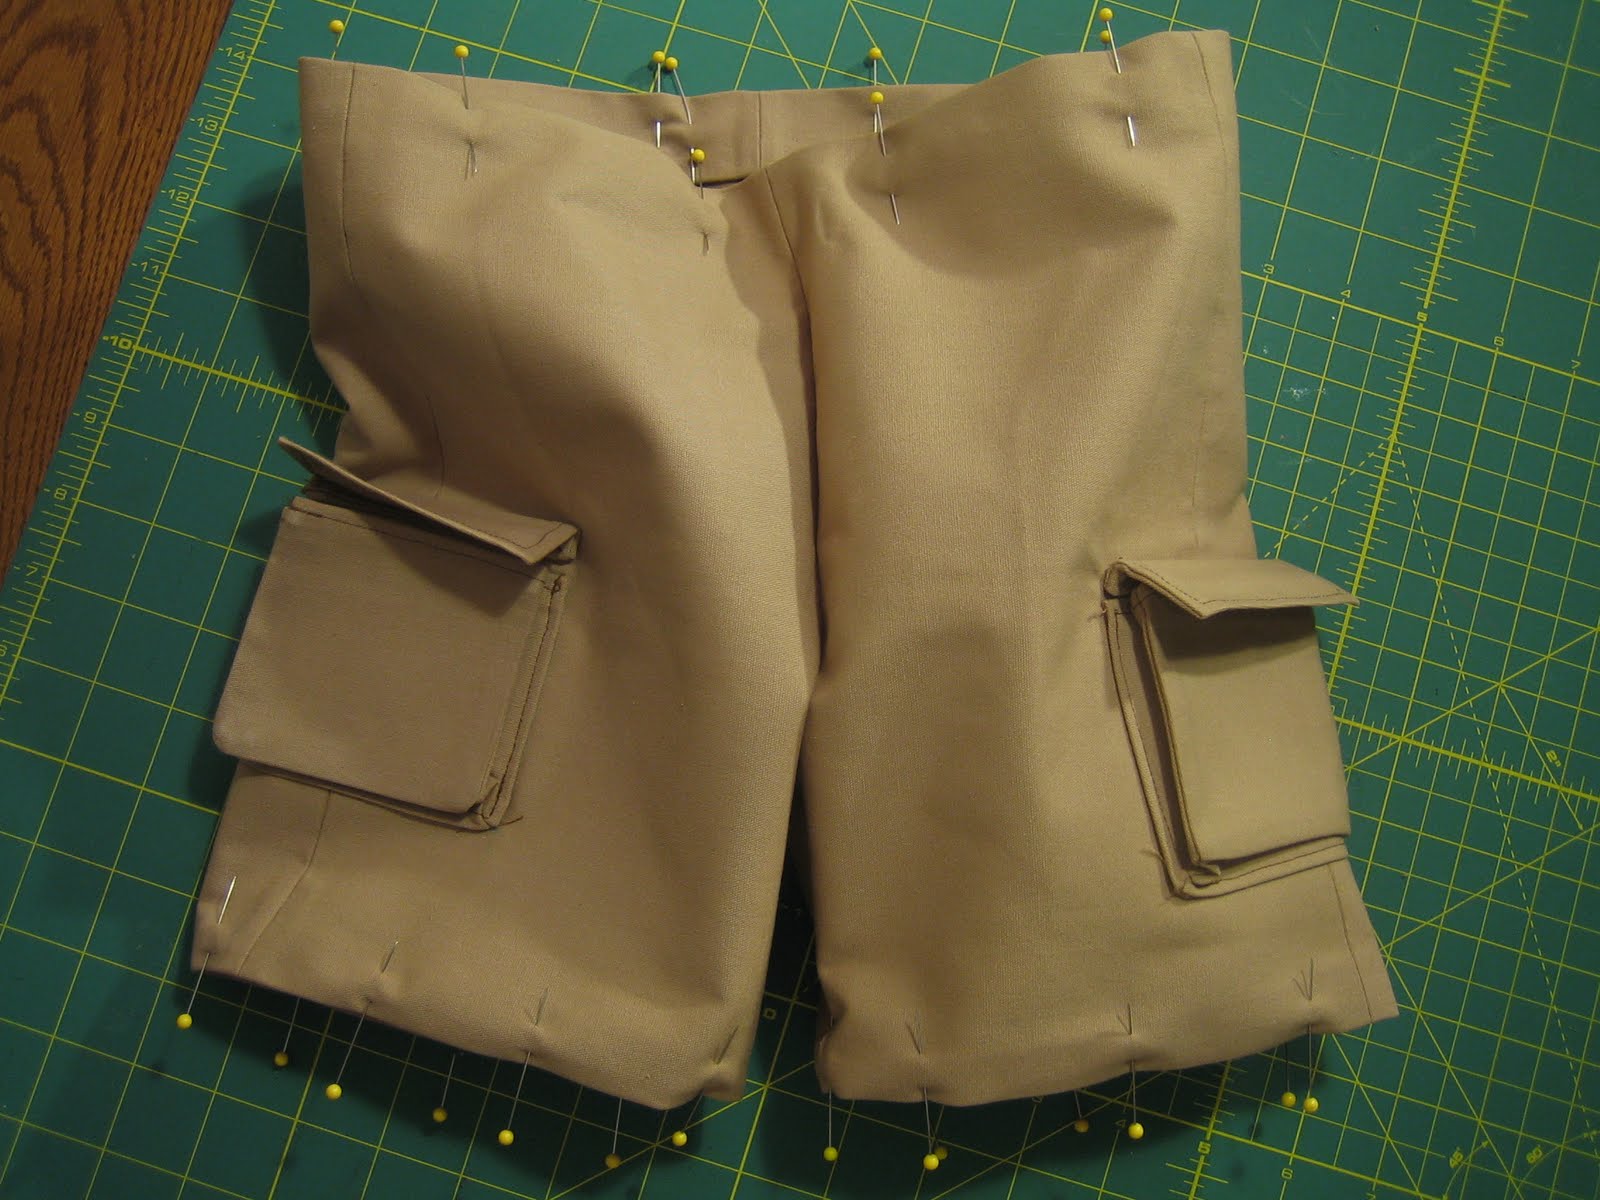
Your pockets are ready to sew onto the pants! Hopefully, some helpful little elves have come along and cut out your pant legs. No? Well, grab a pair of pants that fit your little one, trace them, and cut them out. Pin the side seams together, right sides together. If your fabric doesn’t really have a “right side” like mine, make sure that your crotches are pointing at each other. If they are pointing in the same direction, you’ll have one seam on the outside.
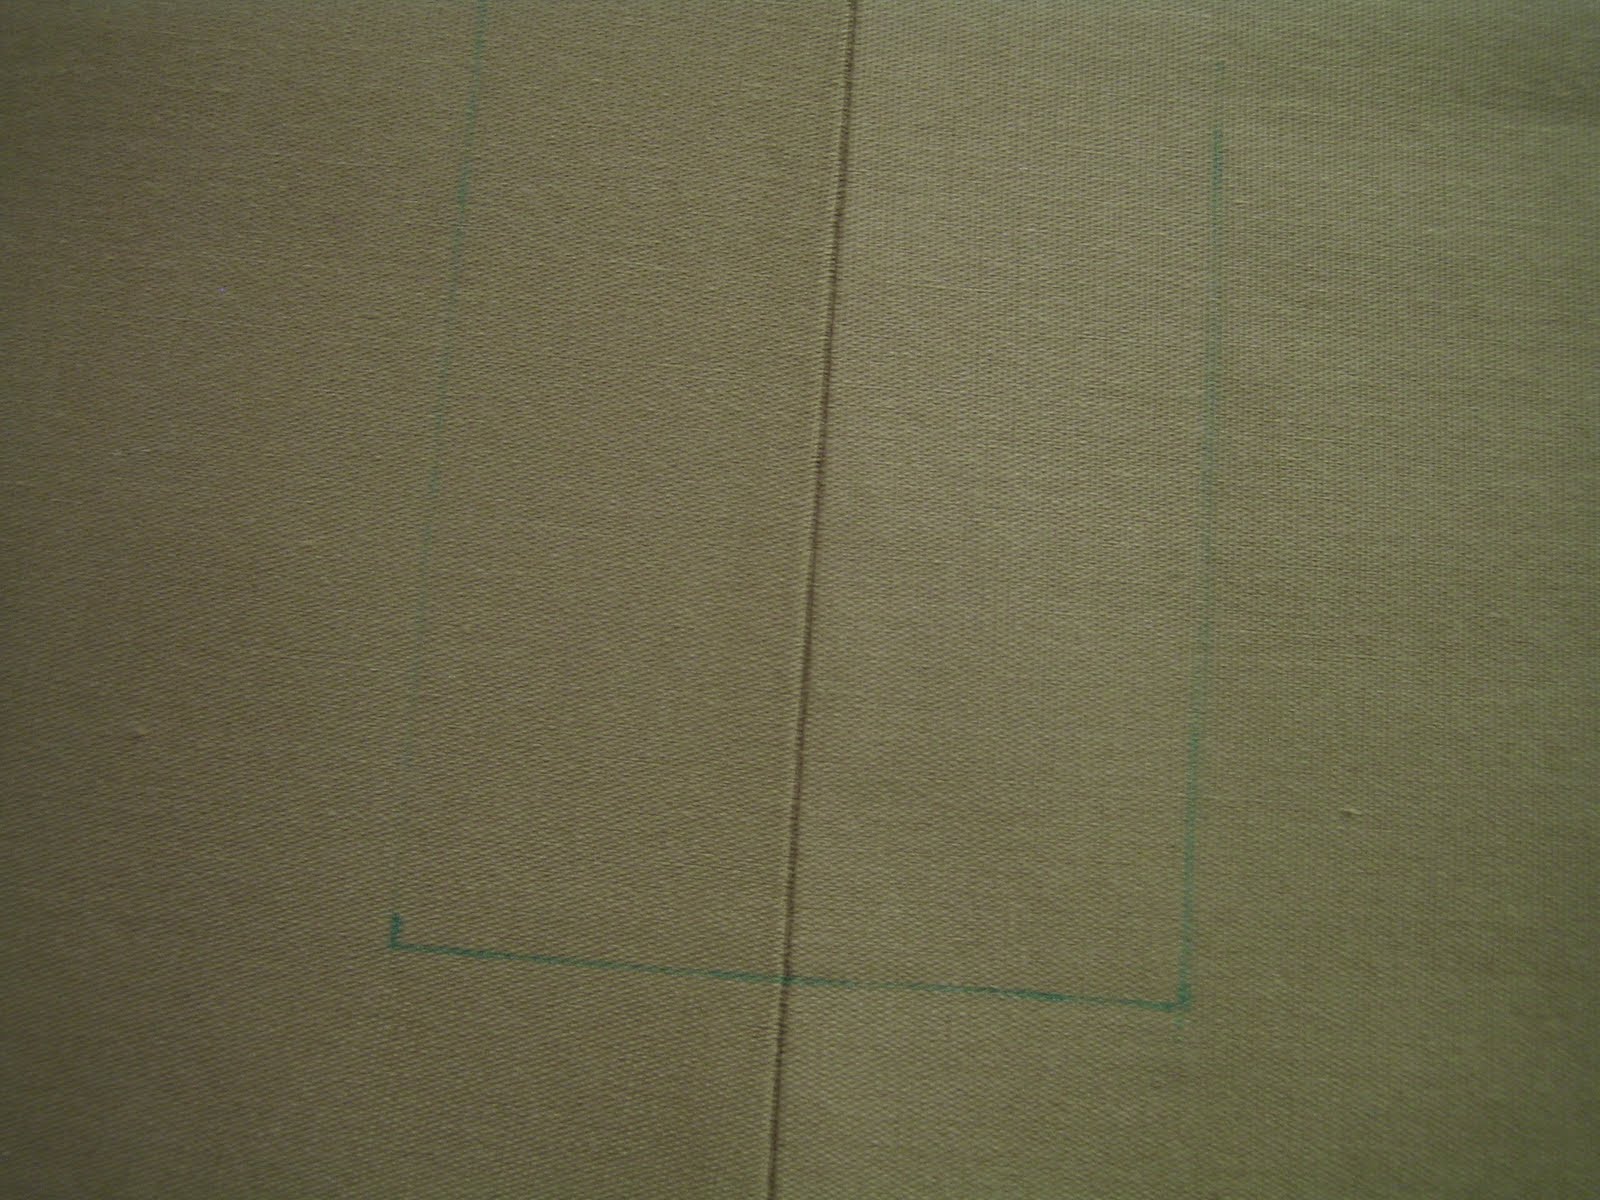
Press open your seam. Measure your pockets. Mine were about 1 3/4″ wide. I drew the bottom and 2 sides of a rectangle in this size on the side of the pants. I measured my bottom line 3″ from the bottom.
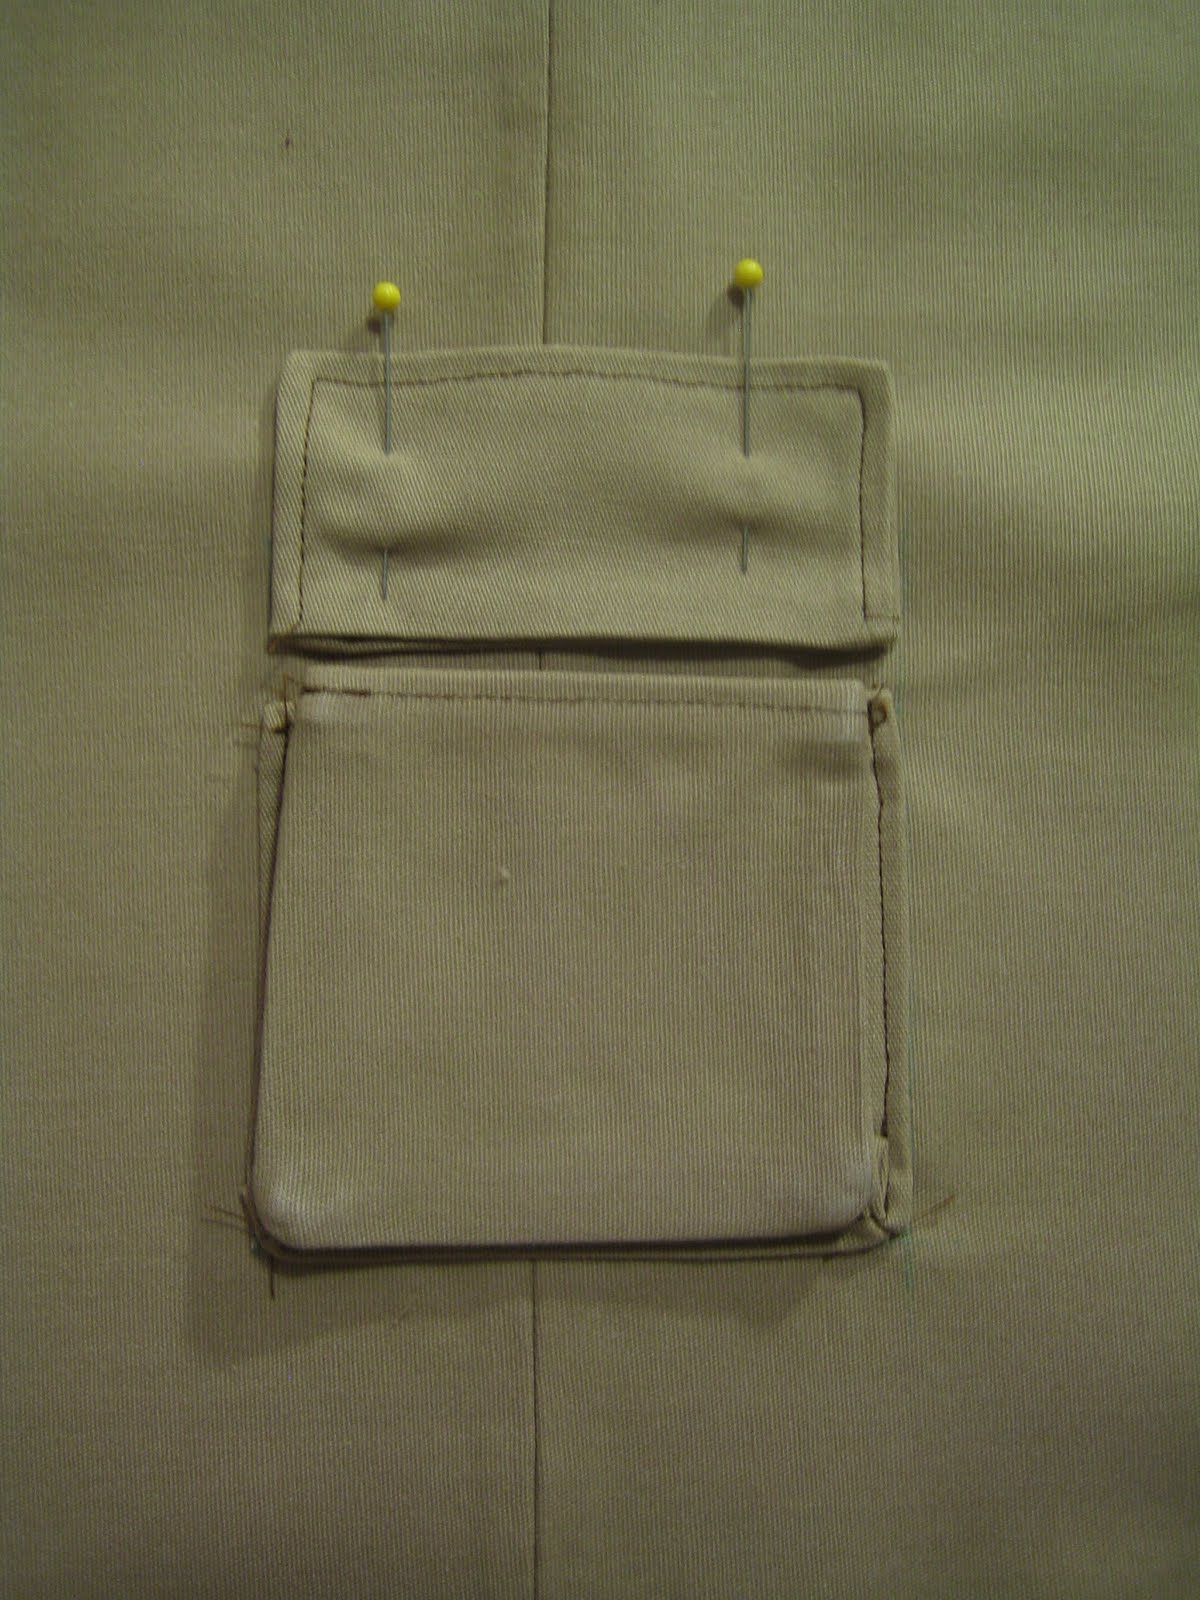
Pin on the pocket, using the lines as a guide.
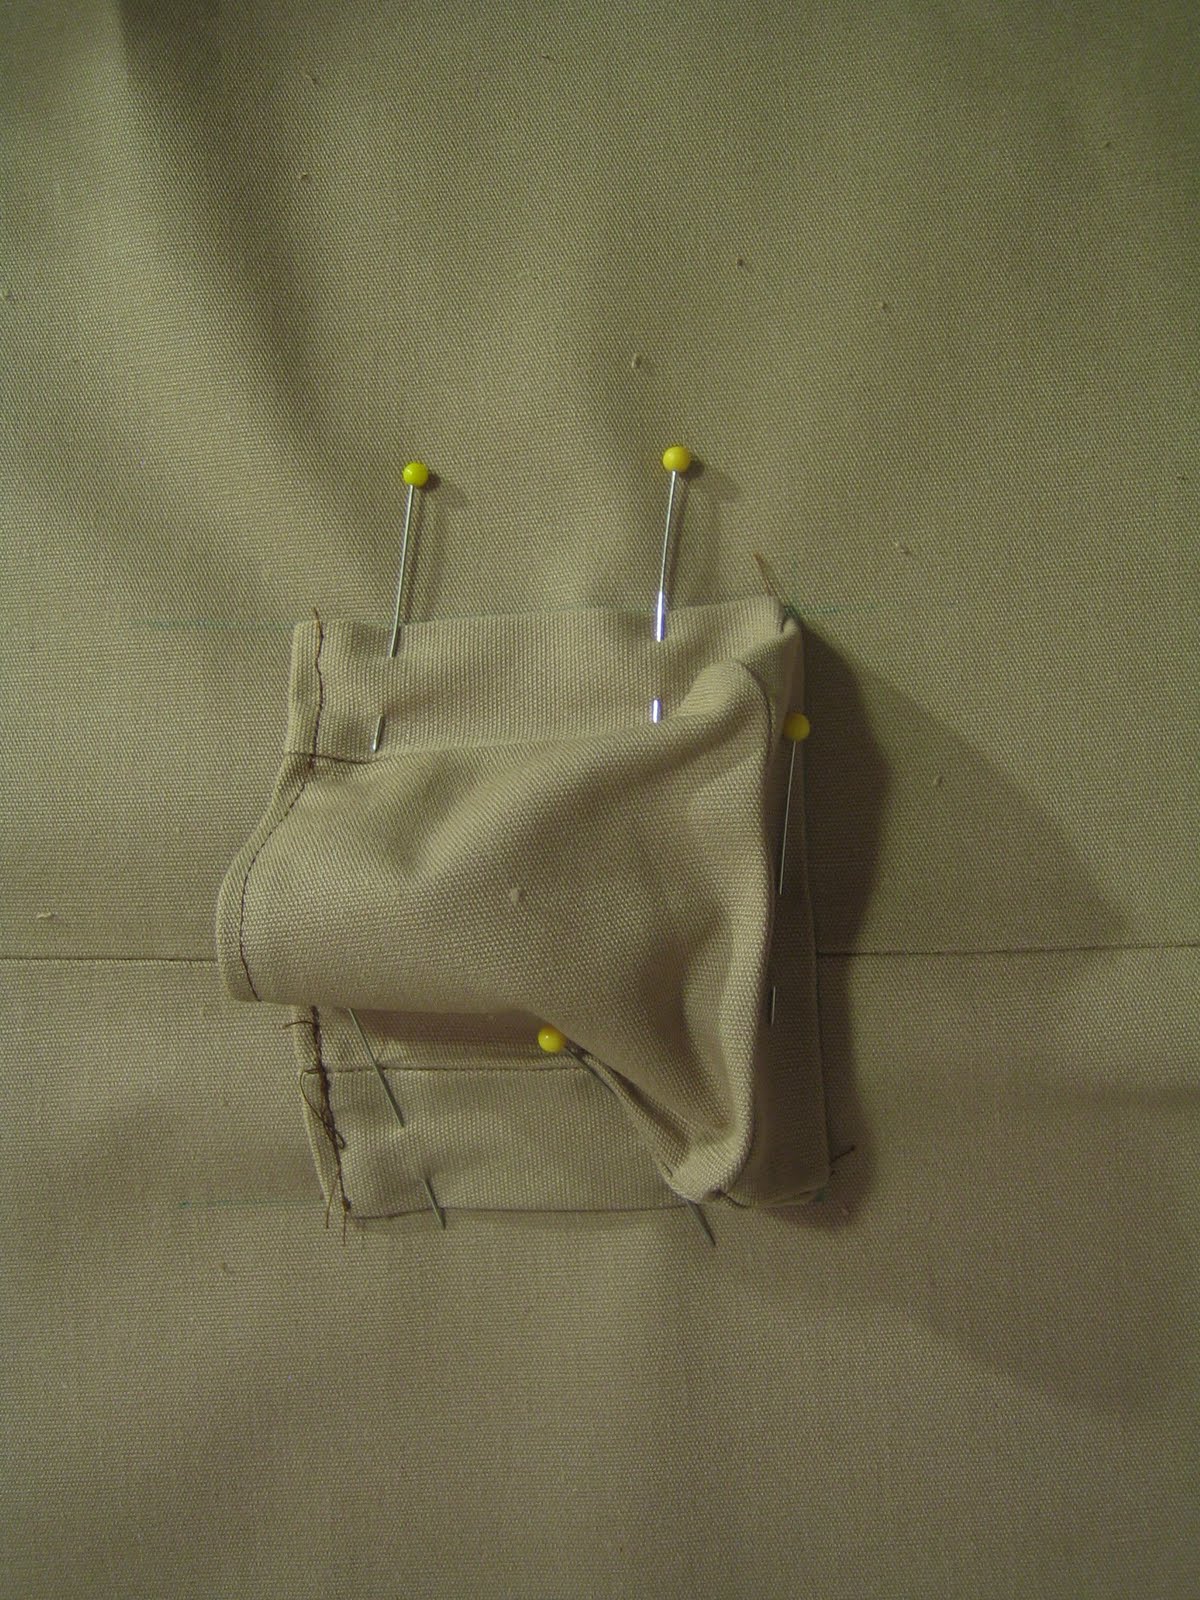
Stitch around the pocket, sewing it in place. Go slowly, your machine is going through 5 layers in some places! Your pocket will now stick up like this:
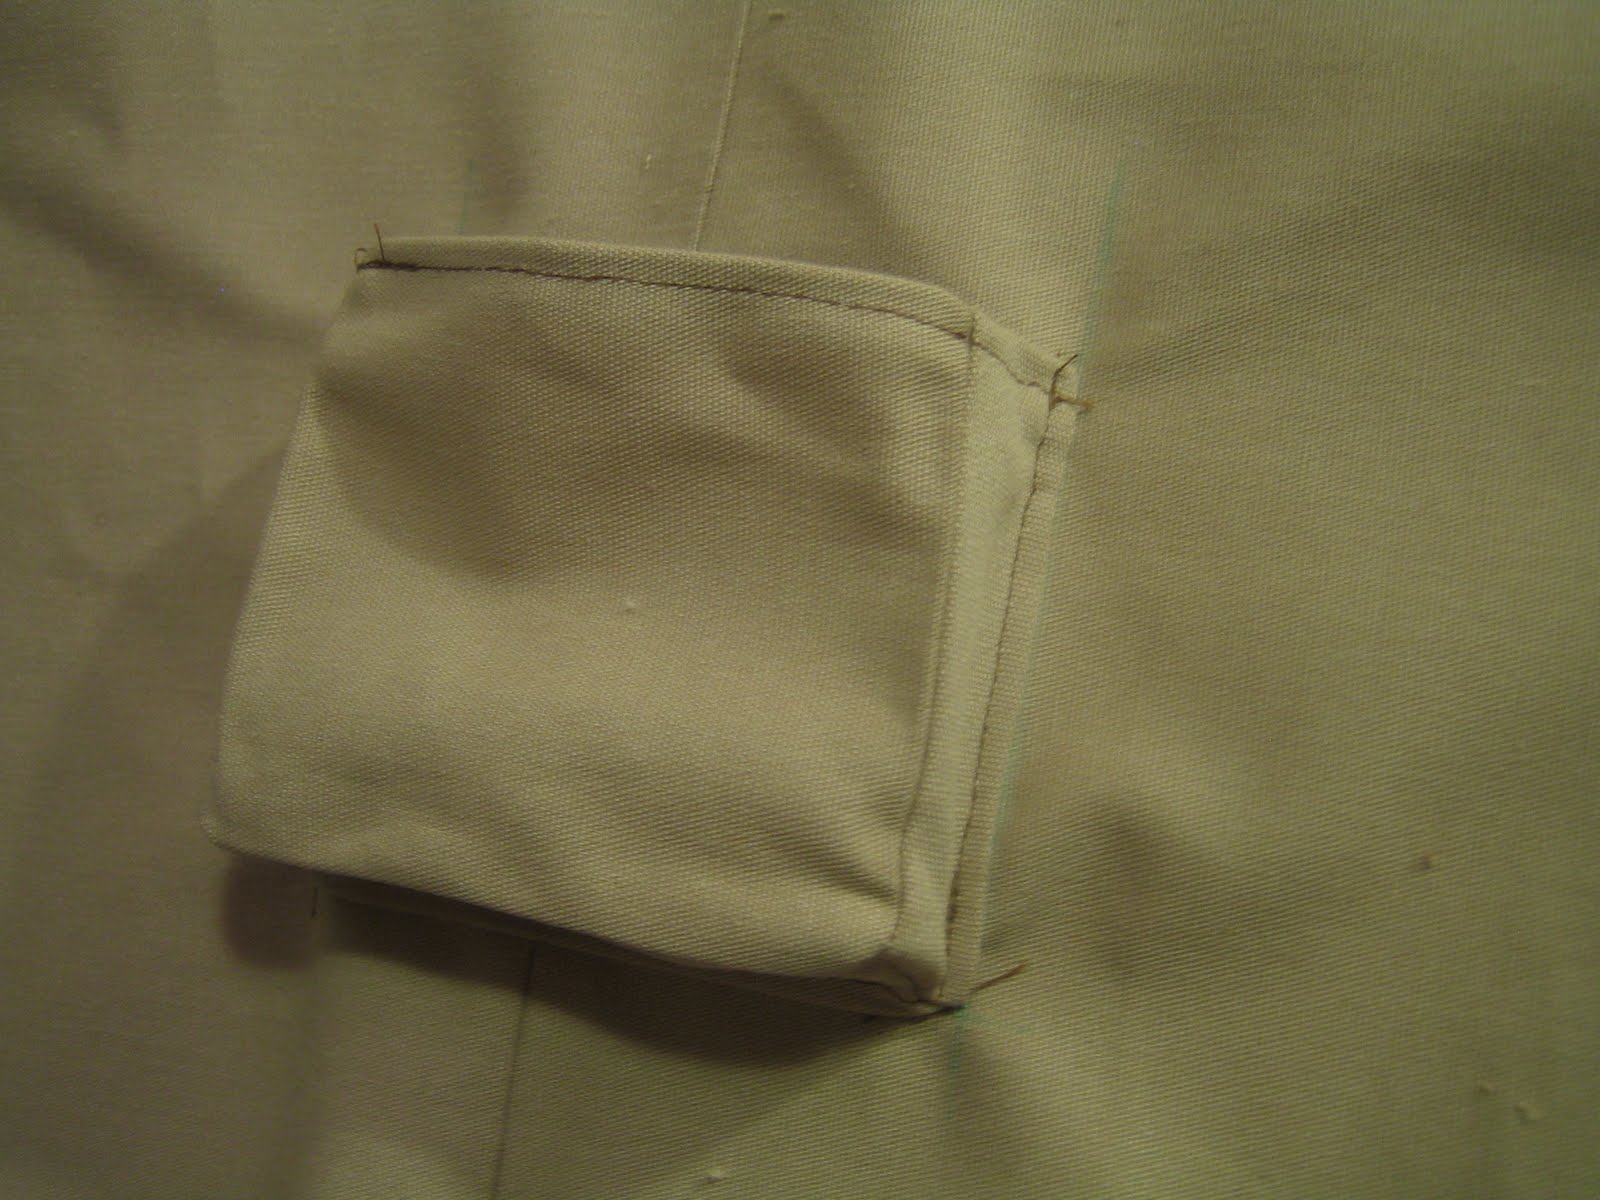
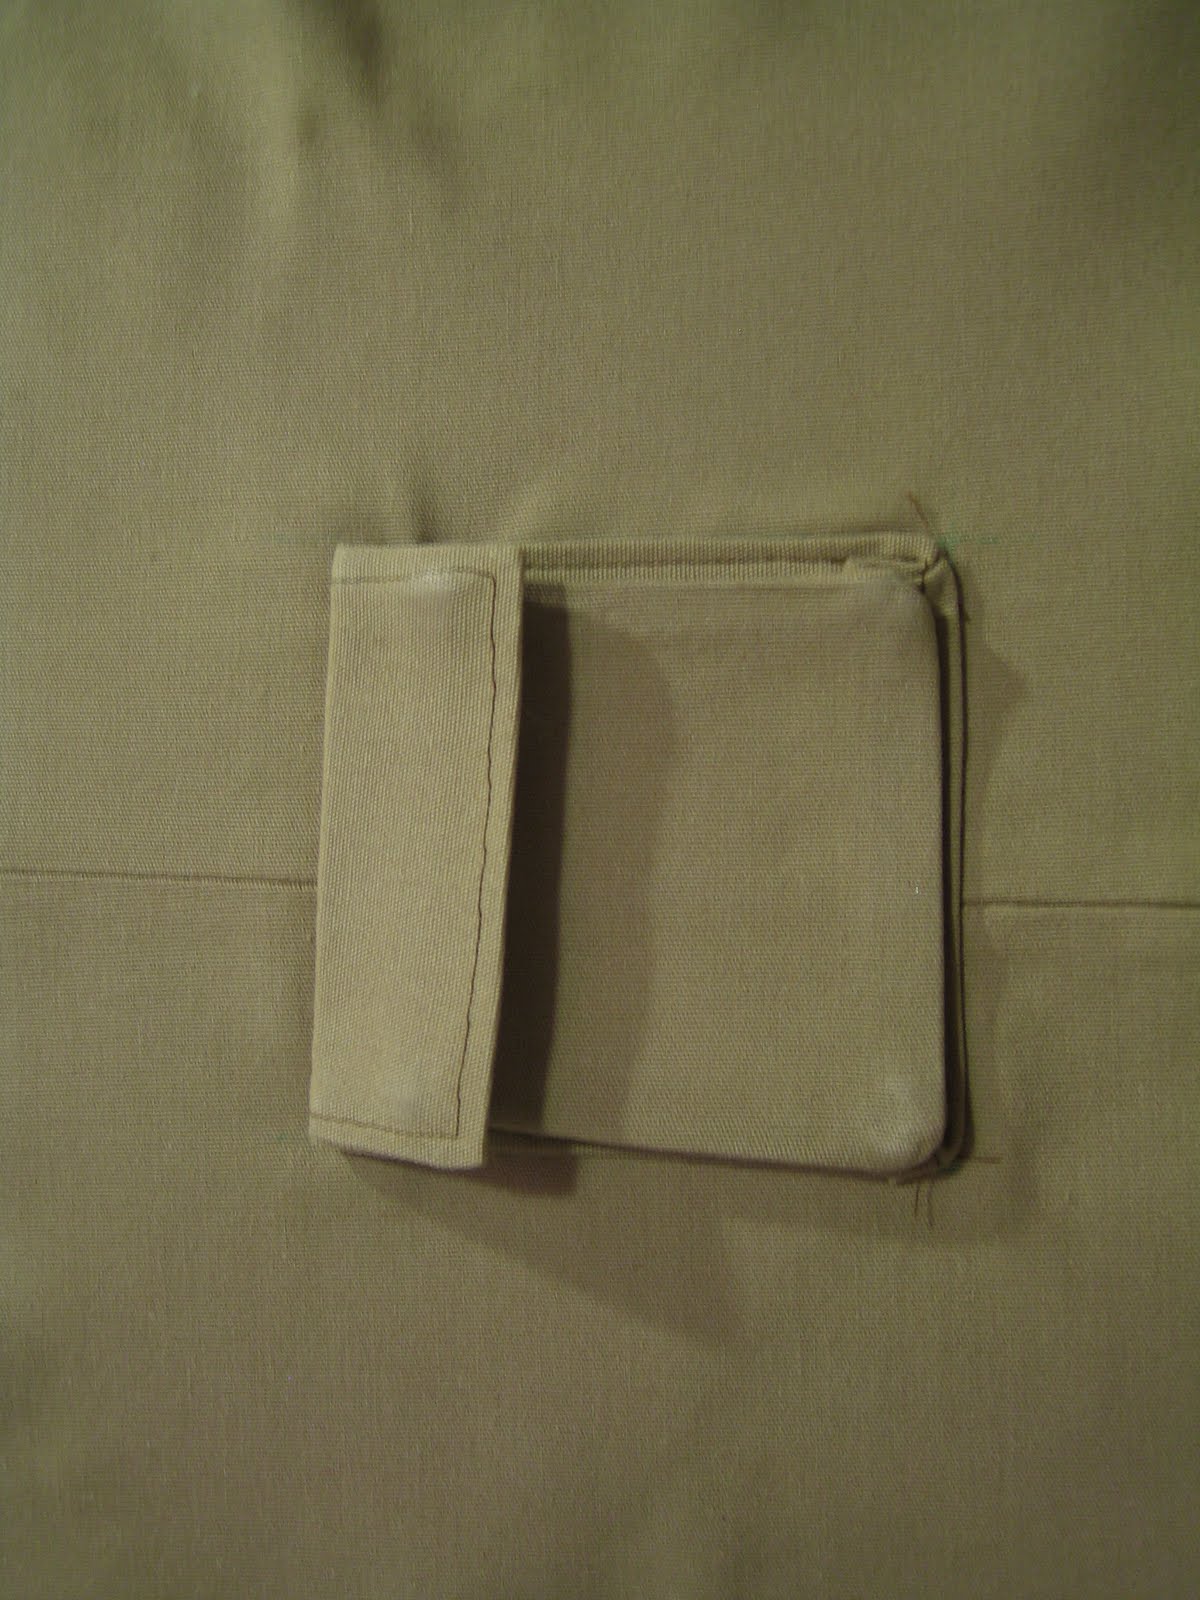
Using your fingers, press in the sides and bottom, flattening the top to the pants. Press with a hot iron and lots of steam. Turn the fabric over, and press again from the back with lots of steam. Take a top flap, and pin above the pocket.
Sew along the bottom of the flap, fold down, and press well.
Finish sewing your pants together – front and back seams first, then side seams. Fold up the bottom of the pant legs, press and pin (for cuffs). Fold down the top 1/4″, then 1 1/4″ to make the casing for the elastic.
Sew around the pant legs. Sew down the casing, leaving a hole to thread the elastic. Put in elastic, sew shut, and you’re done!
Expect Moore… soon!


Comments & Reviews
Great tutorial, loving the way you sewed these, gonna try this on coming weekend, see if i get success or not.
Using your tutorial to make shorts for my 9 yo grandson. I used a pajama pattern for the shorts and am adding the cargo pockets per your instructions. Thanks so much for doing this.