• Skip to primary navigation
  • Skip to main content
  • Skip to primary sidebar
Home About Subscribe Summer Sew Camp Disclosures

Always Expect Moore

Quilts & Pattern Design

  • Cricut Maker BOTW
  • Quilty5k
  • Gallery Wall QAL
  • Trunk Show
  • Guild Resources
  • Pattern Shop
  • Free Patterns
Home About Subscribe Summer Sew Camp Disclosures
  • Cricut Maker BOTW
  • Quilty5k
  • Gallery Wall QAL
  • Trunk Show
  • Guild Resources
  • Pattern Shop
  • Free Patterns
Home » Blog » Uncategorized » Red Week – Boxers for Hubby

Red Week – Boxers for Hubby

Created On: February 10, 2011  |  Updated: February 10, 2011  |   1 Comment

Years ago, I started making my hubby boxers as Valentine’s presents (who says that we women should be the only ones to get underwear on Valentine’s Day?). Then, I “got busy” as we all do, and the tradition died.

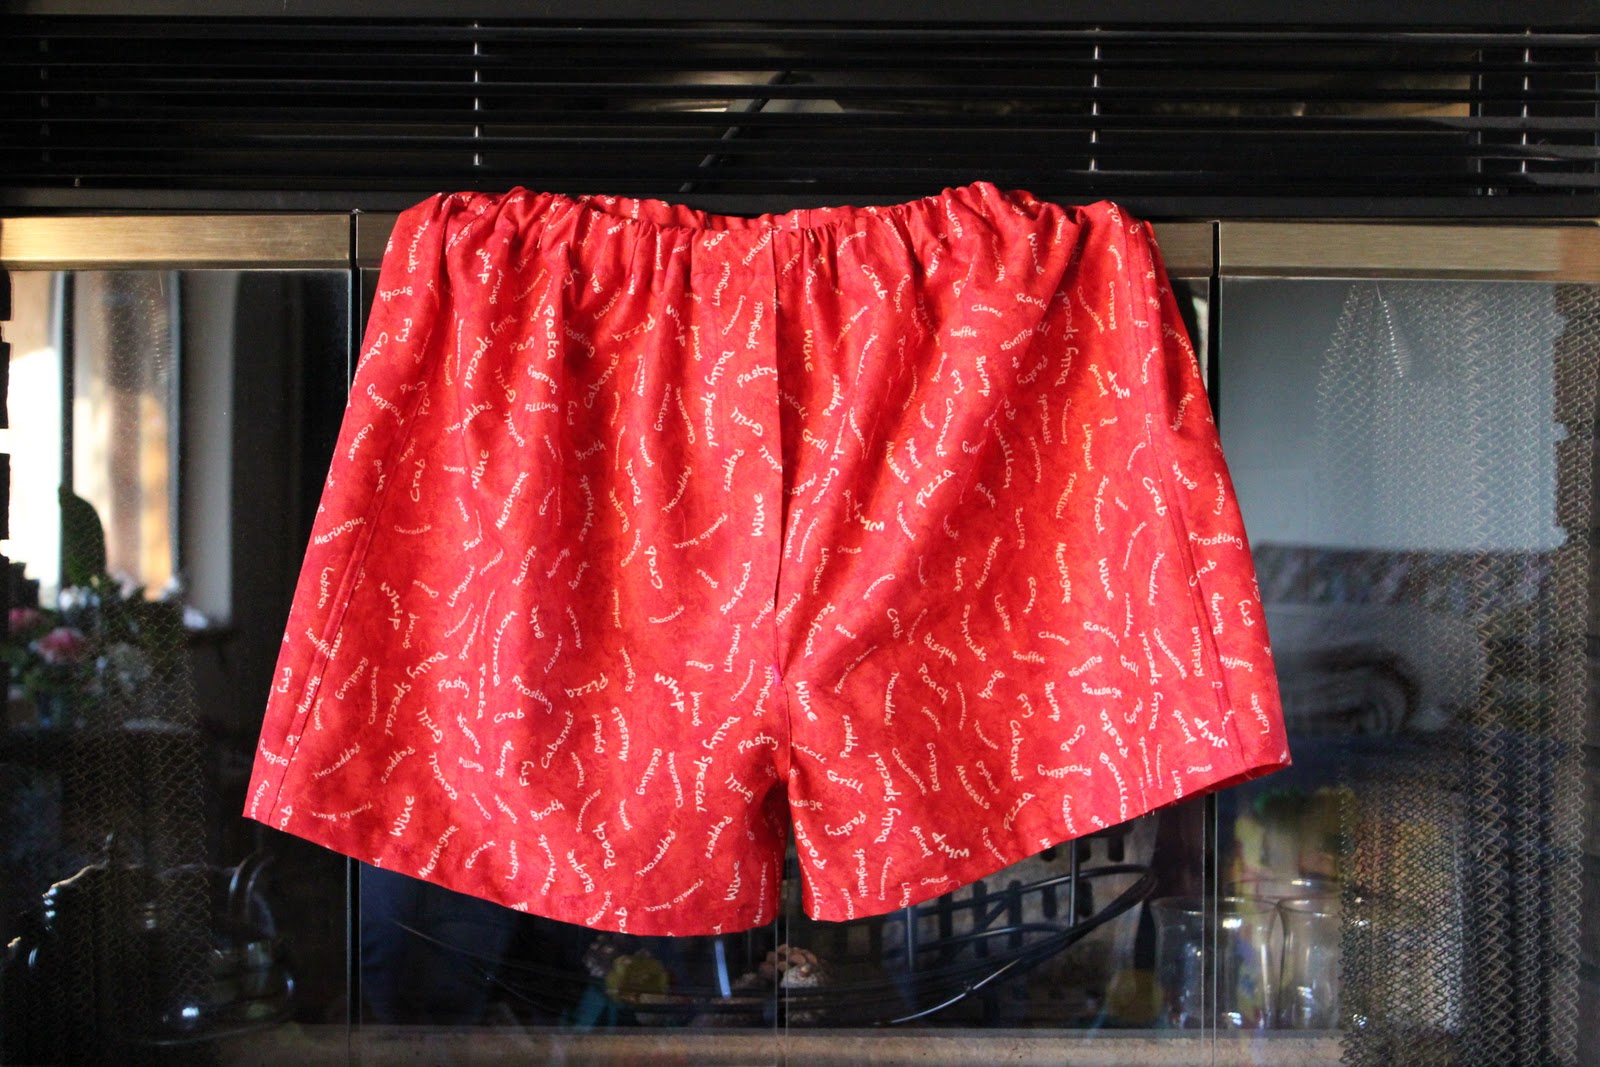
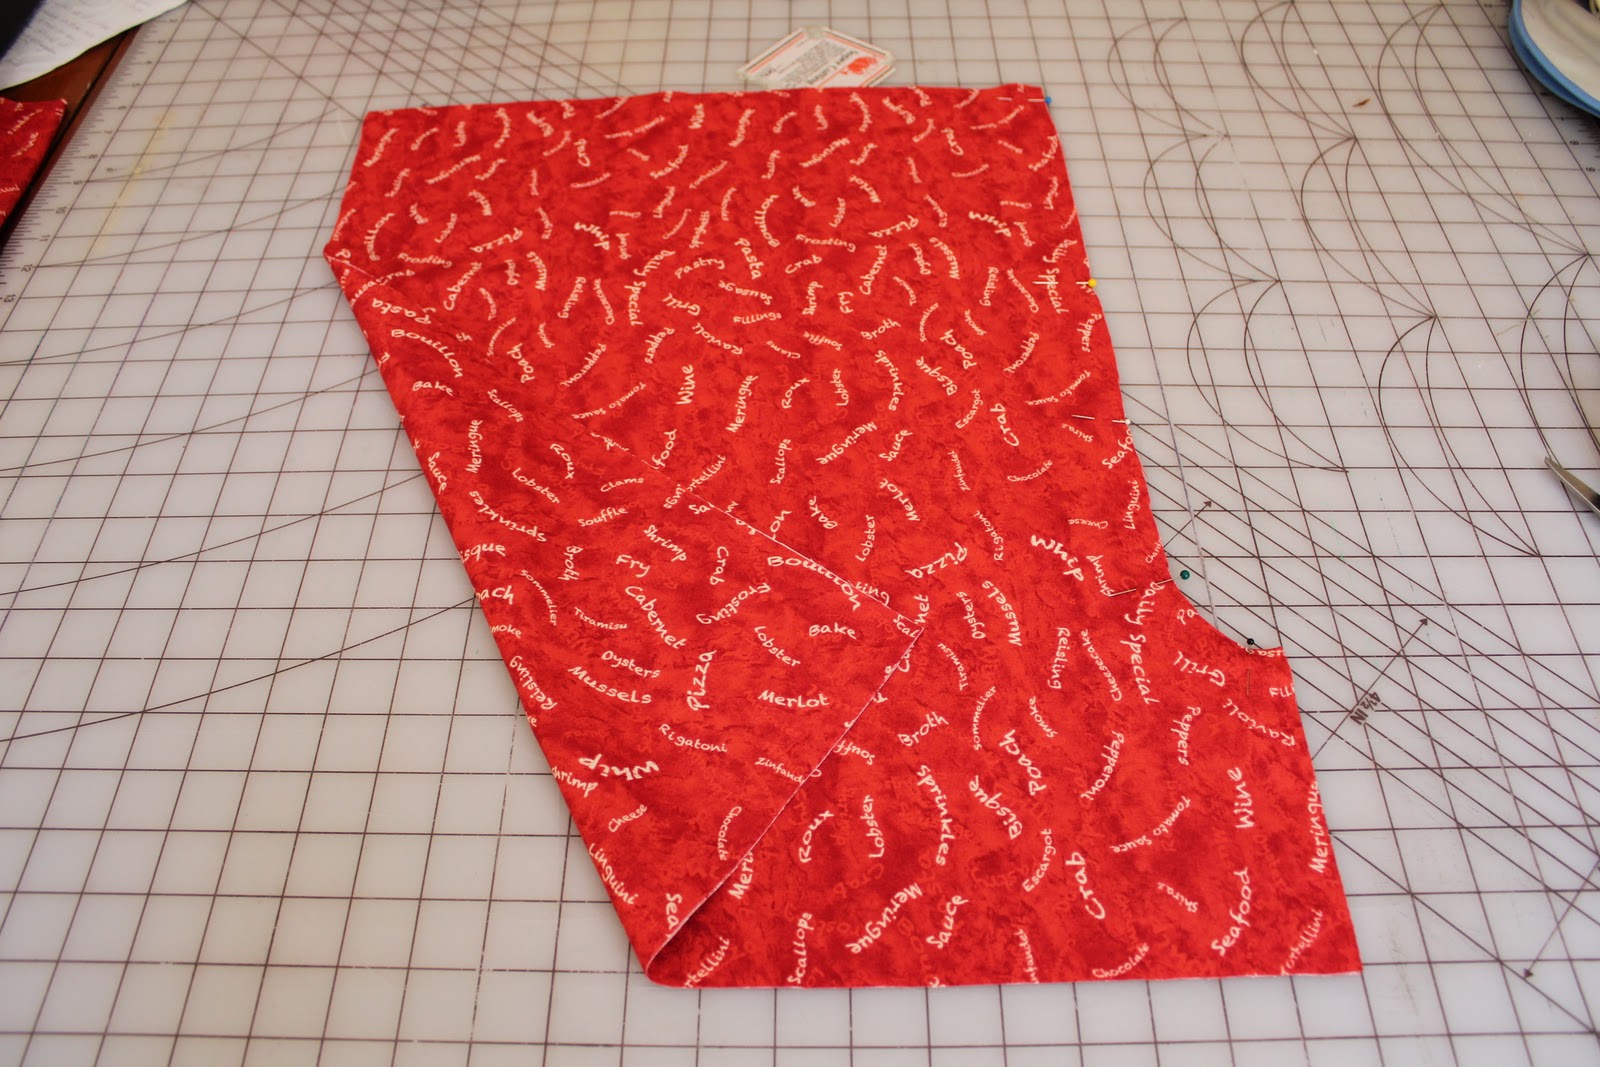
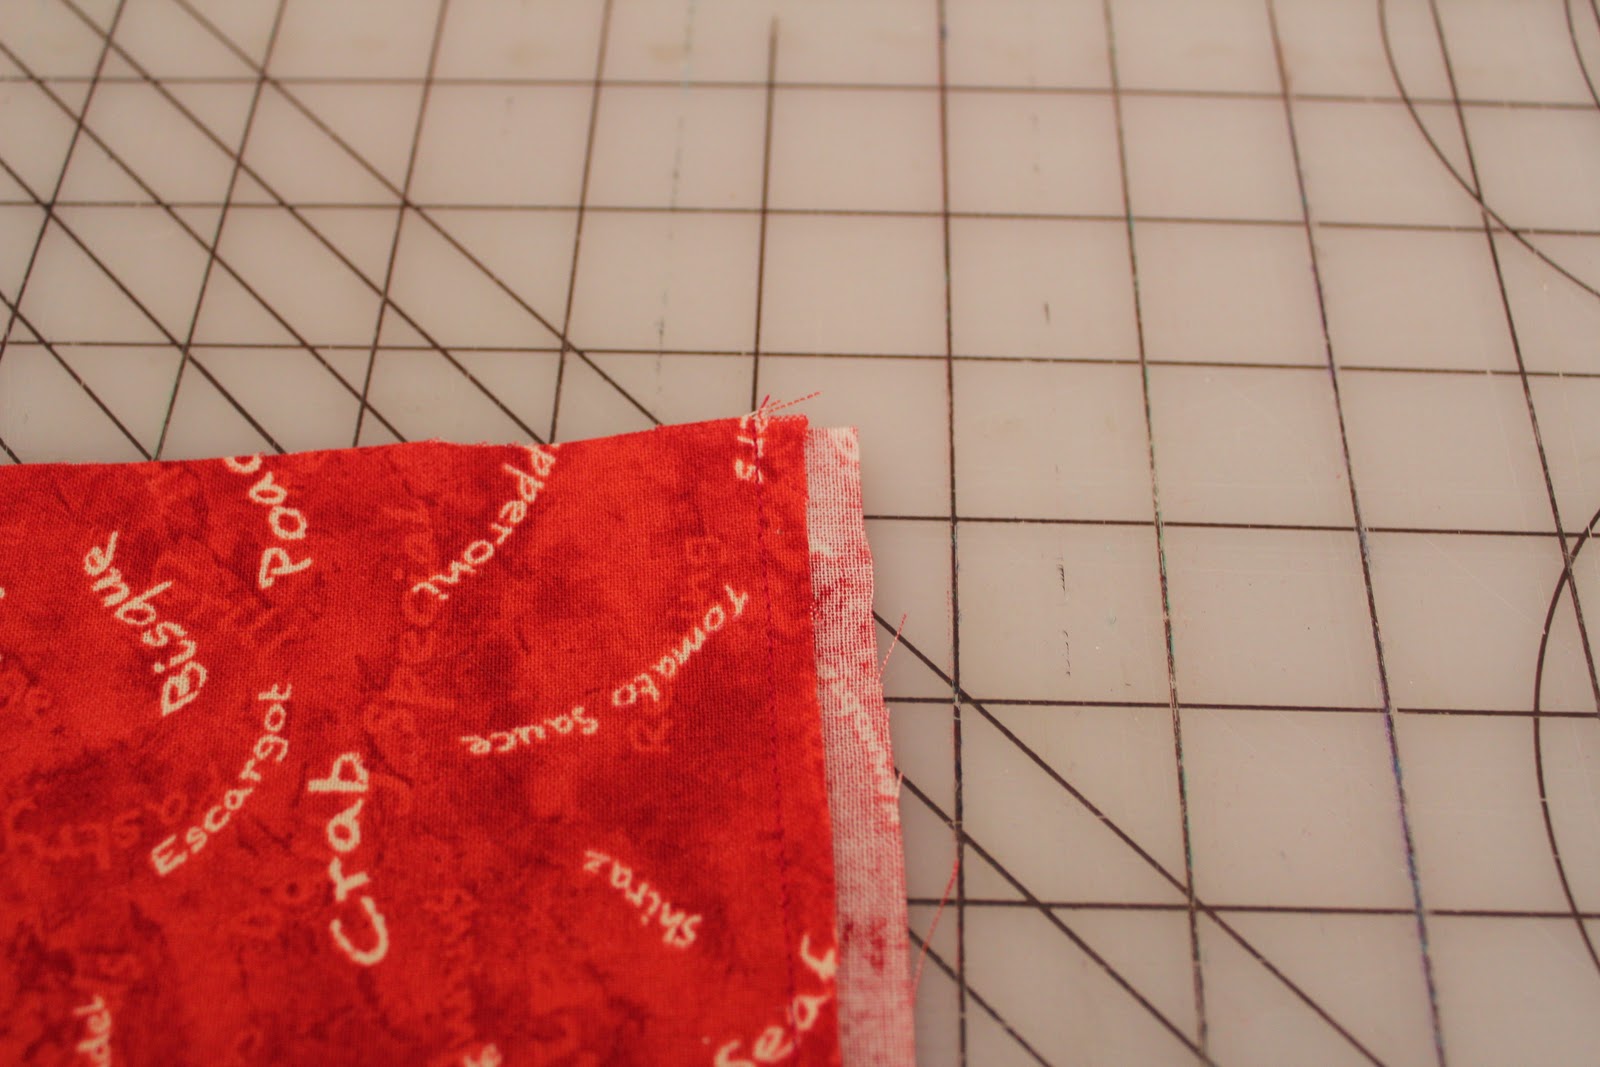
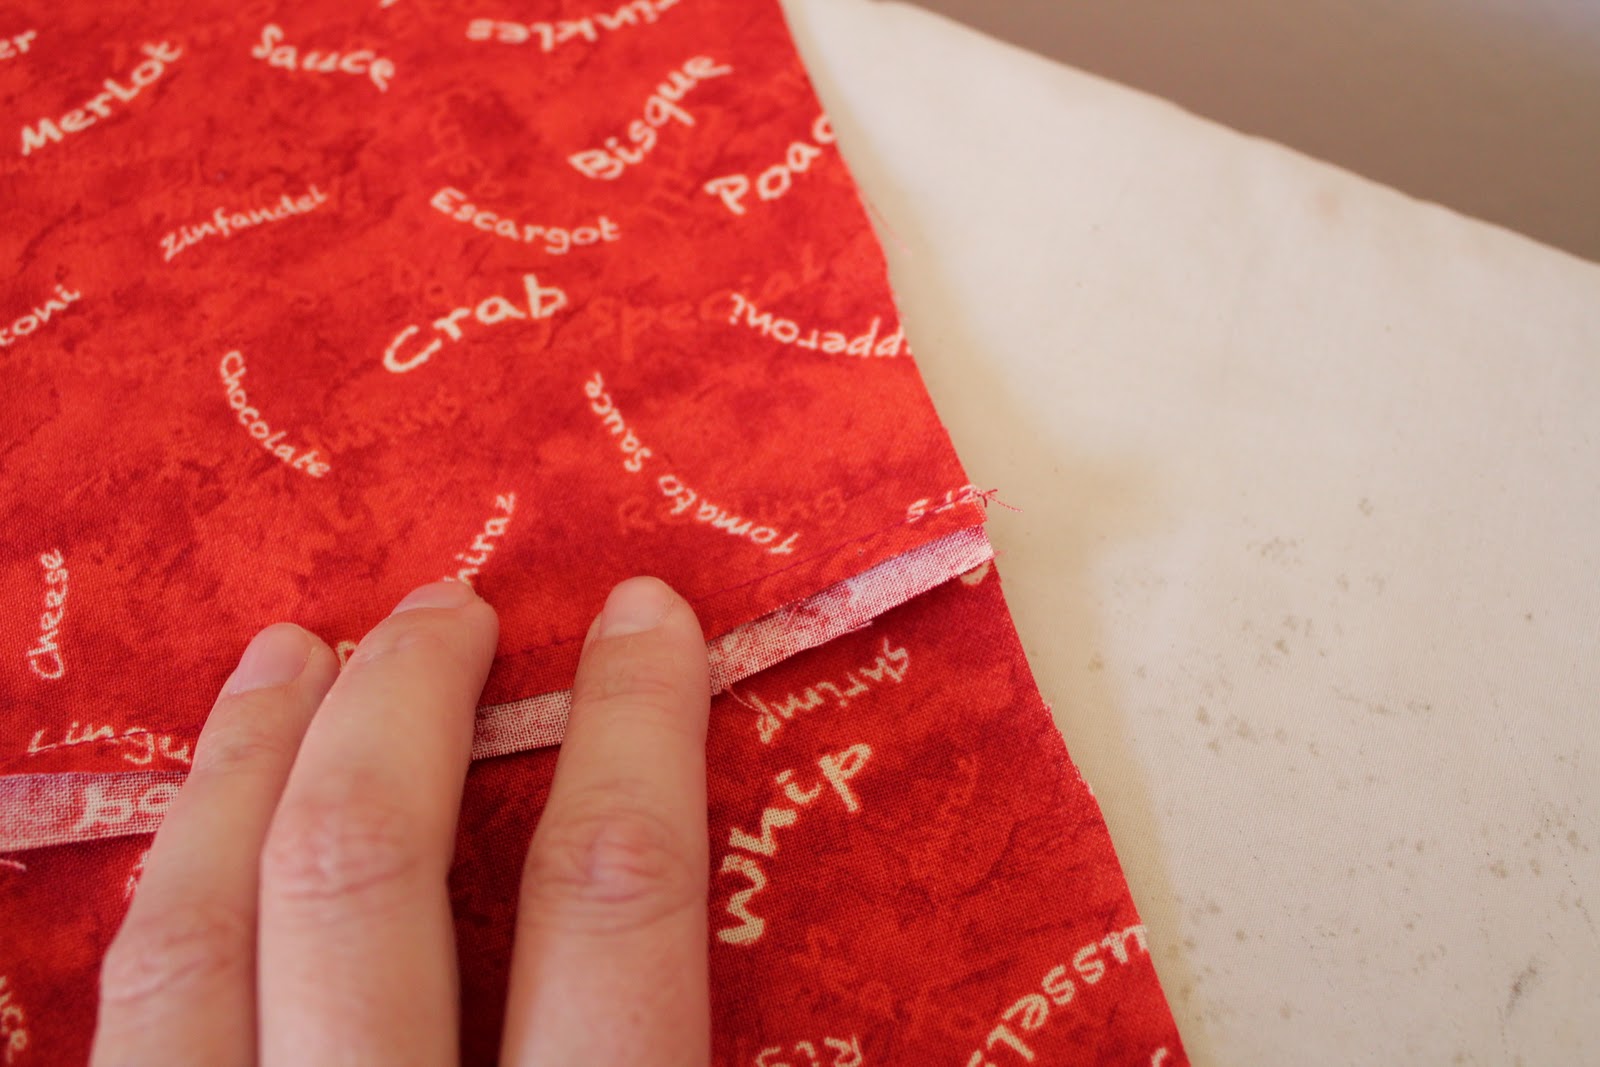
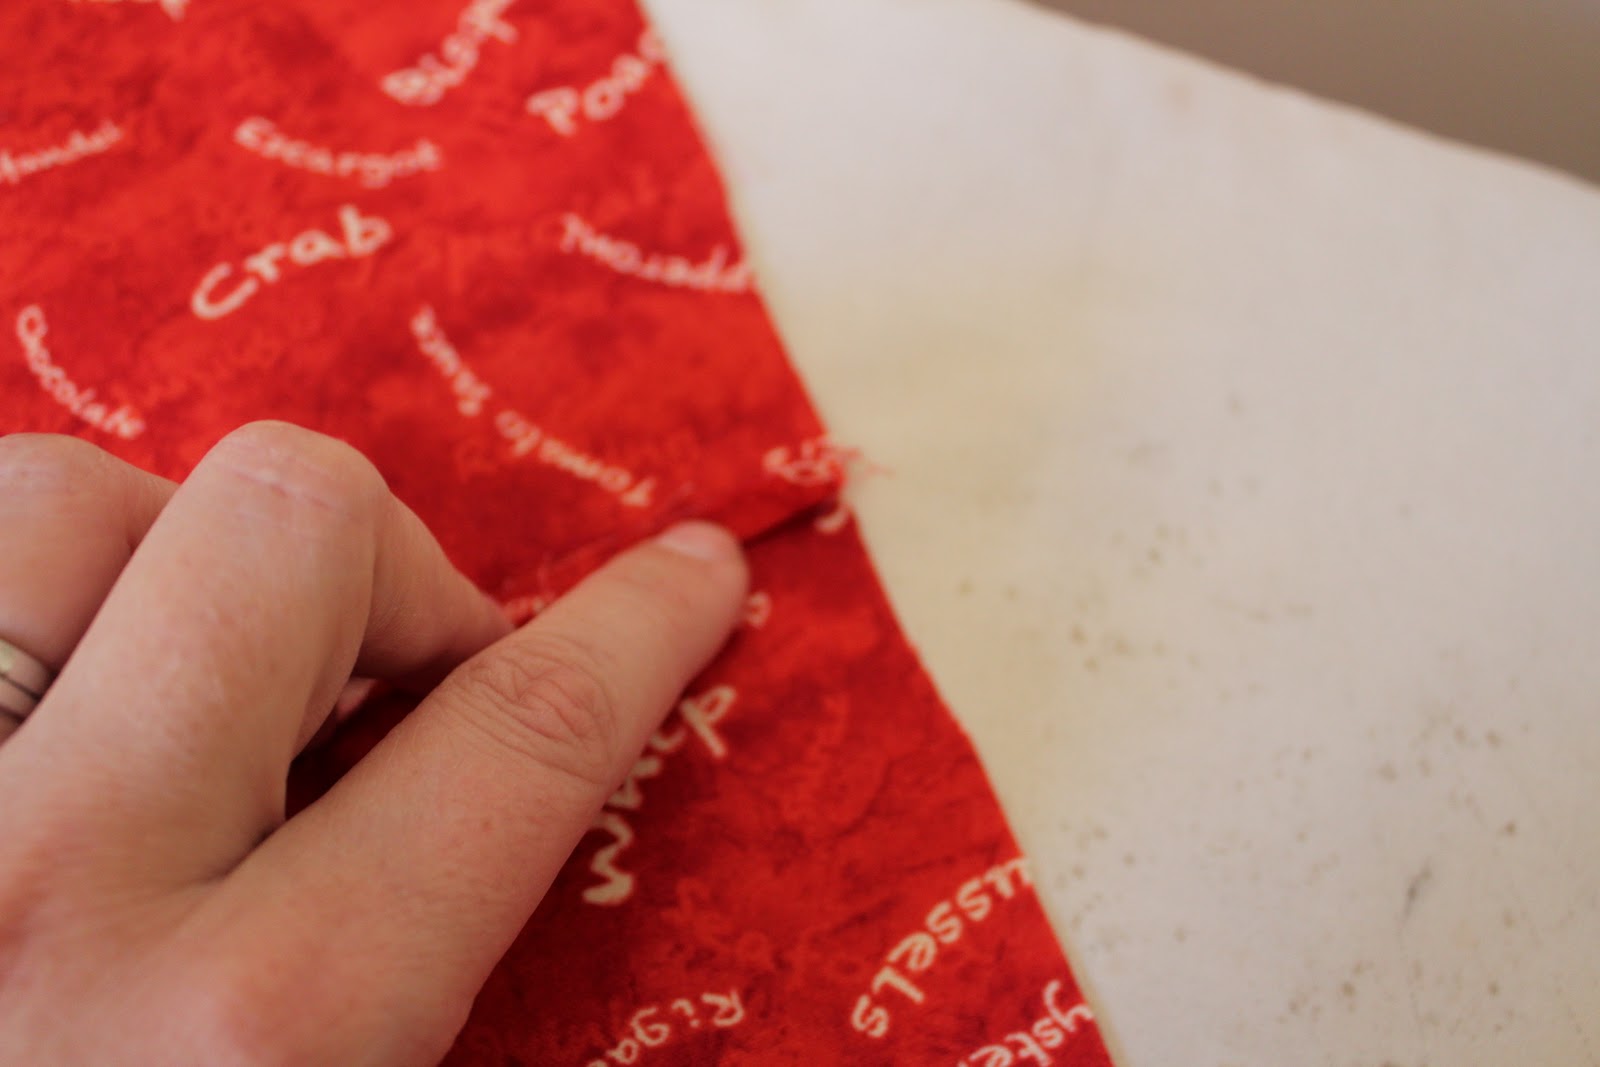
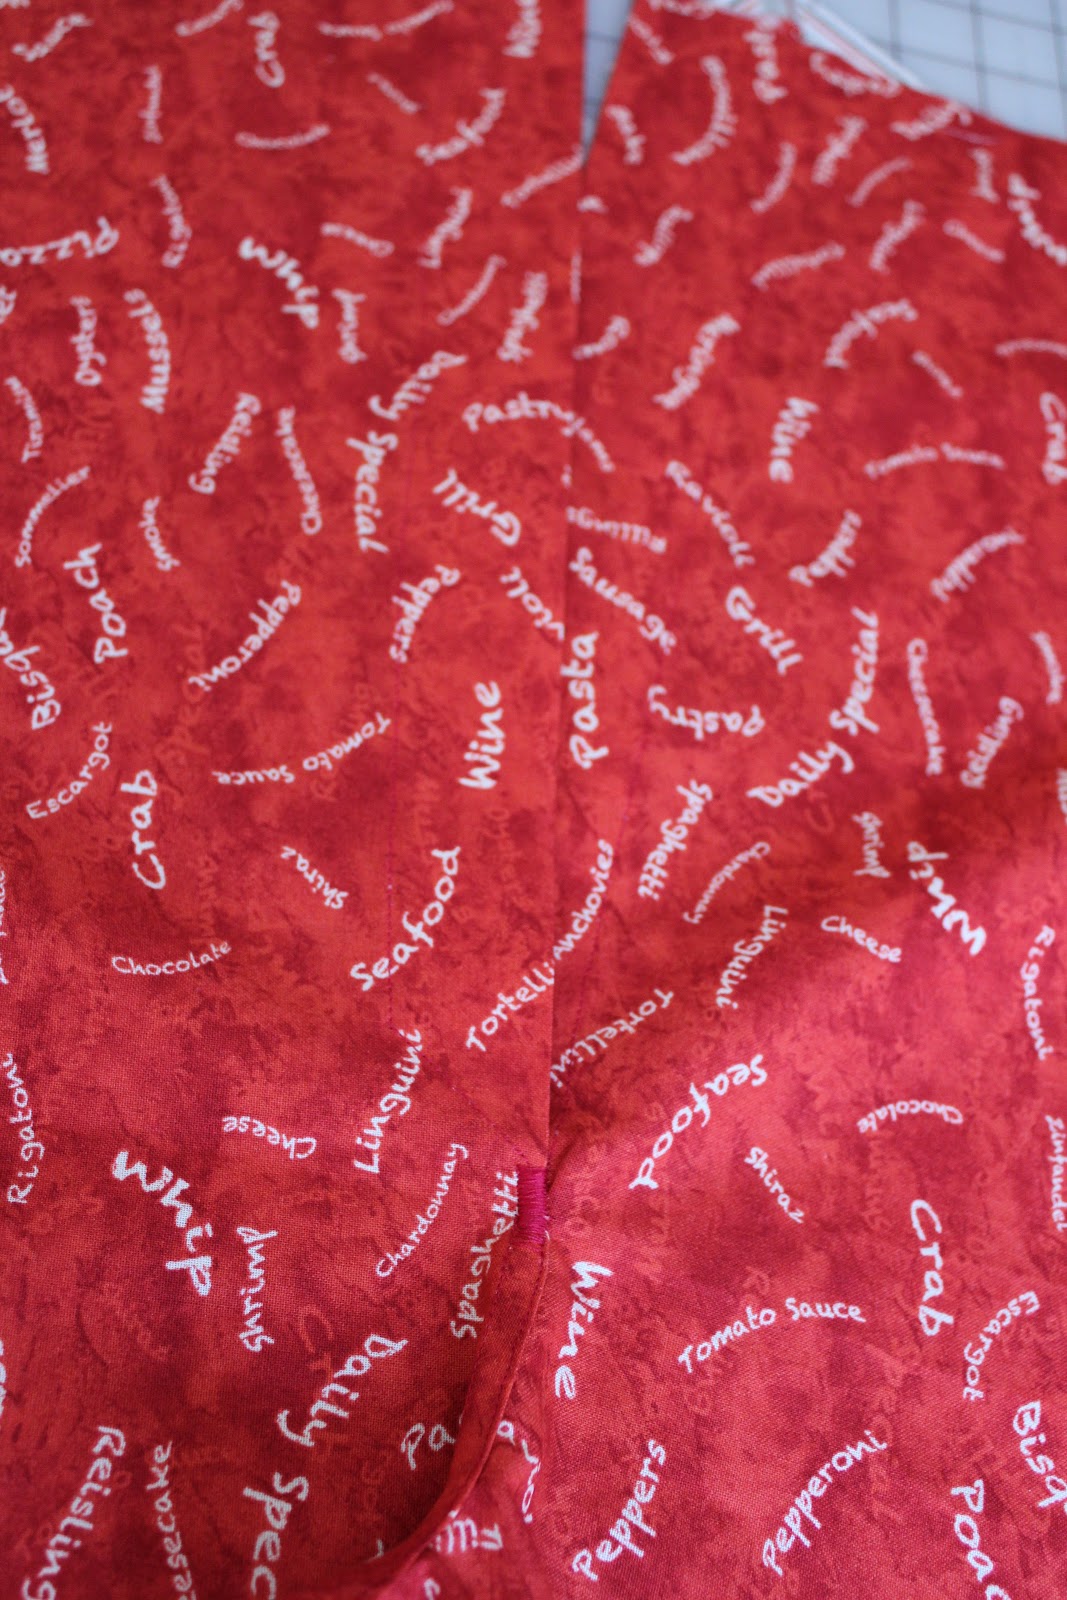
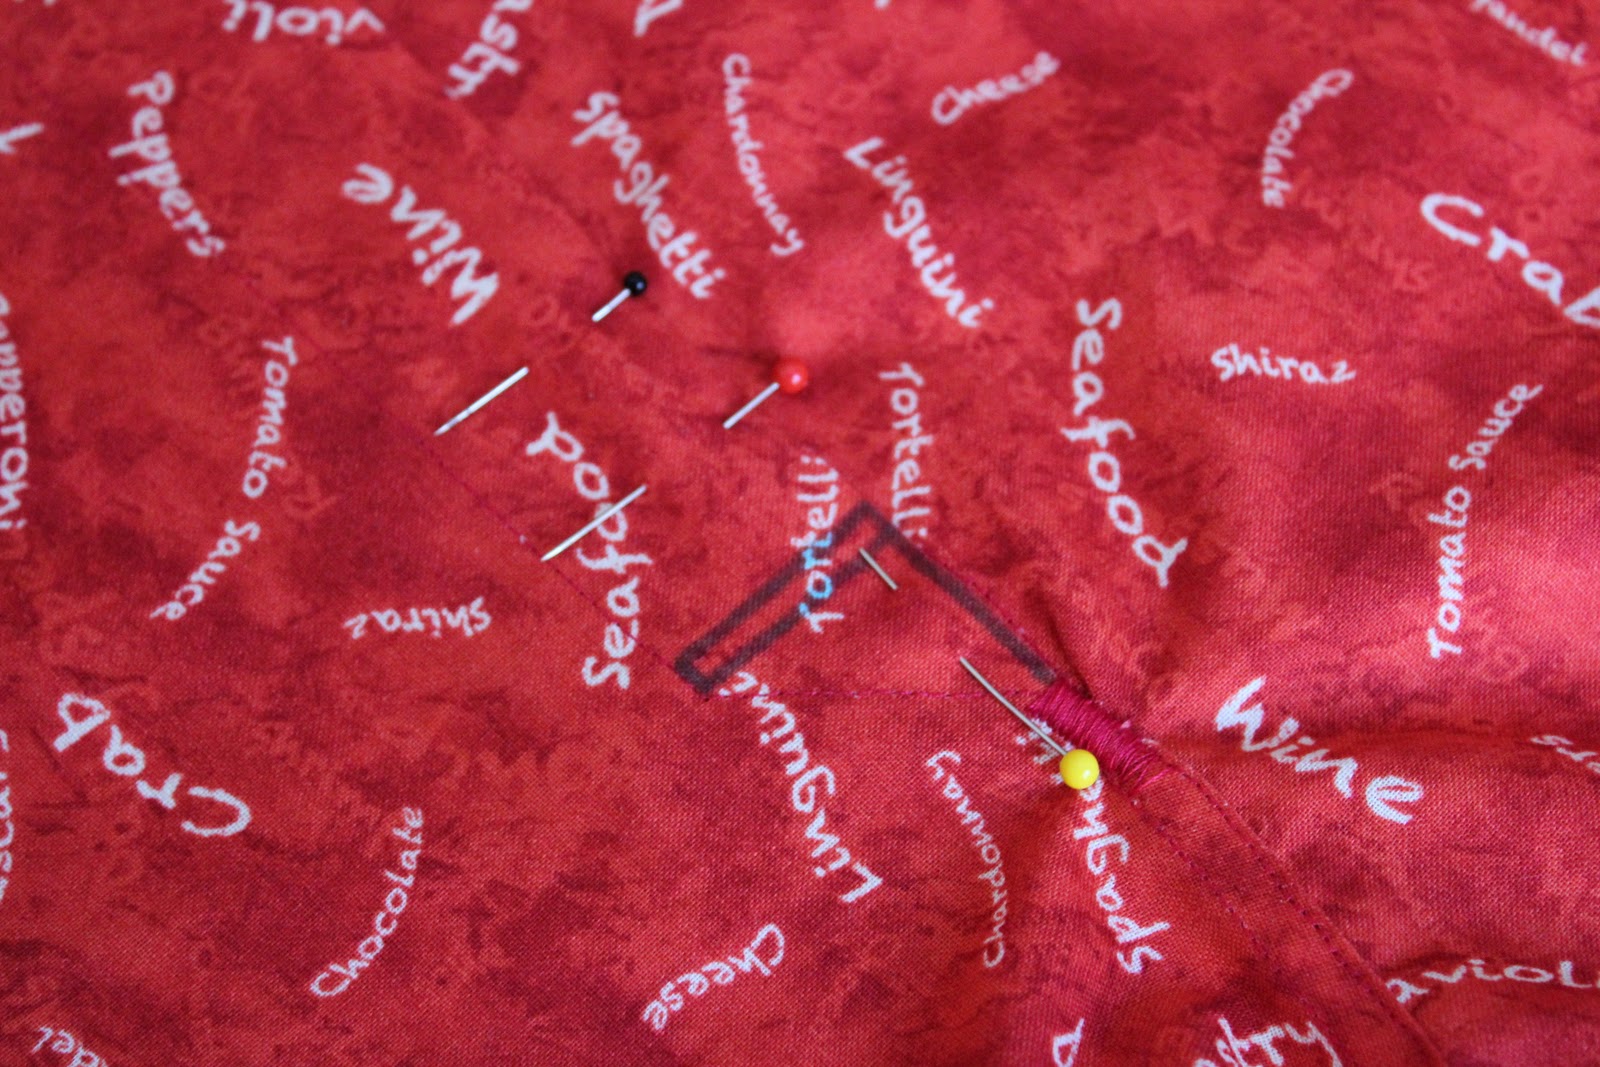
This year, I’m bringing back the tradition, with these fun boxers. Simple to make, and they will be super-comfortable because I used flat-felled seams (no raw edges)! The flat-felled seams were SUPER easy to do (in fact, probably easier than zig-zagging the edges would be).

If you’ve ever thought about giving flat-felled seams a try, trying them out on boxers is a good idea… because if they’re not “exactly perfect,” it doesn’t really matter… because who is going to see it anyway?

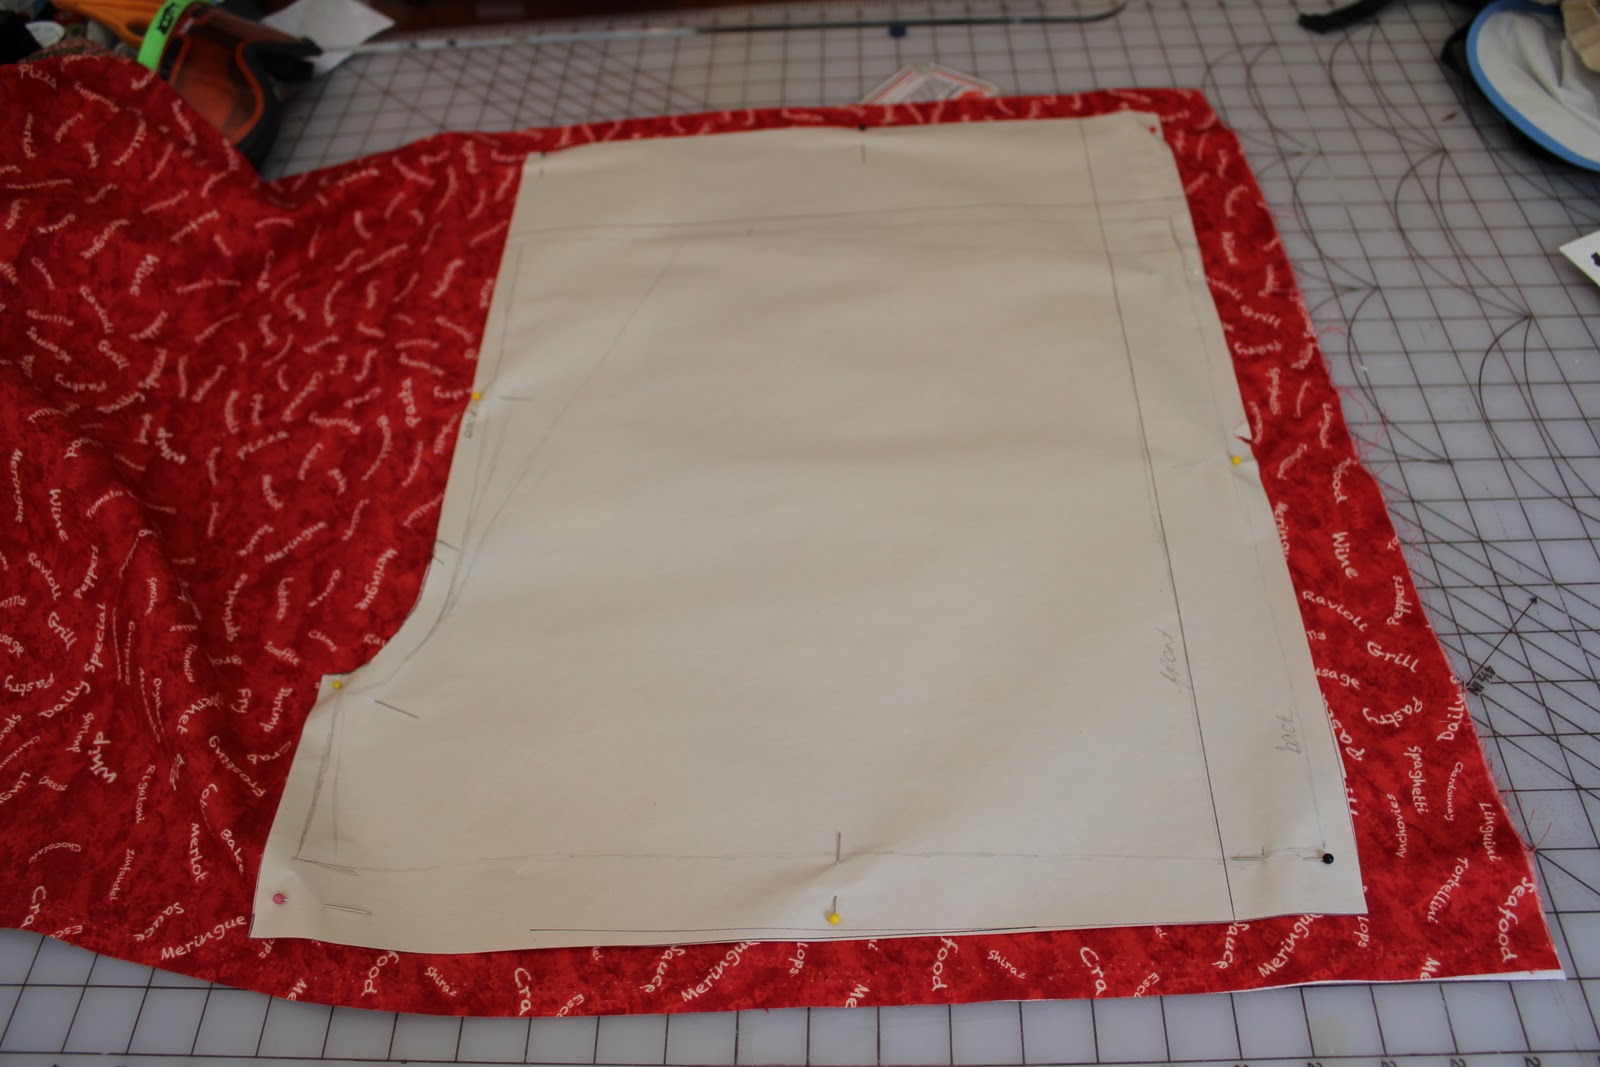
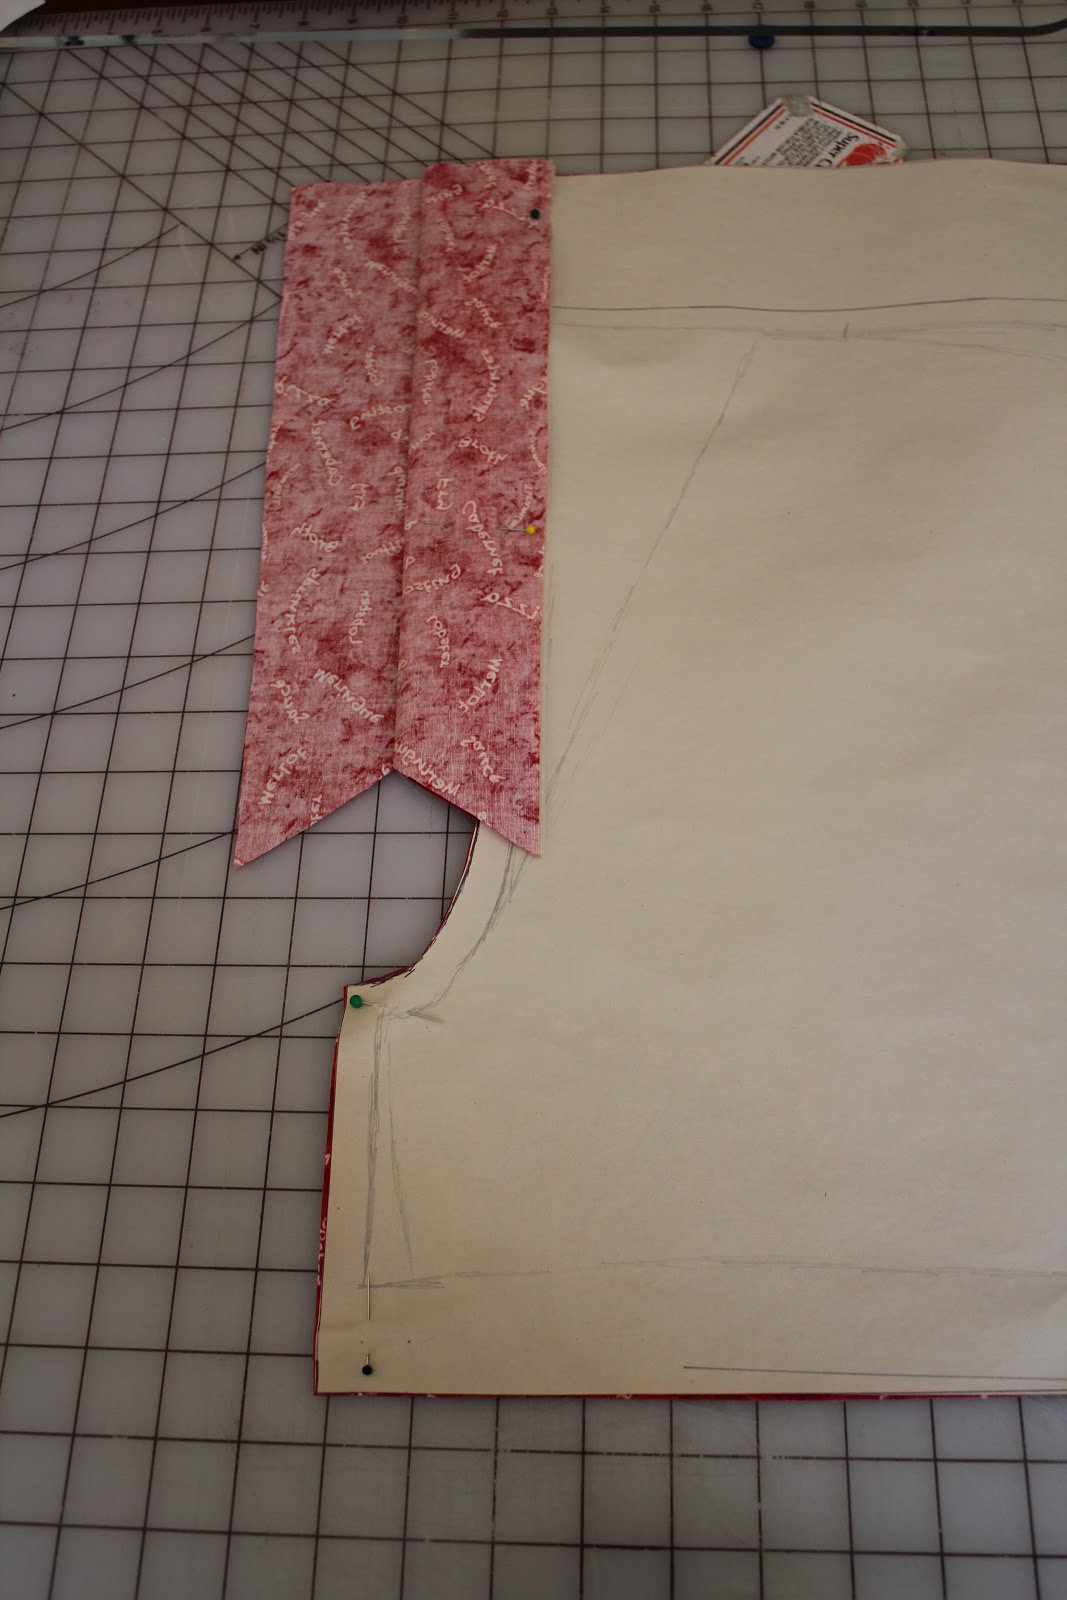
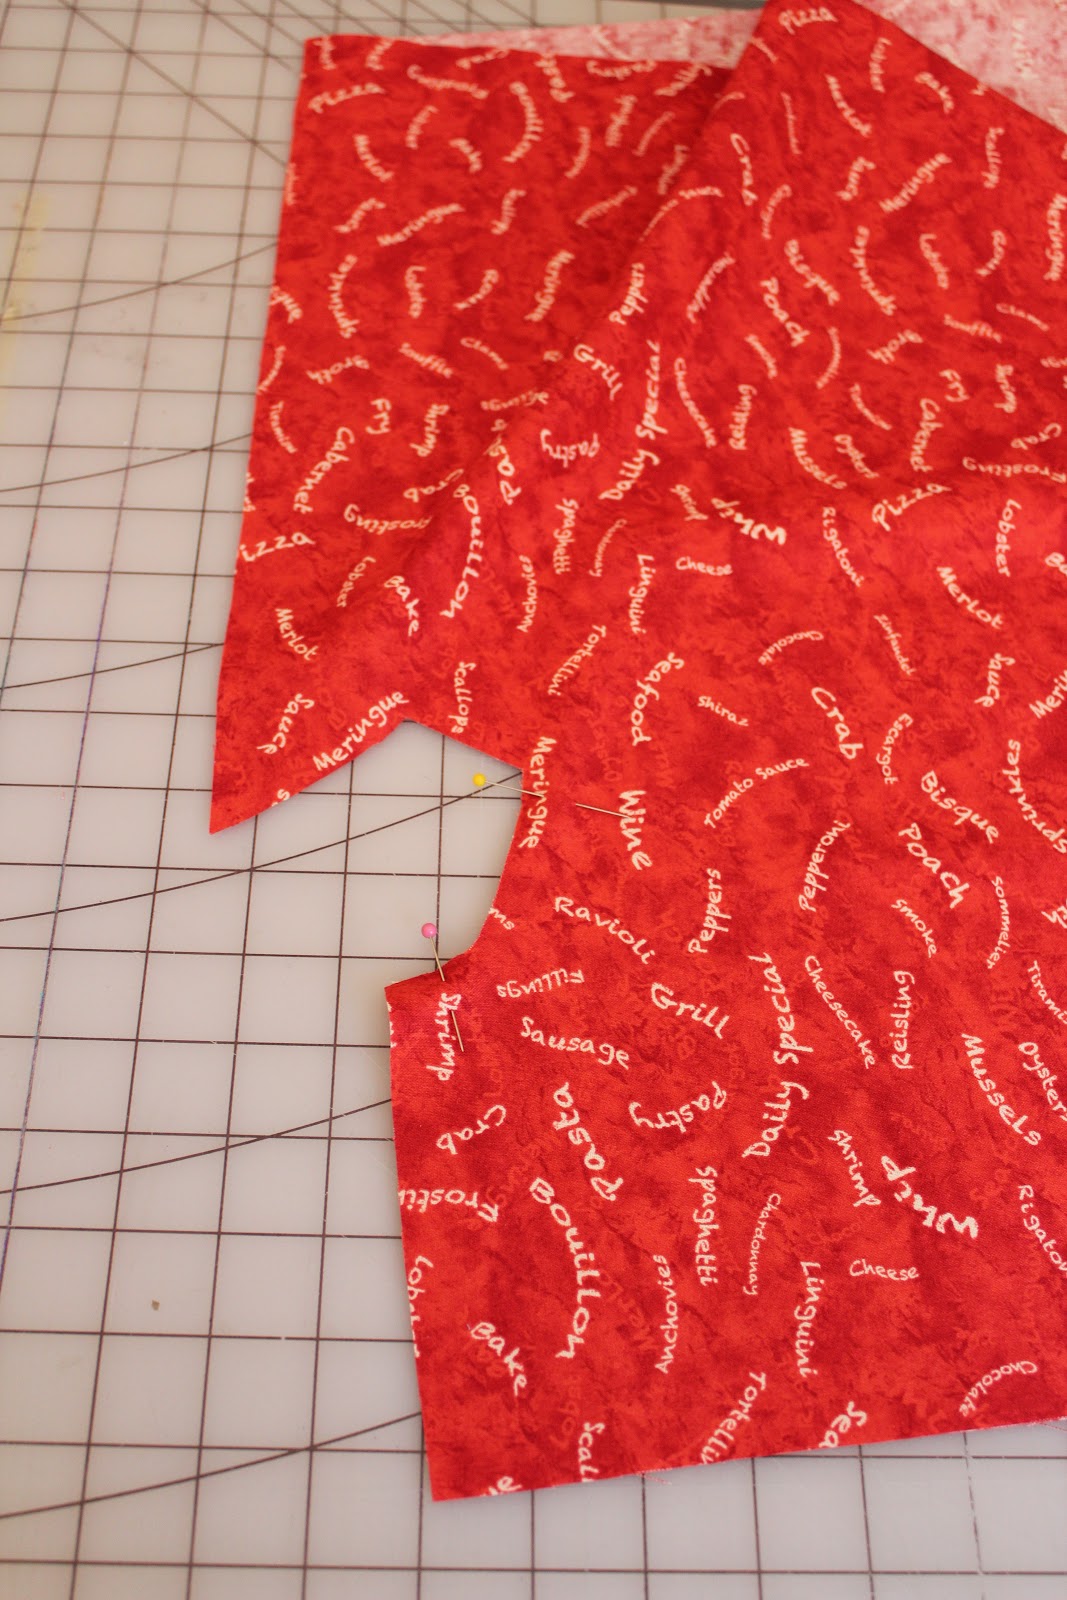
To start out, snag a pair of your husband’s boxers, turn them inside out, and trace yourself a pattern. If they’re really old, you could take them completely apart. I didn’t take a picture of this step because, although my husband very rarely reads this space, I have a feeling he wouldn’t appreciate me posting a picture of his underwear. : )

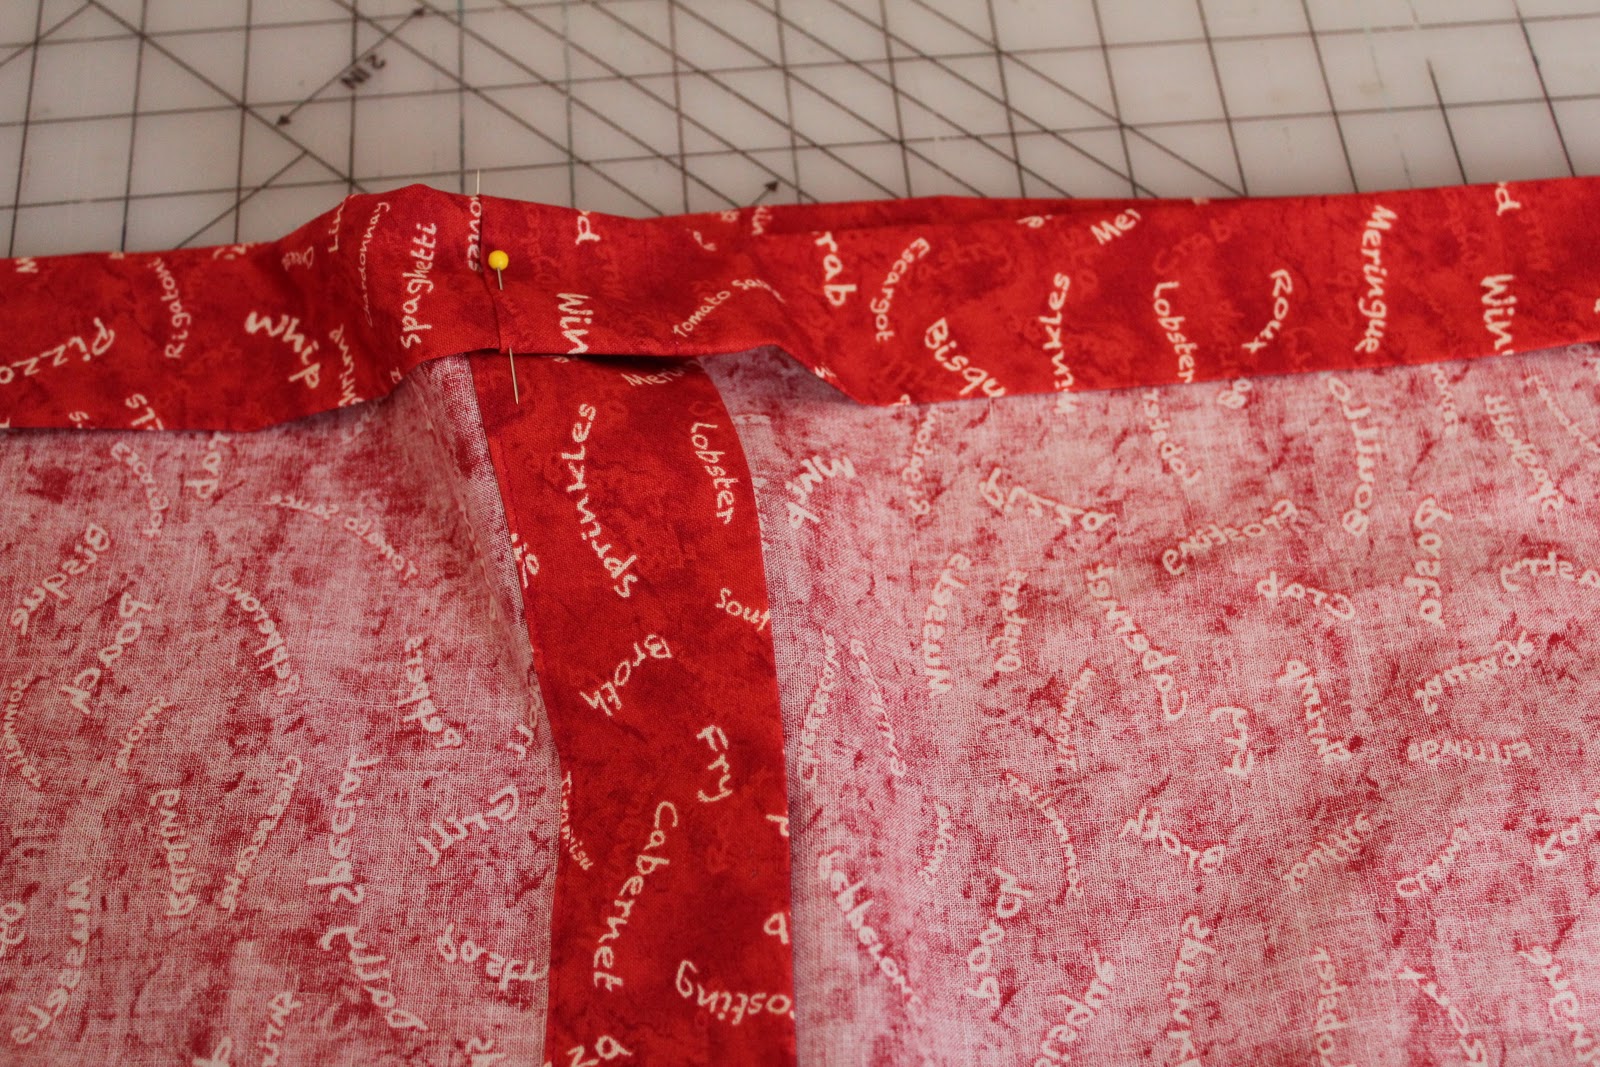
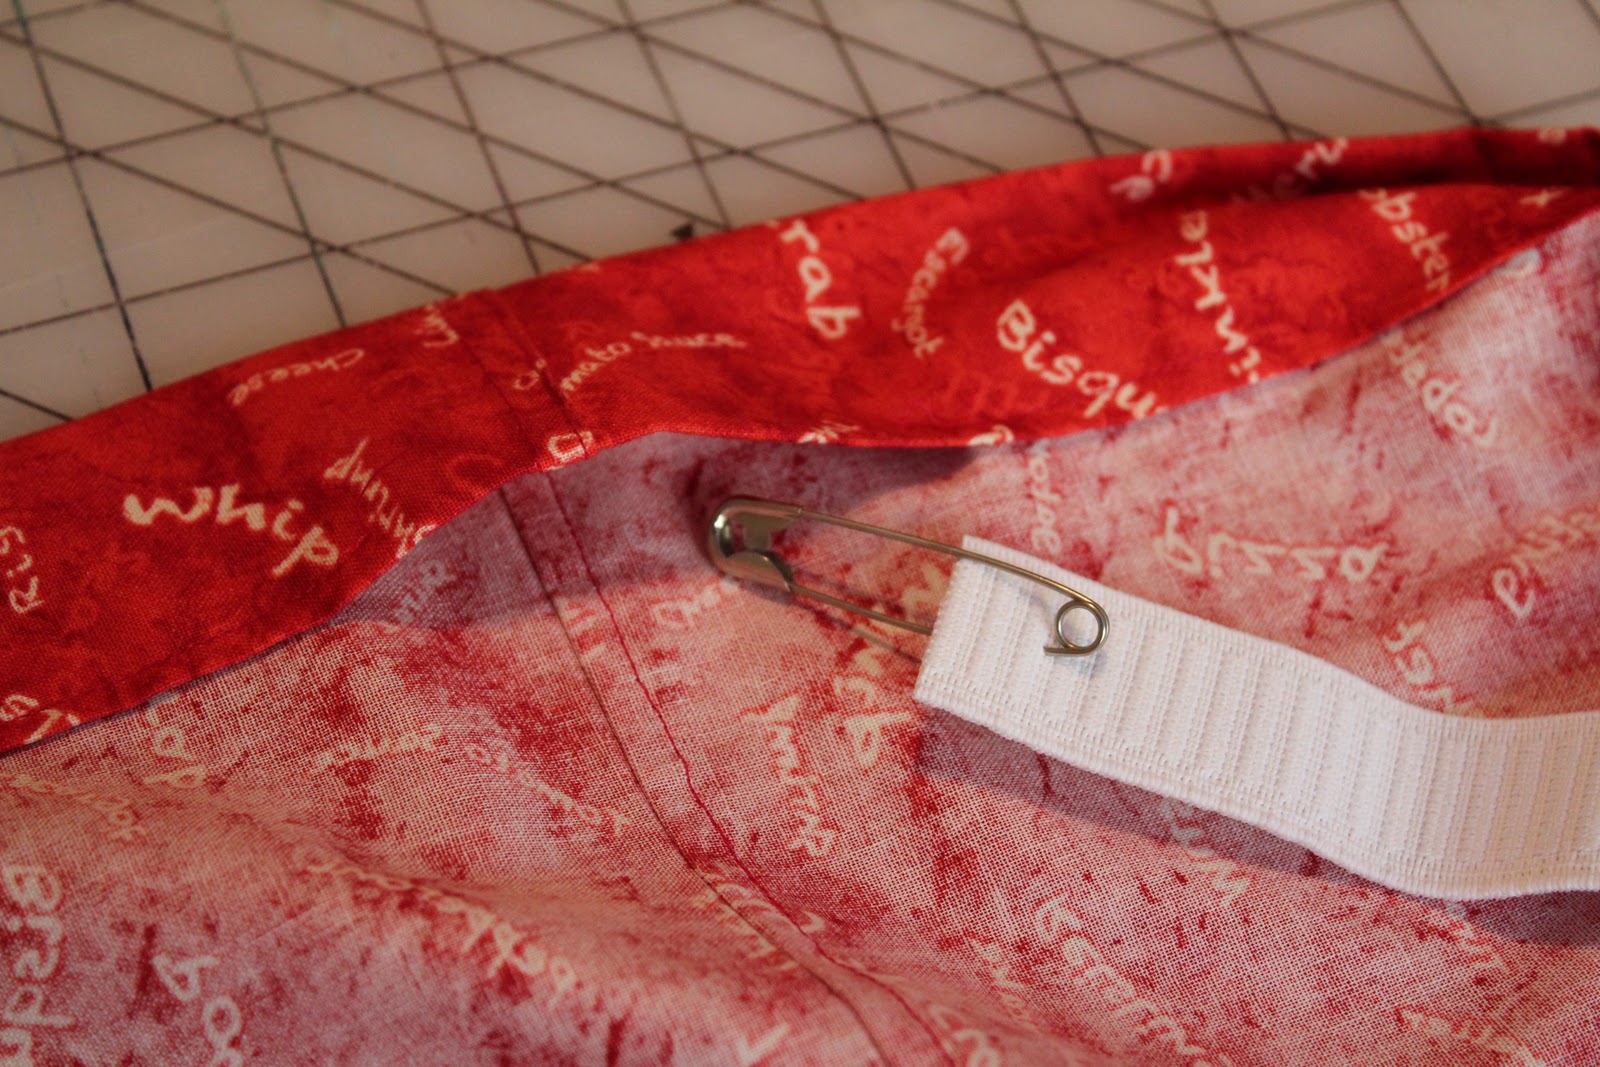
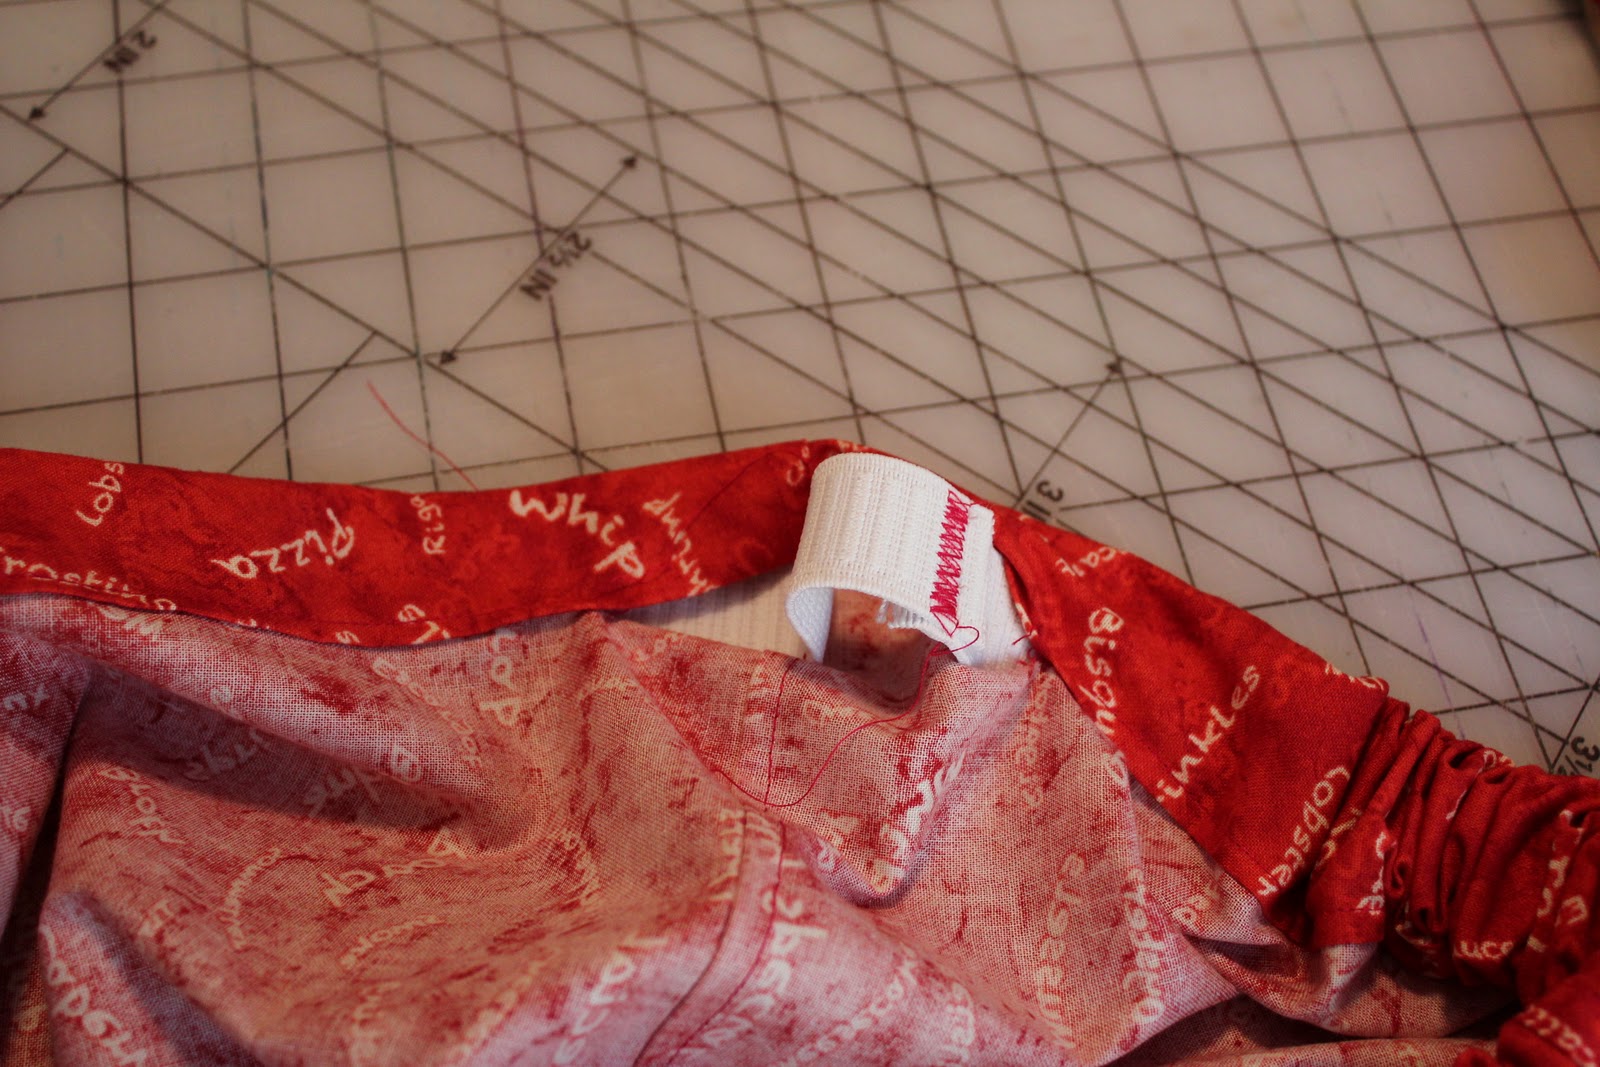
When you make your pattern, you want to make all the side and crotch seams 1/2 inch to allow for the flat-felled seam. Add 2″ to the top for the elastic casing, and 3/4″ to the bottom for the hem.

For reference, the funky bit on the left is for the fly. We’ll deal with that shortly.
Cut your pattern out of your fabric.
On the front, you’ll need one side to have the full double-piece for the fly, on the other, it only needs half, so I folded it over and cut one off.
Here’s the tricky part – put your fabric WRONG sides together, and pin down the back center seam. Your seam allowance here is 1/2″.
 
 Trim ONE SIDE of this center seam to 1/4″.
Press open the seam.
Fold under the longer edge, and press.
 Stitch down the other side of the seam, very close to the folded edge.
Now sit back and admire your work. Wasn’t that easy? Doesn’t it look beautiful? Don’t you wish you’d tried this before??
Now that the back two pieces are together, stitch the front two pieces together, just under the fly. This is a little trickier because of the curve. Just remind yourself, that this part is really never going to be seen.
Once you’ve done your flat-felled seam on the bottom, sew the fly. Start with the single flap. Fold it over and stitch the angle with a 1/4″ seam. Turn it right-side out, tuck in the raw edge, and stitch down.
Then stitch the other flap. Fold it wrong sides together, tuck in the raw edges, and stitch down. The back will look like this.
The front will look like this. Do a big zig-zag at the bottom of the fly to give it extra support… and to hide any imperfections here.
Now it is time to put the two halves together. Simple, straight flat-felled seams down each side, connecting the front and the back.
Secure the bottom of the fly with a top-stitched triangle.  The blue lines mark where I stitched mine.
 Make a casing for your elastic. Depending on the pattern you made, you may be folding down different amounts. I folded down 1/2″, then 1 1/2″s more, and stitched almost all the way around, leaving a hole for my elastic.
Thread the elastic through, using a safety pin. Make sure to secure the other end of the elastic, so it doesn’t get lost when you’re pulling the elastic through.
Sew together the two ends of elastic, then stitch your opening shut.
Last step! Finish the bottom of each leg-hole by folding up 1/4″, then 1/2″ and stitching all the way around!

Just another way to let your hubby know that he’s loved and appreciated…

Always,
C. Moore

Linked up to:

The Girl Creative

posted in: Uncategorized

Previous
Red Week – 80s Flashback
Next
Red Week – Kiss Roses

Reader Interactions

    Leave A Reply! Cancel reply

    Share your thoughts!
    Your email address will not be published. Required fields are marked with *

    This site uses Akismet to reduce spam. Learn how your comment data is processed.

    Comments & Reviews

  1. terrybaz says

    February 20, 2013

    These are so cute! Thank you so much for showing the flat felled seam. I haven’t sewn much for a long time because I just don’t like the raw edge and don’t sew enough to justify a serger. You may have renewed my hobby! Thank you again!

    Reply

Primary Sidebar

Hi, I'm Carolina!

I’m a Quilt Pattern Designer, Award Winning Quilter, and fan of all things quilting. I live in San Diego with my husband, our two boys and our pets. I love keeping both my hands and mind busy, so I’m always working on lots of projects. You’ll find lots of them shared here!

More About Me

Let's Keep In Touch!

I'll let you know about what's new in quilting, freebies you'll want to snag, and brighten your inbox about once a week!

subscribe
90% Faster Than Rotary Cutters

Fat Quarter Shop Quilting Fabrics and Supplies

Instagram Facebook Pinterest YouTube

Recent Posts

  • Flying Pig Quilt Block
  • Bunny and Carrot Quilt Block
  • Free Fancy Drink Quilt Block
  • Dutch Row Houses Quilt Block
  • Quilted Sports Jersey Numbers

Archives

Featured Projects

  • Everything you want to know about Pre Cut Fabrics!
  • Scrappy Placemat - easy to make scrap project
    Scrappy Placemat using Strips and Scrap Tape
  • Sewing Kaleidoscope SVG File
  • Drawstring Backpack
  • Carolina holding fabric marking pens
    Choosing Fabric Marking Pens

Let's Keep In Touch!

Brighten your inbox about once a week!

Always Expect Moore Submark Shop Patterns

Browse

  • Ruler of the Month
  • Quilty5k
  • QuiltMath
  • Cricut Maker BOTW

Shop

  • Digital Download Patterns
  • Quilting Notions
  • Quilt Stickers
  • Quilt Tees

Connect

  • YouTube
  • Instagram
  • Facebook Group
  • TikTok
©2025, Always Expect Moore. All Rights Reserved. About Disclosures
Back To Top
Design by Pixel Me Designs
×

Let's Keep In Touch!

I'll let you know about what's new in quilting, freebies you'll want to snag, and brighten your inbox about once a week!