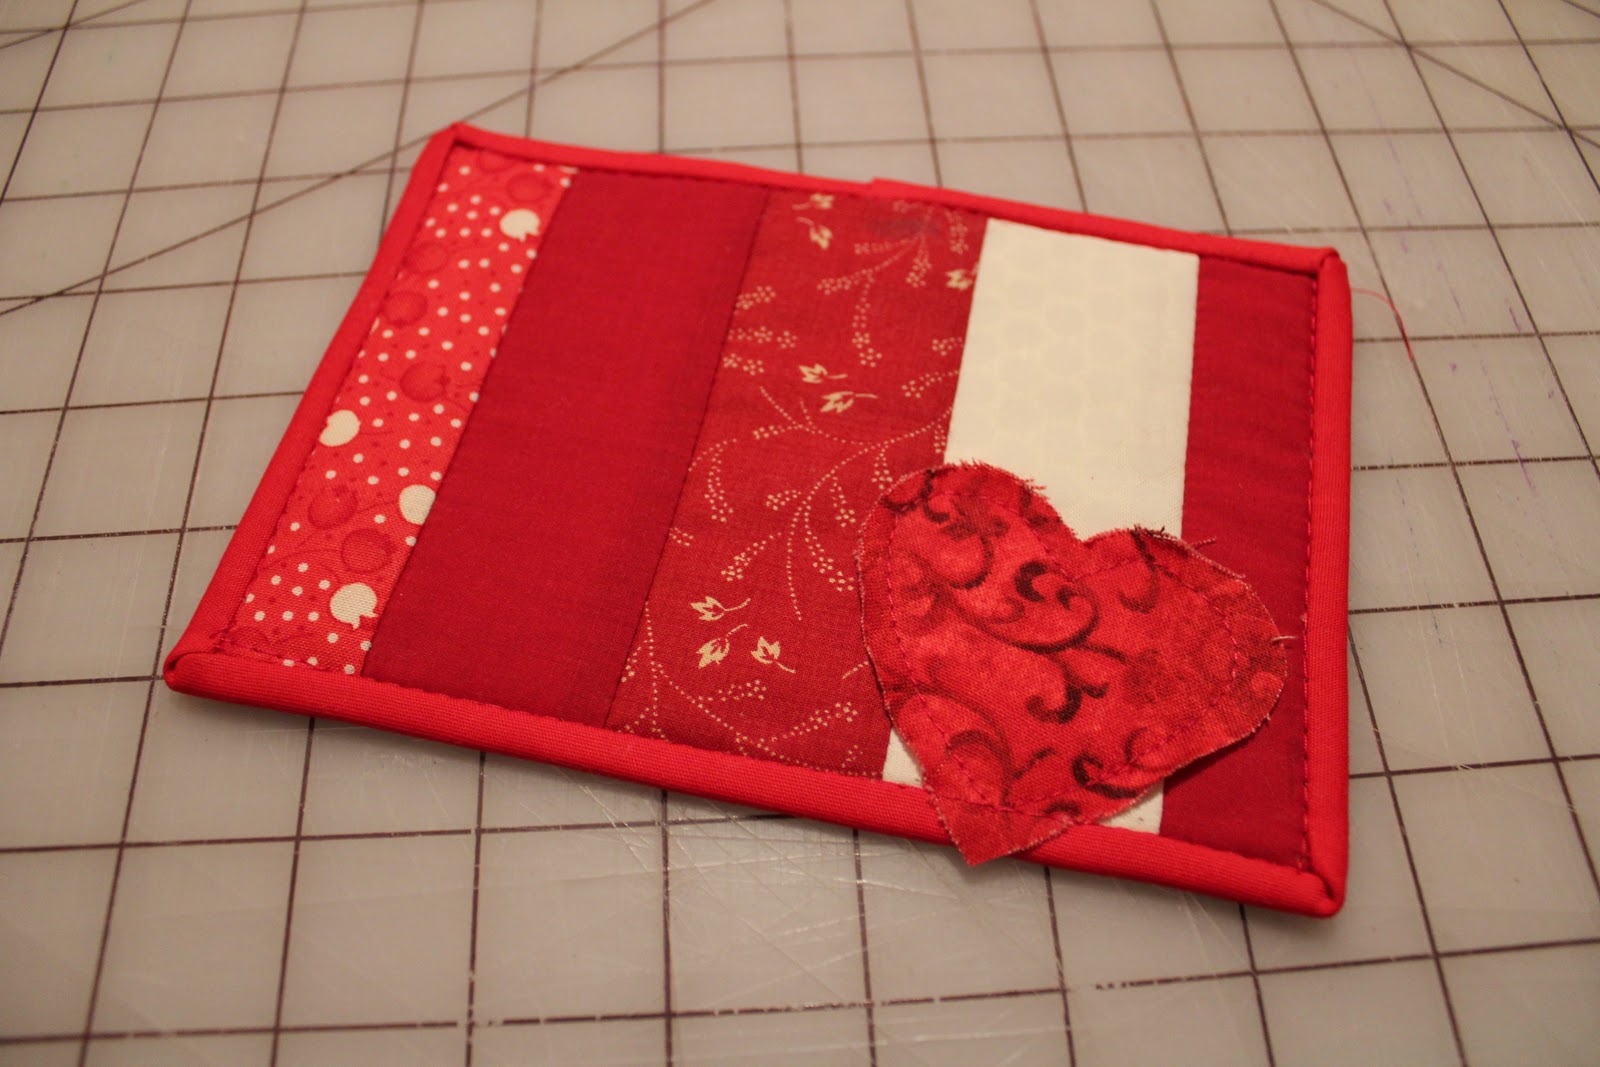
 Do you remember when Valentine’s Day meant cards? Then people decided that this was “just another Hallmark Holiday” and we stopped sending cards… well, I say we take back the holiday! We fill our friends’ mailboxes with fun things… so they find more than just bills and junk mail. Here is a quick and easy way to turn some fabric and batting scraps into a little mailbox love.
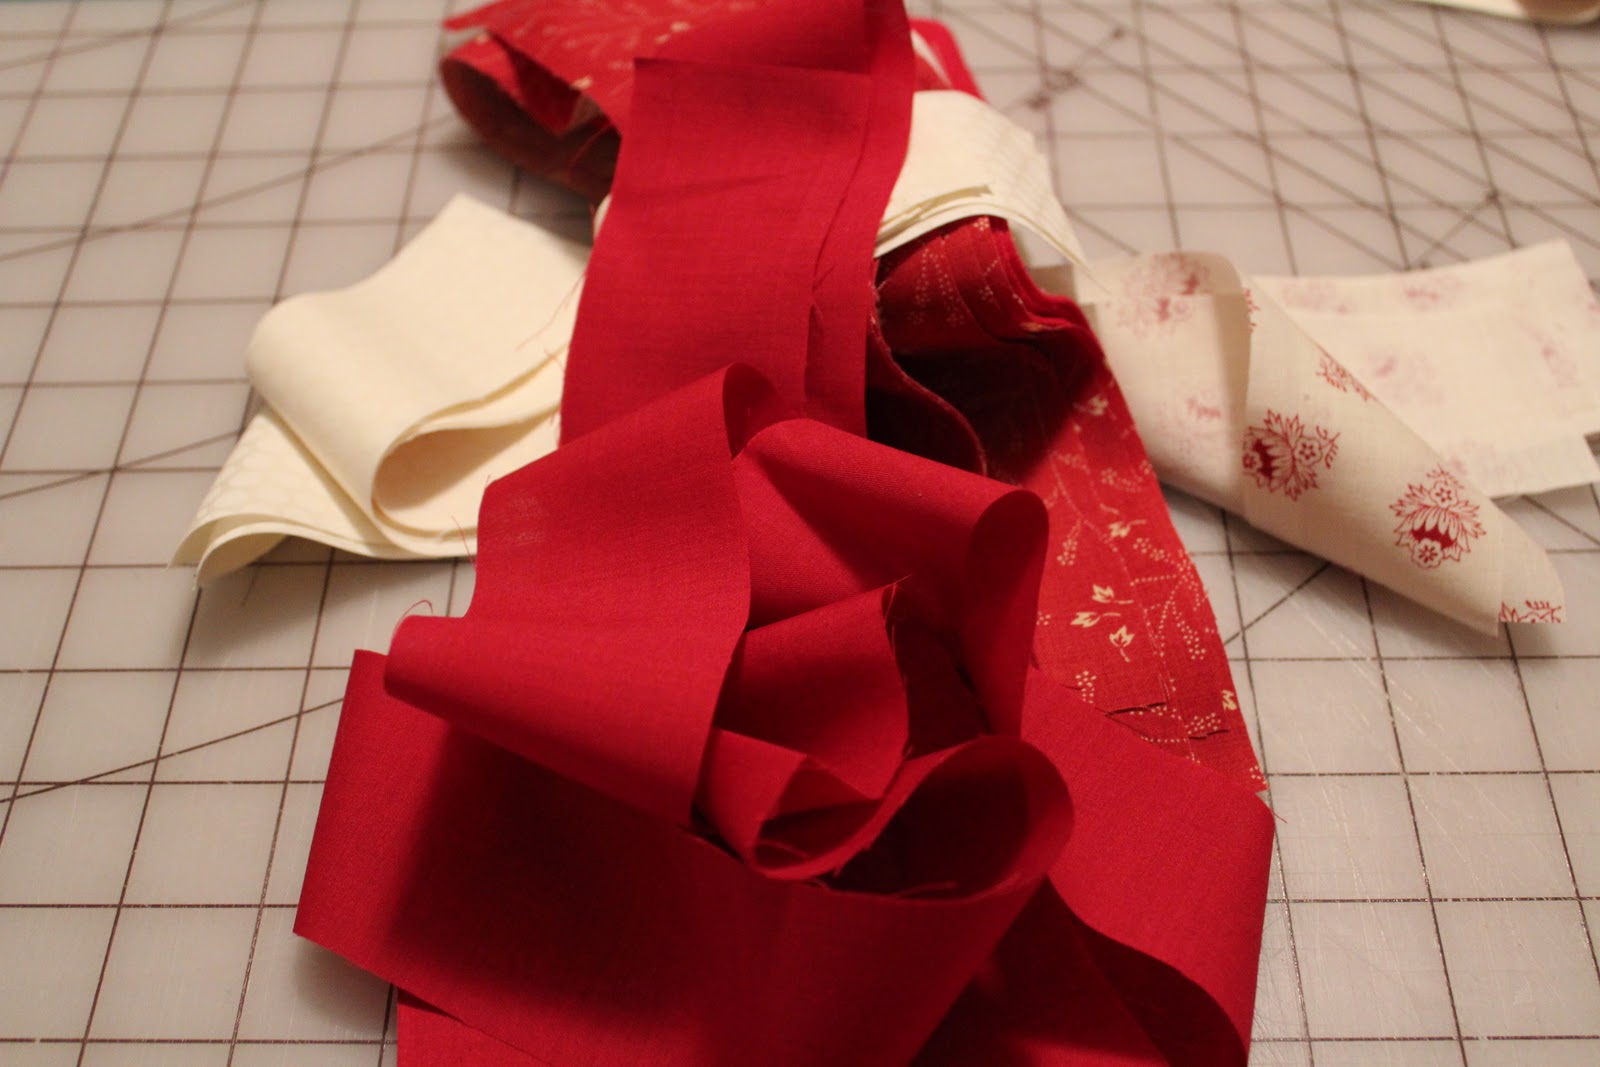
You’ll need: Fabric strips (mine were all 2″, but any size, even different sizes would work); index cards; batting scraps (at least as large as your index card), glue; and a scrap of fabric for the heart.
Start out by collecting your fabric strips:
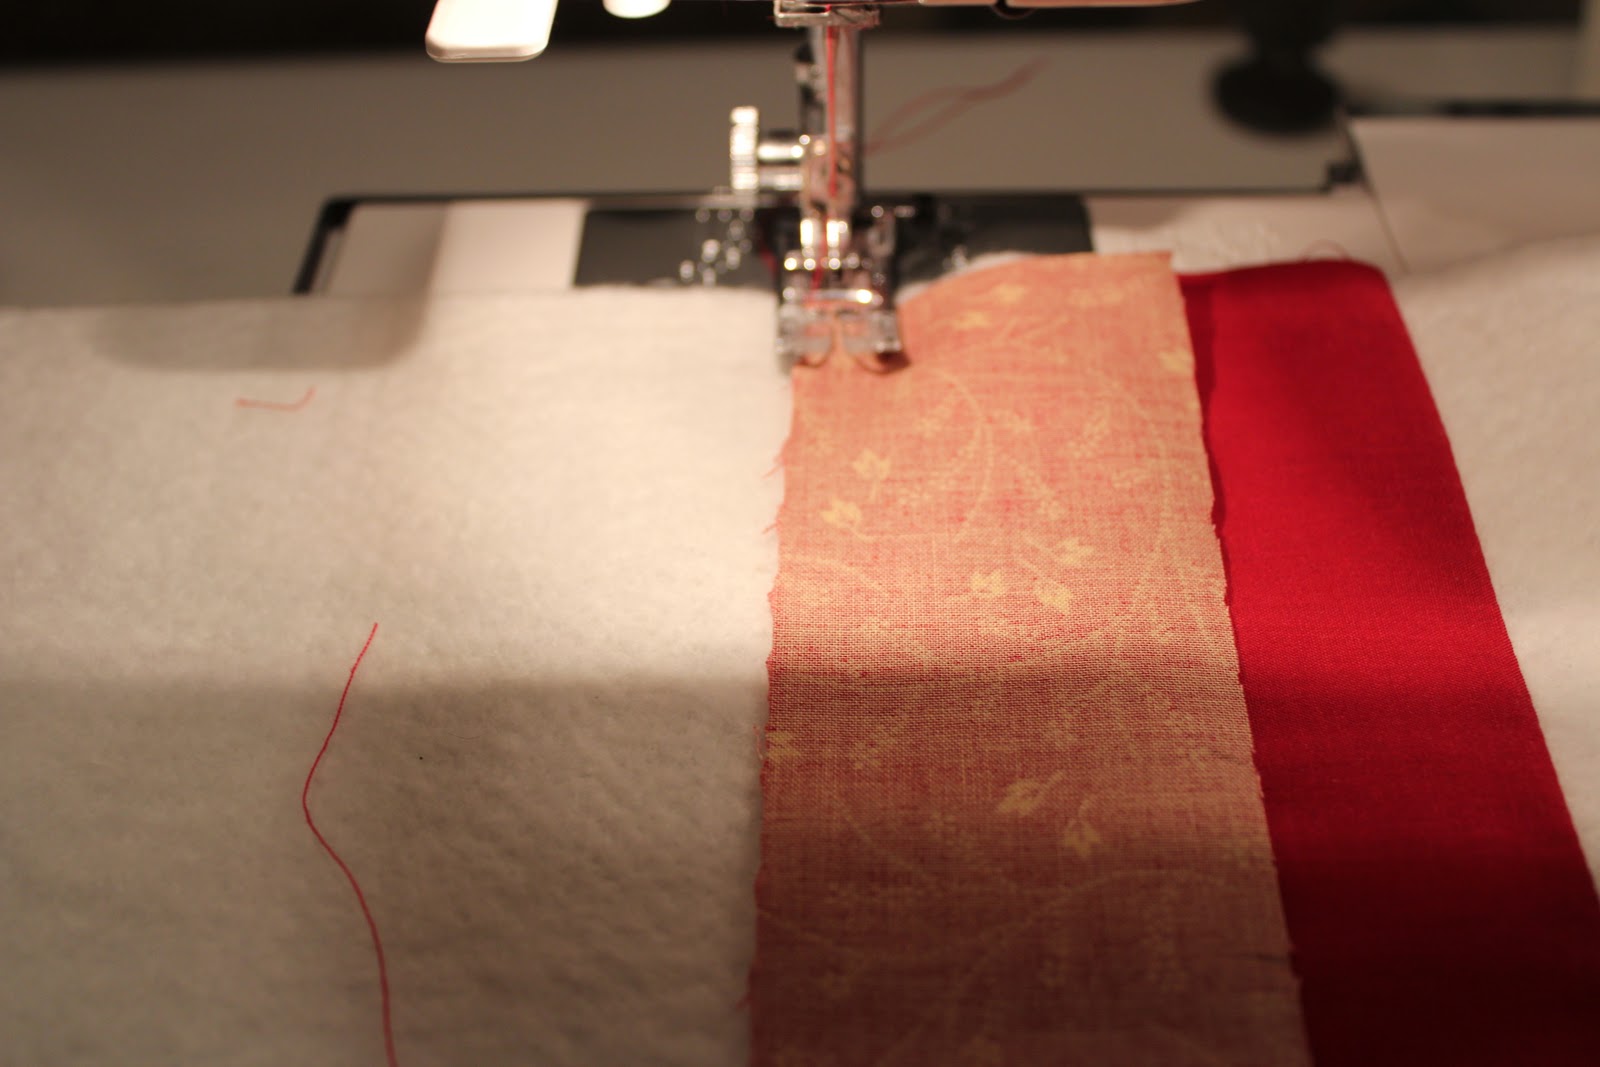
Stitch one strip down onto your batting. You don’t need any backing on this, so just your strip and your batting here.

Flip over your strip and iron down, then add another strip on the raw edge and stitch. Repeat this process until your piece is big enough.
You’ll know it is big enough when it is bigger than your index card.

If you used long strips and a larger piece of batting, you might get two cards out of one piece!
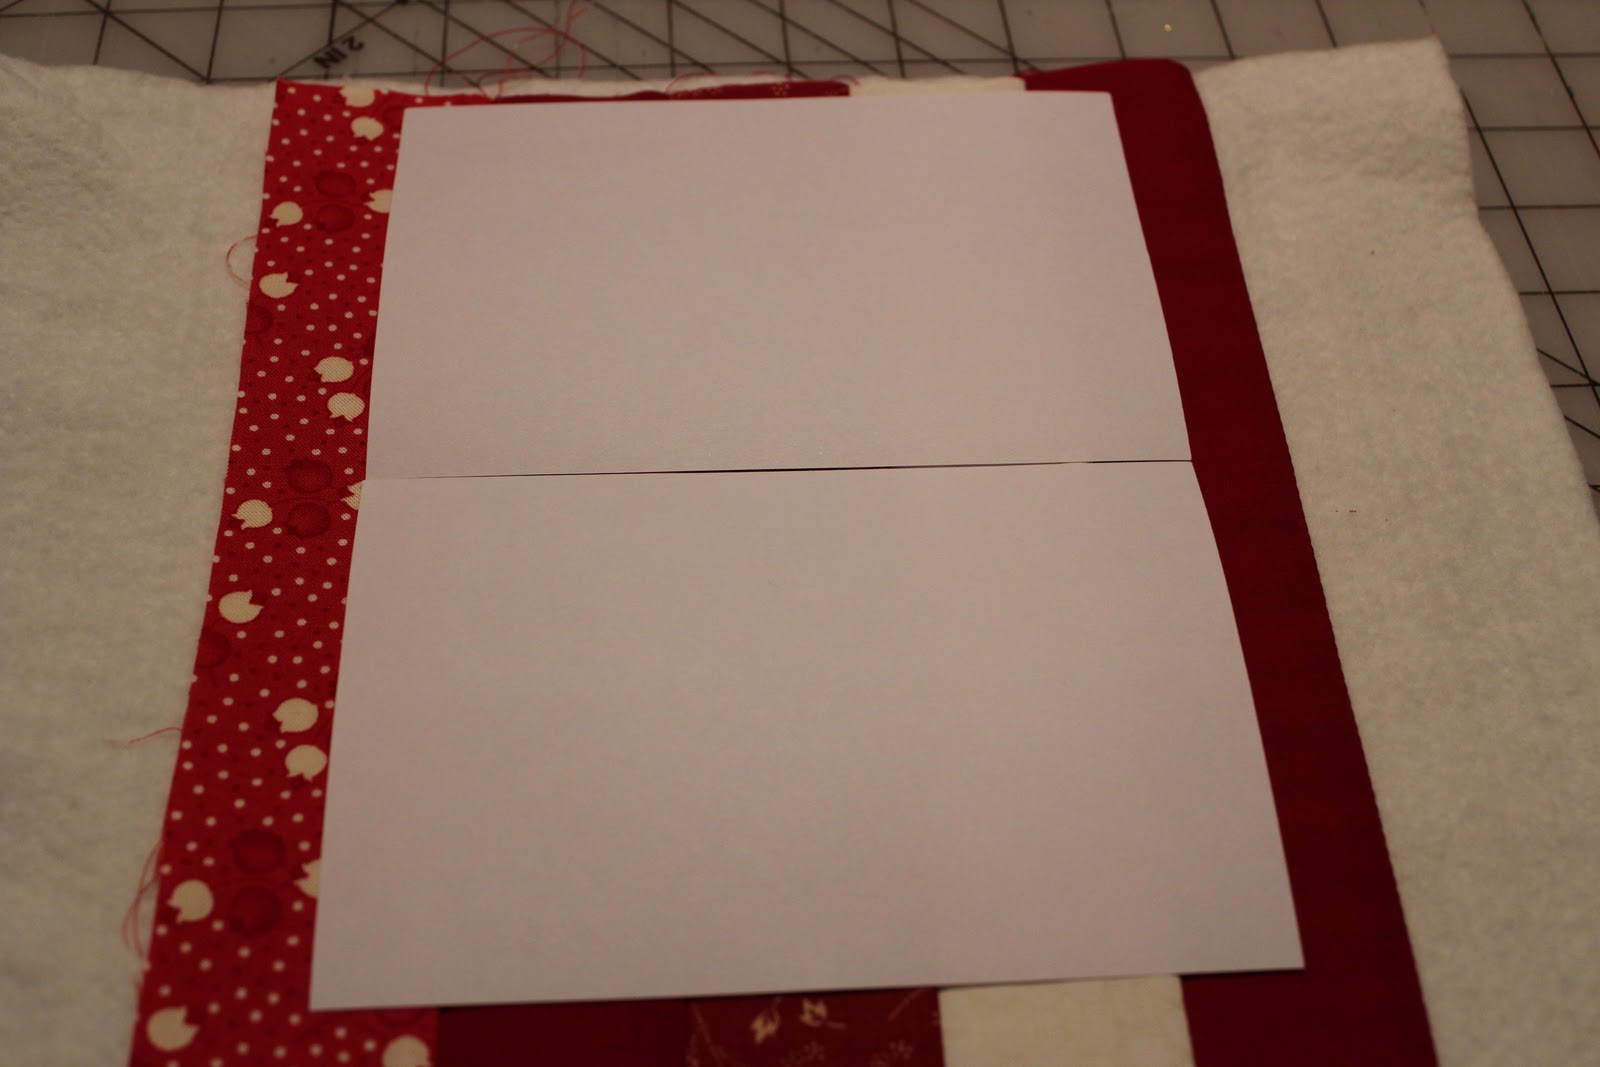
Cut the pieces so that they are 1/4 inch all the way around bigger than your index card (that would be 1/2 inch wider and 1/2 inch taller than the index card, for those who are afraid of math).

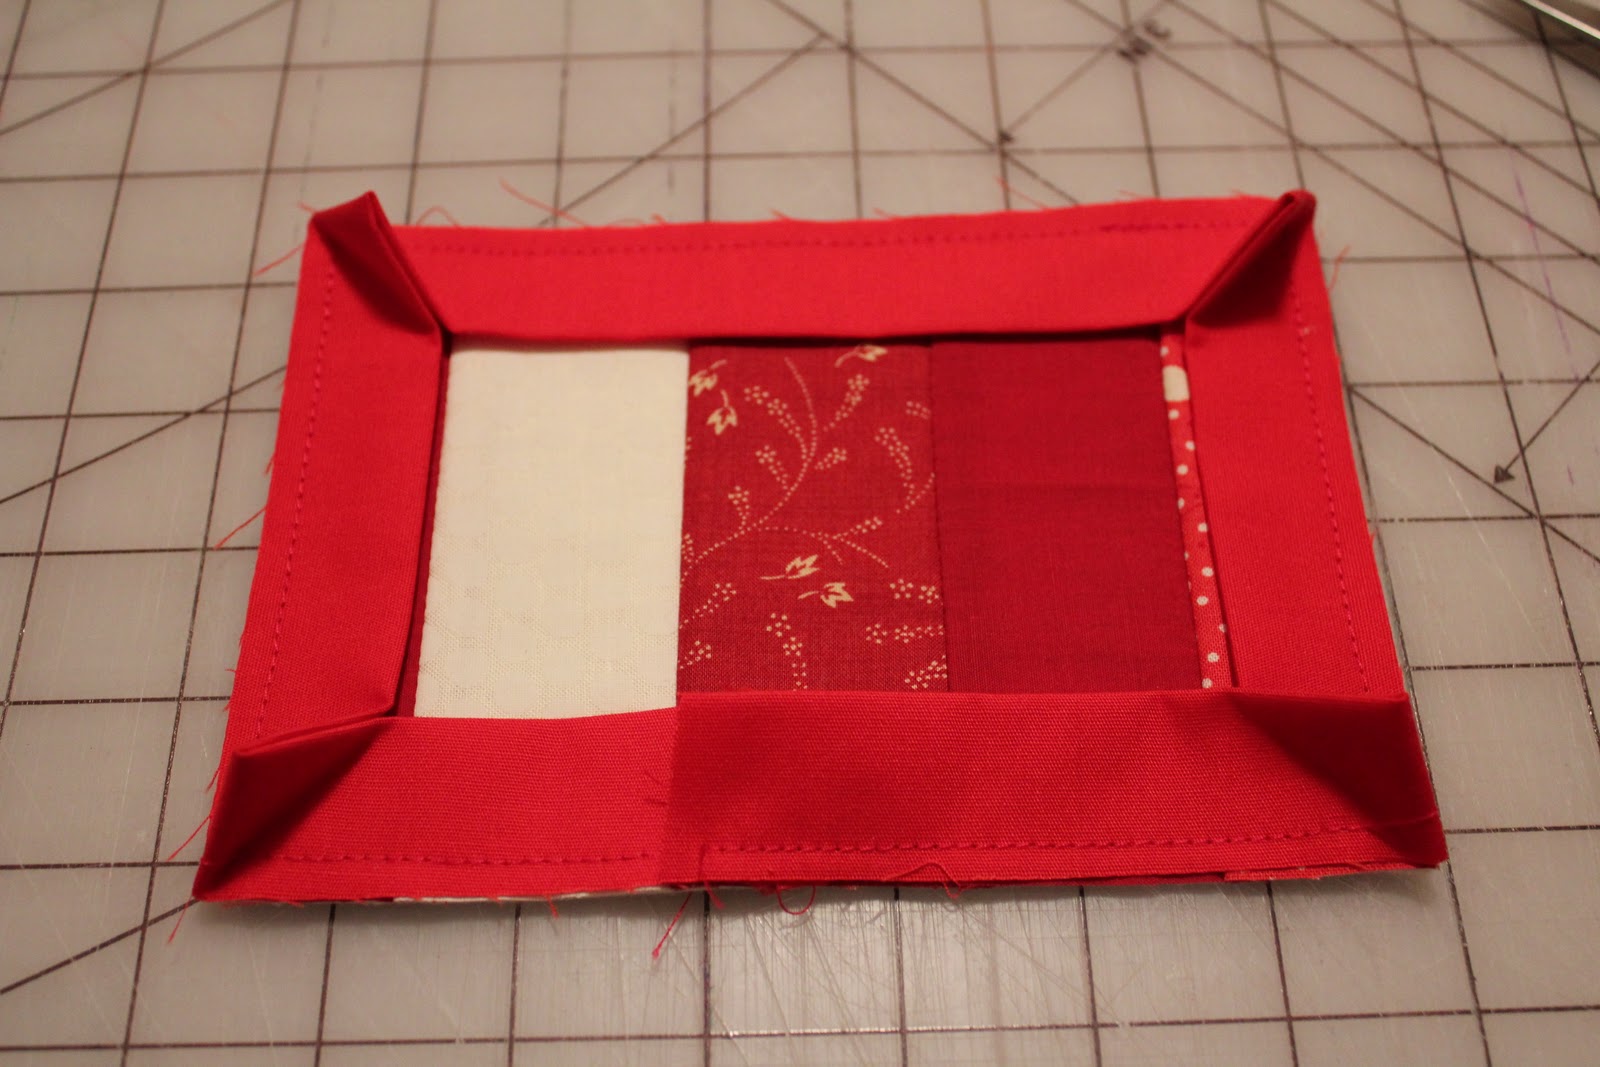
Take a 2″ strip, iron in half for your binding, and stitch all the way around, using a “scant 1/4 inch seam” (that means a little less than 1/4 inch). The raw edge of your binding should match up with the raw edge of your postcard quilt here.

Once the binding is sewn on, it will look like this:
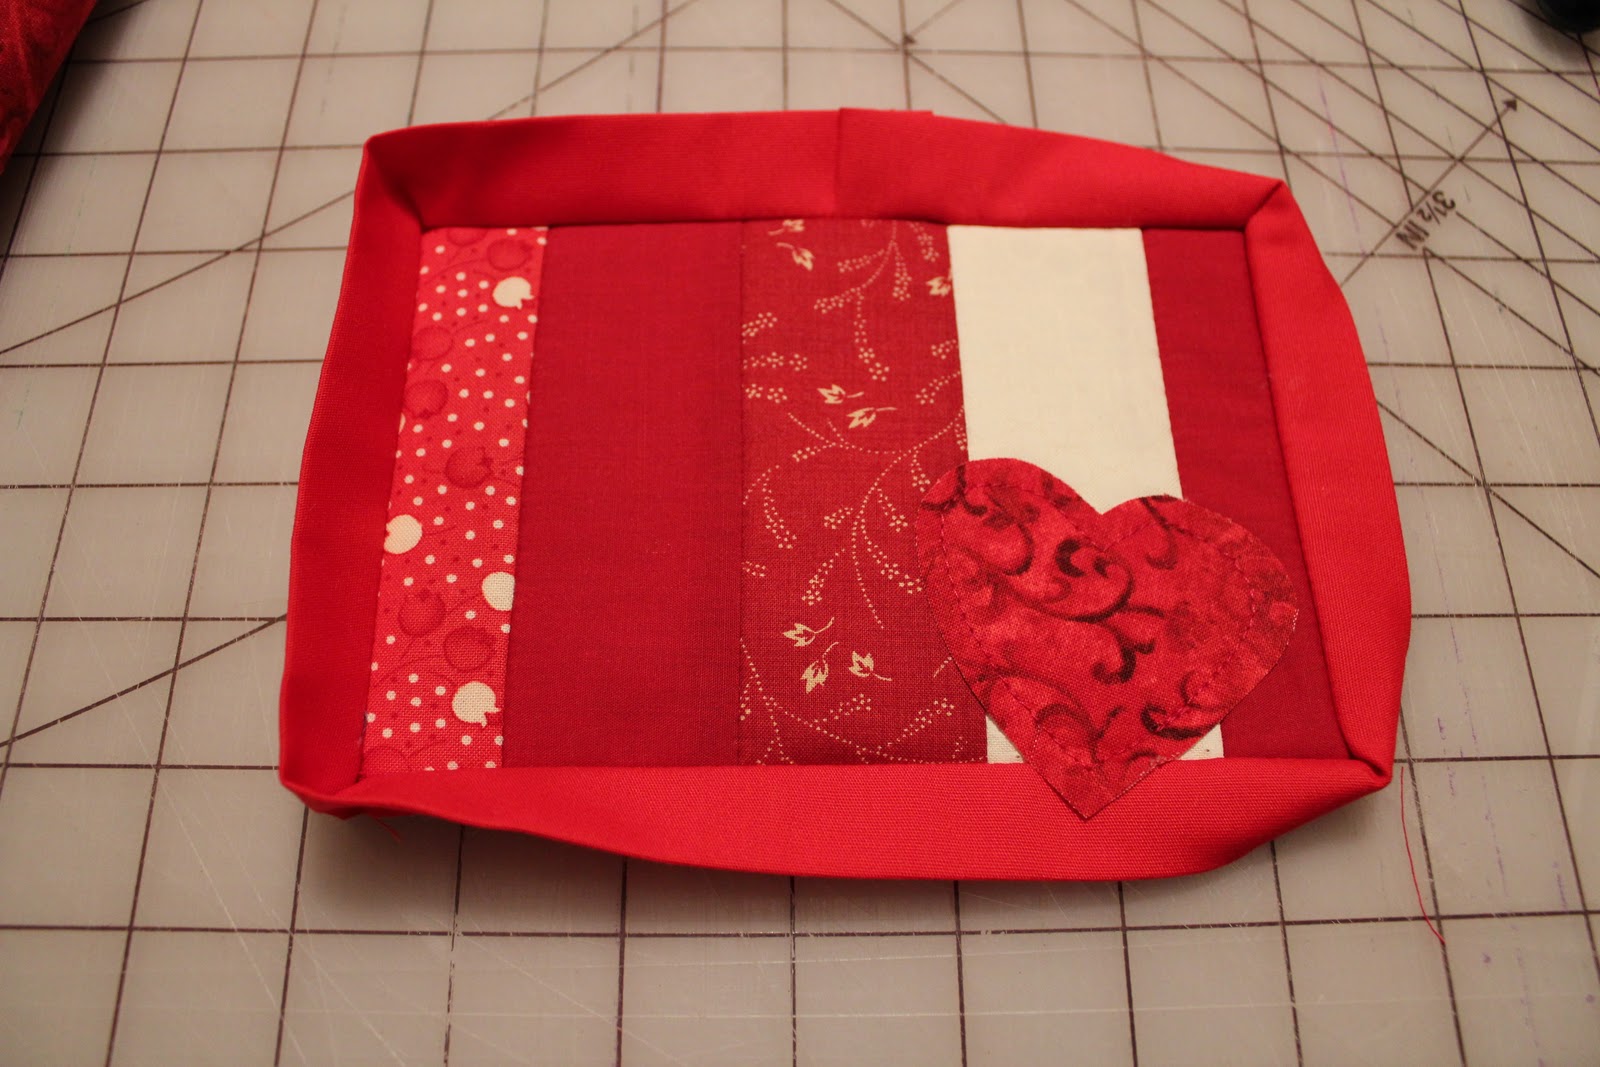
Cut out a little heart for embellishment.

Stitch the heart on, using about a 1/4″ seam. Leave the edges raw, this gives it some texture.
Glue the index card to the back of the postcard quilt. This is the glue I used.

Then add glue at each of the edges to fold down your binding.

Glue all four sides. My glue is still a little wet here. This should be enough to hold it through mailing… but I got worried, so I flipped the card over and stitched-in-the-ditch around the card, in the ditch made by the binding, to secure it better. I used a big stitch so that I wouldn’t weaken the paper (kinda defeating the purpose).

Now all I have to do is figure out who I’m going to mail it to…
This was super-easy, and I made two in about an hour!! So, pull out your scraps and have fun making postcard quilts!
See you tomorrow for more RED… and have you checked out the awesome RED projects over at So You Think You’re Crafty? Holy Cow! How to pick a favorite out of the beautiful sea of RED!! Let me know if you’re able to pick just one…
Always,
: ) Moore

Leave A Reply!