• Skip to primary navigation
  • Skip to main content
  • Skip to primary sidebar
Home About Subscribe Summer Sew Camp Disclosures

Always Expect Moore

Quilts & Pattern Design

  • Cricut Maker BOTW
  • Quilty5k
  • Gallery Wall QAL
  • Trunk Show
  • Guild Resources
  • Pattern Shop
  • Free Patterns
Home About Subscribe Summer Sew Camp Disclosures
  • Cricut Maker BOTW
  • Quilty5k
  • Gallery Wall QAL
  • Trunk Show
  • Guild Resources
  • Pattern Shop
  • Free Patterns
Home » Blog » Uncategorized » Simple Ruffle Headband – Headband Week

Simple Ruffle Headband – Headband Week

Created On: March 2, 2012  |  Updated: March 2, 2012  |   Leave a comment

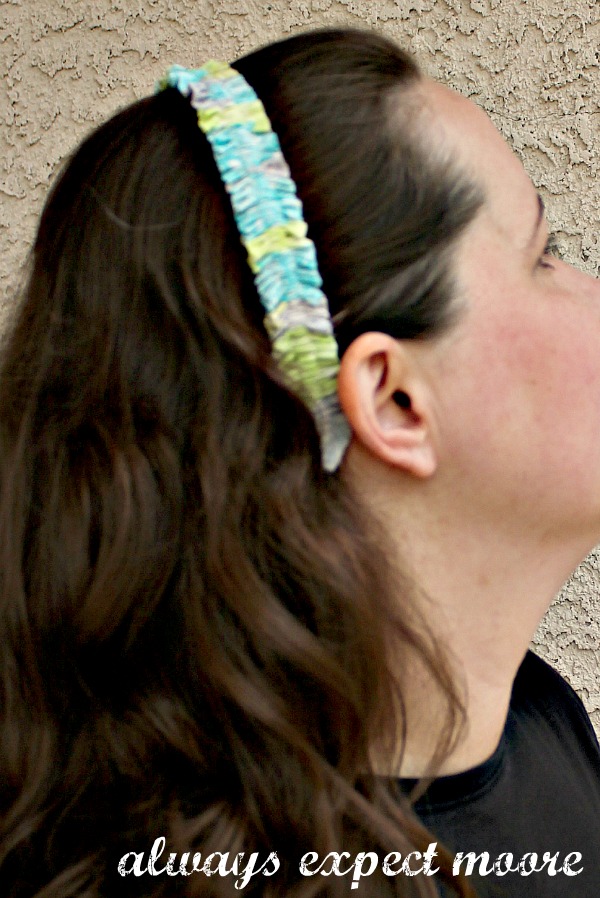
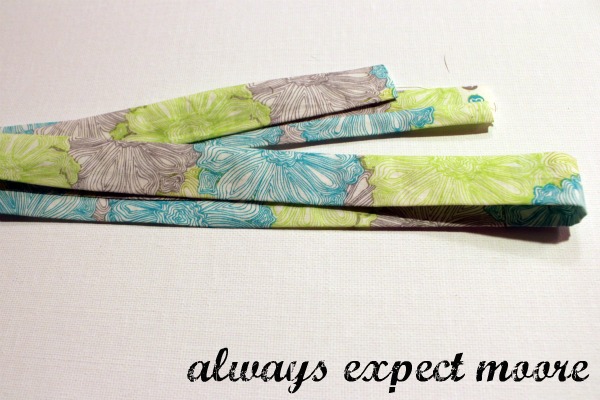
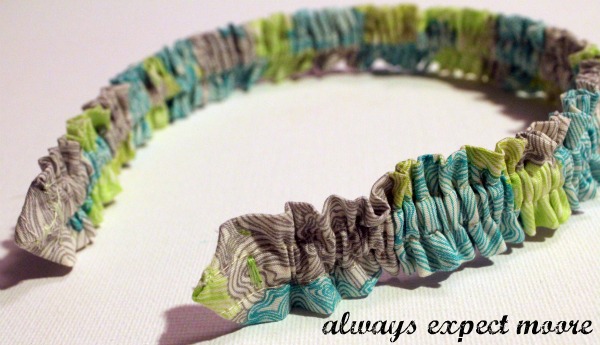
This simple ruffled headband is so fun to make! And, it adds a fun punch of color to any outfit. There is nothing particularly “fancy” or over-the-top about this headband. Which is probably what makes it one of my favorites. I’m not a very adventurous dresser. Simple is good. But a little bit of fun or whimsy is even better.

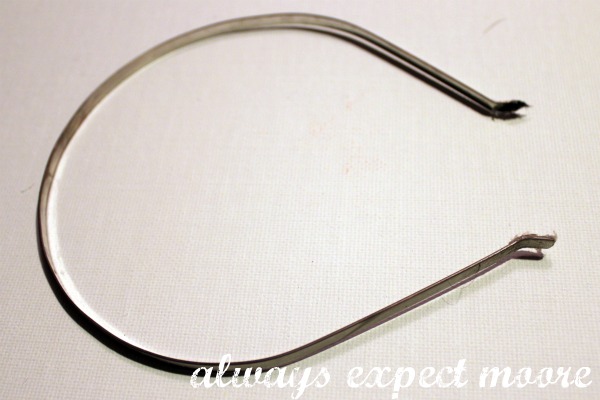
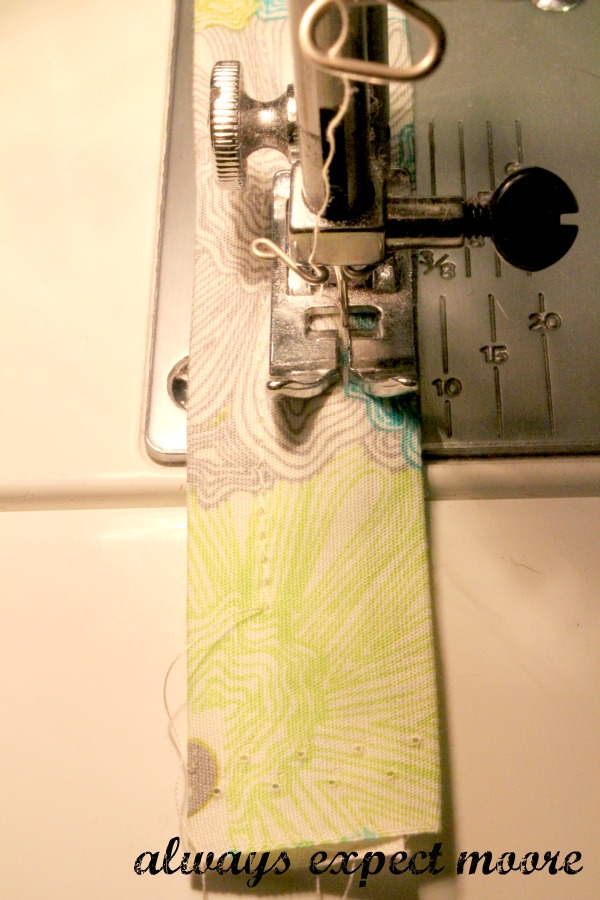
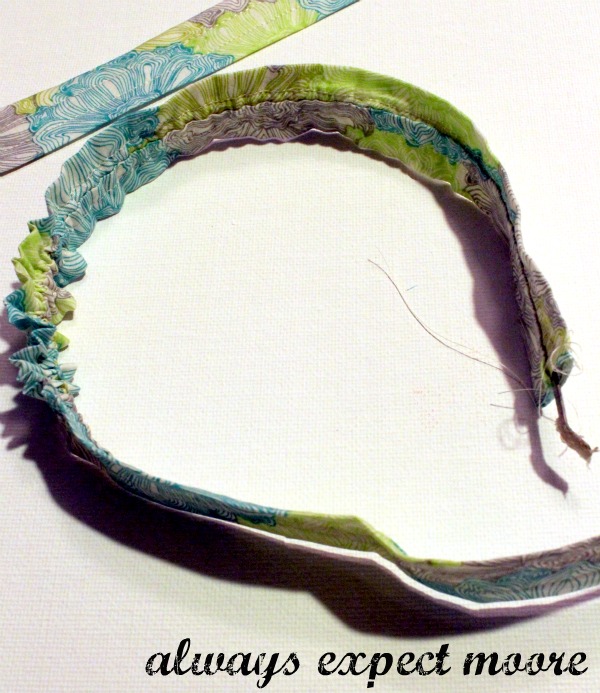
You’ve probably seen similar headbands made with elastic running down the center. Those never stay put. Not on my head. Maybe I have a funny-shaped head, but I think I’m not the only one, considering that many of those elastic headbands started being made with grippy-rubber stuff to keep them in place. Which, incidentally, also don’t stay put on my head. That is why I made this headband was made with a traditional headband down the middle. Simple. Stays put. And doesn’t require re-doing my hair in order to put it back in place. It bears repeating – simple is good.

This is the headband I picked up at the dollar store. Tacky feathers and all.
I stripped it down completely, taking off all the super-sticky glue that was holding everything in place. Taking off all the glue is important.
I cut a strip of fabric 2.5″ wide, by the entire width of fabric.
This was stitched into a tube, with a 1/4″ inch seam. I turned the tube right-side out, then pressed it with the seam running down the middle of the back, so it will be hidden on the finished headband.
I stitched down each side, a little more than 1/4″ in from the edge. This leaves a nice “track” down the middle to thread the headband.
With the seam-side towards the inside, I threaded the strip on the headband, making sure it didn’t fall off the far end.
After threading the ruffle all the way on the headband, I tucked in the ends, and stitched them down, then stitched around the metal band tightly to keep the ruffle in place.
This is my last tutorial for Headband Week, but the fun doesn’t stop here! Tomorrow I’ll be sharing a headband round-up with LOTS of headband ideas! Make sure to stop by for the conclusion of Headband Week.

Always,

Pin It

posted in: Uncategorized

Previous
Simple Yo-yo Headband – Headband Week
Next
DIY Headband Roundup!

Reader Interactions

Leave A Reply! Cancel reply

Share your thoughts!
Your email address will not be published. Required fields are marked with *

This site uses Akismet to reduce spam. Learn how your comment data is processed.

Primary Sidebar

Hi, I'm Carolina!

I’m a Quilt Pattern Designer, Award Winning Quilter, and fan of all things quilting. I live in San Diego with my husband, our two boys and our pets. I love keeping both my hands and mind busy, so I’m always working on lots of projects. You’ll find lots of them shared here!

More About Me

Let's Keep In Touch!

I'll let you know about what's new in quilting, freebies you'll want to snag, and brighten your inbox about once a week!

subscribe
90% Faster Than Rotary Cutters

Fat Quarter Shop Quilting Fabrics and Supplies

Instagram Facebook Pinterest YouTube

Recent Posts

  • Flying Pig Quilt Block
  • Bunny and Carrot Quilt Block
  • Free Fancy Drink Quilt Block
  • Dutch Row Houses Quilt Block
  • Quilted Sports Jersey Numbers

Archives

Featured Projects

  • Everything you want to know about Pre Cut Fabrics!
  • Scrappy Placemat - easy to make scrap project
    Scrappy Placemat using Strips and Scrap Tape
  • Sewing Kaleidoscope SVG File
  • Drawstring Backpack
  • Carolina holding fabric marking pens
    Choosing Fabric Marking Pens

Let's Keep In Touch!

Brighten your inbox about once a week!

Always Expect Moore Submark Shop Patterns

Browse

  • Ruler of the Month
  • Quilty5k
  • QuiltMath
  • Cricut Maker BOTW

Shop

  • Digital Download Patterns
  • Quilting Notions
  • Quilt Stickers
  • Quilt Tees

Connect

  • YouTube
  • Instagram
  • Facebook Group
  • TikTok
©2025, Always Expect Moore. All Rights Reserved. About Disclosures
Back To Top
Design by Pixel Me Designs
×

Let's Keep In Touch!

I'll let you know about what's new in quilting, freebies you'll want to snag, and brighten your inbox about once a week!