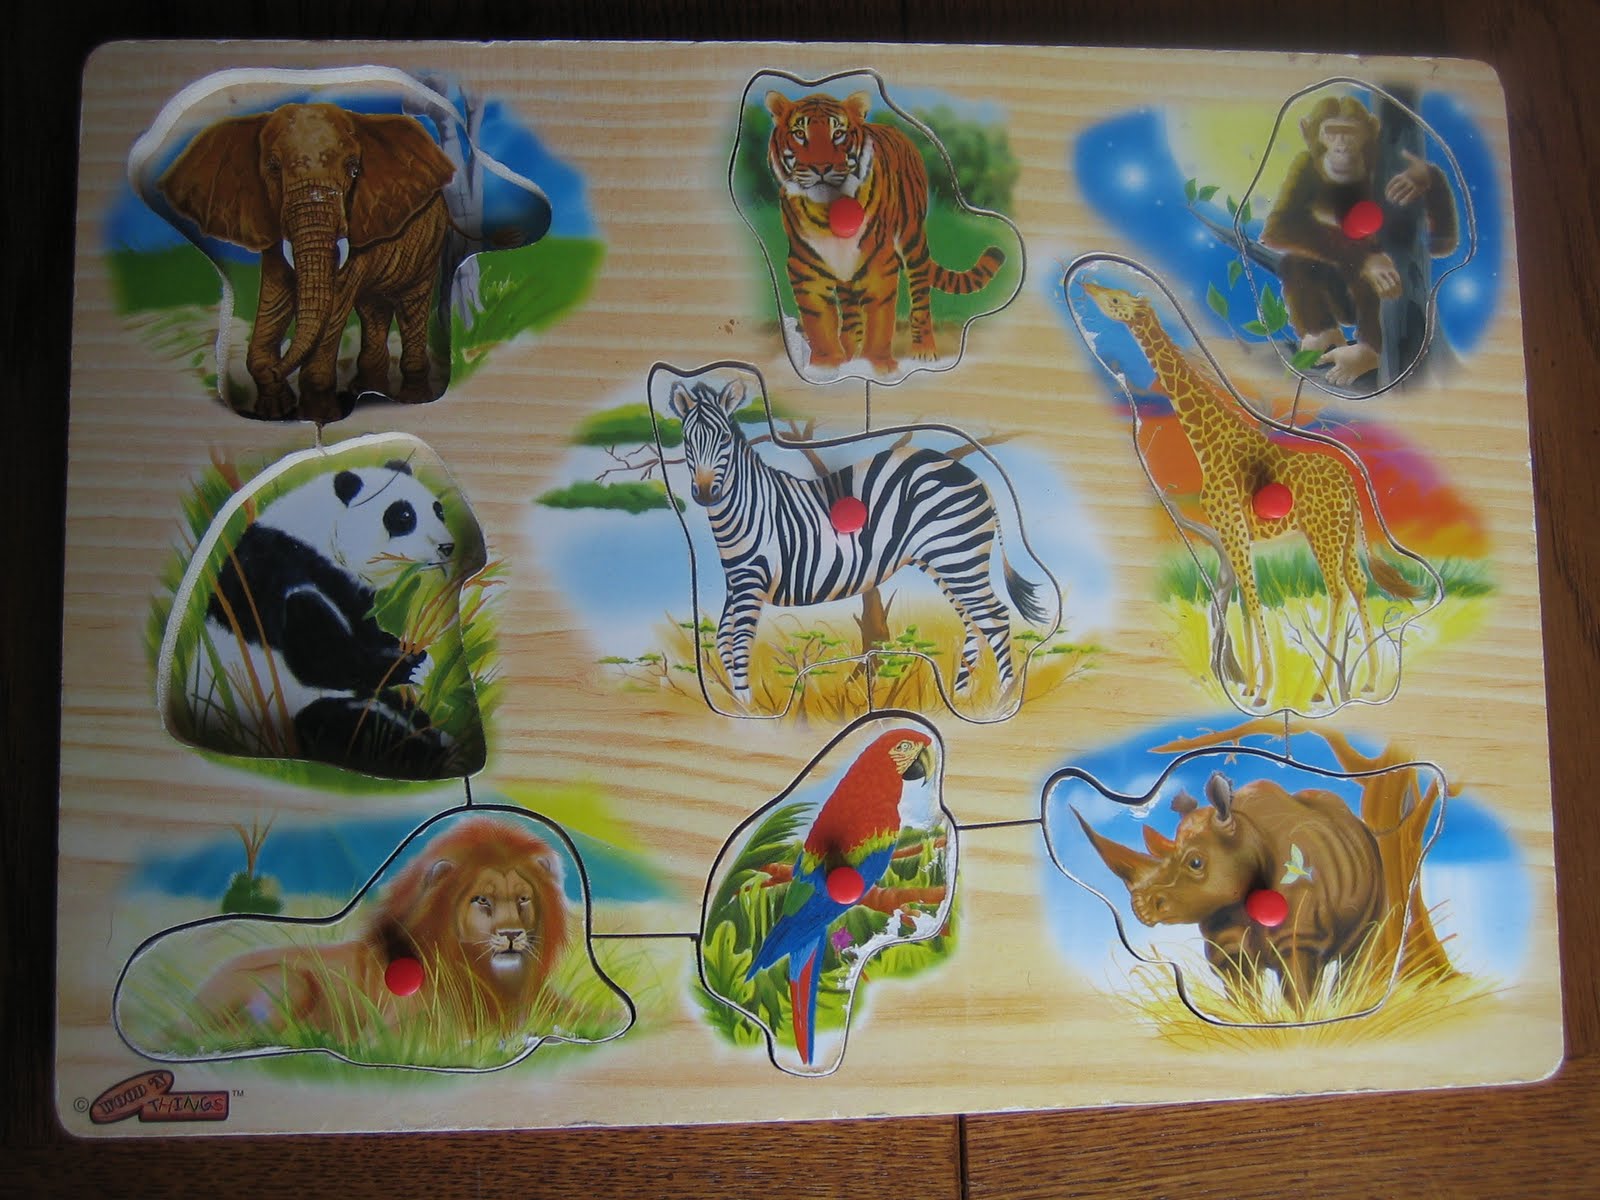
Little Moore is only 4 months away from turning 2! For his first birthday, he was given an assortment of wooden puzzles. Great for learning hand-eye coordination, shapes, spacial recognition, problem solving… not great for stacking (the little knobs on the top make the pile a wooden Tower of Piza), but wonderful for a 20-month old boy to dump all over the floor. At this point, 50% of the puzzles are missing one or more pieces!
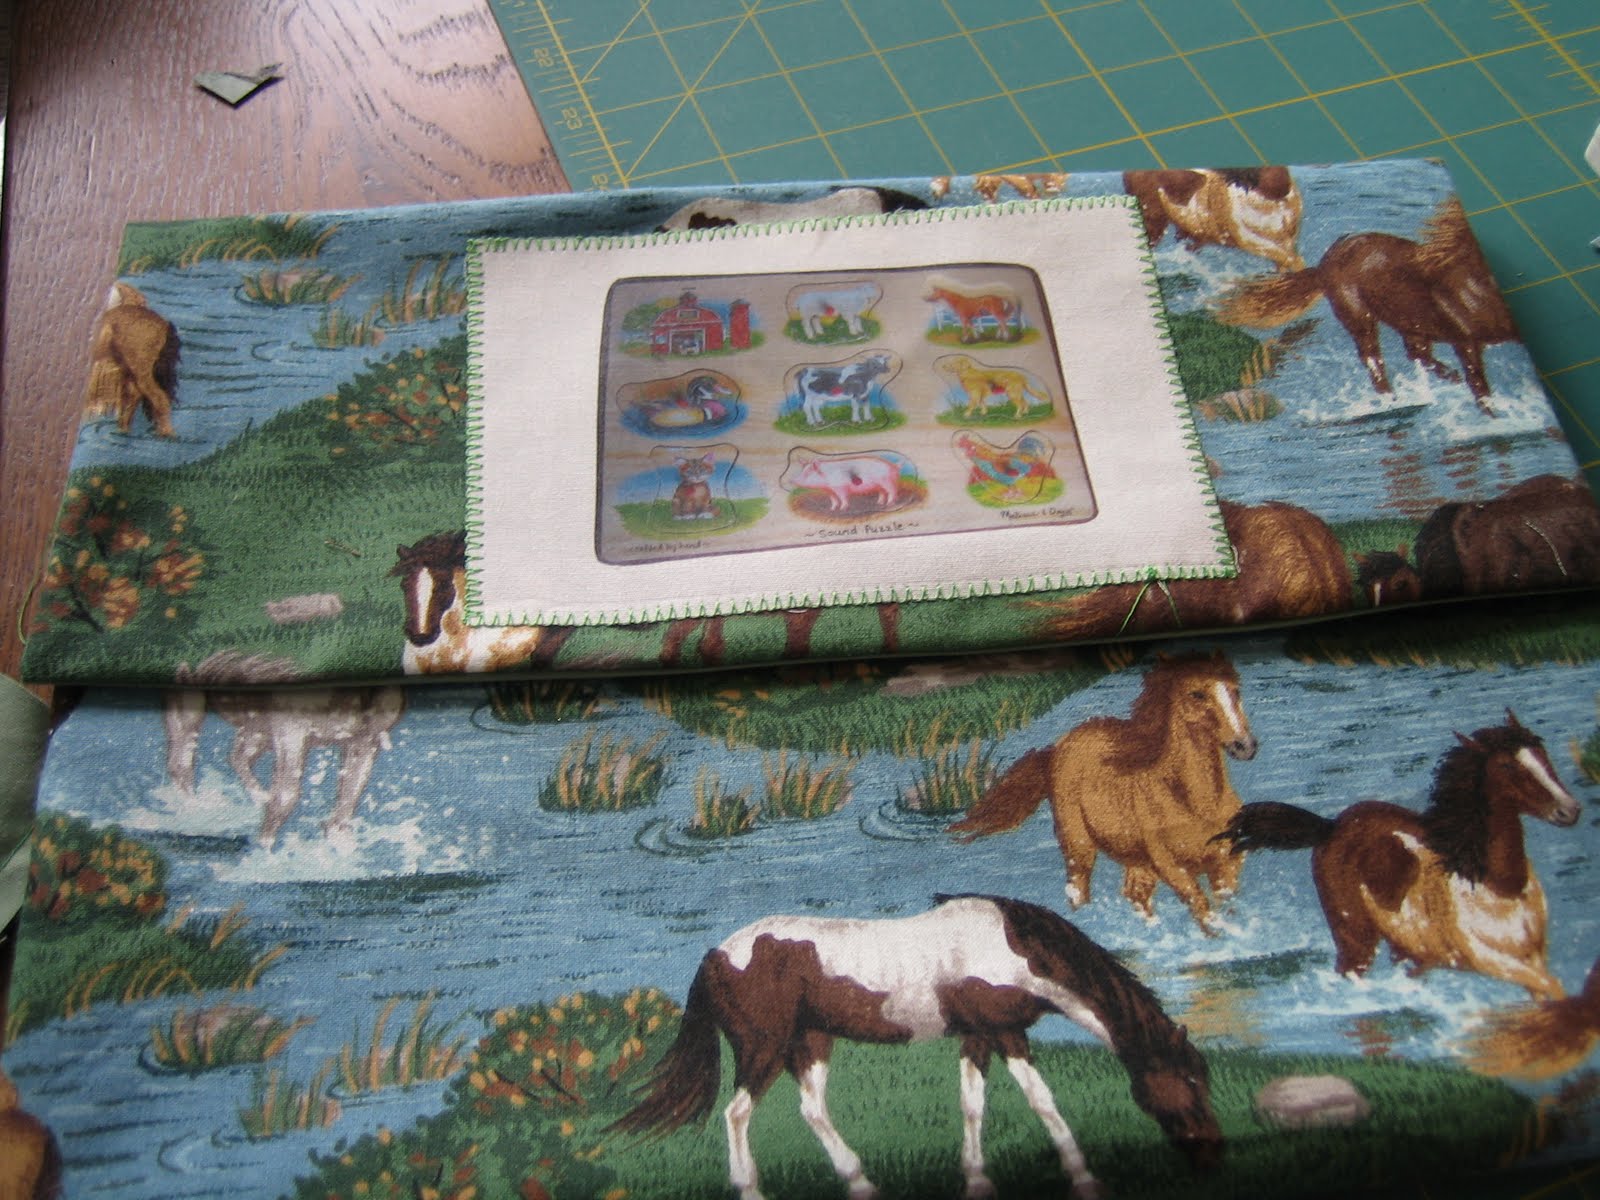
To store the puzzles with their pieces, and make it a little harder for my toddler to dump 100+ puzzle pieces on the floor in 30 seconds, I decided to make some “Puzzle Envelopes.” Basically, fabric folders with a flap that would store each puzzle. As labels for these envelopes, to know where rogue pieces go when I find them under the couch, I put pictures of each puzzle on the flap.
Here’s how you can make your own Puzzle Envelope:
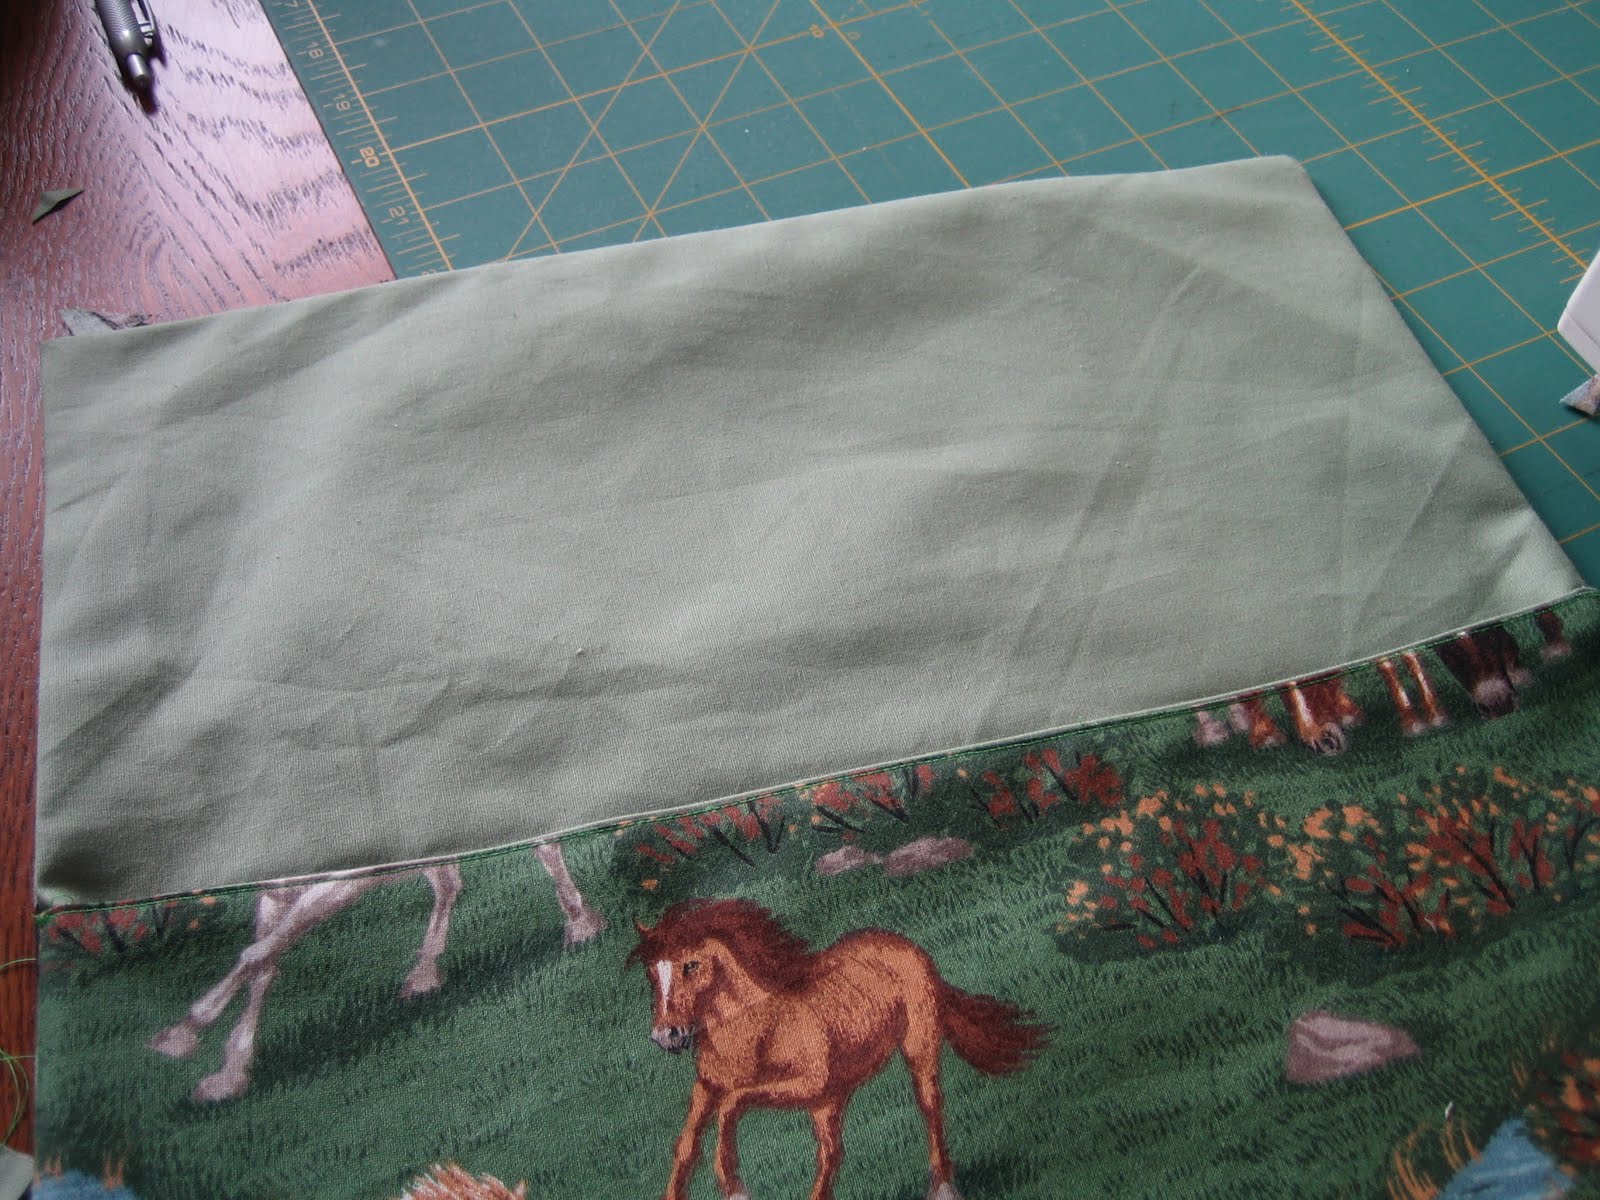
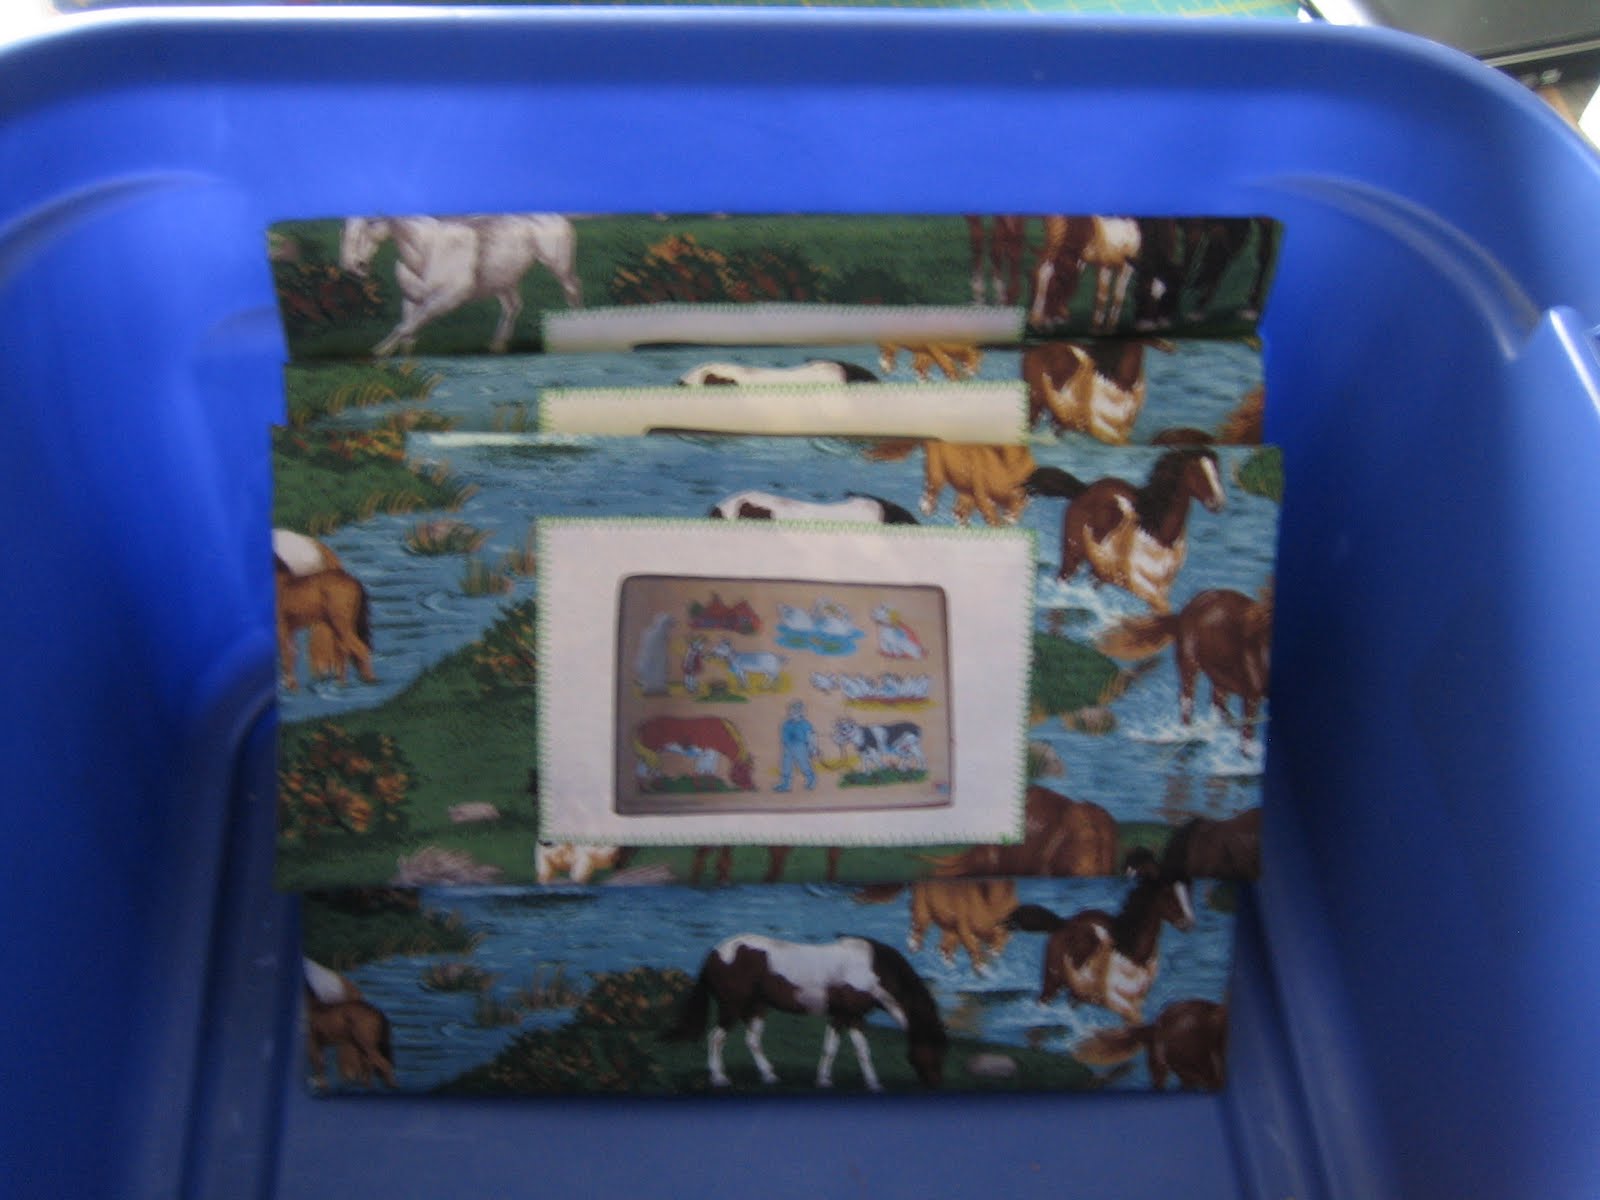
1. Pick out 2 coordinating fabrics (one for the inside, one for the outside), and a plain piece of fabric for the “photo patch” on the flap. I picked this horse fabric to go with the animal puzzles.

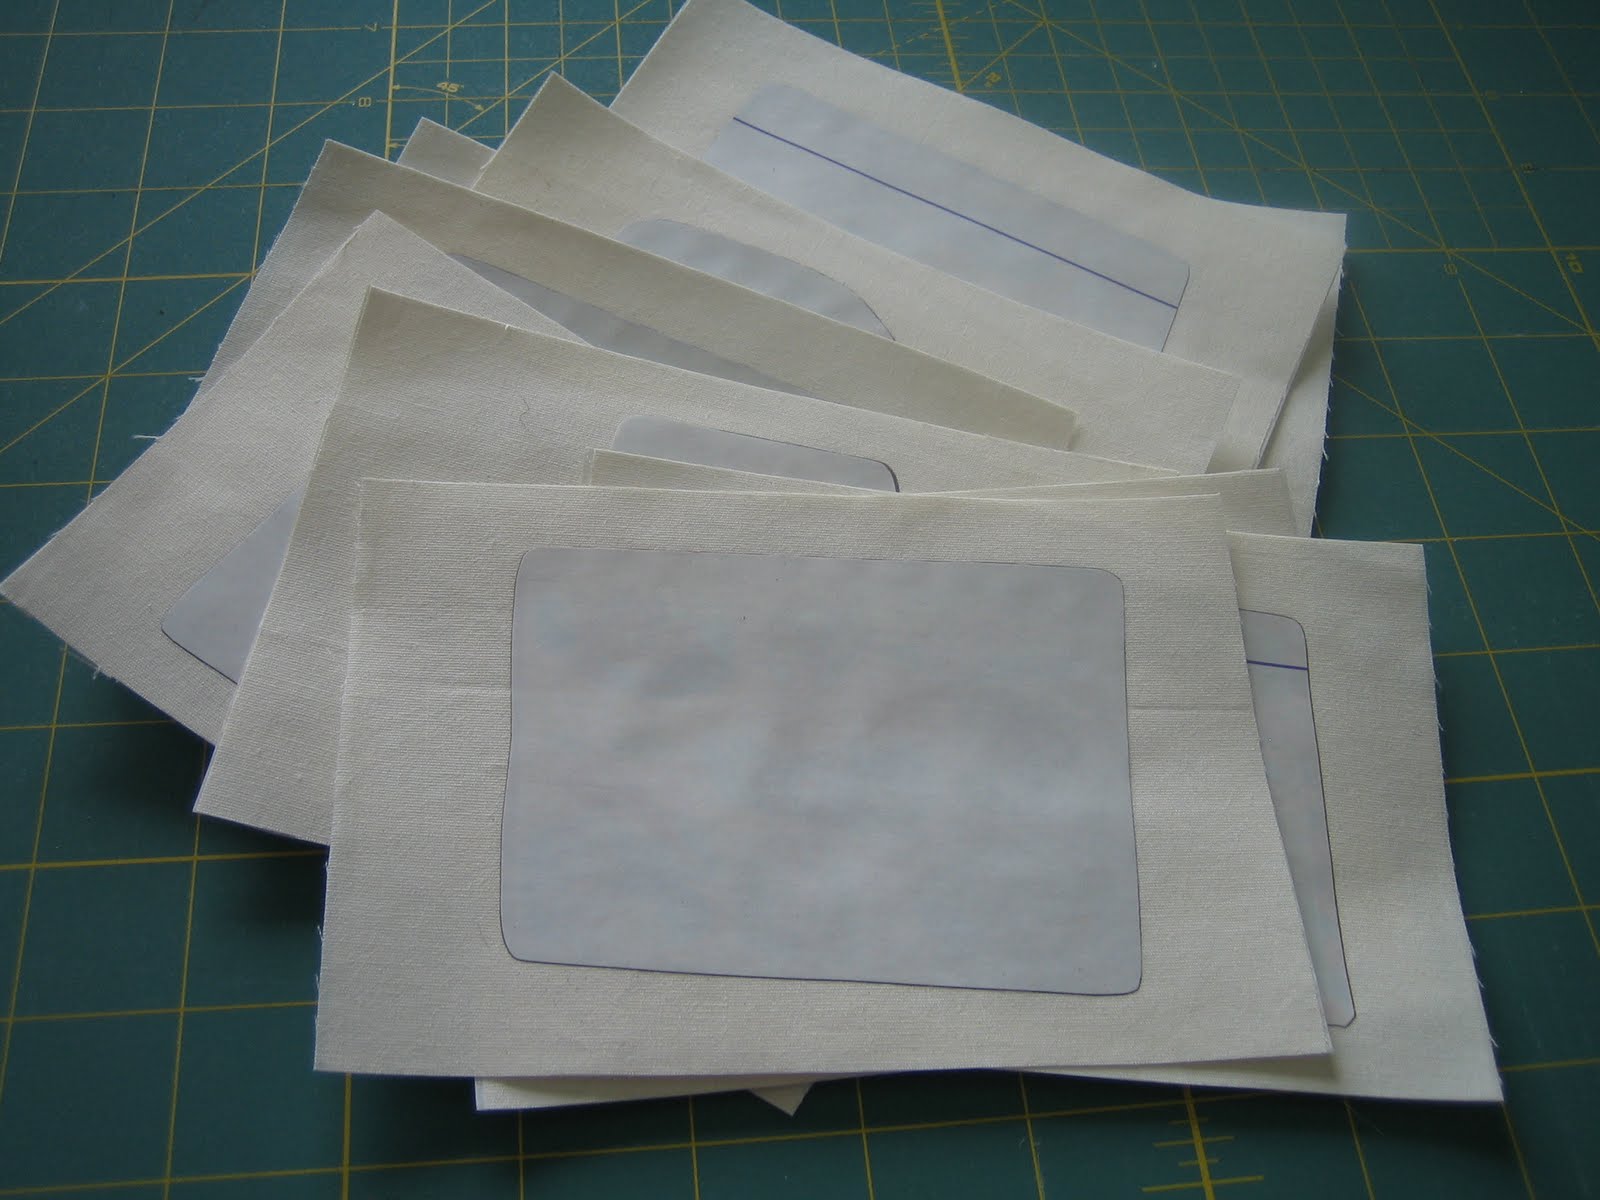
2. Take pictures of your puzzles. Print them onto iron-on transfer paper. Note: Make sure that you print a mirror-image, or your labels will end up being reversed. Trim the pictures.
3. Trim your plain fabric for your patch (I trimmed mine to 6″ strips). Then, iron on applique adhesive (Like Heat n Bond) to the fabric strip. Flip the strip over, lay down your pictures, and iron them on the plain side of the fabric. Trim the fabric strip, forming patches. My finished patches measured 6″ by 4″. Do not take the paper off of your photo yet!!
4. Measure your puzzle. My puzzles were 8.25″ x 11.5″. I cut my 2 pieces of fabric each 24″ x 13″, this was enough extra for the seam allowance, and for the size and depth of the puzzle.
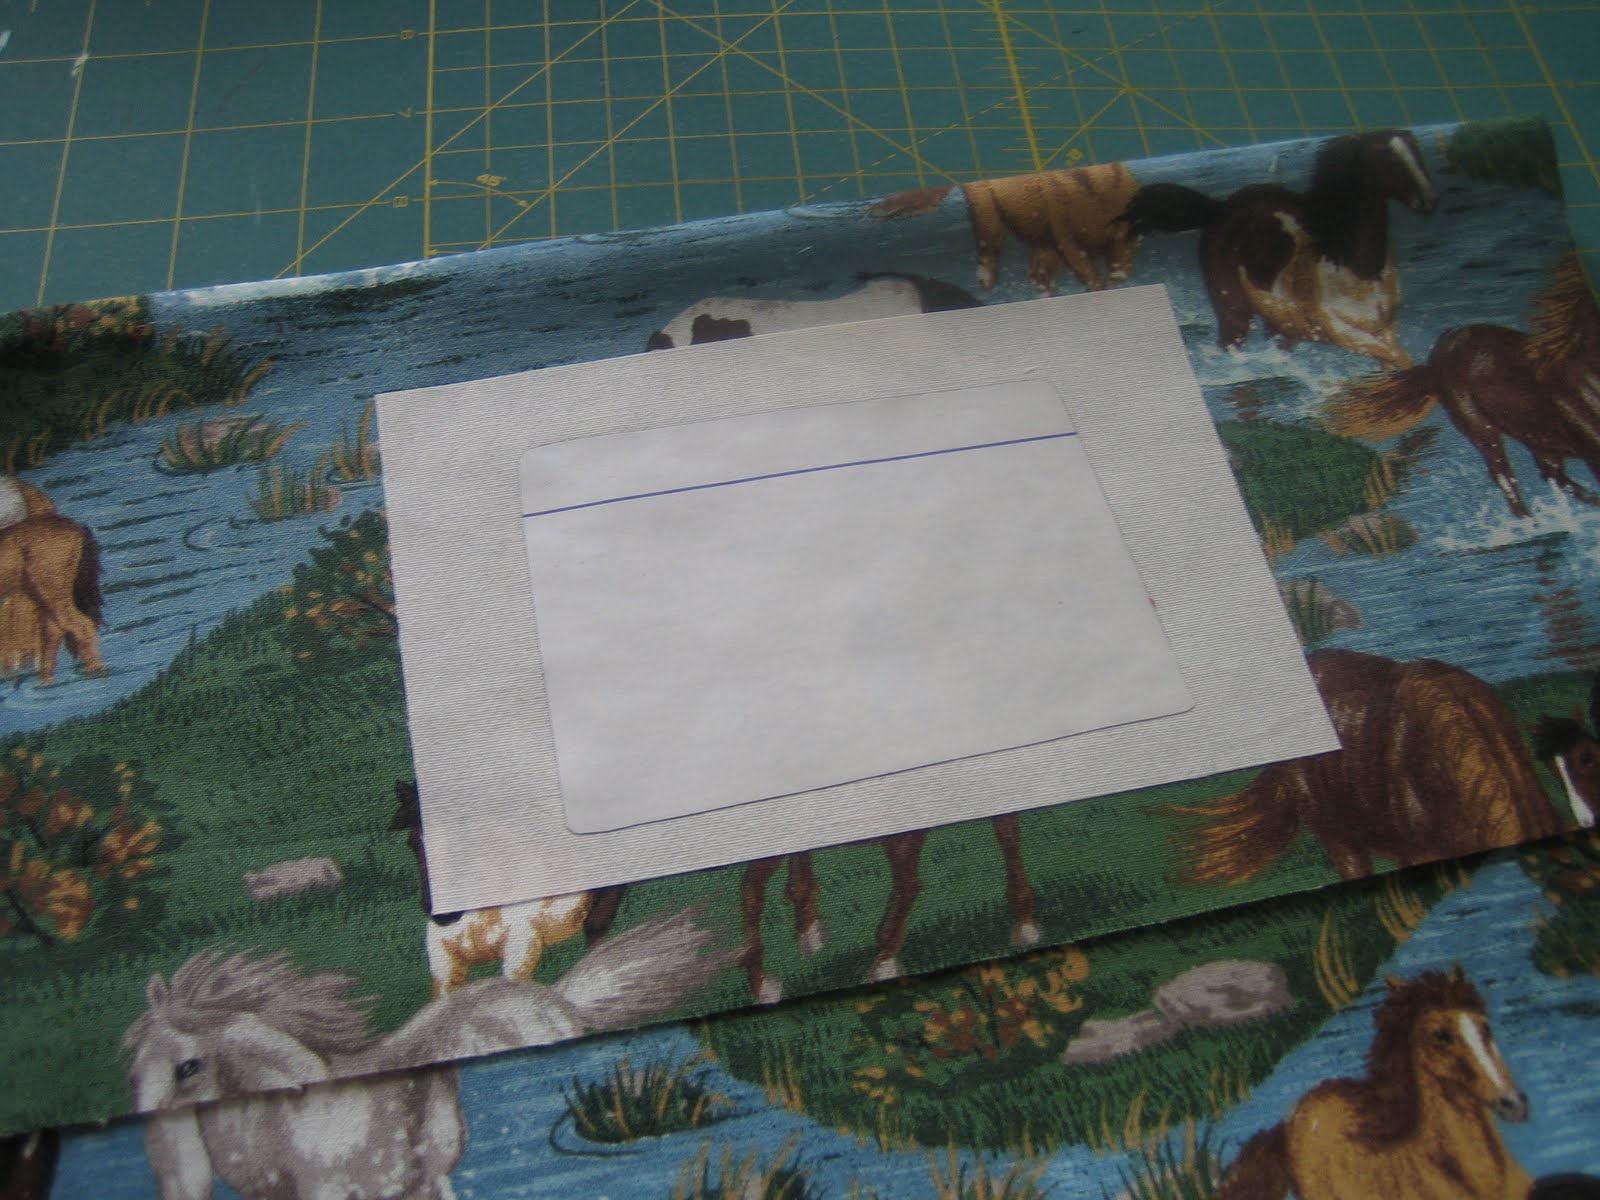
5. Fold your outer fabric to mimic the finished size of your Puzzle Envelope. For me, this meant folding up 9″ towards the middle, and folding down the top 6″. If you are using a patterned fabric, now is your chance to double-check that you have the pattern facing the right direction. Center your patch in the middle of this 6″ flap. Don’t worry about the seam allowance, because the seam allowance and the depth of the puzzle will cancel each other out on the finished Puzzle Envelope. Iron the patch onto the flap. As tempting as it is to take off, leave the paper over the photo until the very end…
6. Un-fold the fabric, and sew around the edge of your patch using a zig-zag stitch, or other decorative stitch.
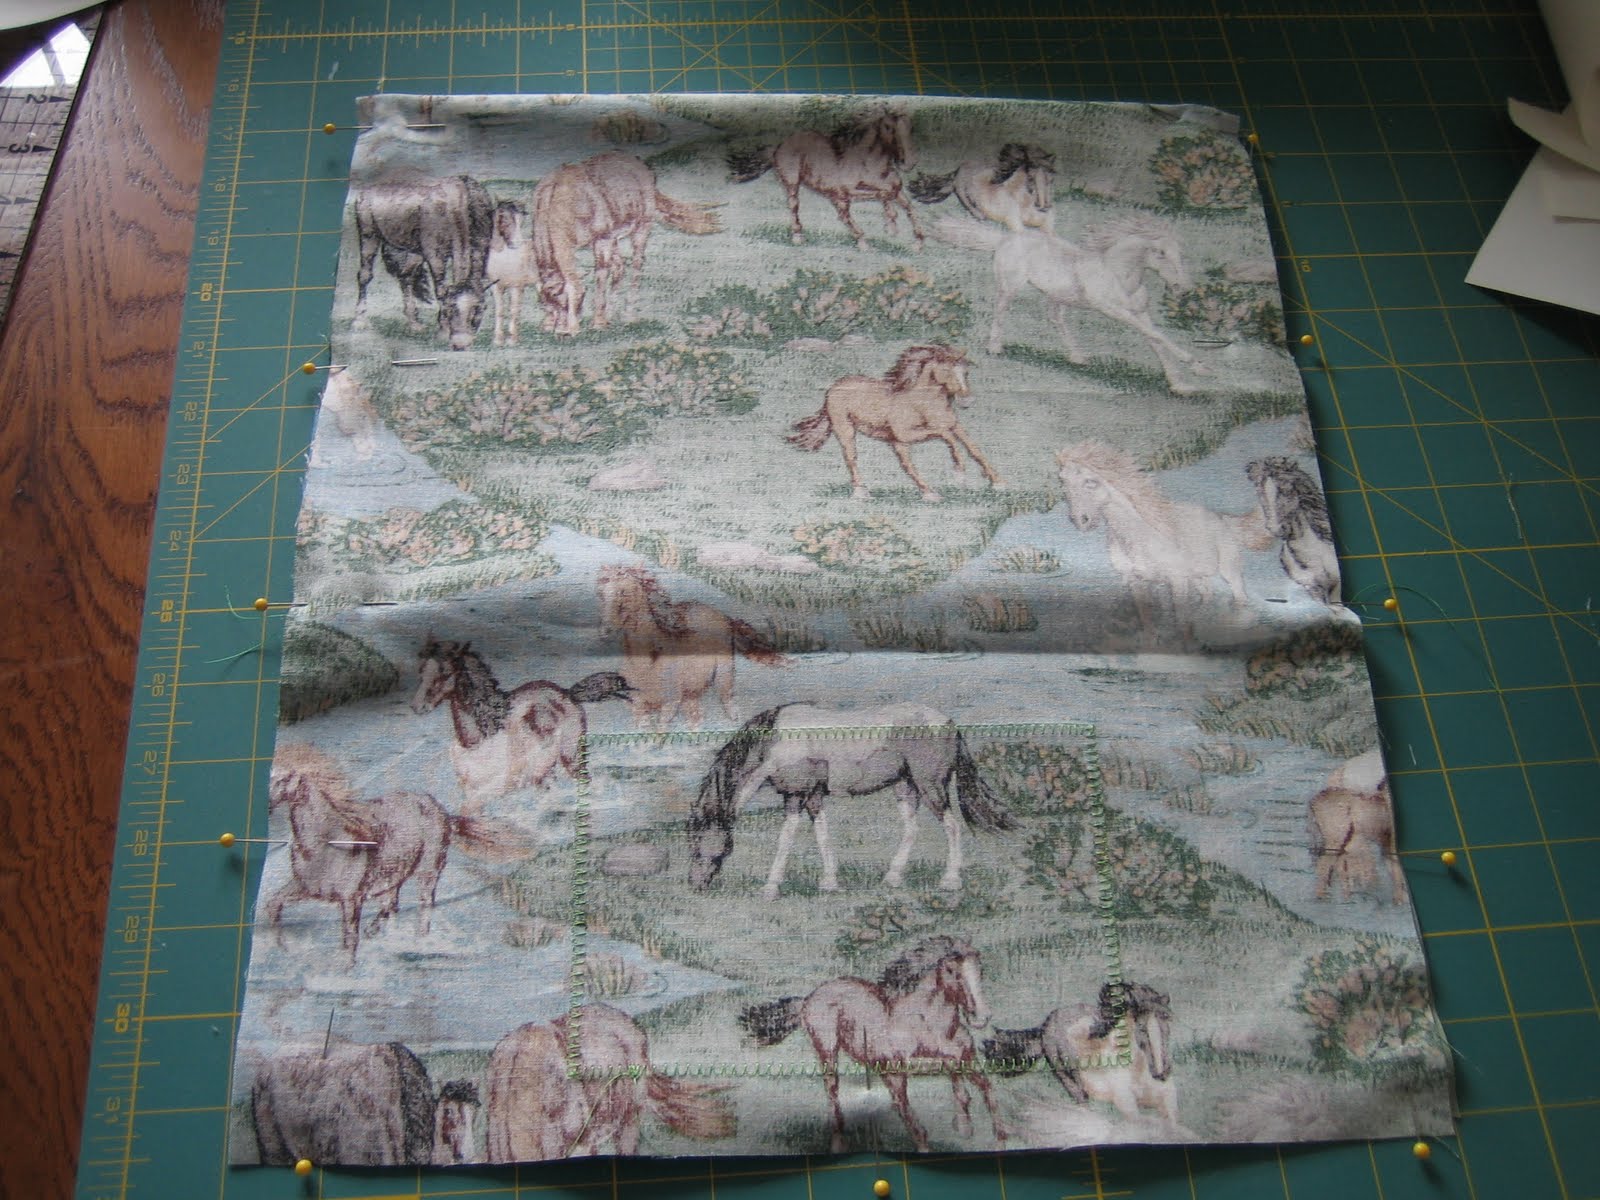
7. Match up your two large rectangles, right sides together, sew along the short end furthest from the patch, leaving a 4″ gap in the middle. This is where you are going to turn the whole thing right-side-out when you are finished.
8. This is the “tricky” part… getting the whole thing folded correctly so that everything will be in the right spot when you turn it right-side-out. Start by measuring 9″ up from the seam you just made. Mark the fabric at this point. Do the same thing on the other side. Turn the piece over, and do the same on the other fabric. These marks indicate where you will be folding.
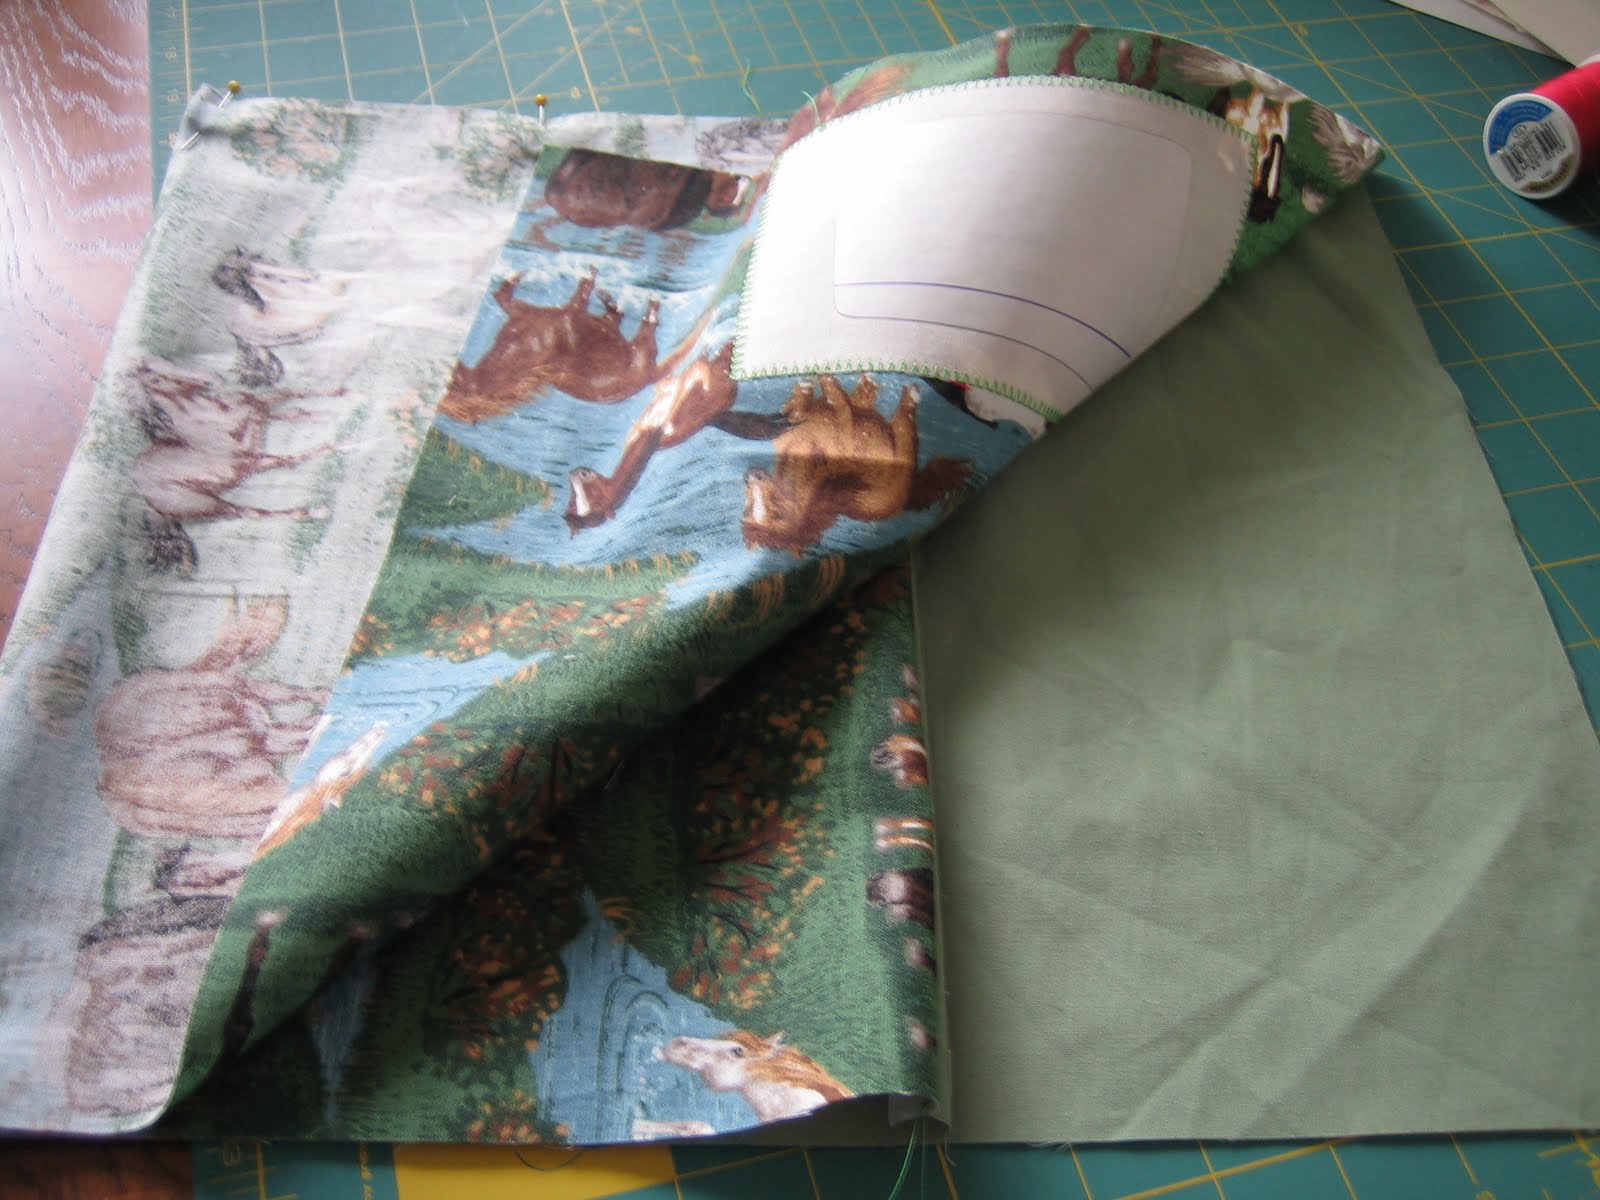
9. Start by folding on this line, with the wrong side out, so that you are folding the two right sides together. Fold the fabric back at the seam, and again up at the next set of marks. Your fabric will be folded in 3 places – at the marks, at the seam, and at the marks again, making a W shape. You should have something that looks like this:
10. Pin the whole thing together along all 3 raw edges. Sew along these 3 edges. Trim the corners to reduce the bulk when you turn the envelope. You should be able to reach between the folds, through the gap you left in step 7, and turn the whole thing right side out. Use a chopstick or dull pencil to adjust the corners. At this point, you may want to iron the seams… which will make you glad that you kept the paper over your photo.
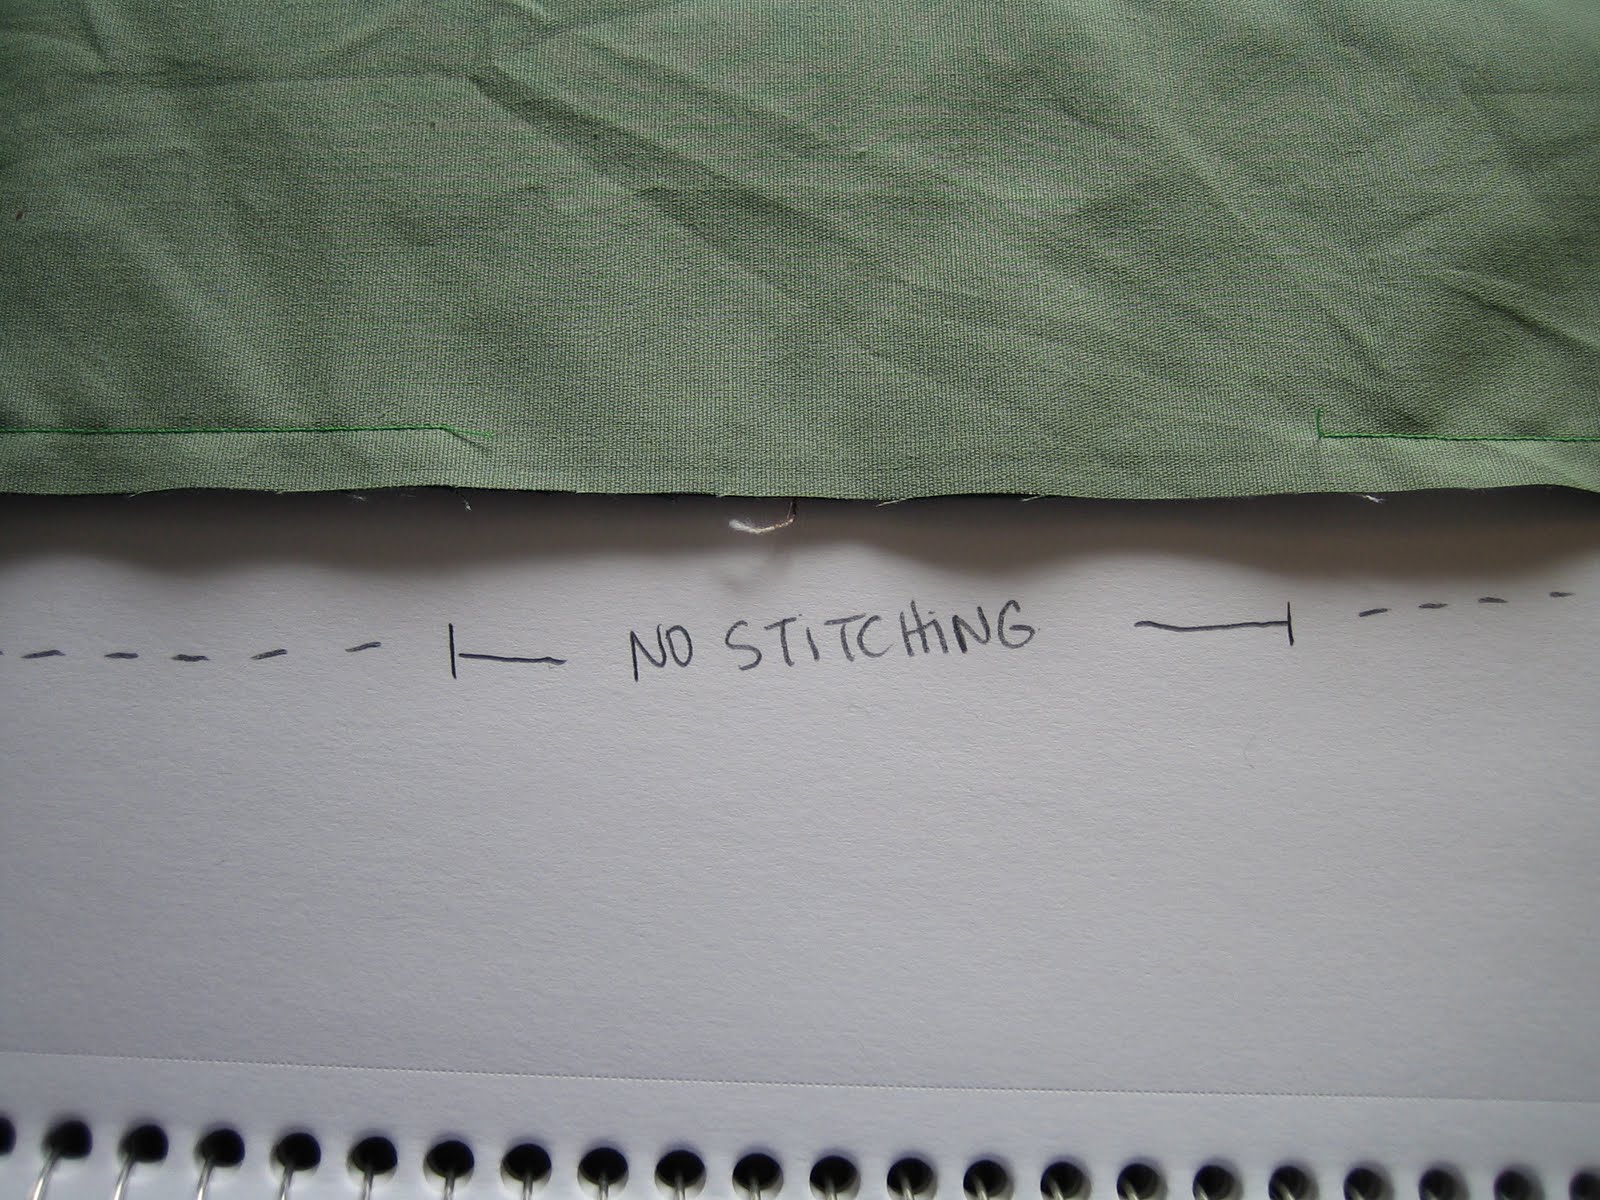
11. Sew across the top of pocket to close the hole you left for turning. If you like, you can do this by hand with “invisible” stitches, but I just made a seam across the whole thing with my machine. Do not sew the whole thing closed! Just go through the top 2 layers!
Put your puzzle in, and you’re done! If you’d like, you can use some kind of fastener, like buttons, snaps, or velcro, to keep the flap closed, but I didn’t think that was necessary.
Now you have a Puzzle Envelope… and once all of your puzzles have their own envelopes, they can easily be put away in a bin, without shedding pieces everywhere, or sitting in precarious piles.

Comments & Reviews
WOW!!!!! This is one of the coolest thing ever! It makes me want to go out a buy a bunch of puzzles now so I can make a bag to store them all in!!!!!
Oooh good idea!!
Visiting from What Little Boys Are Made Of! 🙂
This is the most amazing puzzle bag I’ve seen. Love the pictures on the outside! Thanks for linking with What are little boys made of?