
When wrapping an odd-shaped item, like clothing… it is always nice to have a box to wrap it in. But, if you don’t have a box, and don’t have any pretty gift bags lying around… you can make your own!
Gather your standard gift-wrapping supplies… scissors, tape, wrapping paper, bows… and then grab a box the length and depth you’d like your finished bag. Don’t worry about the height. A cereal box works great here, but I had transferred all my cereal to plastic storage containers… so I grabbed a box for a board game, which works nicely (as long as it is deep enough).
Start by placing your board game on the wrapping paper, just like you were going to wrap the game. Cut the paper the correct size, not worrying about extra paper at the top. Fold down the top, and one side, so that your raw edges are pretty.

Then, start wrapping your box, keeping the pretty raw edge on the outside. When taping the middle, use just a small amount of tape near the end you are going to wrap. This will help when taking out your box. Only wrap one end.
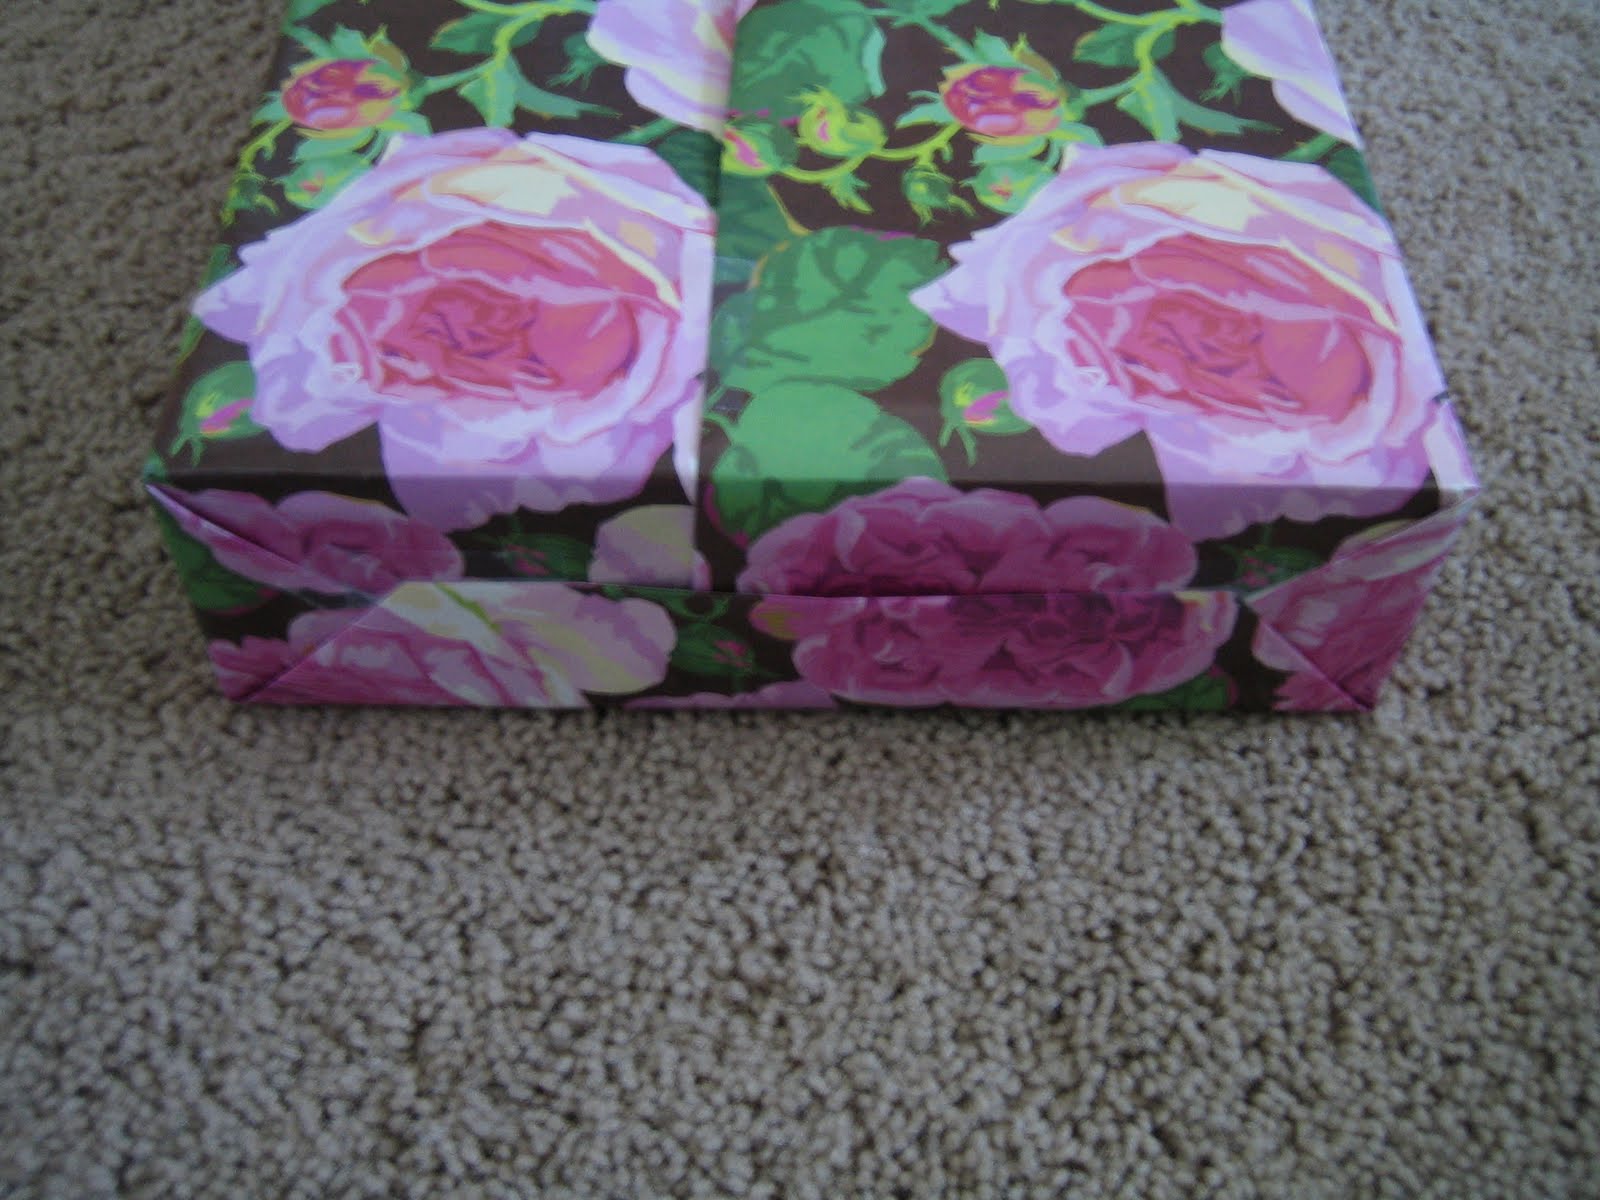
Using your fingers, sharpen the creases. This will make for a more defined, and more beautiful bag when you are done. Once you have sharpened the creases, ease out your box. If you’ve used a cereal box that is taller than the paper, this will be pretty easy. If you’ve used a smaller box (like I did), you’ll be glad that you didn’t tape down the whole center seam.
As you ease the box out, tape up the center seam.

Once the box is out, tape the center seam at the top of the bag.
You can crease the sides of the bag to make it look more like a standard bag, or if you are going to store it or travel with it before using it.

To finish off the bag, you can add ribbon handles, bows, or you can do what I did, which is to fold the top to look like an envelope, and add a pretty flower. You could also use a decorative hole-punch around the edge, or a standard hole-punch, and thread ribbon or lace through the holes. There is no limit to the creative possibilities here in finishing up your bag!
If you want your center seam to be less visible, you can wrap your box so that the seam is on one of the sides of the bag.
If you want to be ahead of the game, you can start making up some of these bags with Holiday wrapping paper, and you’ll be all ready in December… so that you can spend more of your time baking cookies, and less time hiding in the master secretly wrapping presents.
I’ve been busy here at the Moore house, so Expect Moore… soon!
CM

Comments & Reviews
oooohhhh! You ARE crafty! This is a great idea! Thanks for stopping by a sharing it at my little party!
smiles!
good job! I love how easy the recipient got to open it up the way you wrapped it. I just “wrapped” a pop tart box with the top open for a baby shower gift. I used a scrap of All Star wrapping paper.
good idea! thanks for sharing!
Now that I have my instructions, I’m going to start making bags out of leftover last years Christmas paper… Thank you so much for the instructions needed to come visit when you can.
Love this! Now I have a use for all the wrapping paper I have laying around!