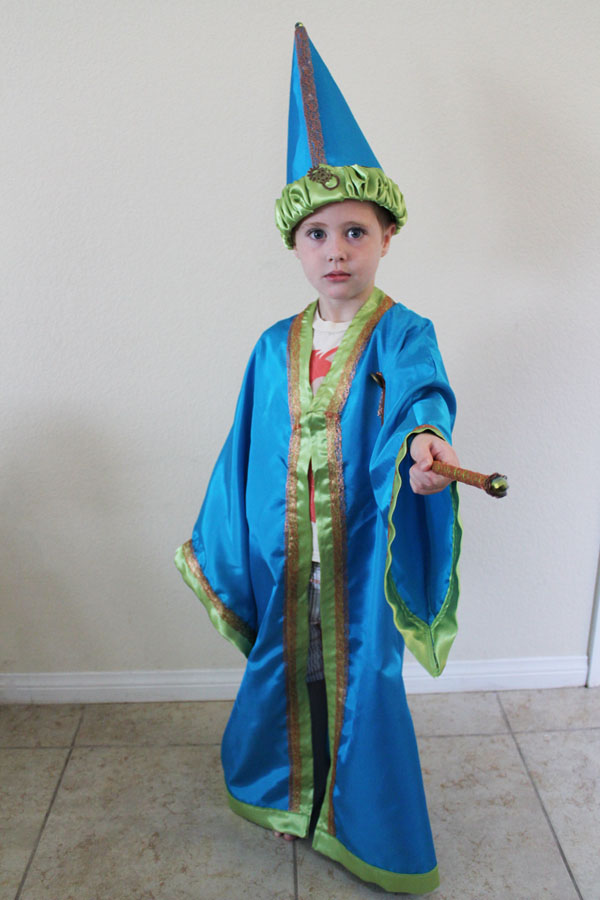
Ever have those days where you find out that you need to send your child to school in a Wizard Costume on Friday… and it is already Wednesday evening? I had one of those days last week. Being a mom who knows her way around a sewing machine, I decided we would make a Wizard Costume. Not just any wizard costume… we would make the most awesome Wizard Costume ever. According to my son, we achieved this goal. Make sure you check out how to make a Wizard Wand and how to make a Wizard Hat as well.
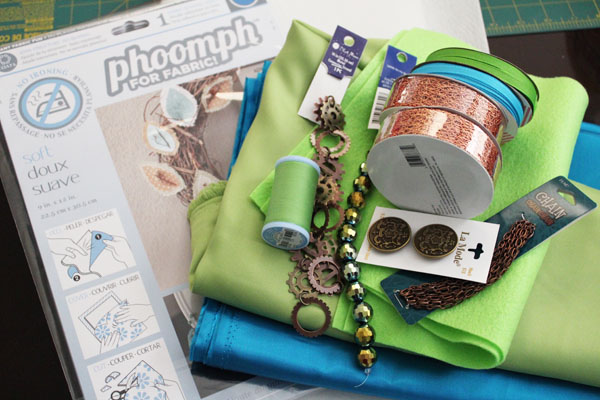 Thursday, after a morning play date at the pool, we headed off to JoAnns to get our supplies. We got everything we needed to make a Wizard Robe (supplies listed are for a 4-year-old child), as well as the Wizard Wand and Wizard Hat.
For the Wizard Robe we used:
4 yards blue satin (some used on the hat, too)
1 yard green satin (some used on the hat, too)
2 spools copper ribbon (also used on the wand and hat – I would get 3 if I were to make this again)
Coordinating thread
You’ll also want a sewing machine, Iron, and pins.
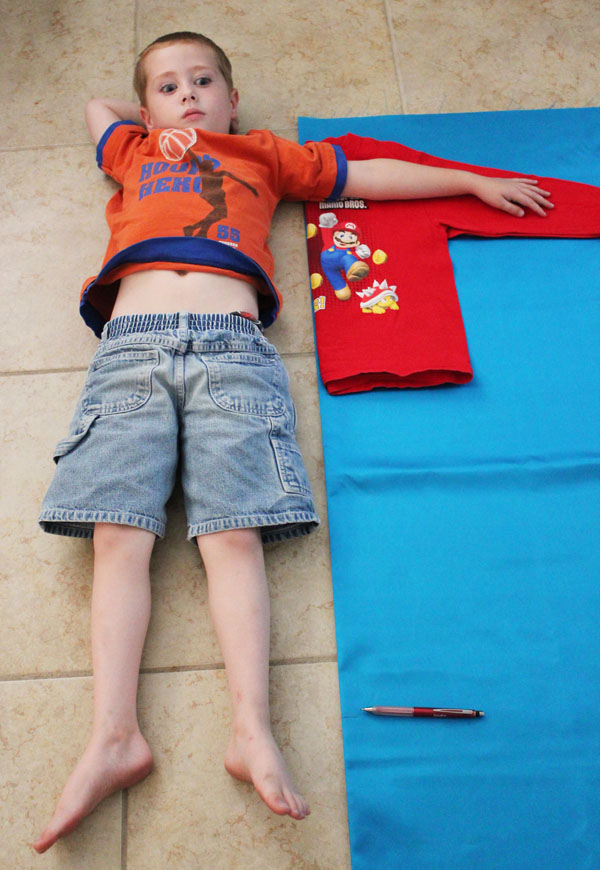
I started by laying out the blue satin, along with a long-sleeved shirt that is a little big for my son.You can’t tell here, but the left side of the fabric is the fold, and there is a double layer of the fabric, so there are actually 4 layers of fabric right there, and I’m going to cut through all of them on the fold.
I was lucky that the width of fabric was enough for the top and sleeves. Otherwise, I’d have to cut different pieces for the sleeves and set them into the arm holes. Which would be a lot more work.
I had my son lay next to the fabric so that I could determine the height. Yes, his pants are on backwards… that happens sometimes when he dresses himself…
You can see I marked it with a fabric pencil here. Then I cut.
I added a little bit of flare from the waist down to the bottom to try to give the robe a little extra fullness.
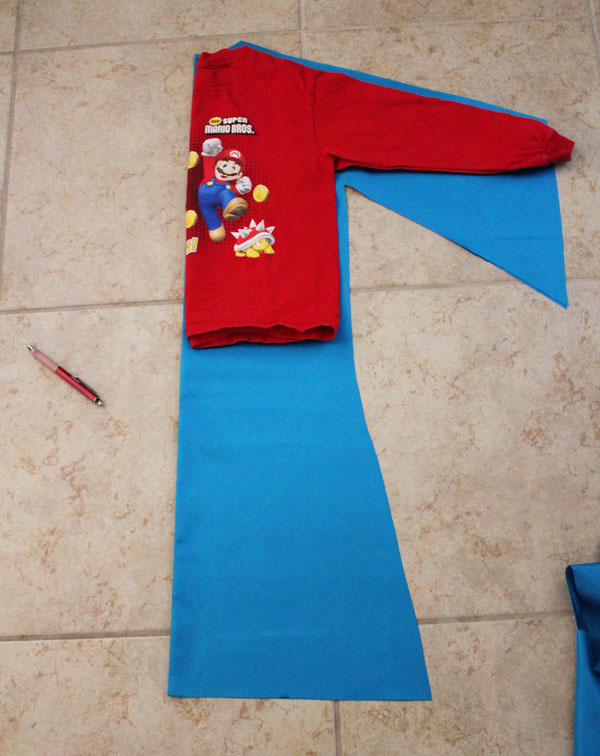
I also added some extra fabric at the bottom of the sleeves. Having the bottom end in a point like this makes the sleeves have a nice big point at the bottom, which is one of the things I love about this costume. I also cut a little ways away from the shirt because I needed extra seam allowance for the french seams. More on that in a little bit.
The rest of these instructions are going to be picture-less, because it is pretty basic sewing. It takes a while, but it is pretty basic. I’ll warn you, the neckline bit is a little complicated… there might be a better way to do that part.
I separated the two layers, and then cut a V shape into the fold of the piece that was going to be the front, to give a more open neckline. Then I cut all the way up the fold on this piece, because the robe was going to be open.
I pinned the pieces wrong-sides together (WRONG sides, not right sides, because I’m doing french seams here). I stitched the shoulder/sleeve tops, and the sleeve bottom/armpit/side seams all with a scant 1/4″ seam. I then flipped it wrong-side-out, clipped the seams at the armpit, and repeated all those seams with a generous 1/4″ seam. This keeps all the raw edges tucked inside so there is no fraying while the costume is worn. In hindsight, it would have been a good idea to do the shoulder/sleeve top seams, add the green to the end of the sleeves, and then do the sleeve bottom/armpit/side seams.
Next was adding the green satin to the collar. I put a piece of paper under the neckline and traced the curve from the back center of the neck, all the way down the V neckline in the front. I added a 2.5″ border to the outside, and a .25″ border on the inside and cut it out. This was my template for creating the green satin for the neckline.
I folded the green satin in half, and pinned on my template, with the bottom of the V touching the fold. I cut out the template, but at the bottom of the V cut all the way down the fold the height of the straight slit in the front of the robe.
Putting this neckline piece right-sides-together, I stitched that inner 1/4″ seam, and then turned right side out. I created a second neckline piece for the other side, and pinned them both to the robe, then pressed the raw edges under, folded it over the raw edge of the blue satin so that the blue satin raw edge sat right inside the green, touching the fold. I stitched it all down, then pinned the copper ribbon on top, and stitched that down as well. There might be an easier way to do this part, but I wanted a smooth neckline and it was already 11pm the night before he was supposed to wear the costume!
I cut 5″ strips out of the green satin, folded them in half, and pressed. I then opened up those seams, folded in the sides, so the raw edges touched that middle fold line, and pressed. Then folded it back in half and pressed yet again. This made all the trim for the bottom and the sleeves. I folded this over the sleeve and bottom edges just like before, with the raw edge of the blue inside the fold of the green. This time, when I got to an end, I trimmed off the green with about 1/2″ extra, then folded the extra under and stitched in place.
After sewing on the trim, I pinned the copper ribbon in place and stitched it down. You’ll notice that there is no copper ribbon along the bottom of the Wizard Robe. I ran out and had to choose between having it on the sleeves or on the bottom edge. The sleeves won.
That was it! It took several hours to stitch it all together, but my son was THRILLED when he woke up the next morning and saw his costume!
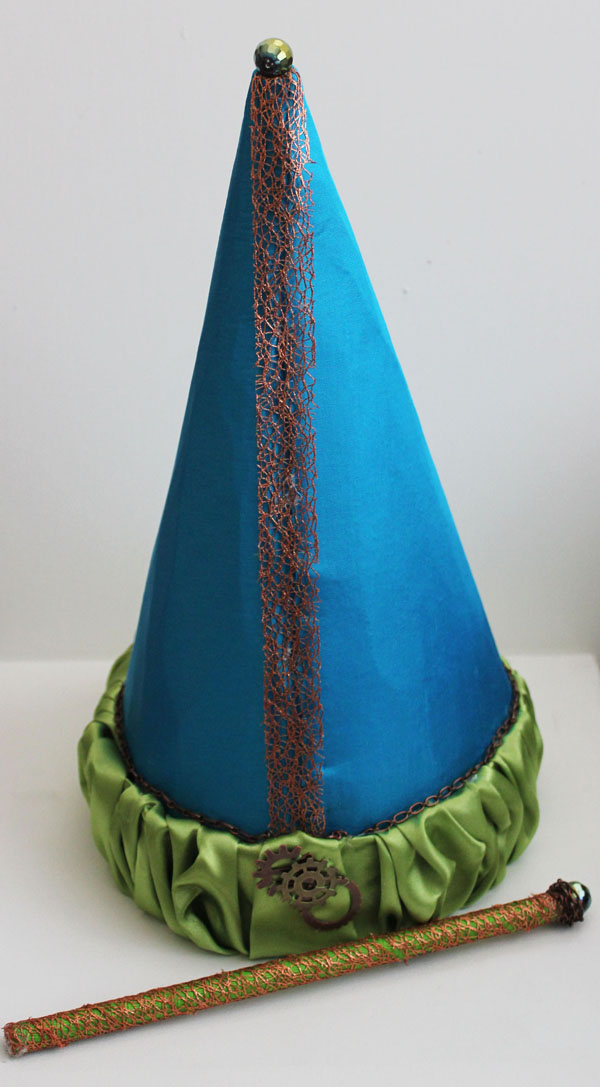
If you want to make a wizard costume, make sure you check out how to make a Wizard Wand and how to make a Wizard Hat as well!

Comments & Reviews
I know you posted this a while ago but I was wondering what you used to hold the cloak together at the front?
Thanks
there is nothing holding it together – though it does look that way in the photo! It is just free-flowing. If you wanted to use something, you could use a snap, or a hook-and-eye.
How much fabric did it take? Just the main blue
No idea, honestly! This was about 10 years ago… that little kiddo in these photos is now 14!!