• Skip to primary navigation
  • Skip to main content
  • Skip to primary sidebar
Home About Subscribe Summer Sew Camp Disclosures

Always Expect Moore

Quilts & Pattern Design

  • Cricut Maker BOTW
  • Quilty5k
  • Gallery Wall QAL
  • Trunk Show
  • Guild Resources
  • Pattern Shop
  • Free Patterns
Home About Subscribe Summer Sew Camp Disclosures
  • Cricut Maker BOTW
  • Quilty5k
  • Gallery Wall QAL
  • Trunk Show
  • Guild Resources
  • Pattern Shop
  • Free Patterns
Home » Blog » Uncategorized » Pocket Week Preview II – Jeans Pocket Pillows

Pocket Week Preview II – Jeans Pocket Pillows

Created On: July 18, 2010  |  Updated: July 18, 2010  |   5 Comments


Pocket Week is coming! Here is another “teaser project” to wet your appetite for all things pocket related coming August 1-7th. As the date draws near, I’m getting more and more excited! I’ve been working on tutorials, and chatting with all of our great sponsors and awesome guest bloggers… this event is not to be missed!

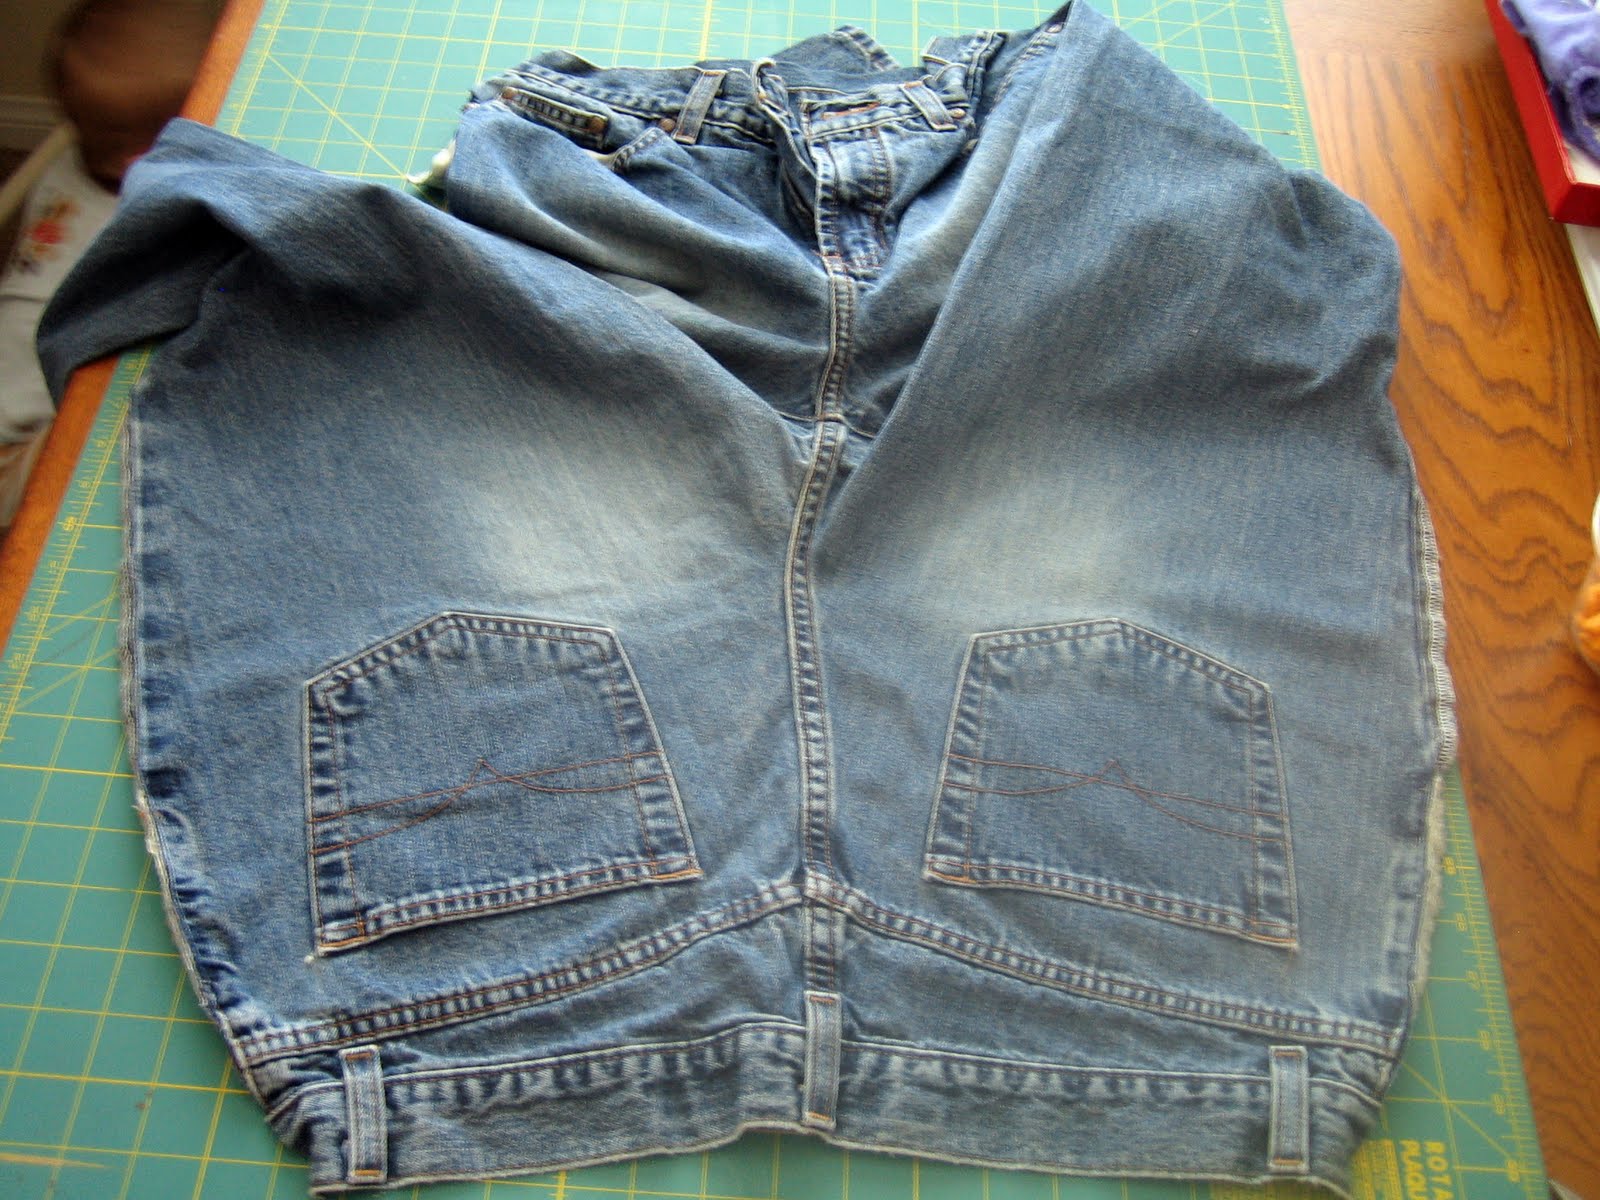
Today’s project is a pillow with a pocket, made with the existing back pocket of an old pair of jeans. The size of your pillow will depend on the size of the jeans you start with. These are an old size 8 jeans. They had some funny stains, and some holes… and I’ll probably never be fitting into these babies ever again anyway… so why not make something useful out of them, right??

Today I’ll only be using the pockets, but don’t think that the rest of the pants are going to waste, I’m going to be cutting quilt squares out of the legs. I have an old denim quilt that I made back in college. The dog got to it… and it could use some repair patches. The great thing about denim quilts is that no matter how rough you treat them, they always look better for the wear. Jeans are awesome that way, aren’t they?

Okay… let’s get on to our project!

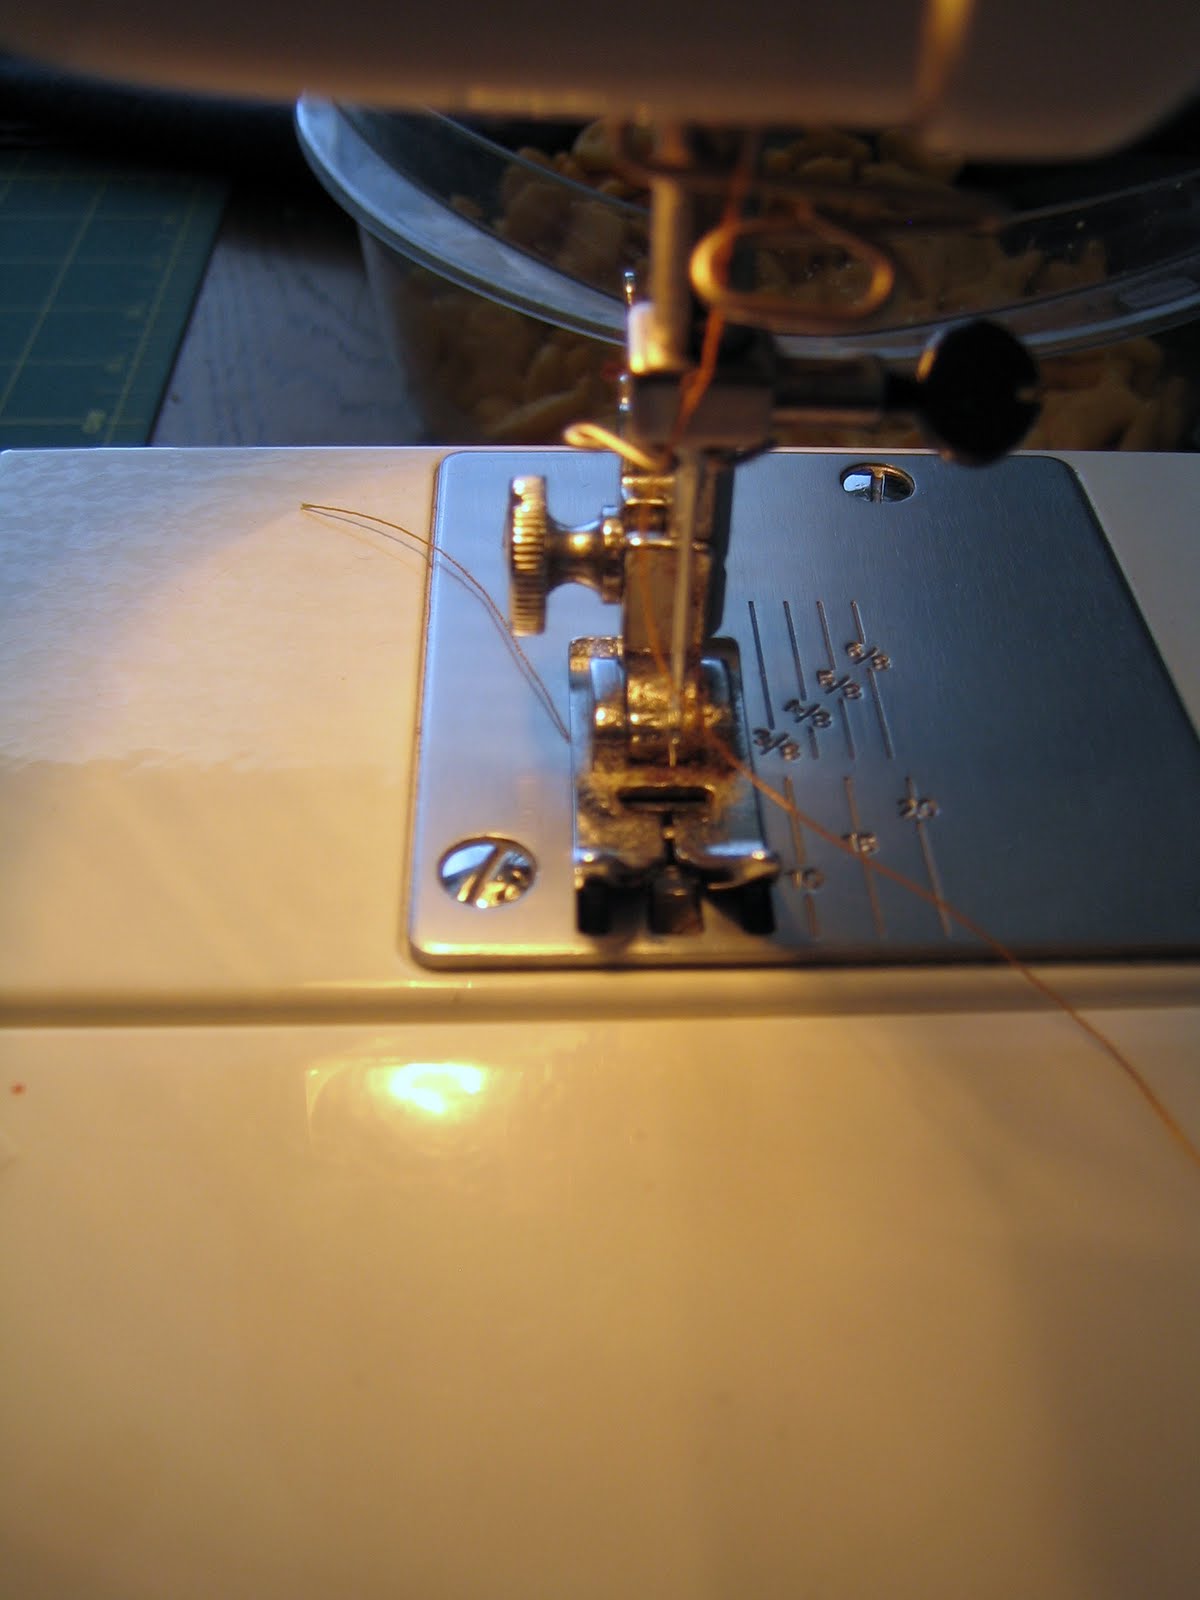
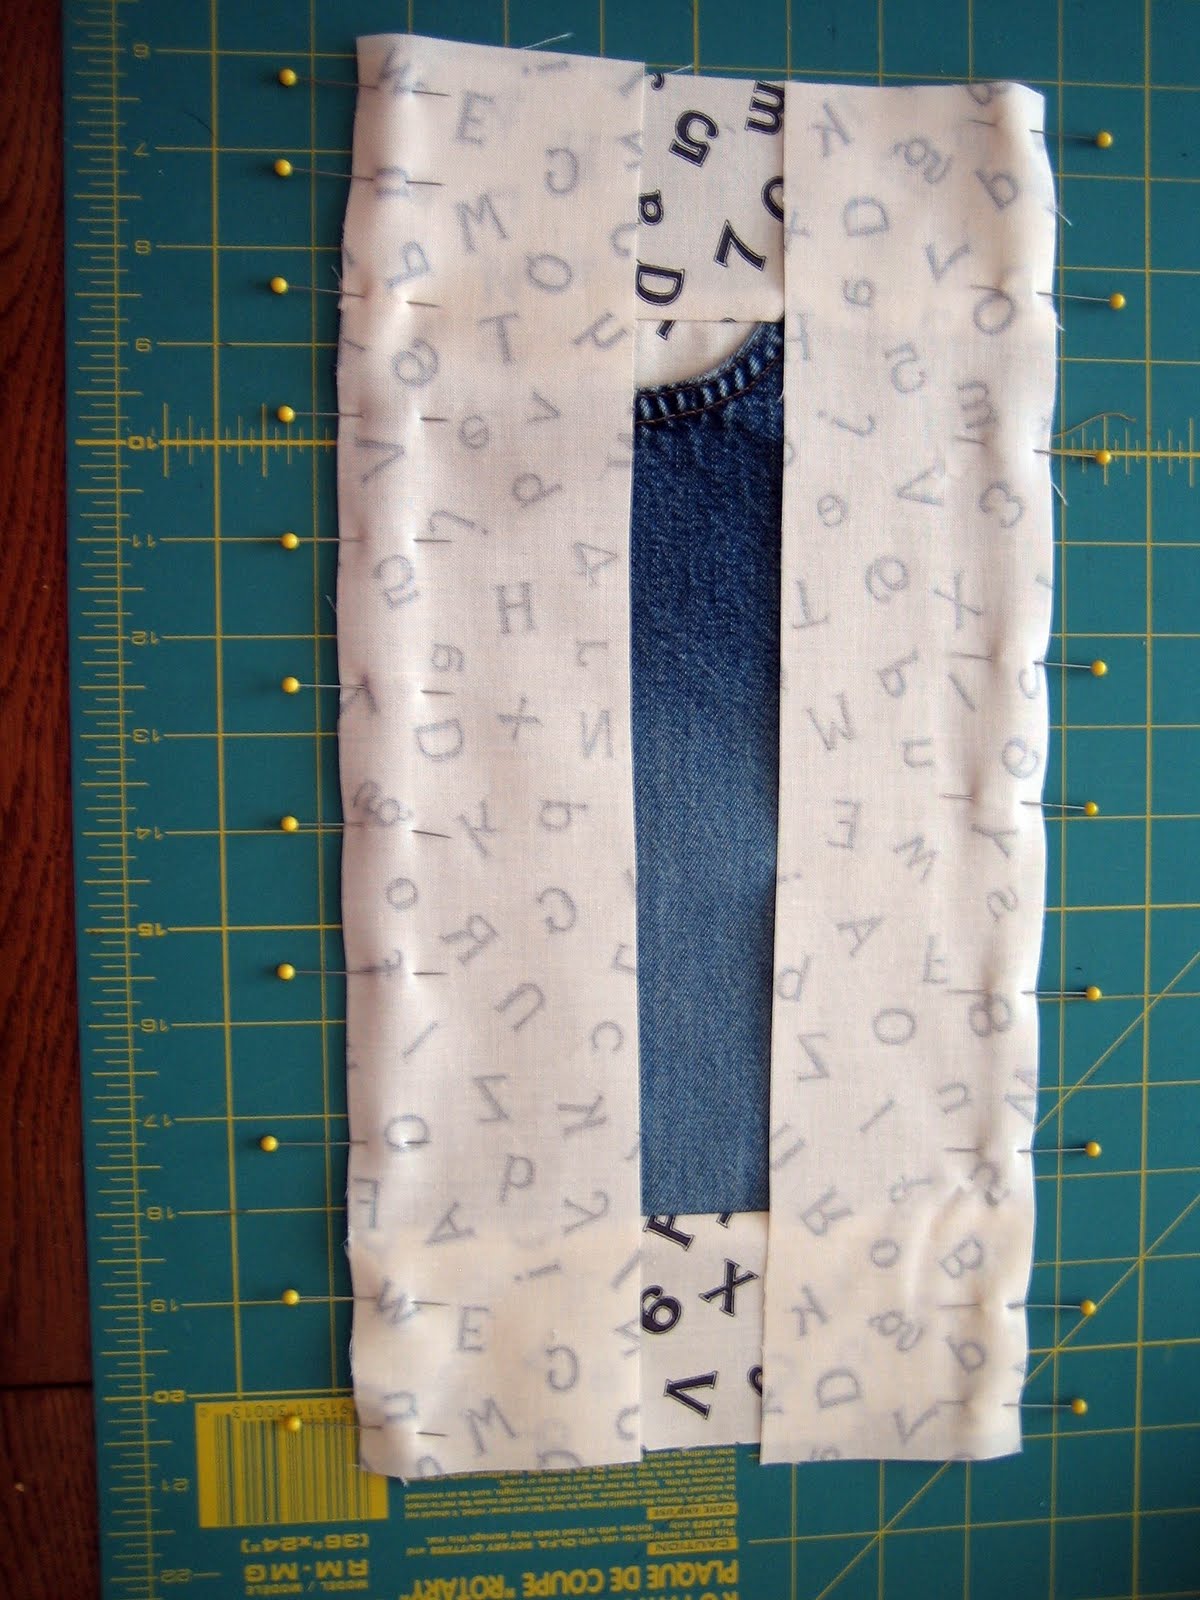
Before you get started, you may want to put a jeans needle in the sewing machine. We’re only going to sew through several layers of denim in a couple places, but it may make it easier than using a universal needle. If you don’t have a jeans needle, go ahead and use your universal needle, but take it easy.

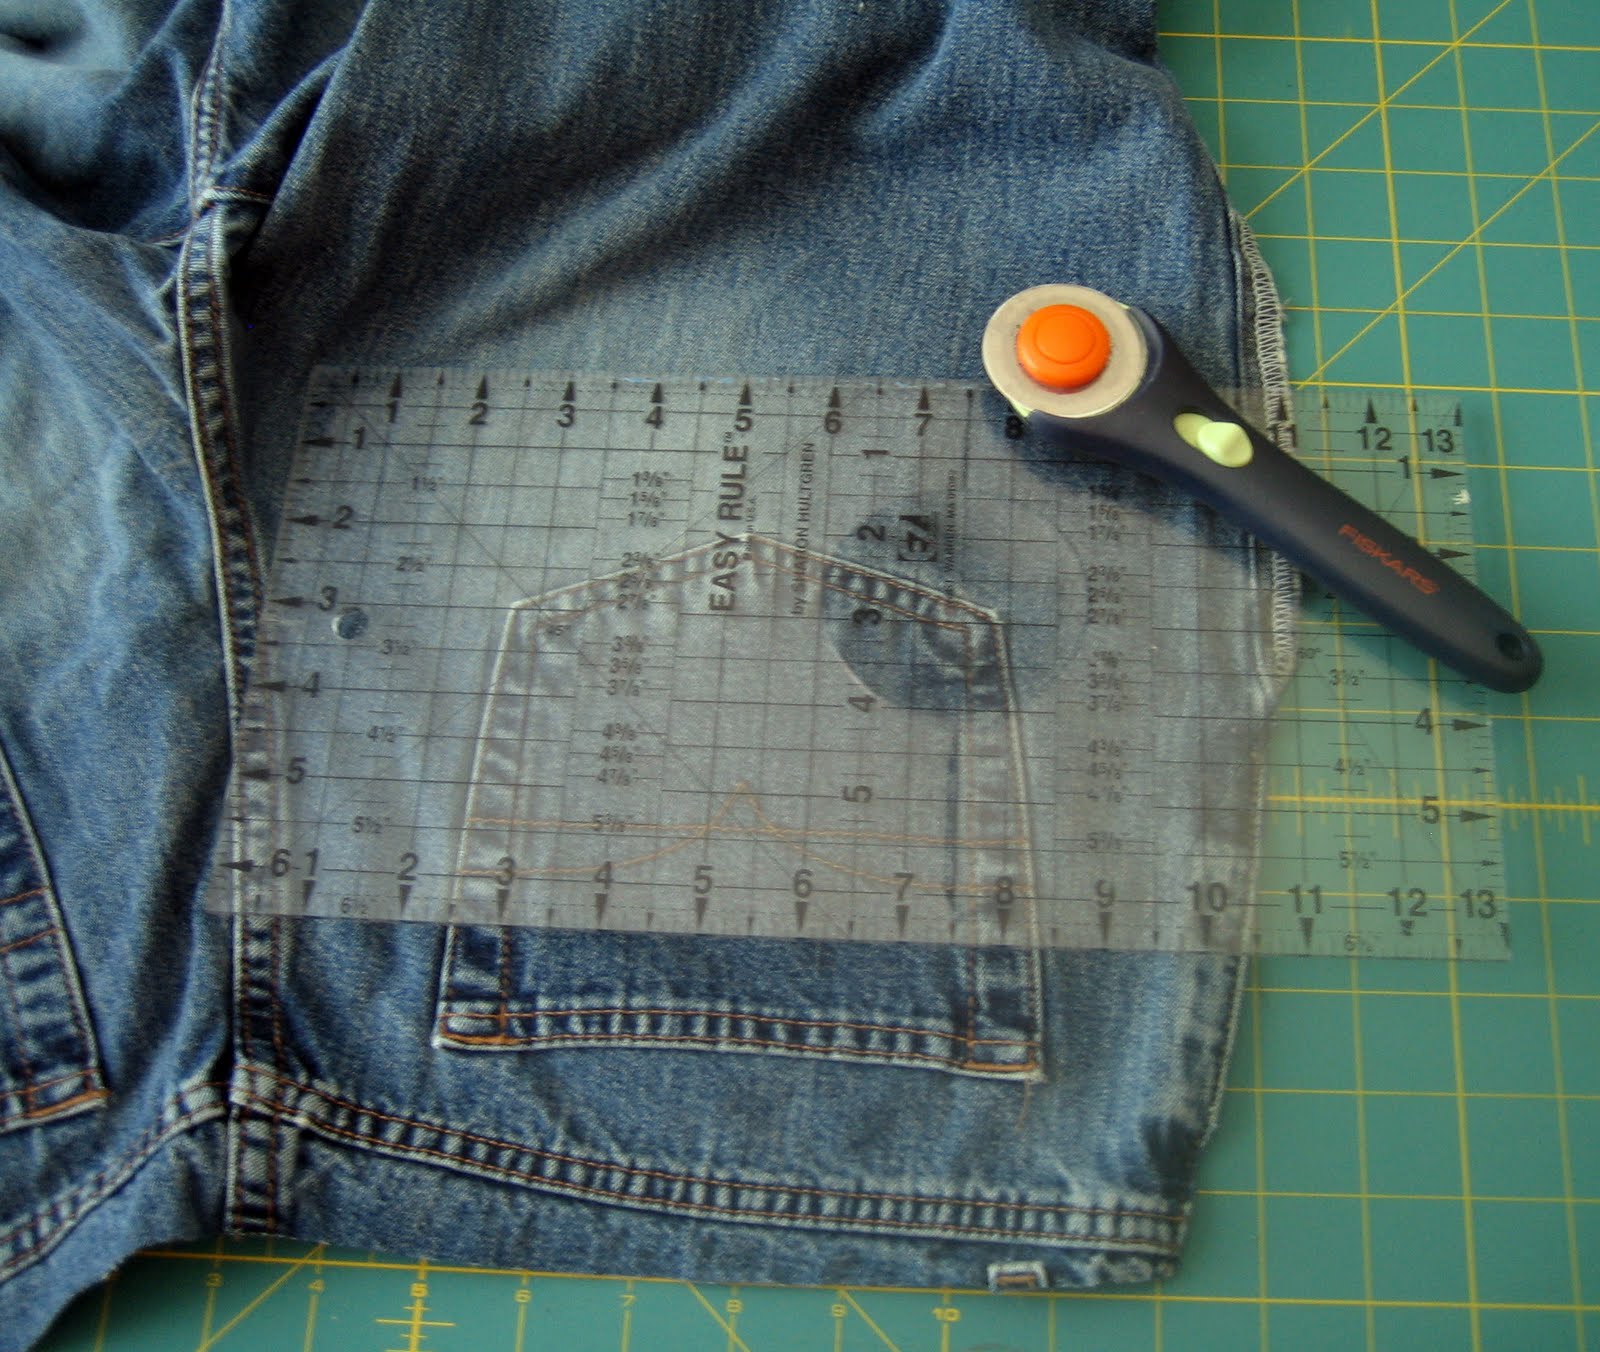
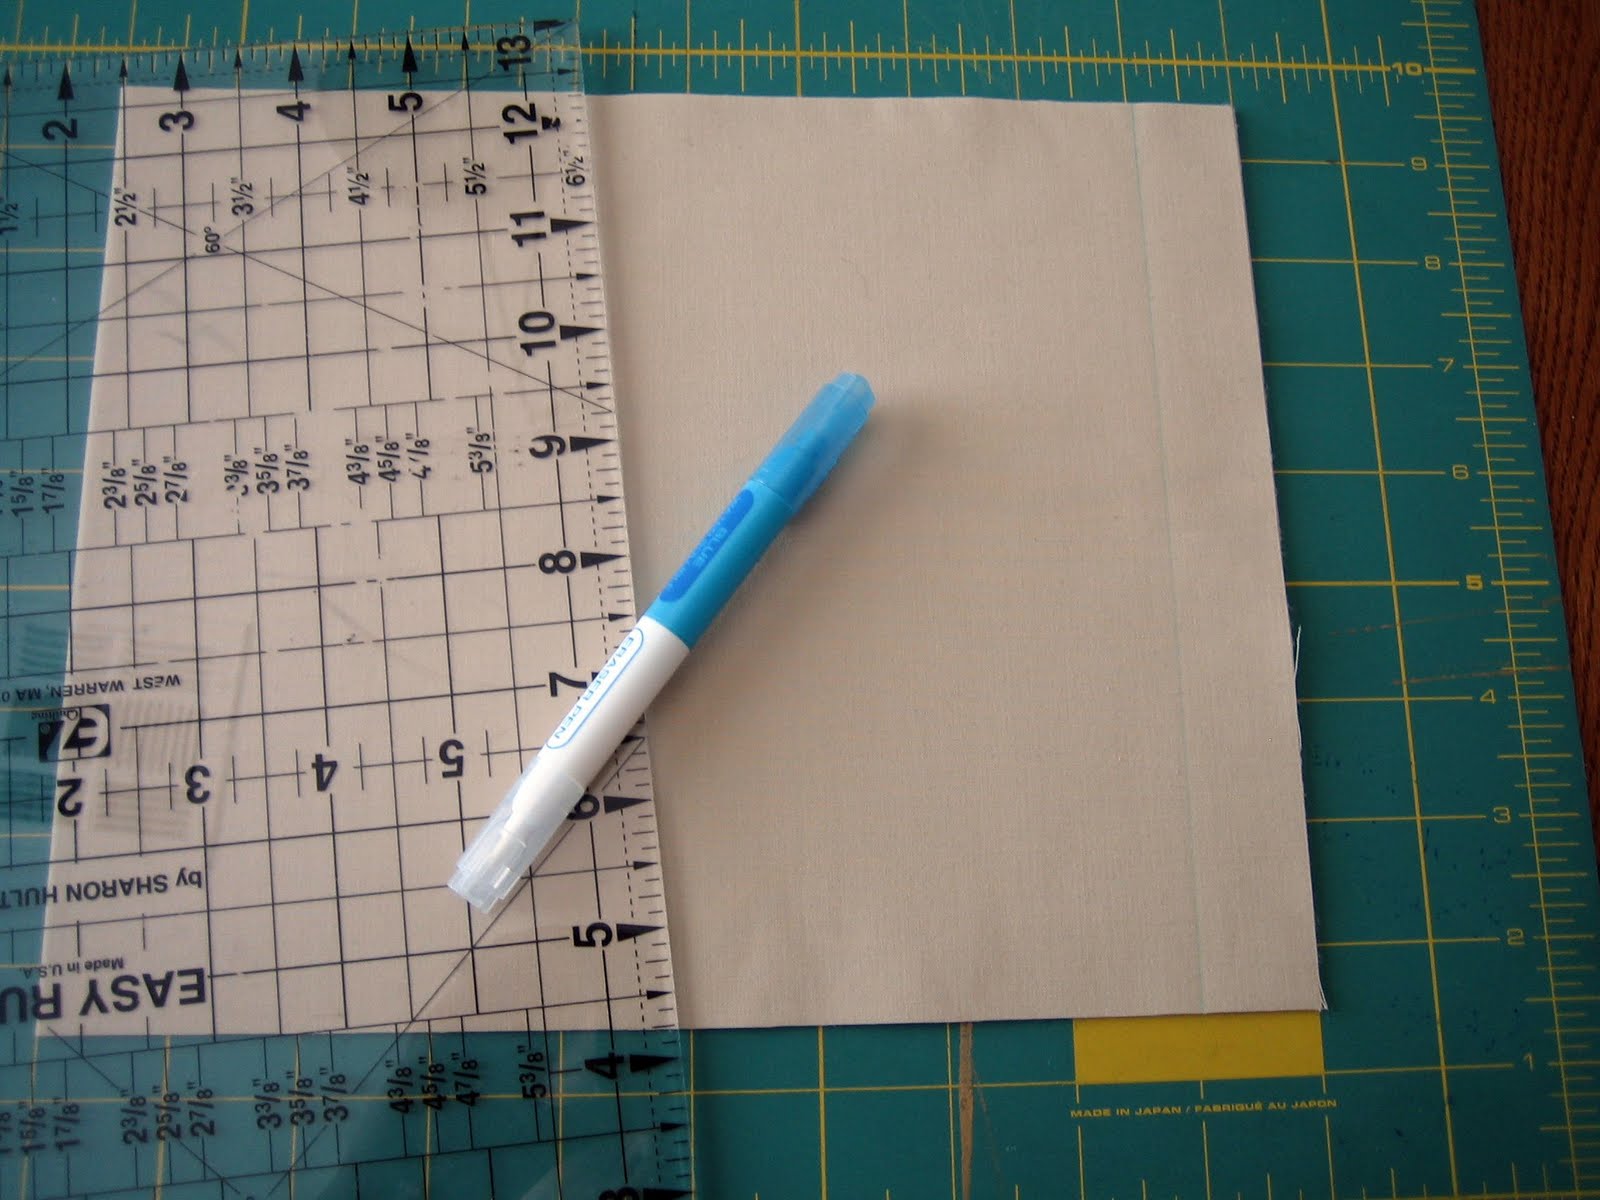
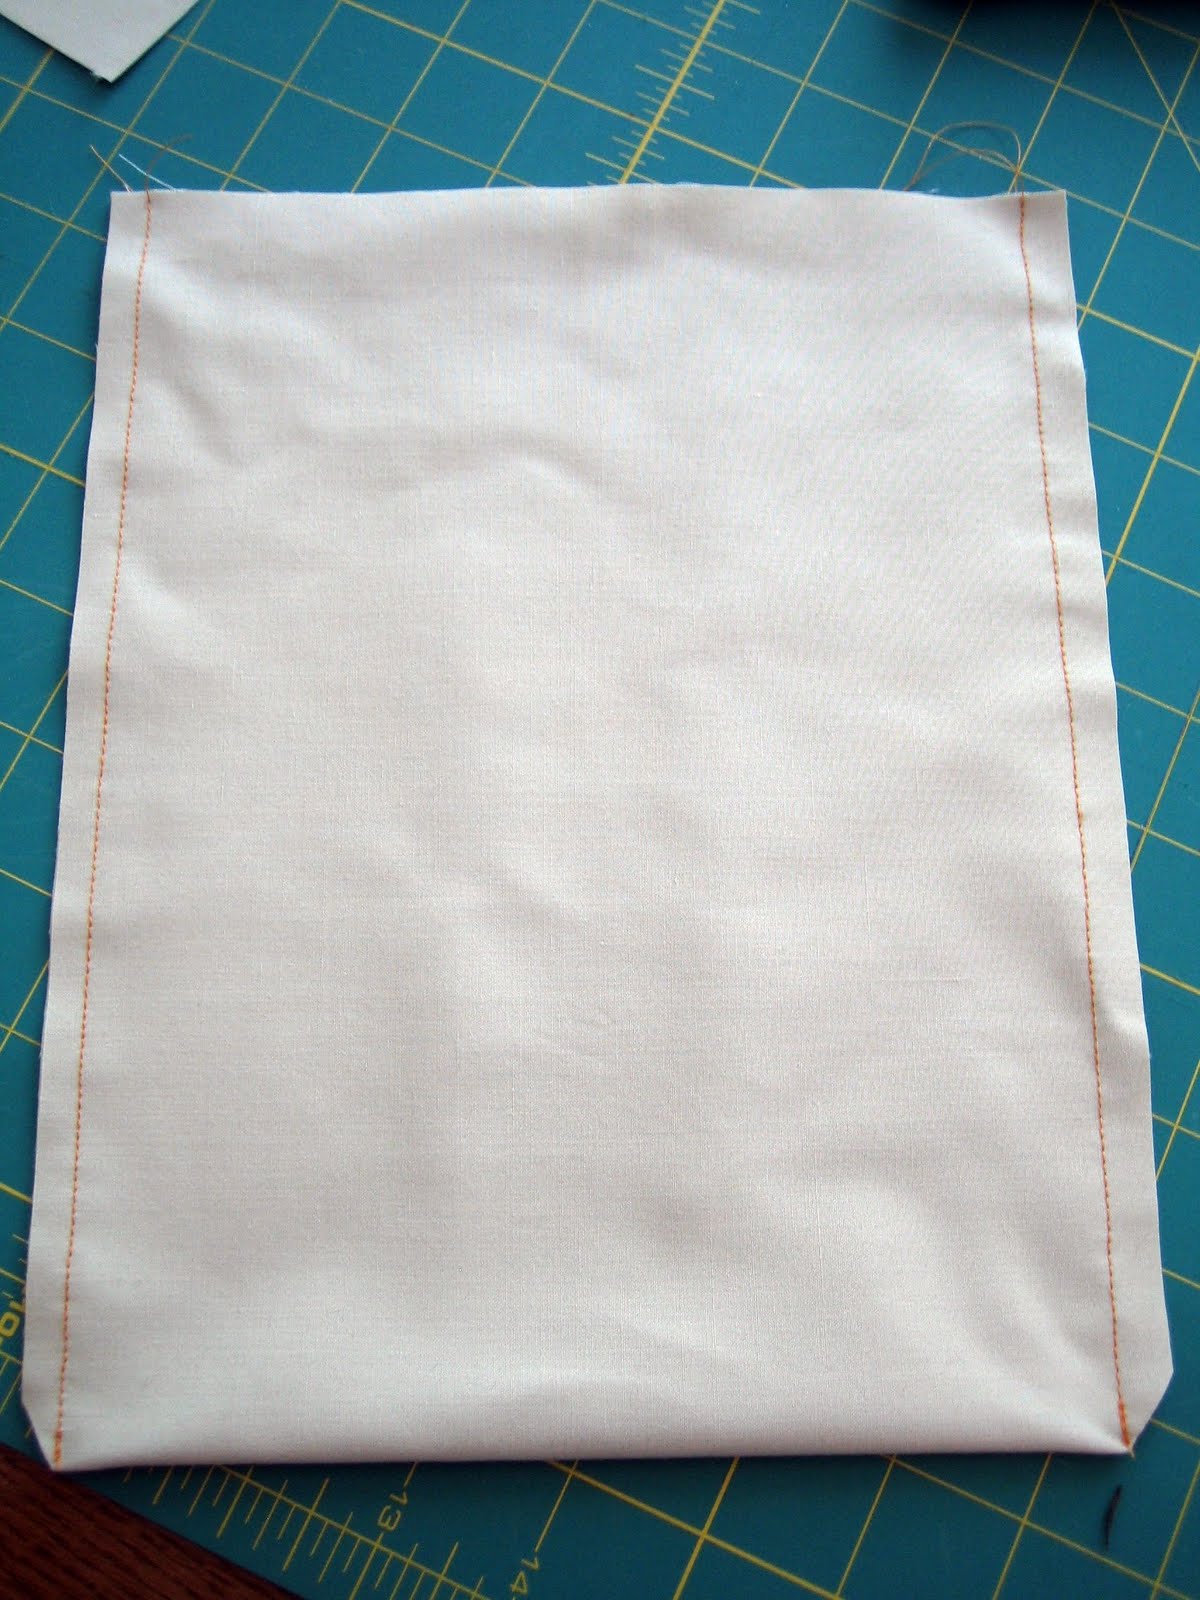
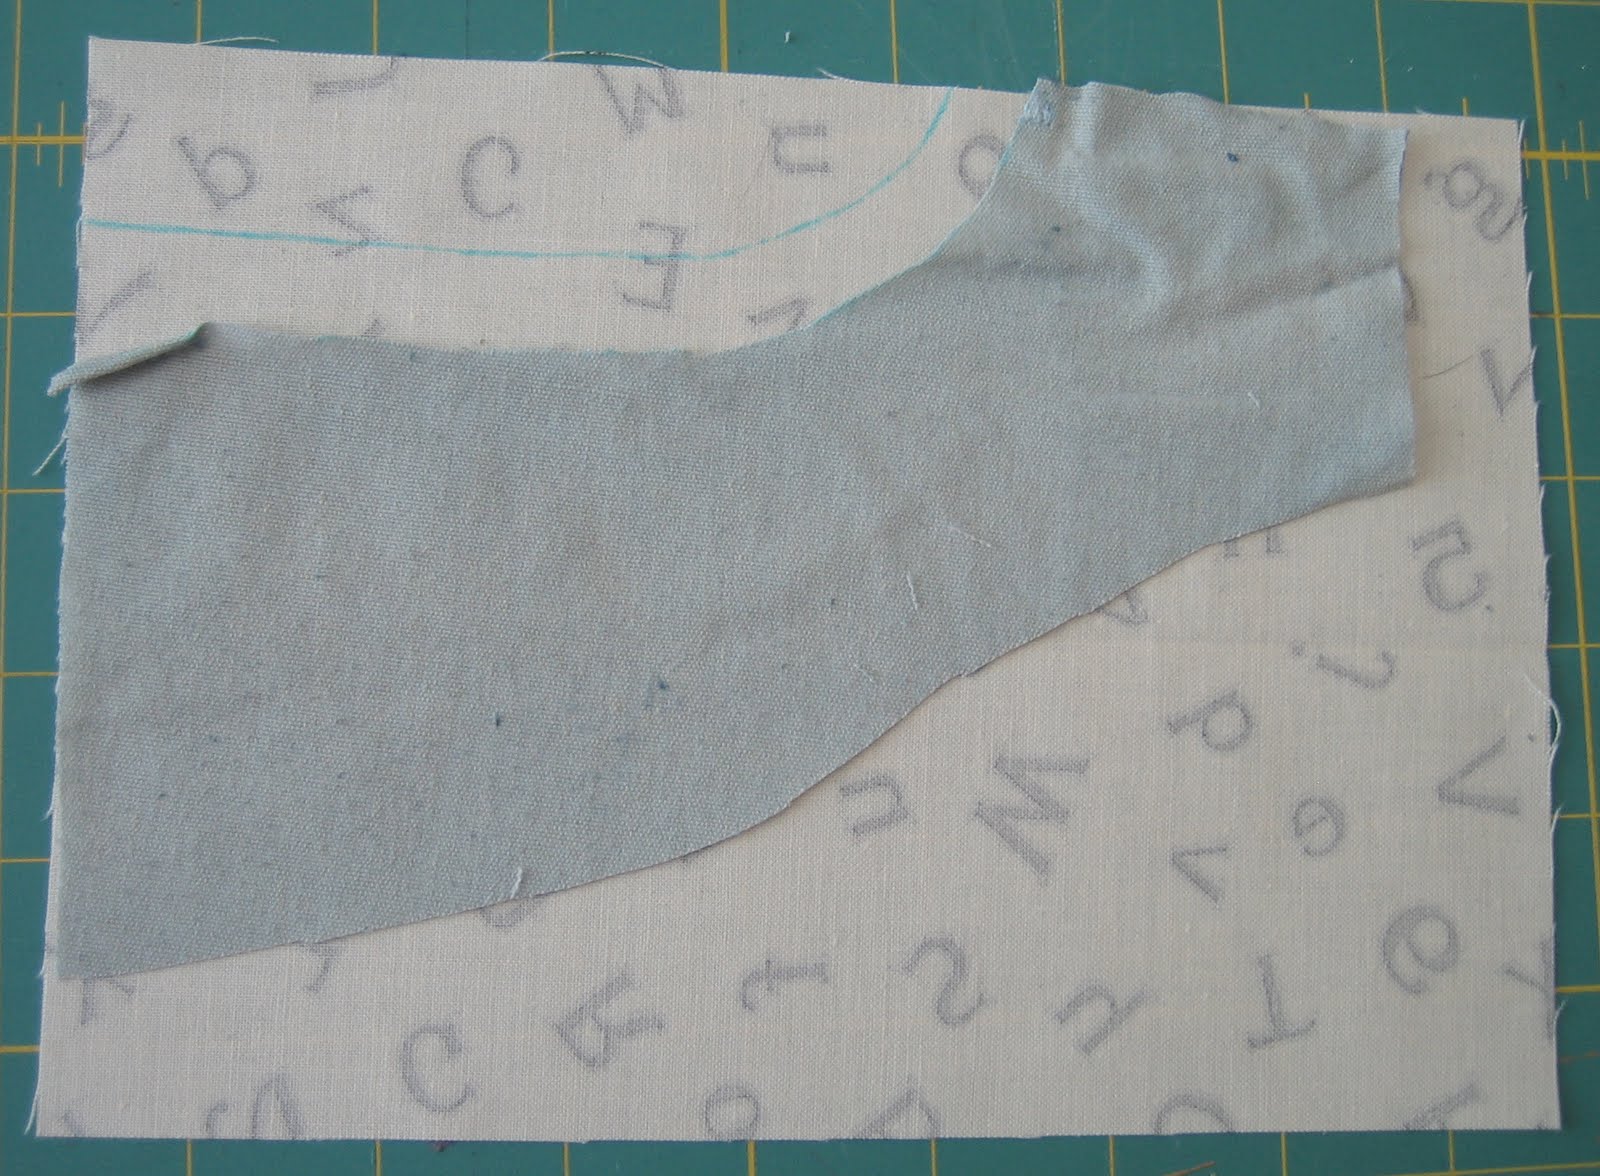
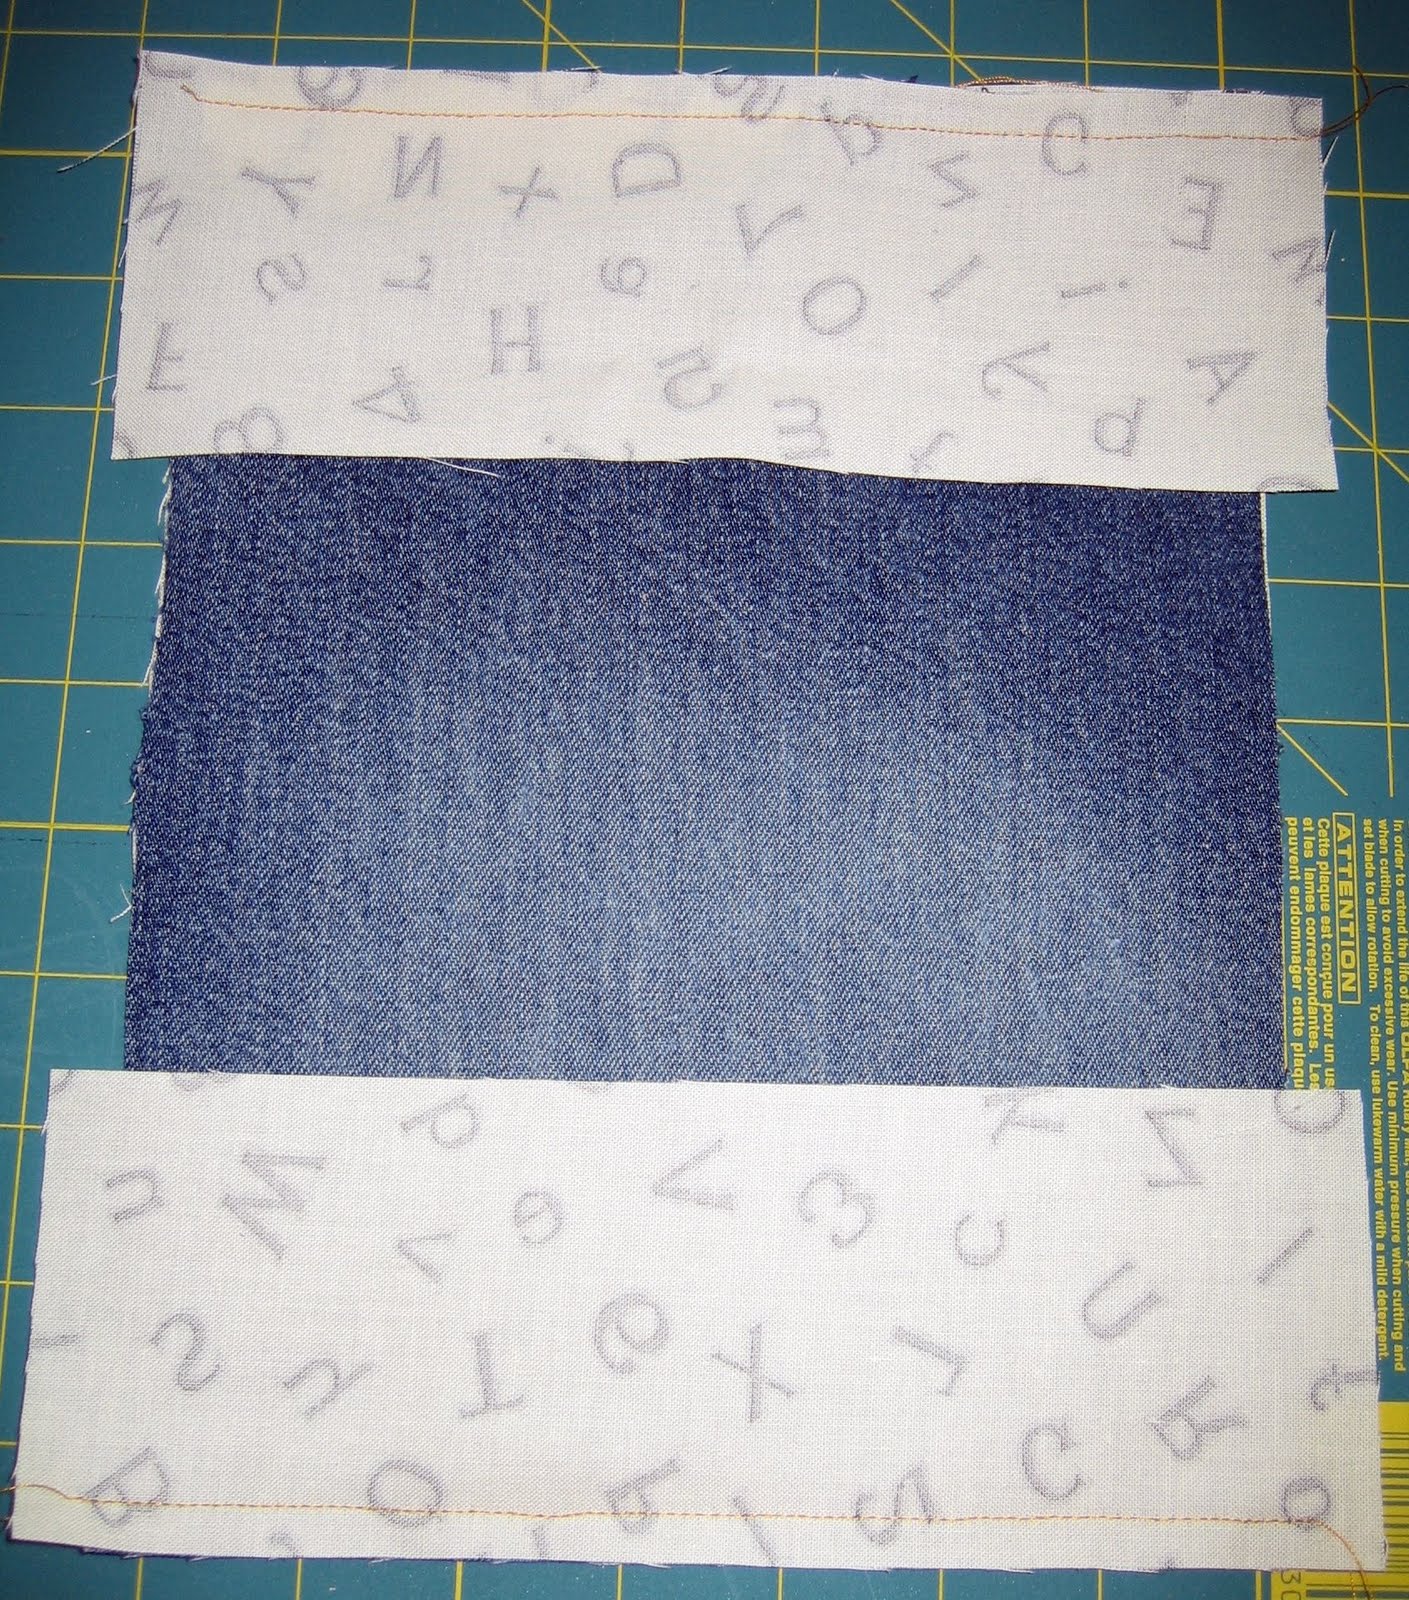
You’ll need a pair of old jeans and a yard or so of fabric, depending on the size and quantity of finished pillows (I used a fun cream colored with letters, but a red bandana print would be cute… but these are jeans, just about any fabric will go well with jeans!). You’ll also need some fabric for the inner pillow, as well as some batting (pillow stuffing).

We are going to start the project with a clean old pair of jeans. Lay them out flat on your work surface.

Using a sharp pair of scissors, cut down both sides. You don’t need to cut all the way, just past the crotch is fine.
Lay the pants out flat, in a single layer (with the legs all bunched up in the middle, but towards the fly, and away from the back pockets). 

Using your clear ruler and rotary cutter, cut off the top. Use one of the lines on the ruler to match up to the top of the pocket. I used the 2″ line. You will want at least 1/2″ above the pocket, because of the 1/4″ seam allowance we’re using later.

Trim off the legs, underneath the pockets. Us the lines on the ruler to make this cut parallel to your top cut.

Chop off the sides in the same way, cutting a rectangle out of your jeans, with the pocket in the middle-ish (a technical term meaning somewhere in the middle area). Then cut 2 pieces of your contrast fabric, each 3″ taller than the size of your denim square. Fold these in half, WRONG sides together, and pin onto the RIGHT side of the denim, with the fabric folds in the middle, the folded ends should overlap thanks to the extra 3″.
Pin around all 4 sides. Repeat all of these steps with the other pocket, if you want two pillows.

Sew around all four sides an clip the corners to reduce bulk. You can then turn the pillow(s) right side out.

This outer pillow case is removable and washable. Removable from what? {you ask}
Removable from the inner pillow we are about to make.

Making the Inner Pillow
Measure your finished pocket pillowcase. Cut the fabric for the inner pillow the same size, adding 2″ to the length. Fold fabric in half, mark 1″ from the non-folded end.

Sew down both sides, and clip corners.

Stuff your pillow, as firm or soft as you would like. Fold the end in to the 1″ mark you made earlier. Smoosh (a technical term meaning to push or squish) your stuffing down so that you can pin the end.

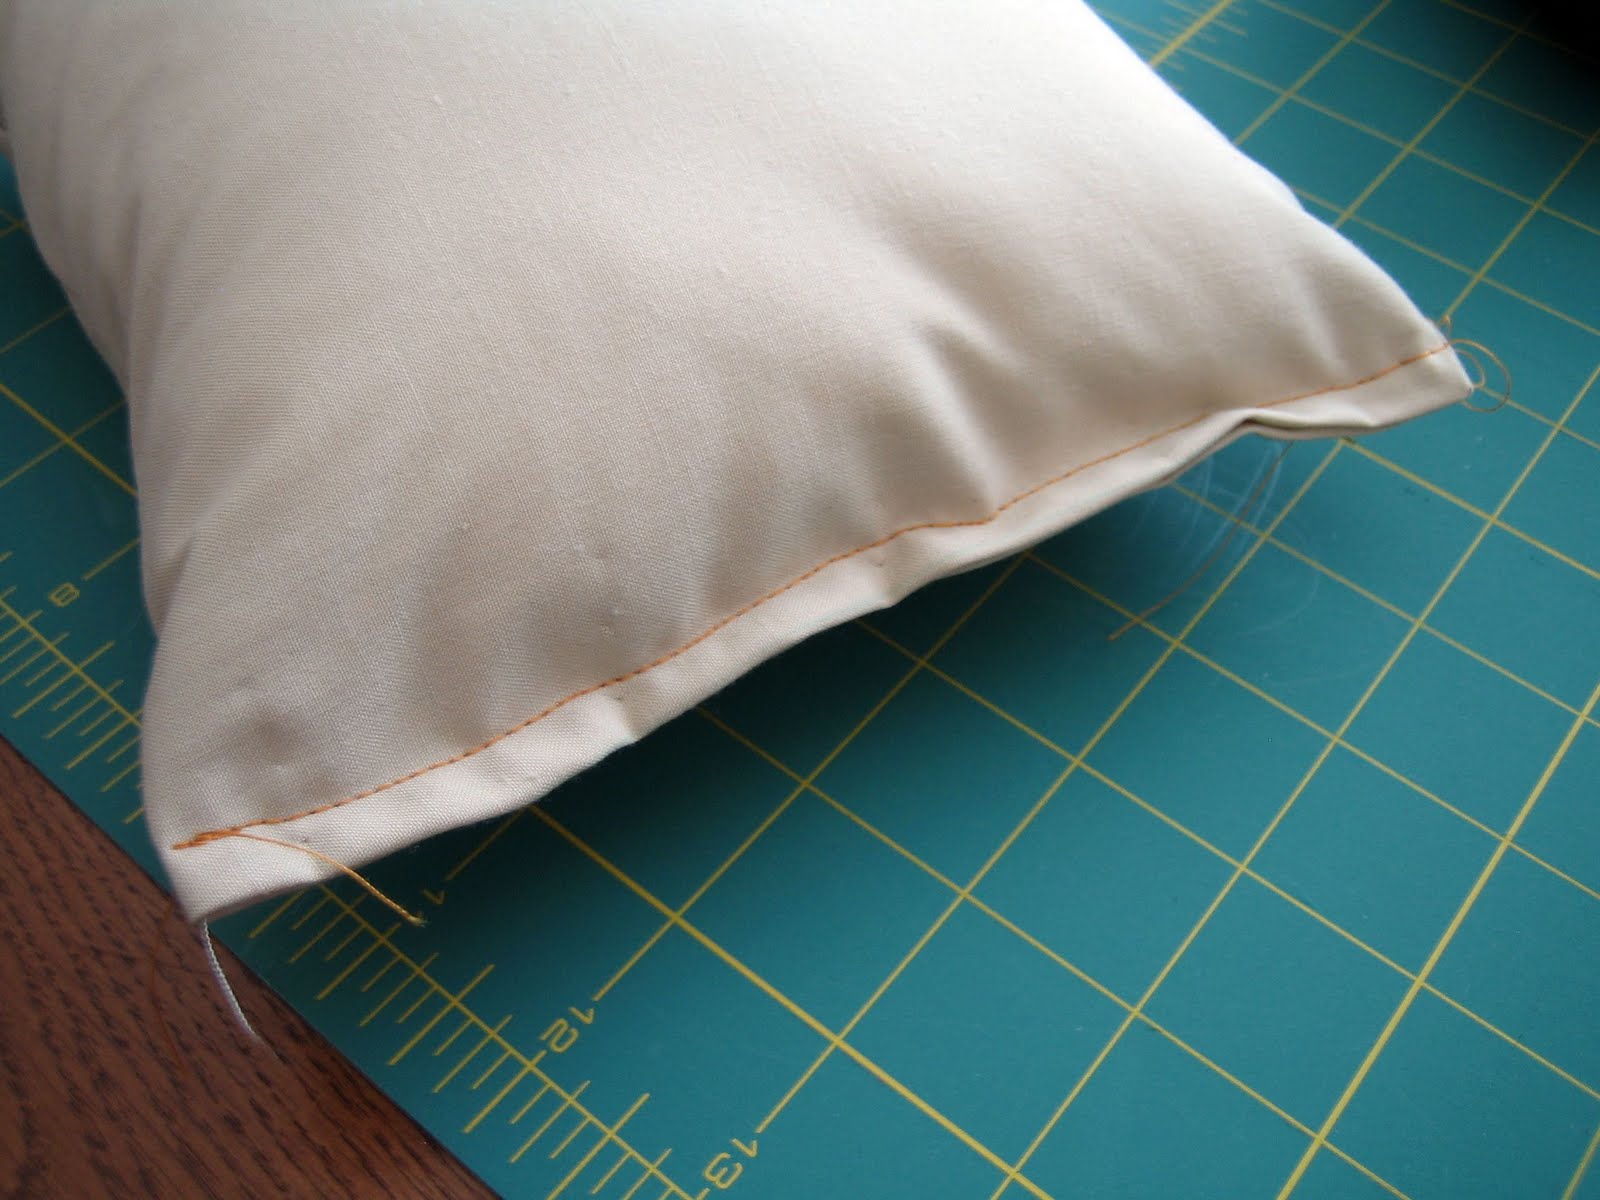
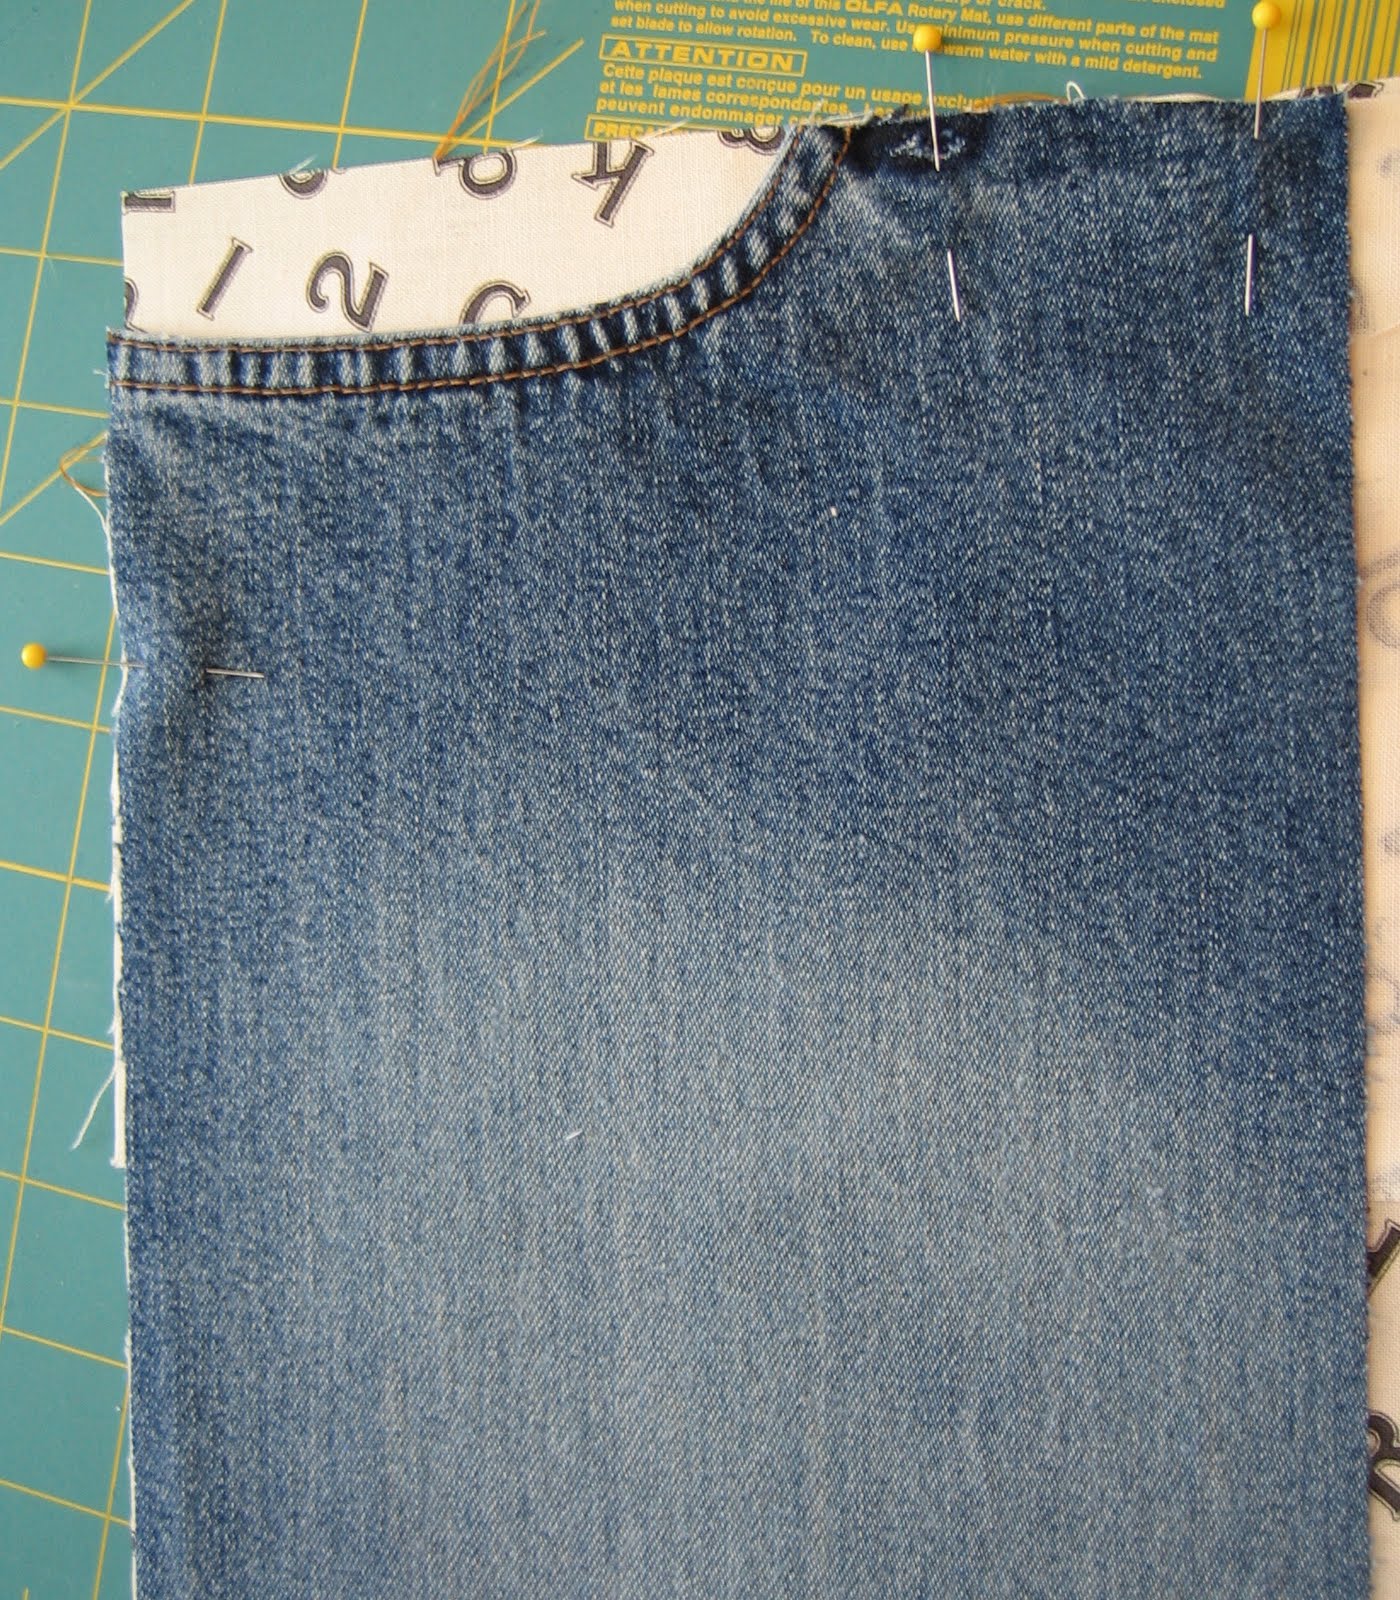
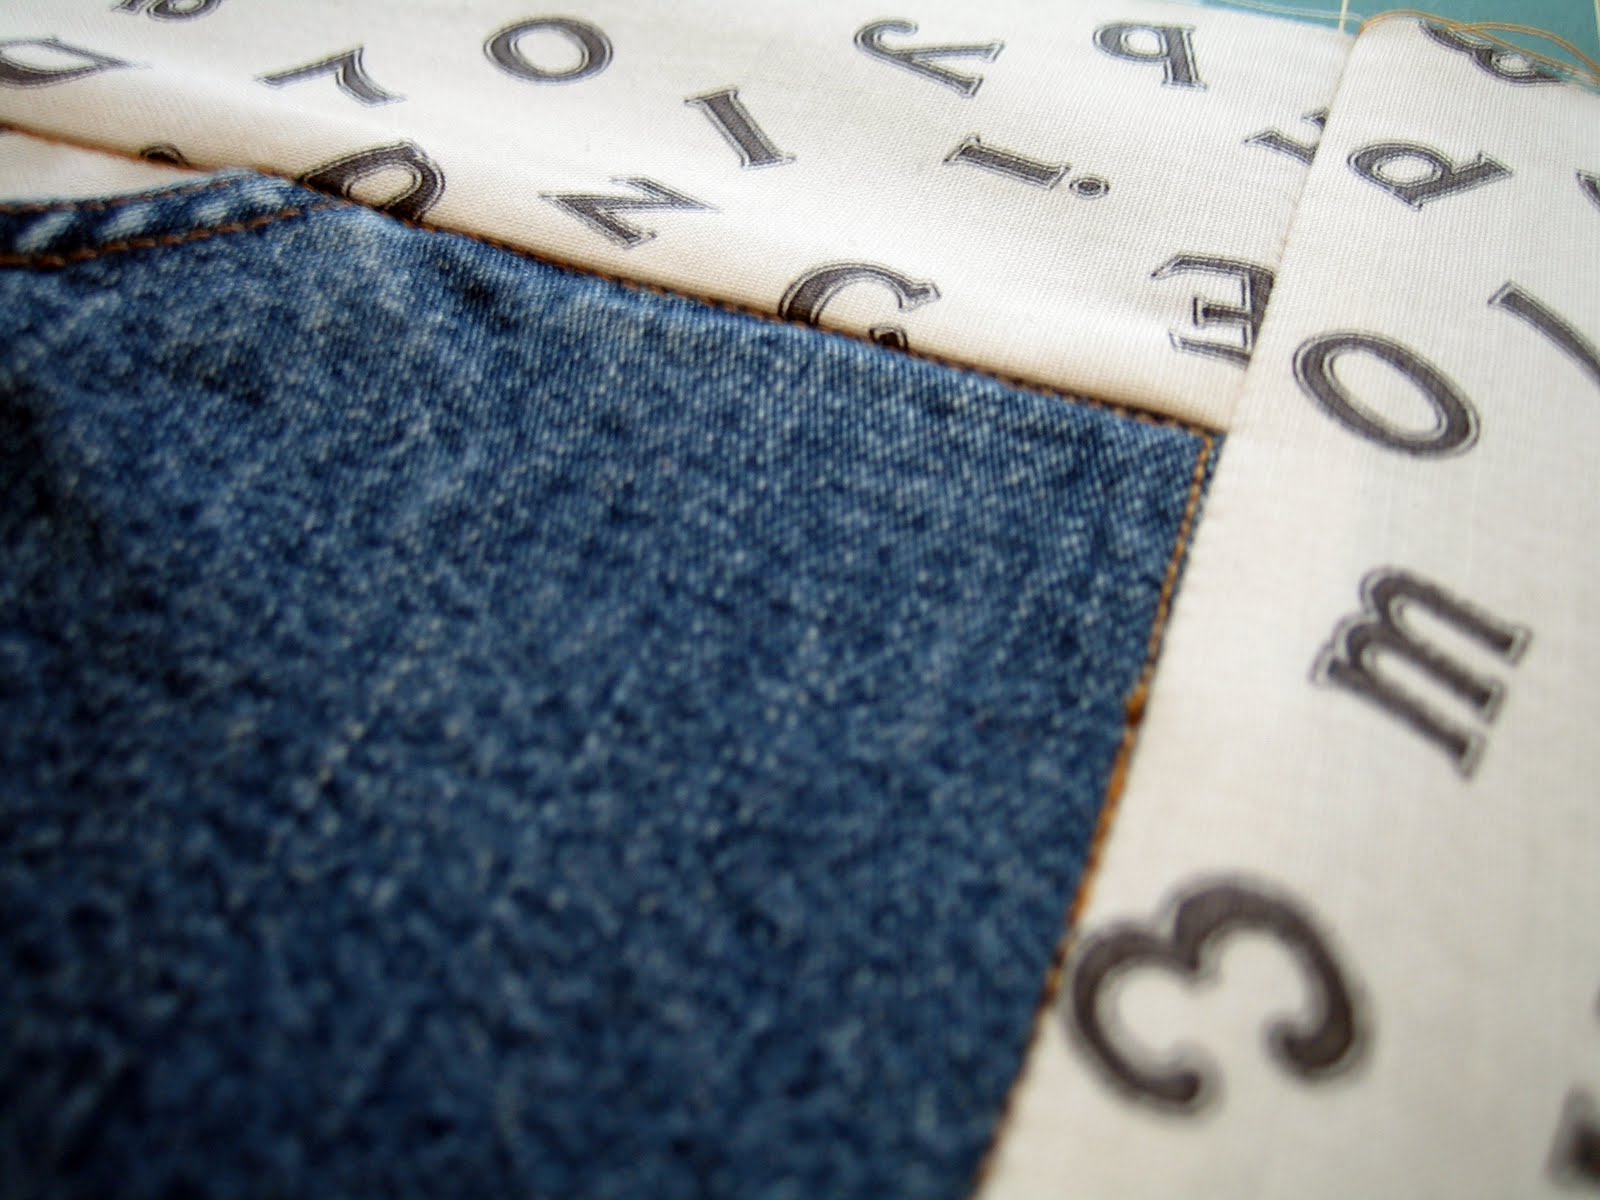
Now stitch the end on your sewing machine. It looks ugly, but nobody is ever going to see it. If you’re bothered by the fact that it is going to look ugly, go ahead and invisible-stitch it by hand, if that makes you happy… but it is going to take longer (and I’m going to mock you for being a perfectionist, but you will get “top marks” from both my mother and mother in law).

If you made two pillow cases, repeat the process making a second inner pillow for the other pillowcase.
Once you put the pillow inside the pillowcase, you’re done… and you can start hiding things in the pockets! Or… you can move on to some “Moore” Ideas…

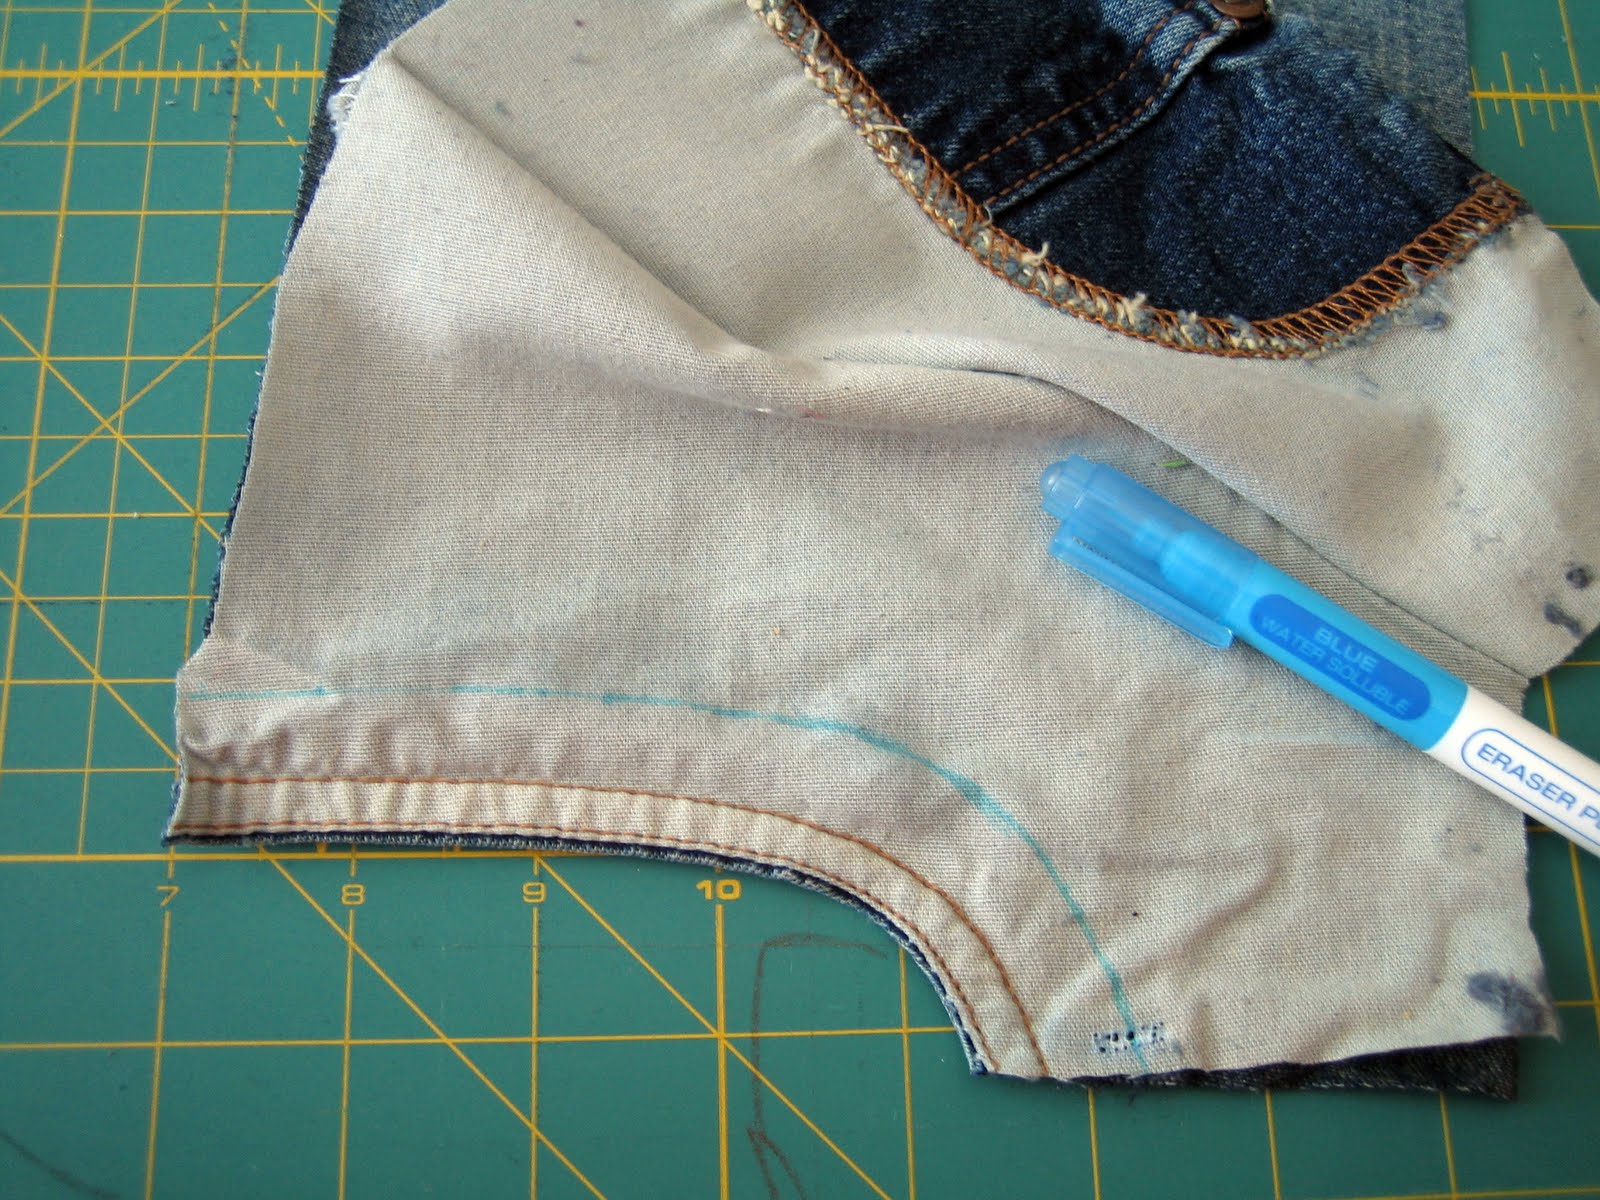
 Jeans have so many wonderful pockets… we’ve used the back pockets, now how ’bout making a pillow with the FRONT pockets?

Yup… I’m going to make another pillow, this time using the front pocket of the jeans…

Start by cropping the front of your pants, similar to the way we cropped the back. Remove any beltloop(s) that might be in the way. Be careful to avoid grommets.
Flip the denim over, and peel apart your pocket layers. Measure 1/2″ from the seam on the front of the pocket lining. Trim along this line, but keep your scrap.

Cut two pieces of fabric the same size as your denim piece. I used pieces that are a little shorter, because I didn’t want such a deep pocket. Have you ever noticed that women’s pockets are never as deep as men’s pockets? Is it because clothing manufacturers want to force women into buying purses? Or maybe it is because lumpy items in big pockets don’t do flattering things for a woman’s curves… Sorry, I digress. 
Using your scrap from the last step, measure in 1/2″ from the curved cut edge.

This is going to become the new front pocket lining. Trim along the line you just drew, and pin to the 1/2″ left on the front of the pocket. You will need to do some creative fabric stretching to make it fit right, but that is to be expected with this kind of wonky (a very technical term… meaning strange or malformed) curve.

Sew and press down. That scant 1/2″ allowed us to NOT have to sew through layers and layers of denim, and leaves the manufacturer’s beautiful topstitching in place.

Using the extra piece,  pin it RIGHT sides together to the other pocket lining. Pin it in a couple places to keep it from wiggling.

Sew just the bottom seam. Keep a couple pins in for placement.

Attach strips to top and bottom. I used beautiful 3″ wide strips.

Press open. Attach strips to the sides. Pin and sew.

Press open. If you like, and have that browny/orange thread color they use for top stitching denim, go ahead and sew a little topstitching around your denim. It gives it a pretty, “finished” look.

Attach your back, just like we did for the smaller back pocket pillows. Turn right side out, and you’re done (almost)!

You’ll want to make an inner pillow the same way you did for the small pillows. Directions above.

Now you’re done. Make a cute little pocket album (tutorial will be up on Tuesday) to tuck in the pocket, and take a “glamor shot.”

Don’t want to wait until August for more pocket inspirations? I’ll have another Preview Post on Sunday. If that isn’t soon enough, you can check out these sites:

In Seam Pockets {Burda Style}
Pocket Hanger Cover {Tip Nut}
Father’s Day Pocket Square Card {Martha Stewart}
Pocket Placemats {Family Fun}

and, because I couldn’t resist…
Jean Pocket Cookies {The Decorated Cookie}

Expect Moore… Soon!

posted in: Uncategorized

Previous
Fabric Airplanes
Next
Tie Down Towels

Reader Interactions

    Leave A Reply! Cancel reply

    Share your thoughts!
    Your email address will not be published. Required fields are marked with *

    This site uses Akismet to reduce spam. Learn how your comment data is processed.

    Comments & Reviews

  1. Megan says

    July 18, 2010

    Thanks for stopping by my blog! I have some pillows in my closet and some dress shirts that I need to figure out how to incorporate them into the pillows as a favor for a friend…I may have found a solution!

    Reply
  2. craftystaci says

    July 19, 2010

    These are cute! I love projects that use old jeans. Can’t wait to see your next “pocket”!

    Reply
  3. Veronica Lee says

    July 19, 2010

    What cute ideas!

    Hi! Stopping by from MBC. Great blog.
    Have a nice day!

    Reply
  4. Kelly's Lucky You says

    July 20, 2010

    These are adorable!! I have a purse made from jeans, but I’ve never seen pillows. Awesome!

    I’m a new friday follower, I hope you’ll follow me back at http://KellysLuckyYou.blogspot.com

    Reply
  5. CraftCrave says

    July 24, 2010

    Just a quick note to let you know that a link to this post will be placed on CraftCrave today [24 Jul 01:05pm GMT]. Thanks, Maria

    Reply

Primary Sidebar

Hi, I'm Carolina!

I’m a Quilt Pattern Designer, Award Winning Quilter, and fan of all things quilting. I live in San Diego with my husband, our two boys and our pets. I love keeping both my hands and mind busy, so I’m always working on lots of projects. You’ll find lots of them shared here!

More About Me

Let's Keep In Touch!

I'll let you know about what's new in quilting, freebies you'll want to snag, and brighten your inbox about once a week!

subscribe
90% Faster Than Rotary Cutters

Fat Quarter Shop Quilting Fabrics and Supplies

Instagram Facebook Pinterest YouTube

Recent Posts

  • Flying Pig Quilt Block
  • Bunny and Carrot Quilt Block
  • Free Fancy Drink Quilt Block
  • Dutch Row Houses Quilt Block
  • Quilted Sports Jersey Numbers

Archives

Featured Projects

  • Everything you want to know about Pre Cut Fabrics!
  • Scrappy Placemat - easy to make scrap project
    Scrappy Placemat using Strips and Scrap Tape
  • Sewing Kaleidoscope SVG File
  • Drawstring Backpack
  • Carolina holding fabric marking pens
    Choosing Fabric Marking Pens

Let's Keep In Touch!

Brighten your inbox about once a week!

Always Expect Moore Submark Shop Patterns

Browse

  • Ruler of the Month
  • Quilty5k
  • QuiltMath
  • Cricut Maker BOTW

Shop

  • Digital Download Patterns
  • Quilting Notions
  • Quilt Stickers
  • Quilt Tees

Connect

  • YouTube
  • Instagram
  • Facebook Group
  • TikTok
©2025, Always Expect Moore. All Rights Reserved. About Disclosures
Back To Top
Design by Pixel Me Designs
×

Let's Keep In Touch!

I'll let you know about what's new in quilting, freebies you'll want to snag, and brighten your inbox about once a week!