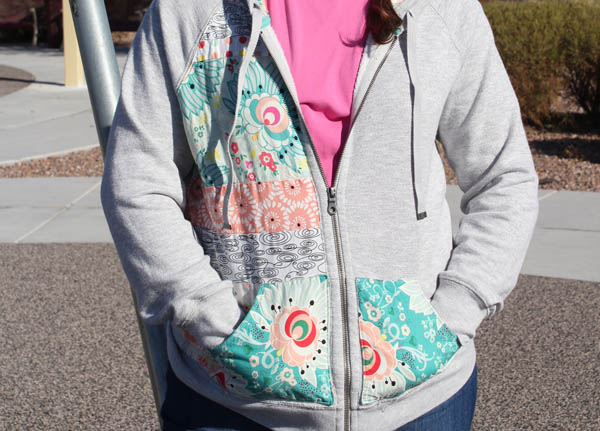
I was one of the lucky bloggers who was sent a fat quarter bundle of Pat Bravo’s newest line, Rapture. This is such a fun line, and everyone I know who has seen it has fallen for the fabrics in it. I love that it has a great variety of larger prints and smaller prints, making it a great choice for almost any project. Which is where I ran into a problem…. what to make? Of course I could put together a quilt using Rapture, but while I wanted to be able to wrap myself up in the fabric, I wasn’t up for making another quilt in 2013. So I found a great compromise – a zippered DIY hoodie using Rapture from AGF. I spend most of the winter in jeans and a hoodie, so this way I can wrap myself in the fabrics all day long – and still get my errands done!
My inspiration came from the appliqued sweaters quilters of the ’80s and ’90s made… but an updated version. I wanted my DIY hoodie to be a modern take on those sweaters.
If you want to make your own quilted hoodie, here is what you need:
Fabric (I used FQs of Rapture by Art Gallery)
Zippered Hoodie
Freezer Paper
Fusible Fleece
Pen
Basic Sewing tools, such as a Seam Ripper, Pins, Iron, Sewing Machine
I started by prepping the sweater. This meant using a seam ripper and scissors to carefully remove the front pockets. Then I ironed a large sheet of freezer paper to one of the front panels of the sweater, then used a pen to mark the outline, making a template. I turned the hood wrong-side-out, and made a template of the hood shape as well.
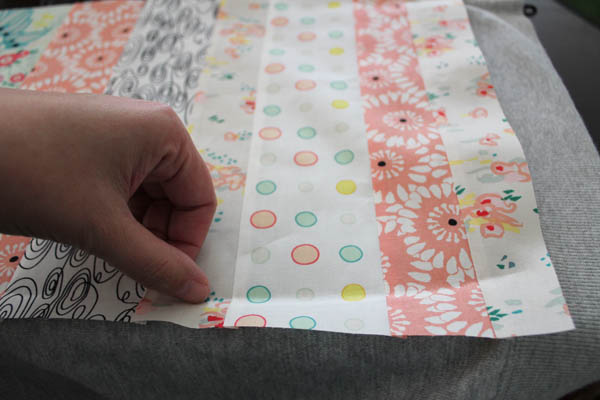
I prepped the fabric by selecting the fat quarters I wanted to use. I cut a variety of different sized strips, including a wide strip of one of the larger patterns. I stitched the strips together to make what looked like a striped piece of fabric.
I ironed the templates onto the fabric. The large front panel was ironed onto the right side of the pieced fabric, and the hood was ironed onto the wrong side of my chosen fabric.

I trimmed around the outside of each piece, adding a seam allowance as I cut.
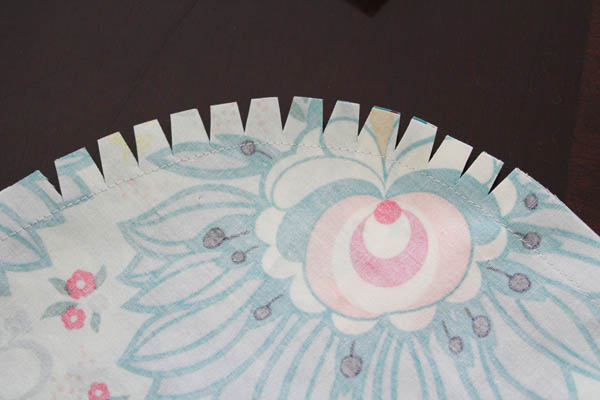
I stitched the hood on first. I cut two of the hood pieces, one in reverse of the other. I put the two pieces right sides together, and stitched around the curve (the back seam of the hood), then pulled off the freezer paper. Then I cut the curve and pressed the seam open.
I pinned the hood piece to the inside of the hood.
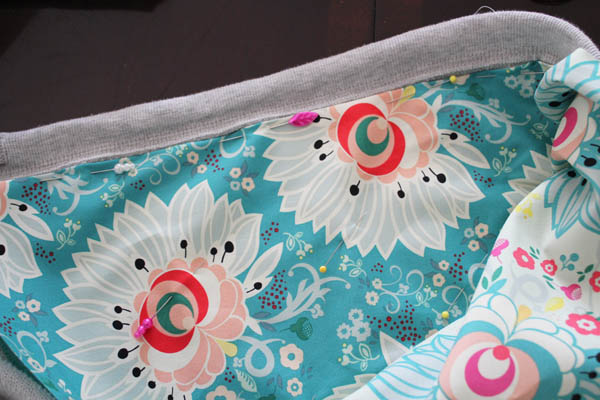
All the raw edges were turned over and pinned under.
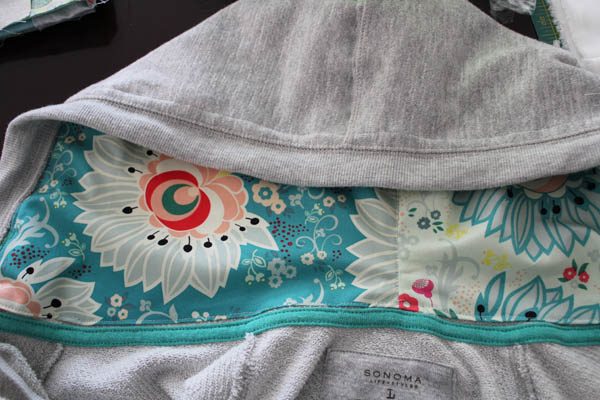
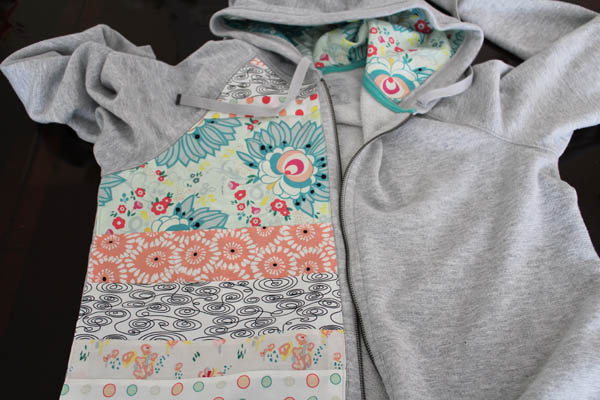
I stitched the fabric on all the way around, then stitched down the center seam (through the sweater and fabric), to make sure the hood would stay in place even after washing.
On to the body piece! I put it on the sweater, and using my fingernail put a slight crease along the seam lines. I was then able to take the piece to the ironing board, and easily press the raw edges over.
I pinned the piece in place all the way around.
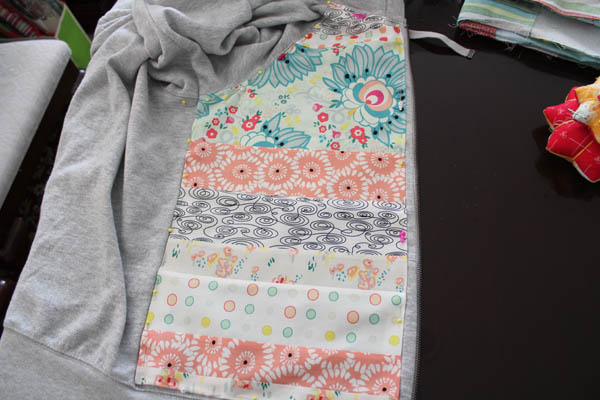
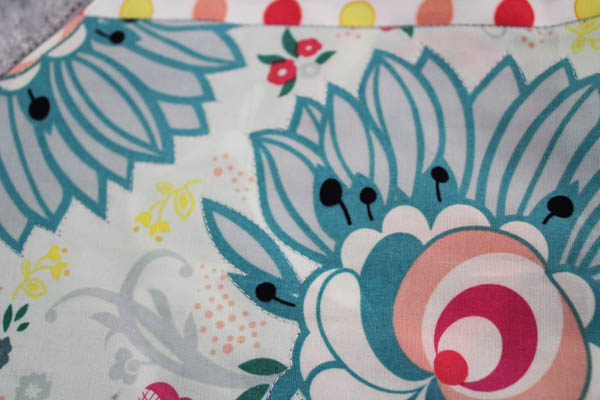
After stitching the body piece in place all the way around, I quilted it down. I did a “stitch in the ditch” on each seam, stitching down each seam where two fabrics meet. On the large strip, I stitched around the motif to secure the large piece in place.
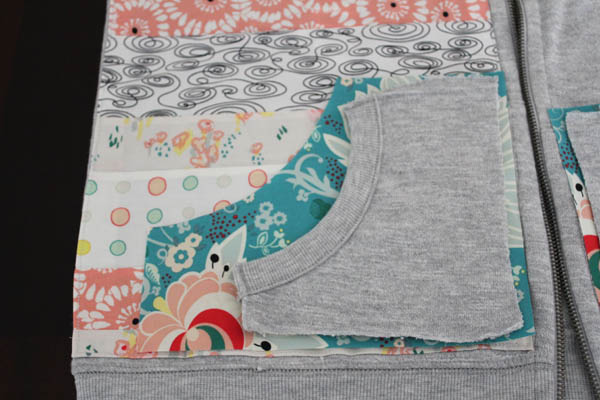
Next was the pockets. I put the pockets I had taken off in place, to gauge the size. I knew I wanted to add larger pockets, so I cut rectangles the size I wanted the pockets. I then cut a second set of rectangles for the inside of the pockets. Using a pen, I drew a curve for the pocket opening, and trimmed the fabric along this curve.
Two layers of woven cotton don’t provide a whole lot of warmth on a windy day, so I put a layer of fusible fleece on the lining piece of each pocket.
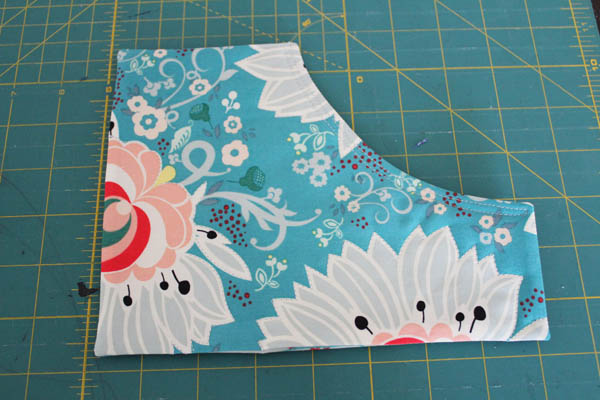
To make the pockets, I put the outside and inside pocket pieces right sides together, then stitched all the way around, leaving a hole for turning. I clipped the corners to reduce bulk.
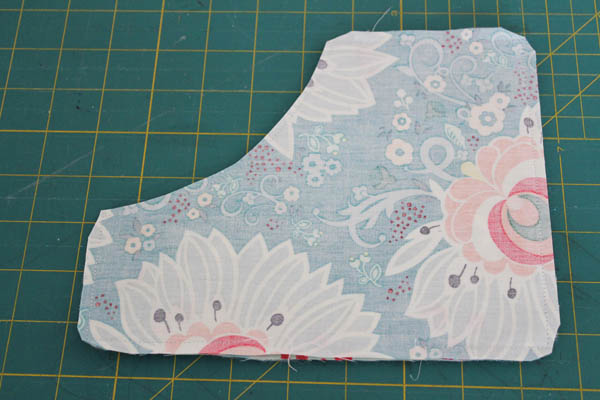
After turning, I added two lines of topstitching around the curve to give it a finished look. I also quilted down around the flowers, just like I did on the body of the sweater.
I pinned each pocket in place, then topstitched them down, making sure to go back and forth at the beginning and end to secure the stitches.
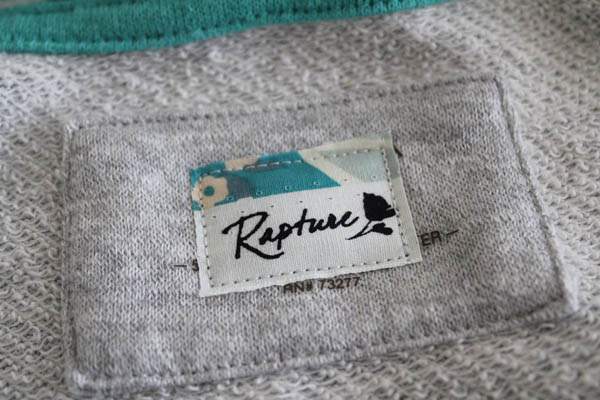
For fun, I trimmed off a piece of the selvedge from the fabric, and top stitched it onto the label.
Once it was done, I ran it through the wash. The washer and dryer softened the fusible fleece so that the pockets were perfect instead of stiff, and the fabric washed beautifully.
My friend Gina from Mom’s Lifeboat was over, so she took some photos of me in my new sweater.
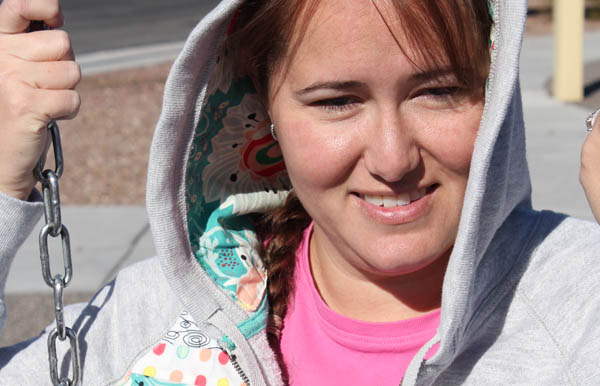
We also discovered that I have no future as a fashion model. I can’t say that I’m that broken up over it.

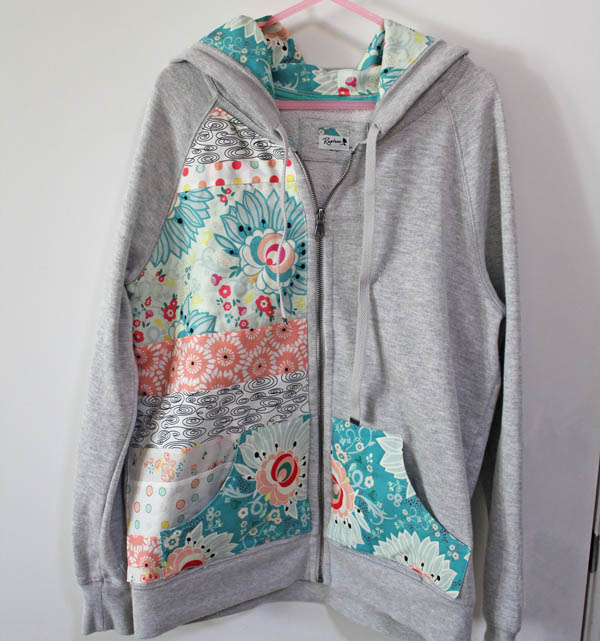
We did manage a few decent photos.
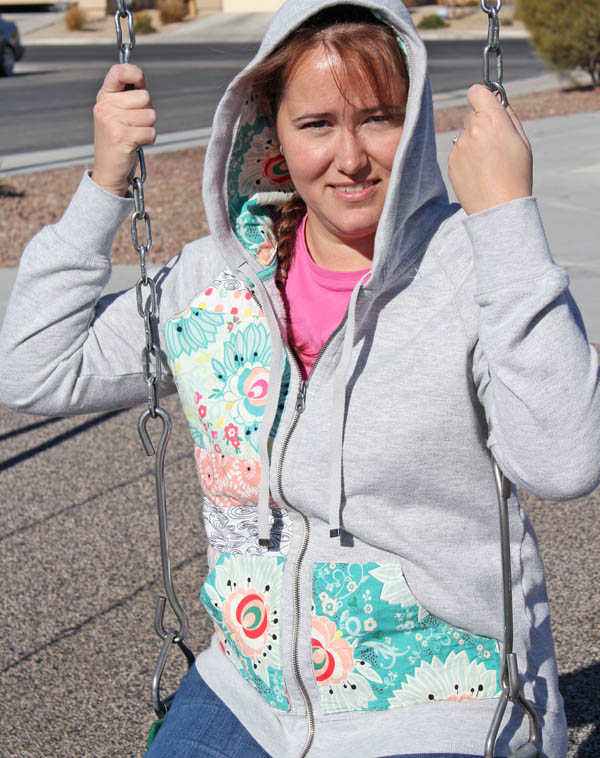
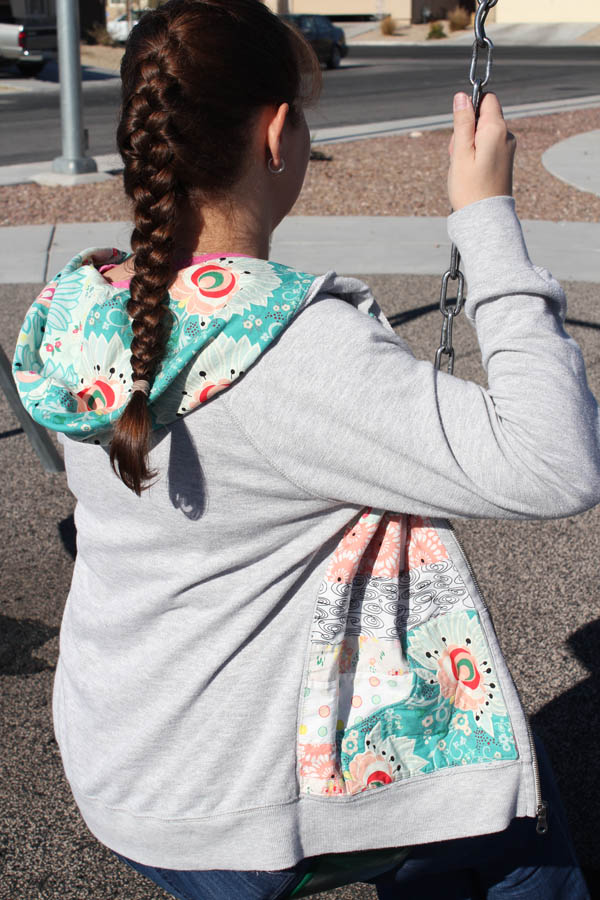
I’ve already worn my new DIY hoodie out and about, and gotten tons of compliments on it! I think this is a great way to have some fun with beautiful lines of fabric – ones that are worth living in.

Comments & Reviews
I must say the DIY hoodie was even more beautiful in person! Thanks for letting snap the pics.
LOVE THIS! Thanks so much for sharing this tutorial. I’d love to make something like this. Did you wash/shrink the fabric first?
CJ – no, I didn’t wash the fabric at all. I did lightly starch it, but that’s just because I prefer working with fabrics that have a little more stiffness to them. I actually wanted the fabrics to crinkle a bit, to make the quilting really shine.
Hi! Your idea was fantastic and you made this so beautifully!
This is really cute! I can’t wait to try it! Maybe you could put it in a utube??
Hello Carolina,
I’m not sure if you still check this… I wondered if you needed to do anything to ensure the sweatshirt didn’t loose all of it’s stretch. I did a similar piecing applique on a hoodie last year. But it was a form fitting one. After I was done, I couldn’t zip it up, lol. Do I just need to make sure that I choose one that doesn’t need to stretch next time?
I used a baggier sweatshirt, so that is probably the trick. Woven fabric does not have much stretch to it, so it would not work with a snug sweater. Although, you could probably do this technique with knit fabrics, and it should work!
Thank you for answering my question, Carolina!
This is cool and exciting! I appreciate the tutorial and your work.
I’m absolutely in awe of the DIY Hoodie you created using Rapture fabric from Art Gallery Fabrics! The combination of the vibrant colors and intricate patterns truly brings the hoodie to life. Your attention to detail and craftsmanship are commendable. The fabric choice is superb, as it not only looks visually stunning but also feels incredibly soft and comfortable. It’s inspiring to see how you transformed the fabric into a stylish and personalized garment. I’m inspired to try my hand at creating my own hoodie using Art Gallery Fabrics after seeing the beautiful results you achieved. Great job!
wow, thanks! high praise! <3
Love this tutorial! Thank you for sharing!
My pleasure!
Thank you for the turtorial. The jacket came out beautiful. On my list to try!
thanks! I’ve made several of these – so fun!
Just the tutorial I was looking for for a stained mom hoodie that only has marks down the front. Adding to Pinterest. Thanks from years later 🙂
This is perfect for covering stains on a favorite hoodie!
I like the hoodie. I think I will make one too
Yay! it is super fun!
Great idea for sweatshirt !
I absolutely love this ❤️
Thanks! It is super fun to make!