• Skip to primary navigation
  • Skip to main content
  • Skip to primary sidebar
Home About Subscribe Summer Sew Camp Disclosures

Always Expect Moore

Quilts & Pattern Design

  • Cricut Maker BOTW
  • Quilty5k
  • Gallery Wall QAL
  • Trunk Show
  • Guild Resources
  • Pattern Shop
  • Free Patterns
Home About Subscribe Summer Sew Camp Disclosures
  • Cricut Maker BOTW
  • Quilty5k
  • Gallery Wall QAL
  • Trunk Show
  • Guild Resources
  • Pattern Shop
  • Free Patterns
Home » Blog » Quilt » Cricut Maker Block of the Week Quilt: Block 4 – Broken Dishes

Cricut Maker Block of the Week Quilt: Block 4 – Broken Dishes

Created On: October 13, 2017  |  Updated: August 22, 2022  |   2 Comments

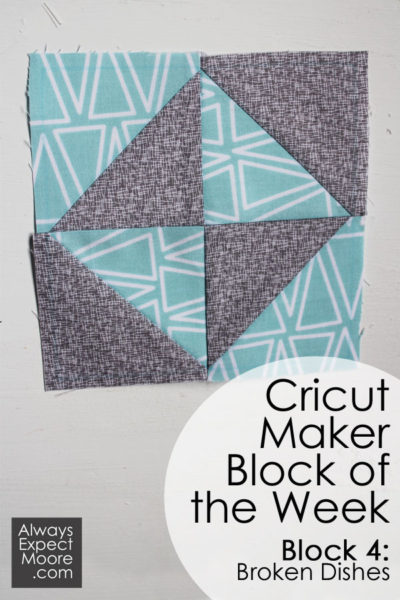
I’m so excited to share week 4 of our Cricut Maker Block of the Week with you! Today’s quilt block is called Broken Dishes. I’ll show you step-by-step how to make this quilt block. The Cricut Maker Quilt Block Broken Dishes. And, if you watch the video, I’ll show you how a quick twist turns Broken dishes into a Pinwheel block! Two blocks using the same simple steps!

Cricut Maker Block of the Week: Week 4 - Broken Dishes

This post contains affiliate links. Making a purchase through these links helps support this site at no extra cost to you.

If you’re just joining in, you can start from the beginning by going to the Cricut Maker Block of the Week Reference Page.

You can follow along the photos and written instructions below, or you can watch this week’s video:

You’ll start by cutting the fabric, just as we have in weeks past. You’ll want to start by opening up the Cricut Maker Block of the Week Broken Dishes file. Note that you can only open this on a laptop or desktop computer, clicking the link from a tablet or mobile device doesn’t work. However, once you’ve opened it, you can save it to Cricut Design Space, and open it on any device that you can log in to Design Space on.

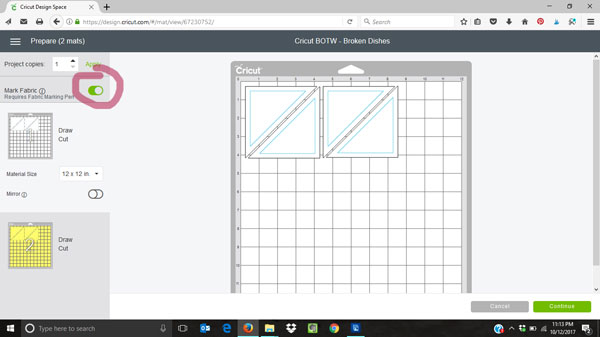
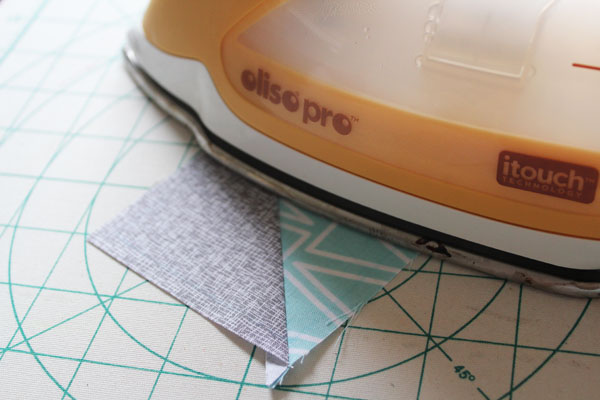
If you feel super comfortable with your 1/4″ seam at this point, you can turn off the pen using the little toggle switch on the left. I’ll be keeping mine on, though.

turn pen off

Lay out your pieces.

lay out pieces

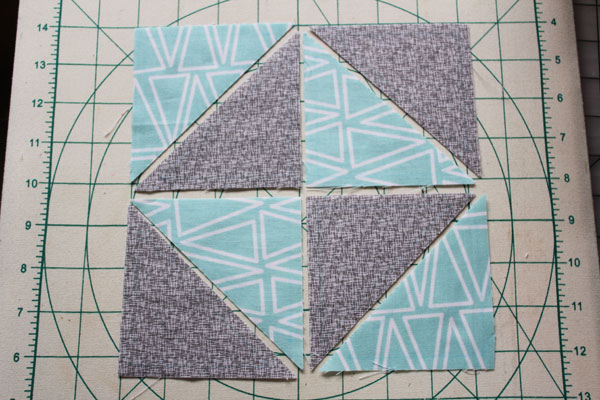
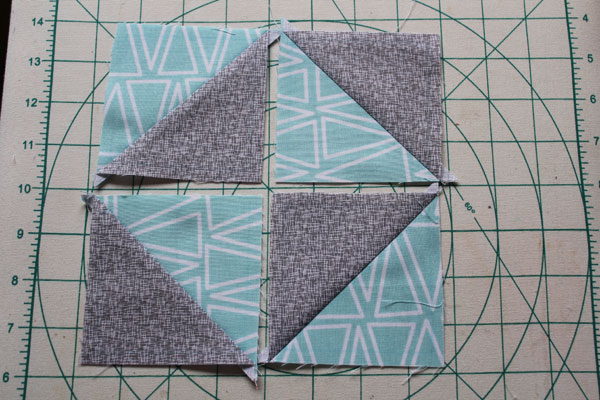
Grab two triangles (which make a square – that’s where the term “Half Square Triangle” comes from), and stitch them together along the longest edge.

stitch triangles

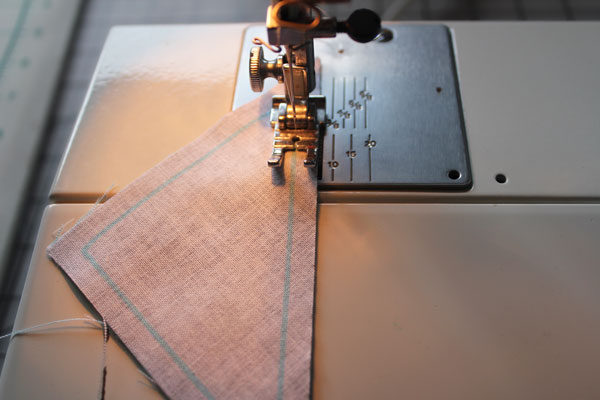
Repeat for the other 3 sets of triangles. Press all the seams towards the dark side.

press seam

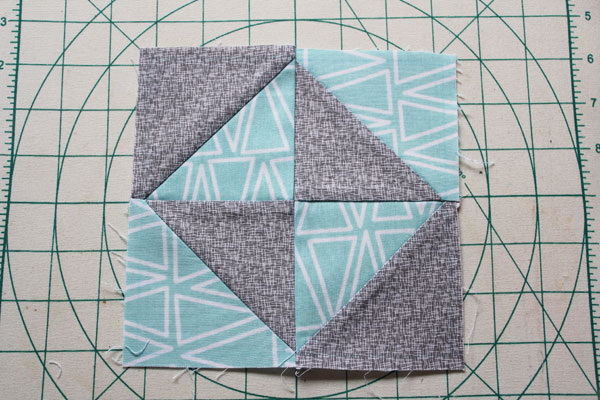
Lay out your block again. Now we have a four-patch made of half-square triangles.

half square triangles

Stitch the top to half-square-triangles together, and the bottom two together. Press the seam allowance towards the darker side. This will automatically make the top seam allowance go in the opposite direction of the bottom seam allowance.

stitched pairs

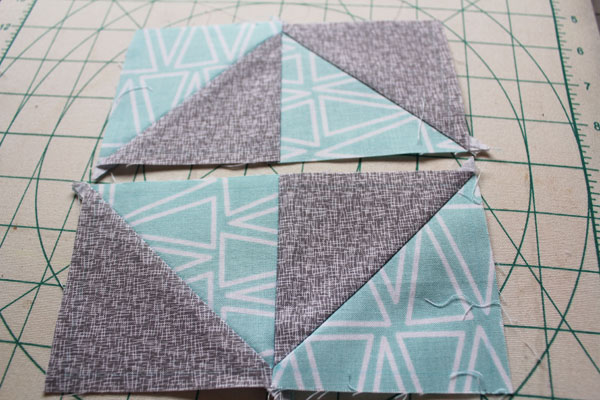
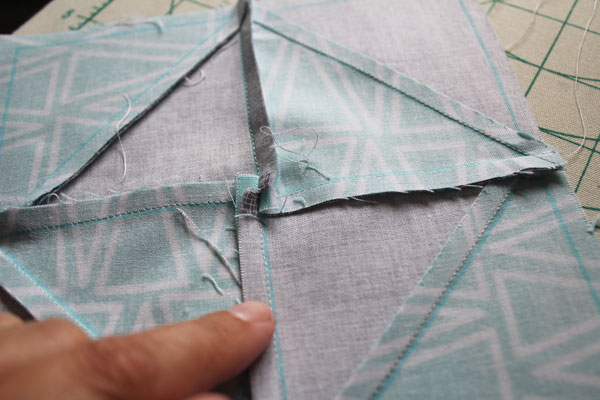
Put your top row on your bottom row. “Nest” the center seam – this means that you feel with your fingers so that the seam allowances butt up against each other. When your seams are nested, your points will match perfectly.

Turn the block over. You’ll see that the two seam allowances are going in opposite directions. In this case, they go clockwise. Press the other two seams so that they follow. In my case this would mean all my seams are going in a clockwise direction. On your block, it might mean that all the seams go in a counter-clockwise direction. Either way is just fine.

stitched together

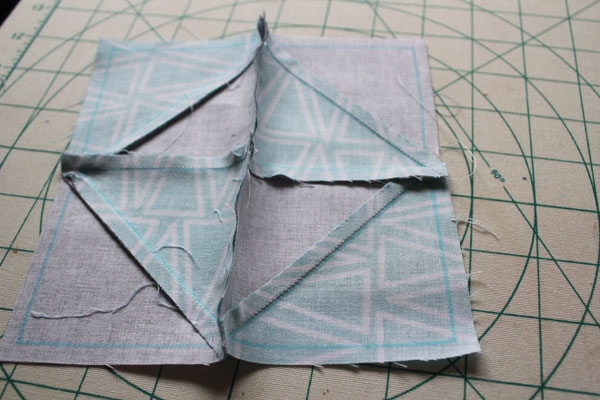
When you do this, you’ll be able to swirl the center, where all the seams come together. Swirling the center means there will be less bulk in the middle – which you’ll appreciate when it comes time to quilt!

swirl seam

Press the swirl flat, and your quilt block is complete!

broken dishes quilt block - part of the Cricut Maker Block of the Week series

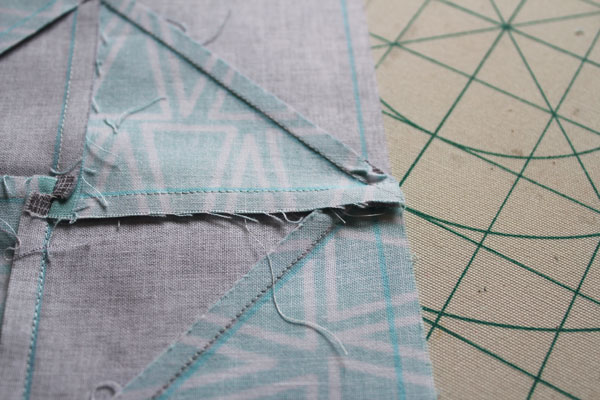
I want to add a little comment here that will help out the new quilters. See how the points match, but thy are not all the way on the edge of the fabric? At first glance, you might think that is wrong. That nothing lined up the way it was supposed to. But fear not! You should have 1/4″ between the points and the edge of the fabric. This is your seam allowance for when you put the block into the quilt.

To make sure you’re doing it right, just flip your block over. You’ll see that your points line up with the blue seam allowance line on the back.

seam allowance back

That is it – the Cricut Maker Quilt Block Broken Dishes! Next week we’ll be on to block 5!

Save

posted in: Craft Tutorials, Cricut Maker Block of the Week, Cricut Maker BOTW, Quilt, Quilt Pattern, Sewing, Sewing Tutorials, Video

Previous
Cricut Maker Block of the Week Quilt: Block 3 – Diamond in a Square
Next
Cricut Maker Block of the Week Quilt: Block 5 – Economy Patch

Reader Interactions

    Leave A Reply! Cancel reply

    Share your thoughts!
    Your email address will not be published. Required fields are marked with *

    This site uses Akismet to reduce spam. Learn how your comment data is processed.

    Comments & Reviews

  1. Mary says

    October 27, 2017

    I love this quilt. When is the next block coming out? Thanks

    Reply
    • Carolina says

      November 14, 2017

      The blocks are published each week. If you want the earliest access, subscribe to my YouTube channel. I put the post up sometime Thursday night (Pacific Time). http://www.YouTube.com/craftmoore

      Reply

Primary Sidebar

Hi, I'm Carolina!

I’m a Quilt Pattern Designer, Award Winning Quilter, and fan of all things quilting. I live in San Diego with my husband, our two boys and our pets. I love keeping both my hands and mind busy, so I’m always working on lots of projects. You’ll find lots of them shared here!

More About Me

Let's Keep In Touch!

I'll let you know about what's new in quilting, freebies you'll want to snag, and brighten your inbox about once a week!

subscribe
90% Faster Than Rotary Cutters

Fat Quarter Shop Quilting Fabrics and Supplies

Instagram Facebook Pinterest YouTube

Recent Posts

  • Flying Pig Quilt Block
  • Bunny and Carrot Quilt Block
  • Free Fancy Drink Quilt Block
  • Dutch Row Houses Quilt Block
  • Quilted Sports Jersey Numbers

Archives

Featured Projects

  • Everything you want to know about Pre Cut Fabrics!
  • Scrappy Placemat - easy to make scrap project
    Scrappy Placemat using Strips and Scrap Tape
  • Sewing Kaleidoscope SVG File
  • Drawstring Backpack
  • Carolina holding fabric marking pens
    Choosing Fabric Marking Pens

Let's Keep In Touch!

Brighten your inbox about once a week!

Always Expect Moore Submark Shop Patterns

Browse

  • Ruler of the Month
  • Quilty5k
  • QuiltMath
  • Cricut Maker BOTW

Shop

  • Digital Download Patterns
  • Quilting Notions
  • Quilt Stickers
  • Quilt Tees

Connect

  • YouTube
  • Instagram
  • Facebook Group
  • TikTok
©2025, Always Expect Moore. All Rights Reserved. About Disclosures
Back To Top
Design by Pixel Me Designs
×

Let's Keep In Touch!

I'll let you know about what's new in quilting, freebies you'll want to snag, and brighten your inbox about once a week!