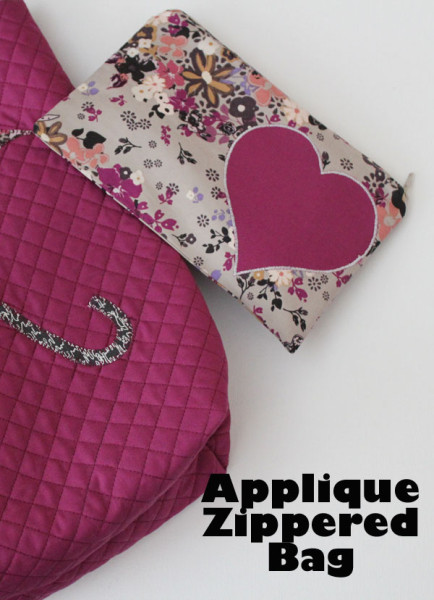
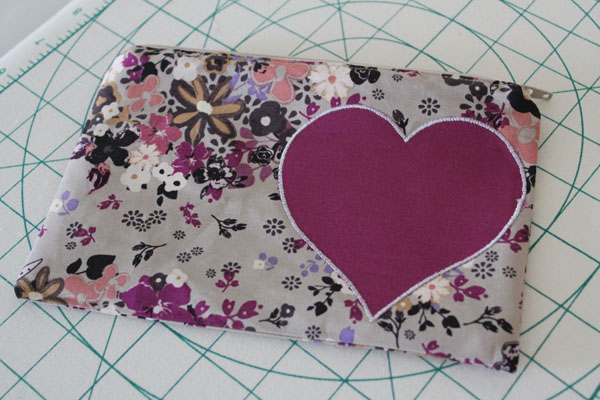
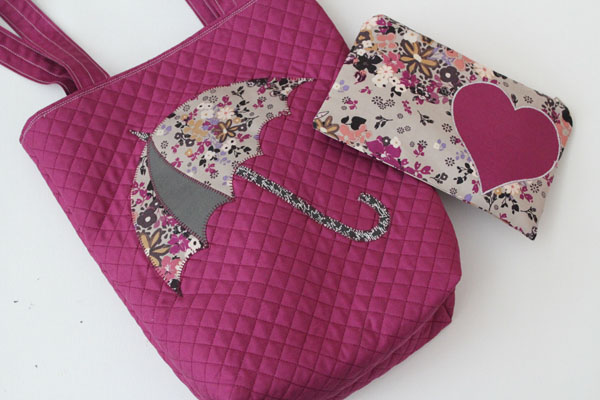
I’m on a little applique kick, making some samples, and I thought I’d show you how to make this simple applique zippered bag. Super fast and easy to make, once you get it down, you’ll be making all kinds of zippered bags!
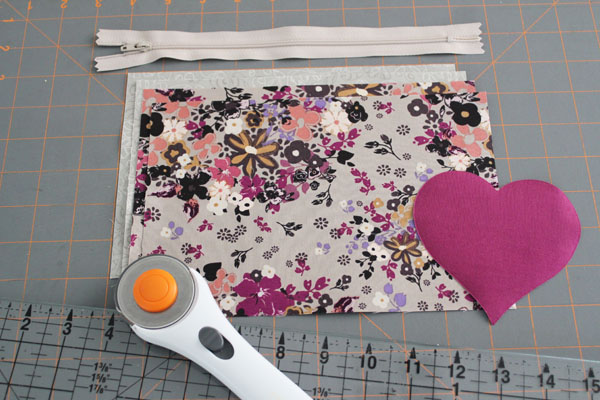
Start with your supplies. You’ll need:
9″ zipper
2 rectangles from outer fabric – 9″x6″
2 rectangles from lining fabric – 9″x6″
Applique shape cut out with fusible web on the back.
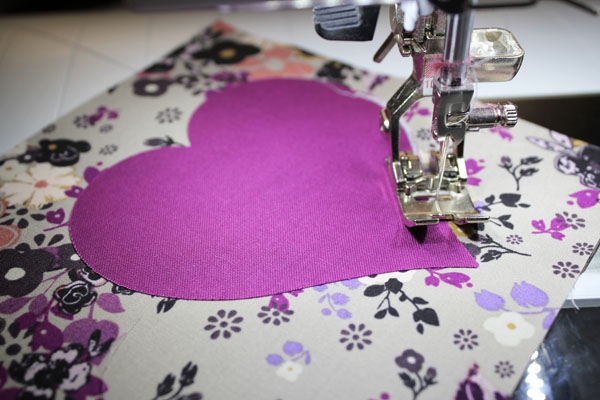
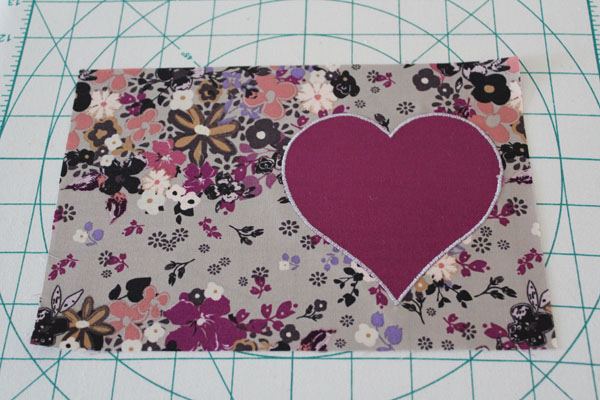
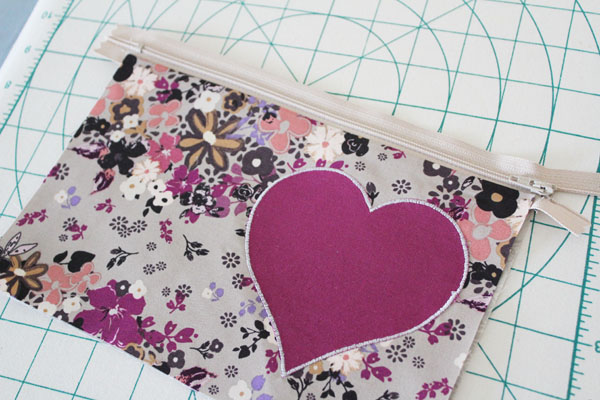
Fuse the heart onto one of the outer pieces, stitch in place. I used a tight zig-zag.
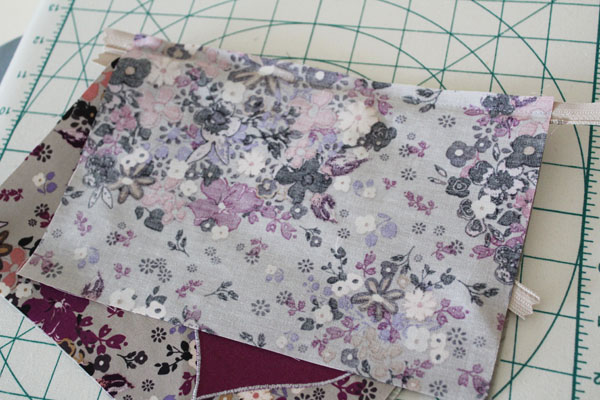
Place one outer piece and one lining piece, right sides together, with the zipper between. Stitch through all three layers. If the zipper pull gets in the way, stop stitching. With the needle down, lift up the presser foot, and carefully open or close the zipper to move the zipper pull out of the way.
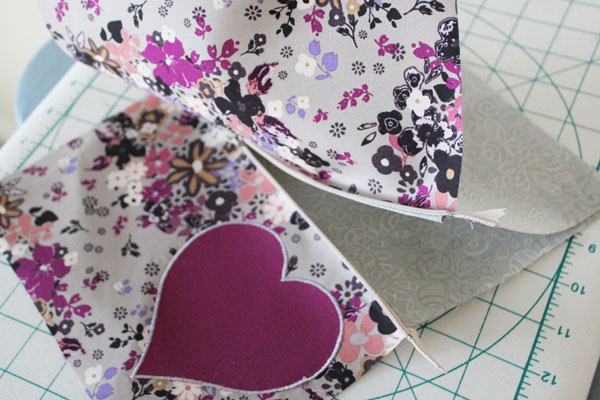
Press them open, exposing the zipper. If you like, add topstitching along the top of the fabric.
Repeat with the other set of lining and outer fabrics.
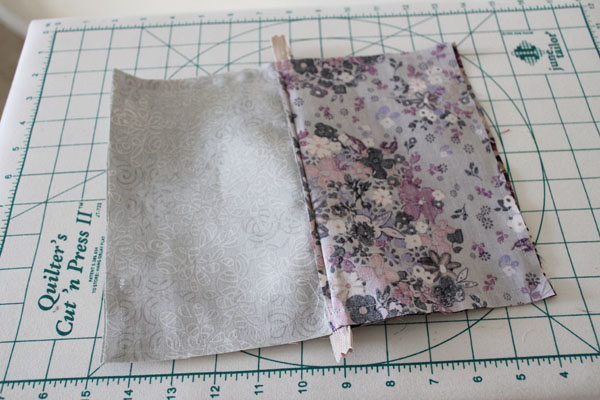
Once you press open the second set, lay the fabrics so that the outer fabrics are right-sides-together, and the inner fabrics are right-sides-together, with the zipper in the middle.
VERY IMPORTANT: Open the zipper at least halfway. This will keep you from swearing later. Then stitch around all four sides, leaving a hole about 4″ long along the bottom of the two lining pieces.
Trim off the excess zipper, then turn the bag through the hole you left.
Hand-stitch the hole closed, and you’re all done!
