• Skip to primary navigation
  • Skip to main content
  • Skip to primary sidebar
Home About Subscribe Summer Sew Camp Disclosures

Always Expect Moore

Quilts & Pattern Design

  • Cricut Maker BOTW
  • Quilty5k
  • Gallery Wall QAL
  • Trunk Show
  • Guild Resources
  • Pattern Shop
  • Free Patterns
Home About Subscribe Summer Sew Camp Disclosures
  • Cricut Maker BOTW
  • Quilty5k
  • Gallery Wall QAL
  • Trunk Show
  • Guild Resources
  • Pattern Shop
  • Free Patterns
Home » Blog » Uncategorized » Bust ’em Blocks using EnviroTex Lite

Bust ’em Blocks using EnviroTex Lite

Created On: June 5, 2011  |  Updated: June 5, 2011  |   26 Comments

I had some EnviroTex Lite left over from making my Laptop Desk, so I decided to make something fun for Little Moore.

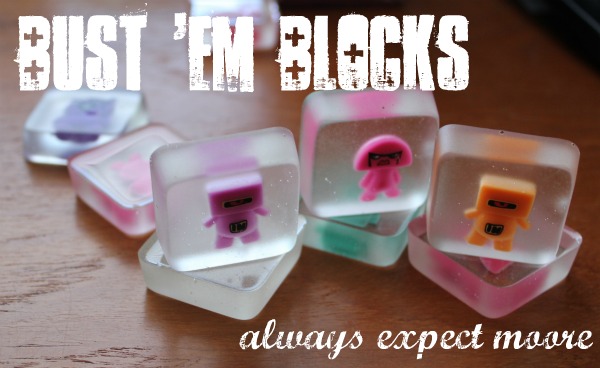
I remember when I was little we’d watch Saturday Morning Cartoons, and during commercials, toys would BUST through a stack of blocks. How cool was that? And yet they never sold the blocks in the stores (that I saw, anyway). So, I decided to make some Bust ’em Blocks for LM to play with.

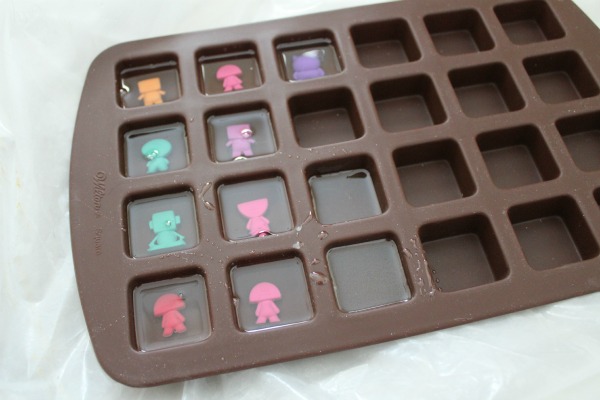
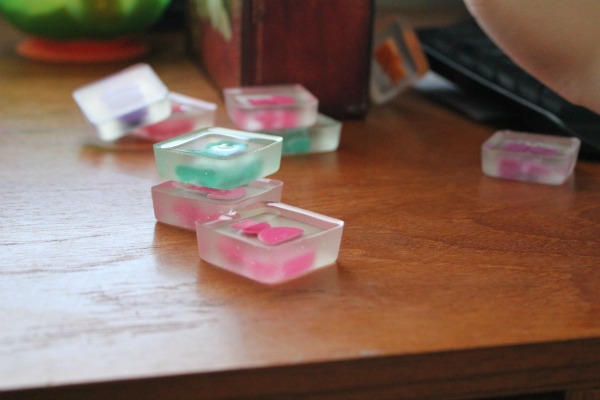
While at the grocery store, I found this silicone pan. It is supposed to be for making bite-sized brownies. The perfect size for what I was looking for! While at the store, I spent my quarters at the toy-vending machines to give my blocks a little personality.

The box of EnviroTex Lite came with all that I needed – the two-part compound to make the resin, flat-sided mixing containers (with measuring lines), stirring sticks, and gloves to protect my hands.
I already had my area covered in plastic, protecting my surfaces. I opened up all my little toy capsules, and put the toys in face down.
After mixing up the EnviroTex according to the directions (making sure to stir a full minute, pour into a fresh cup, then stir another full minute), I gently poured some in each compartment, completely covering each toy, and then some.
I let it sit for 48 hours (though 24 would have been plenty), then popped each out of the mold. They came out easier than ice-cubes do! The sides and front have a slightly “frosted” appearance because the silicone mold I used doesn’t have perfectly smooth sides – but I like them this way.
Then I stacked up the Bust ’em blocks, and let LM knock them down.
Which he did. they made a very satisfying clacking noise as they hit the tabletop. He loved it!
The blocks also stack beautifully, face-side up. Because they are super-smooth, they take a little more finesse to stack that way, which is the perfect next step LM needs in his hand-eye coordination.
I would consider taking any of the little toys LM has and encasing them in resin…he plays with the blocks much more than he ever played with the plain ol’ toys!

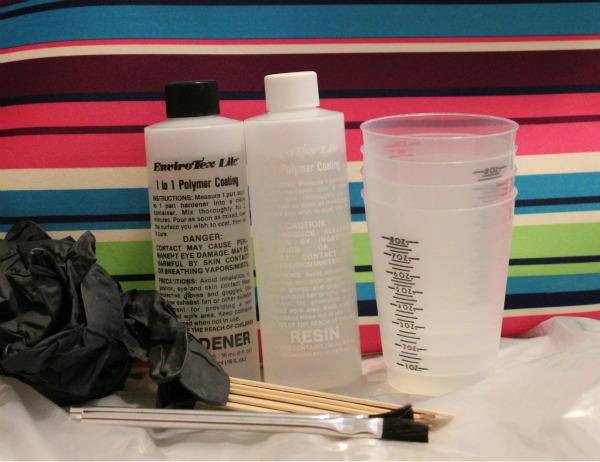
ETI sent me this product to try out. You won’t believe all that you can do with this product. Envirotex Lite was created by Environmental Technologies Inc. (ETI), which is the home for many resin and mold making products.

The use of resin in jewelry making, mixed media and paper arts continues to grow in popularity. Today, artists are using ETI’s products in many crafty ways and they will be showcasing these works of art on their new blog “Resin Crafts”.

Check them out on:

Resin Crafts Blog
ETI on Facebook
ETI on Twitter

Always,

Pin It

Shared in blogland at:
craft

posted in: Uncategorized

Previous
Laptop Desk Using EnviroTex Lite
Next
My first "Official" Pattern – Available as a Kit!

Reader Interactions

    Leave A Reply! Cancel reply

    Share your thoughts!
    Your email address will not be published. Required fields are marked with *

    This site uses Akismet to reduce spam. Learn how your comment data is processed.

    Comments & Reviews

  1. Melissa @ Love Affair With My Brother says

    June 6, 2011

    I love this idea! Thanks so much for sharing. I pinned this 🙂

    Reply
  2. Madigan at madiganmade says

    June 6, 2011

    What a clever idea! These are so cute.

    Reply
  3. Alexis of NorthOnHarper says

    June 6, 2011

    oooohhh…. what a fun idea! I think it would be cool to encase small mementos in resin….. something I may have to try!

    Reply
  4. Andrea Reh says

    June 6, 2011

    These are very cute.

    Just discovered your blog – would love it if you popped by mine sometime.

    Andrea x
    andreareh.blogspot.com

    Reply
  5. samsstuff says

    June 6, 2011

    Adorable & could be used for so many things!

    Reply
  6. Ginger Snaps says

    June 6, 2011

    Hi! Following your from bloggy moms. 🙂 I have a craft blog, too. Would love to have you stop by sometime. I’ve got a link party every Wednesday…would love to have you link up some of your projects. 🙂

    Ginger
    gingersnapcrafts.blogspot.com

    Reply
  7. JHill says

    June 6, 2011

    These are adorable! I love that you could customize them how ever you would like to. Very clever use of your “leftover” resin.

    Reply
  8. Felicia @ All Things Fee says

    June 6, 2011

    Perfect!!! Even clear ones would be cute!

    Would love for you to share at Calling All Crafters!
    http://allthingsfee.blogspot.com/2011/06/calling-all-crafters.html

    Reply
  9. Michelle says

    June 6, 2011

    My boys would love this! I know what i am doing with some of my leftover resin!

    Reply
  10. Nichole says

    June 7, 2011

    Very creative! I’m now imagining all sorts of fun things to encase in resin.

    Reply
  11. Carmi says

    June 7, 2011

    What a great idea! My nephew would love these! Thank you for sharing!

    Reply
  12. Sharon M says

    June 9, 2011

    From just the little I have seen on your blog you do a whole lot more than quilting! With 2 and a half year old twins in my life I will know where to come for crafty things. Thanks for sharing.

    Reply
  13. B.R.Kuhlman says

    June 9, 2011

    Oh wooow… this gives me some really great ideas! Thanks so much for sharing!

    Reply
  14. Mod Podge Amy says

    June 13, 2011

    This is one of my favorite projects of all time. How cute are these?

    Reply
  15. Katie says

    June 13, 2011

    HANDS DOWN this is my favorite ETI project. These are just so stinkin adorable.

    Reply
  16. Akun says

    July 20, 2011

    These are so adorable! My only problem is that I’m not particularly fond of the feel of resin, but I think I could get over it for these little cuties!

    Reply
  17. Arte Interrogante says

    September 5, 2011

    Nice & fun 😉

    Reply
  18. auto accident lawyer Denver says

    May 23, 2012

    these are really adorable!! I might try with something other than a square silicone pan, because they have those really awesome silicone ice molds that come in shapes like hearts and stuff, I think these would be great for magnets too! thanks for the awesome tutorial 😀

    Reply
  19. Abbie @ lovinourchaos says

    June 12, 2012

    This ideas is so cute! I have never used this product, but will have to try it out sometime. Where do you buy it?

    Reply
  20. Johnnie says

    December 18, 2012

    Is it abnormal that I want a set of these… for myself? So cute.

    Reply
  21. Maya says

    February 13, 2014

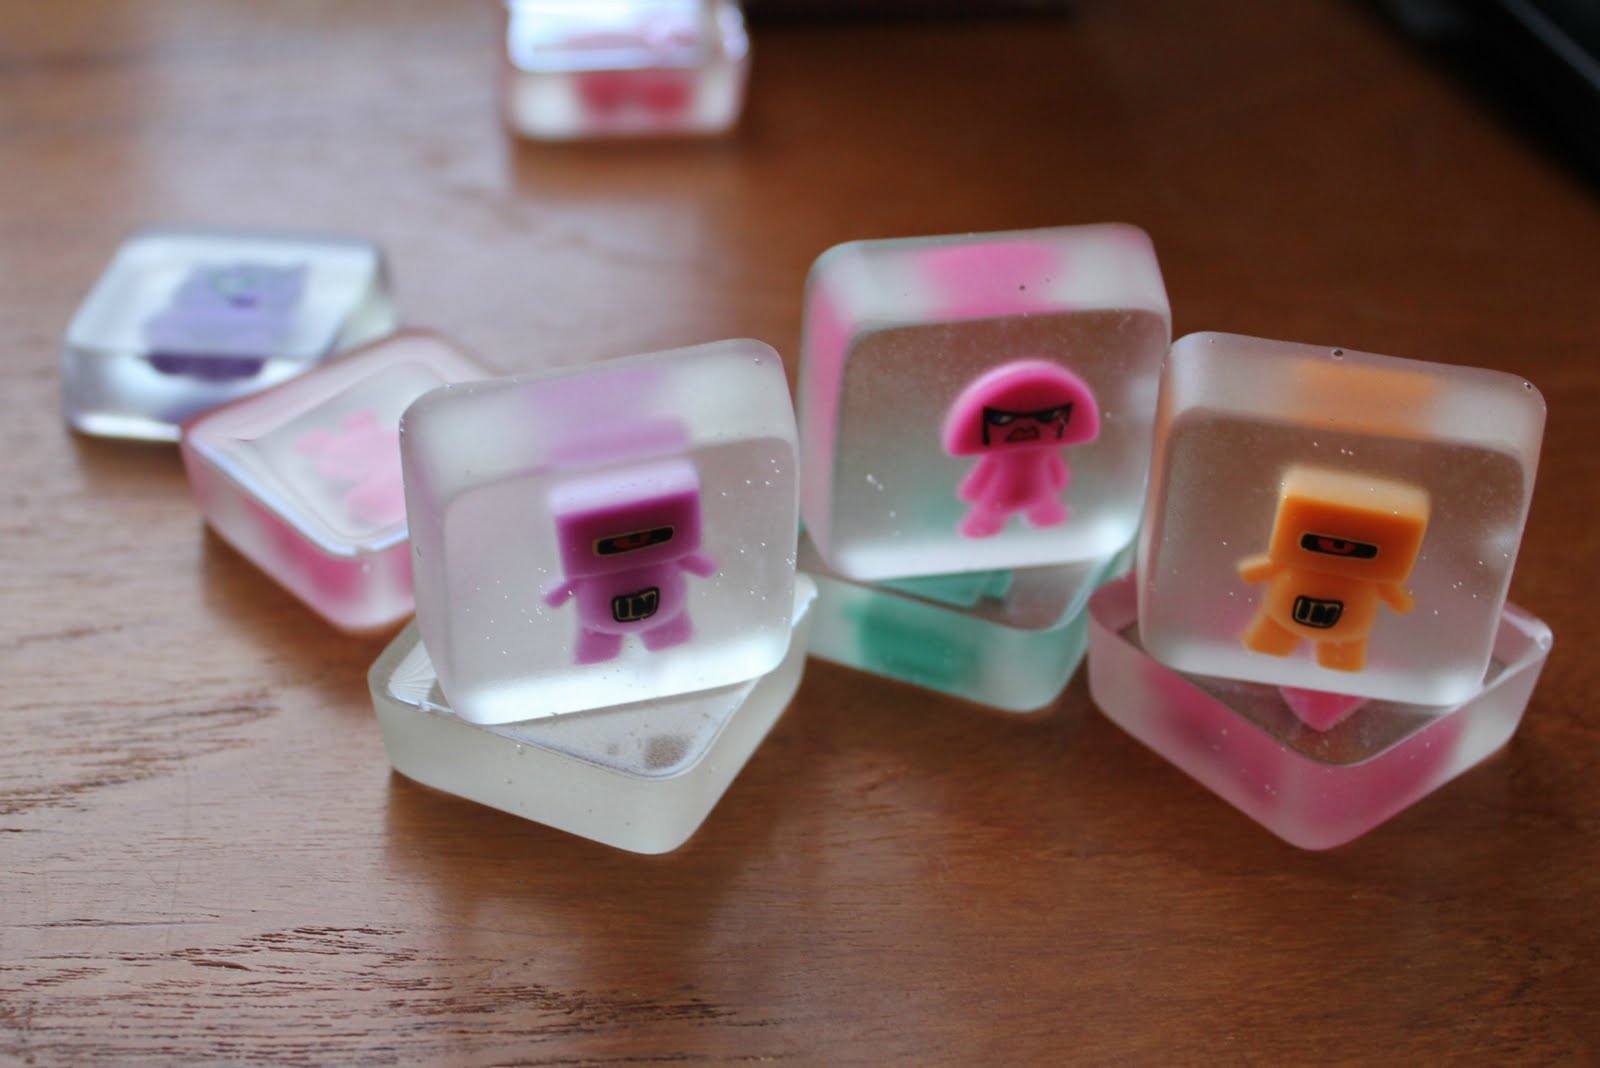
    This is awesome and the little toys you put inside really got my attention since they look so cute! Kinda just wish I knew what they really were

    Reply
    • Carolina says

      February 14, 2014

      The toys themselves are just random toys from the coin-operated machines at the grocery store.
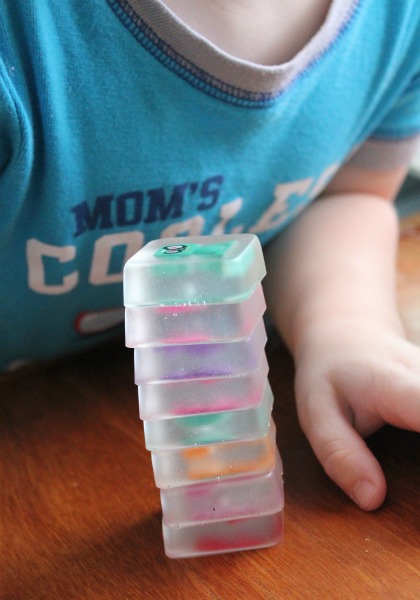
      The blocks are for my boys to play with. They can stack them up and let their action figures “bust” through them. Boys get a kick out of things going flying, and these have rounded corners and are practically unbreakable. 😉

      Reply
  22. Jane Burris says

    September 26, 2015

    I am trying to make water pond for an outdoor miniature landscape. I am using a blue dish that will hold @16oz of the resin, and I have purchased tiny fish to place in the resin before it hardens. Any suggestions? I didn’t know if I should do this in 2 layers? Finished depth will be @ 1 1/2 inches deep. Any suggestions?

    Reply
    • Carolina says

      October 3, 2015

      It depends if the fish float or sink… if you’re not sure, you might want to plan on 3 layers.

      Reply
  23. Kathy says

    August 22, 2017

    How did you get your grocery store silicone mold to change from red to brown? Or did you have two? This is a really great idea and I can see it included with a shower or First Birthday present!

    Reply
    • Carolina says

      September 23, 2017

      The red on the store bought mold is the packaging. I removed the red packaging, and the brown mold was underneath. 🙂

      Reply

Primary Sidebar

Hi, I'm Carolina!

I’m a Quilt Pattern Designer, Award Winning Quilter, and fan of all things quilting. I live in San Diego with my husband, our two boys and our pets. I love keeping both my hands and mind busy, so I’m always working on lots of projects. You’ll find lots of them shared here!

More About Me

Let's Keep In Touch!

I'll let you know about what's new in quilting, freebies you'll want to snag, and brighten your inbox about once a week!

subscribe
90% Faster Than Rotary Cutters

Fat Quarter Shop Quilting Fabrics and Supplies

Instagram Facebook Pinterest YouTube

Recent Posts

  • Flying Pig Quilt Block
  • Bunny and Carrot Quilt Block
  • Free Fancy Drink Quilt Block
  • Dutch Row Houses Quilt Block
  • Quilted Sports Jersey Numbers

Archives

Featured Projects

  • Everything you want to know about Pre Cut Fabrics!
  • Scrappy Placemat - easy to make scrap project
    Scrappy Placemat using Strips and Scrap Tape
  • Sewing Kaleidoscope SVG File
  • Drawstring Backpack
  • Carolina holding fabric marking pens
    Choosing Fabric Marking Pens

Let's Keep In Touch!

Brighten your inbox about once a week!

Always Expect Moore Submark Shop Patterns

Browse

  • Ruler of the Month
  • Quilty5k
  • QuiltMath
  • Cricut Maker BOTW

Shop

  • Digital Download Patterns
  • Quilting Notions
  • Quilt Stickers
  • Quilt Tees

Connect

  • YouTube
  • Instagram
  • Facebook Group
  • TikTok
©2025, Always Expect Moore. All Rights Reserved. About Disclosures
Back To Top
Design by Pixel Me Designs
×

Let's Keep In Touch!

I'll let you know about what's new in quilting, freebies you'll want to snag, and brighten your inbox about once a week!