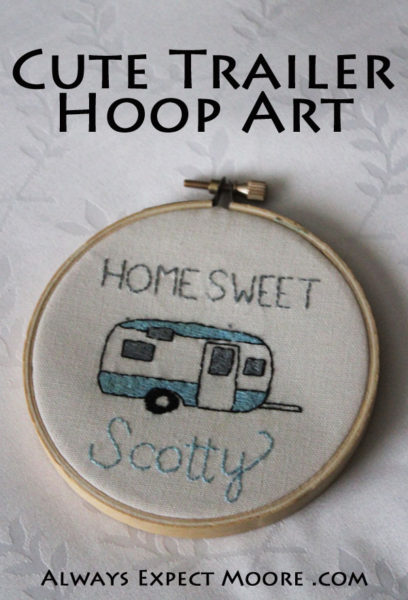
I love stitching up mini hoops for friends. Much quicker to whip up than a quilt, doesn’t take much space in the recipient’s home, and still a fun sentiment!
This camper hoop art isn’t a full-and-fancy tutorial, just some photos and a few steps to get you on your way to stitching your own fun hoop art!
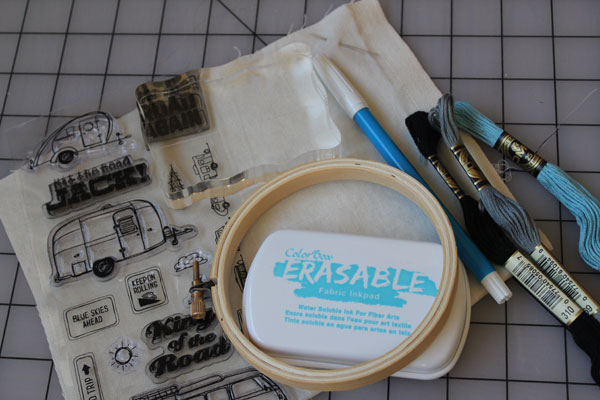
To make your hoop art – camper or otherwise – you’ll need:
Background Fabric
Needle
Embroidery Floss
4″ embroidery Hoop
Rubber Stamp (optional)
Color Box Erasable stamp pad (optional)
Water-soluble pen (optional)
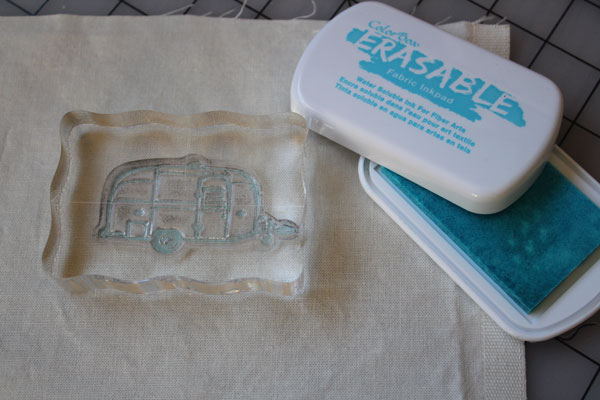
If you’re using a stamp, you can stamp your artwork to give yourself an outline. If you want to make “changes” to the stamp, use the water soluble pen to mark these changes. I wanted my stichery to look like my friend’s Eileen Hull’s trailer that she has named “Scotty.”
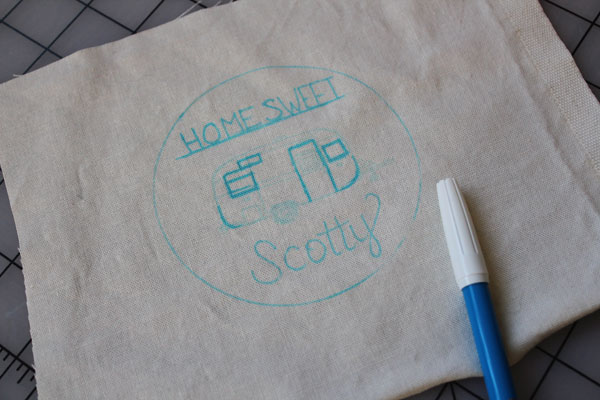
I traced the hoop to make sure the words would fit inside. It wasn’t as centered as I wanted, so I re-centered when I hooped.
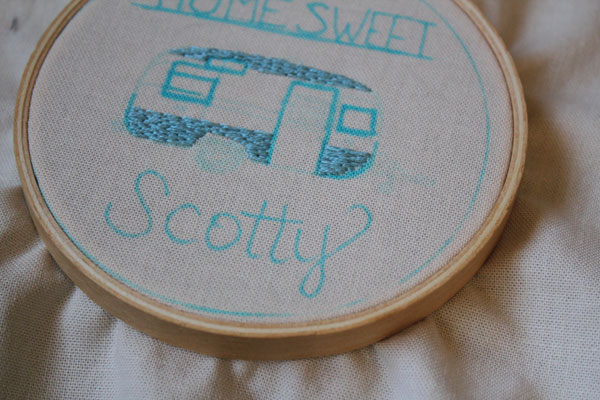
Hoop the image in the embroidery hoop, and start stitching.
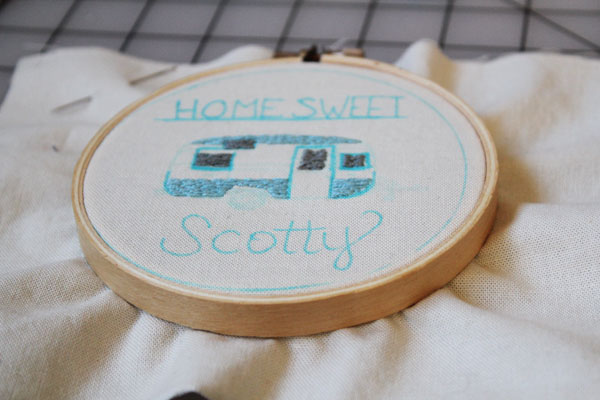
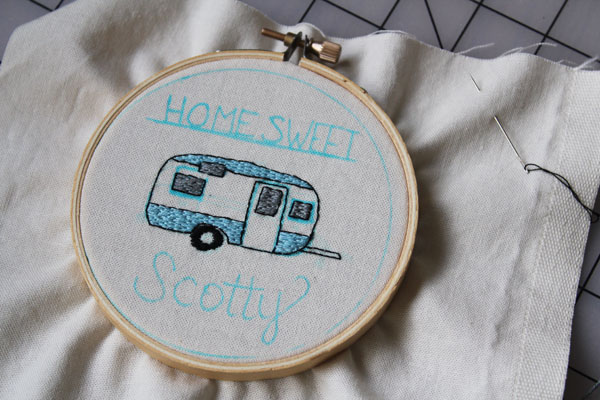
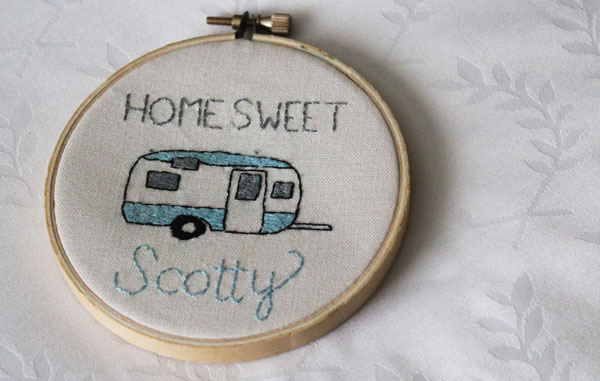
When you’re done, use a damp towel to “erase” away the water soluble markings.

Leave A Reply!