Have you ever wanted a letterboard that fit your decor perfectly? One that wasn’t just made from plain felt? Do you have a favorite fabric that would make a perfect letterboard but no idea how to make it happen? Well, here you go! Step-by-step on how to make your a custom fabric letterboard out of your favorite fabric!
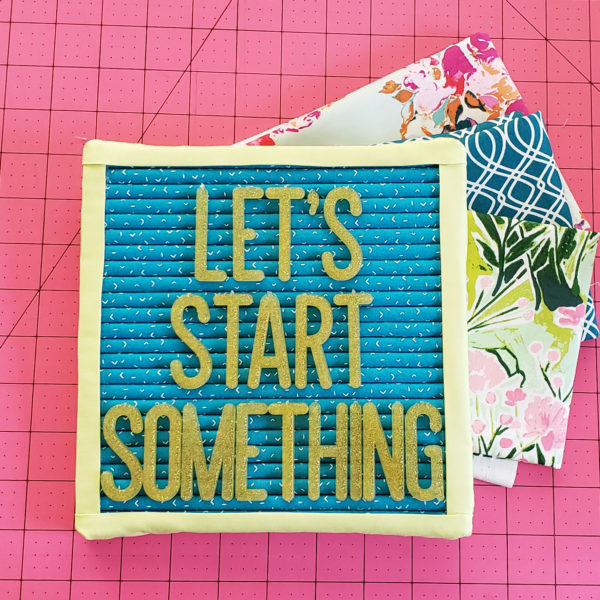
I do want to mention that it is the texture of the felt that helps keeps plastic letters in place. Using a quilting cotton like I have here makes them more likely to slip out if the board is hanging up. But it is still perfect for flat-lay photos.
To make your custom fabric letterboard, you’ll need:
1/2 yard of main fabric
1/2 yard of fusible fleece
1/4 yard of border fabric
Cheap or old letterboard
Hot glue and hot glue gun
Rotary cutter and ruler
Marking tool
Plastic cards such as gift cards or hotel key cards
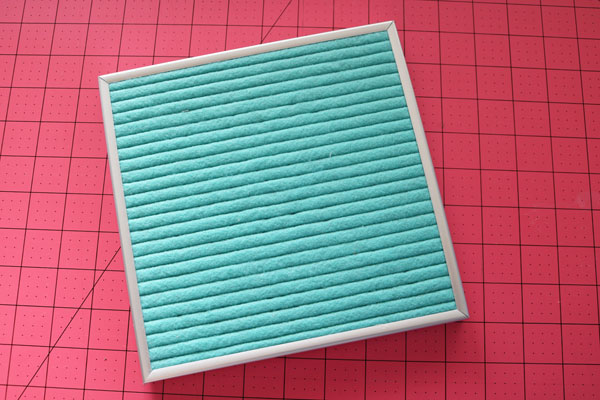
Start by taking apart the old/cheap felt board. Usually they are just glued together, so it is pretty simple to do.
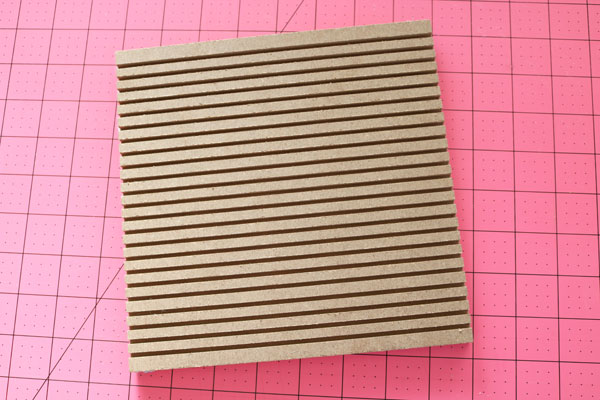
Once you have removed the frame and felt, you’ll have a wooden board with grooves on it. If you have access to a woodshop (or access to someone who has access to a woodshop) they could probably make one of these base boards for you. But, for most of us, just buying a cheap letterboard and taking it apart is easier.
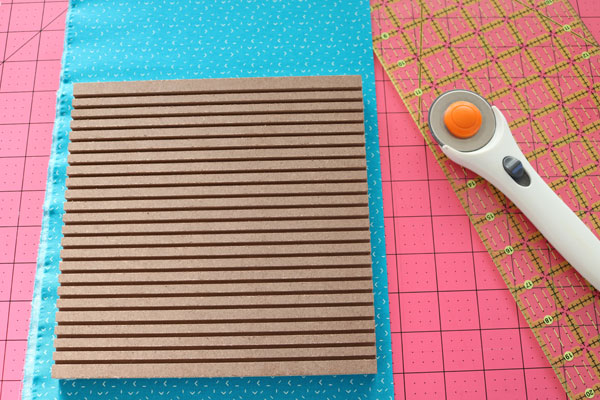
Cut your chosen fabric 1-2″ wider than your board. You want to give yourself a little room. Keep the length of the fabric, don’t trim this down. You can trim it down at the end.
Then back the fabric with fusible fleece.
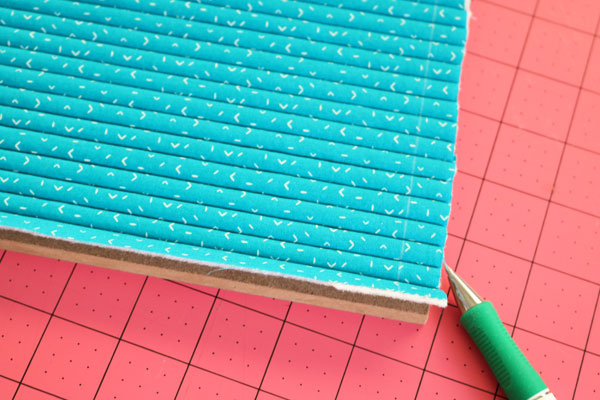
Then, start tucking the fabric into the grooves. I found this was easiest to do with a plastic card – you could use a gift card or a hotel key card or a store loyalty card. Just something sturdy that will help press the fabric down into the crease.
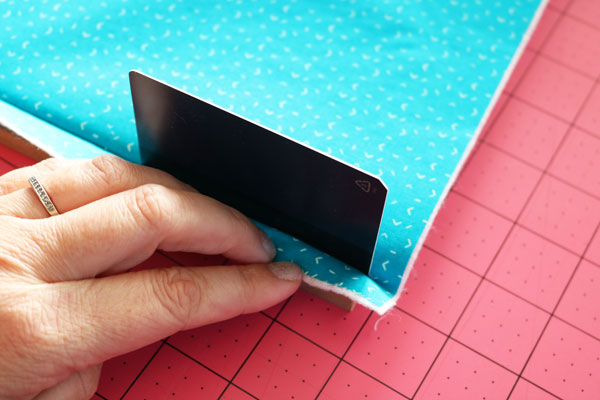
Keep going, inserting the fabric into each crease. I found that holding the previous crease in place with one card while pushing in the next crease was most successful.
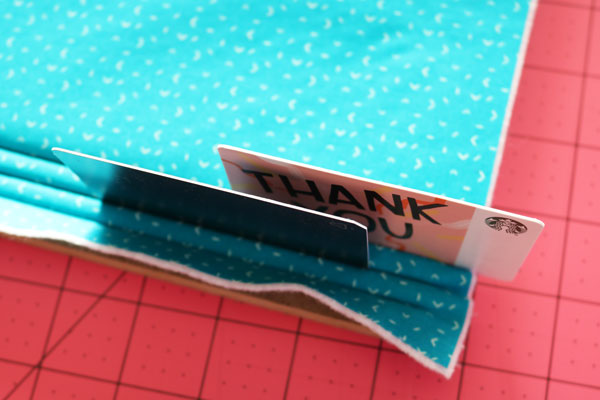
Keep going, inserting the fabric into all the creases.
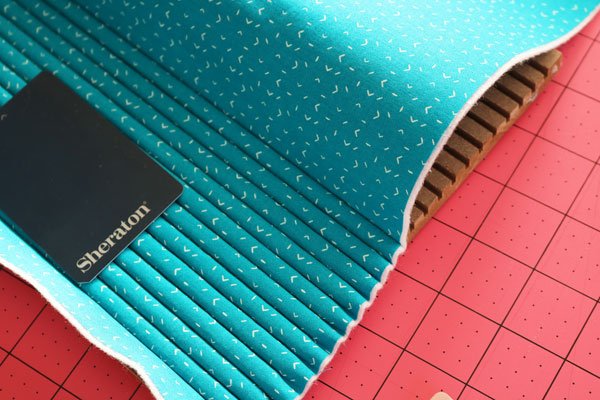
You may find, if you always start from one side, that the fabric starts to “creep” in that direction. To prevent the creeping, alternate the directions in which you make the creases. Crease one from right to left, and the next from left to right.
When you’re done, trim off the excess around all four sides.

Glue down the edges with hot glue.
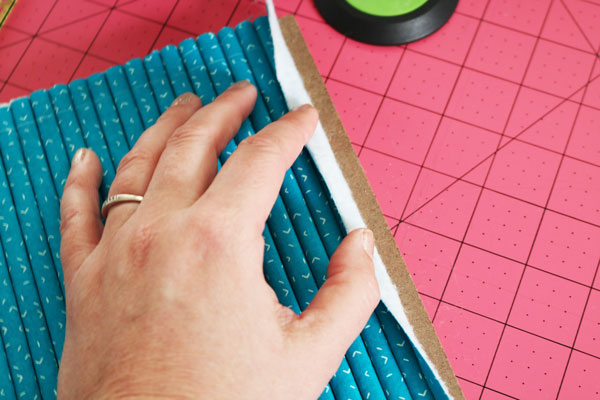
Use a fabric marking tool to mark a border around the letterboard. I went with a 1/2″ border, but you can choose what feels right for you.
Measure from this border line all the way to the back, with a 1/2″ overlap. Then double your measurement. This is the width you need to cut for your border strips. Cut a strip this width. Fold the strip in half so that it is just as long, but half as wide (as you would for quilt binding).
Cut a length of this strip as long as the side. Glue this strip to one side of the felt board, with the fabric fold right on the line you drew marking the edge of the border.
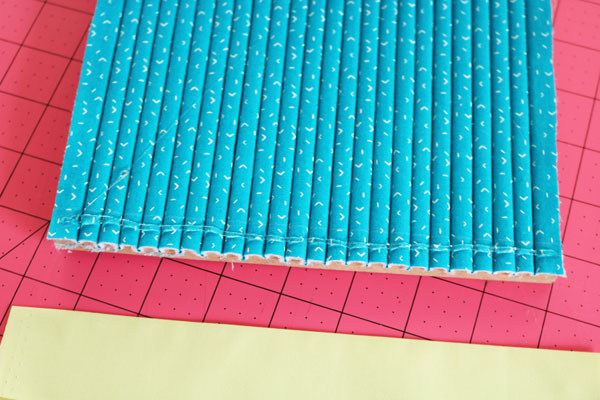
Wait for the glue to set, then wrap the strip around to the back. Glue in place. You’ll need to glue down both layers. You can trim the corners on the back to reduce the bulk.
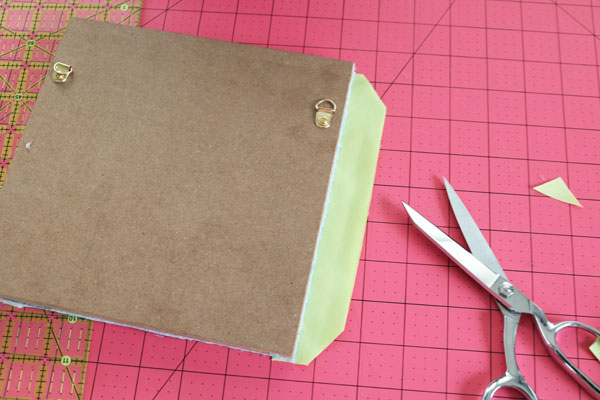
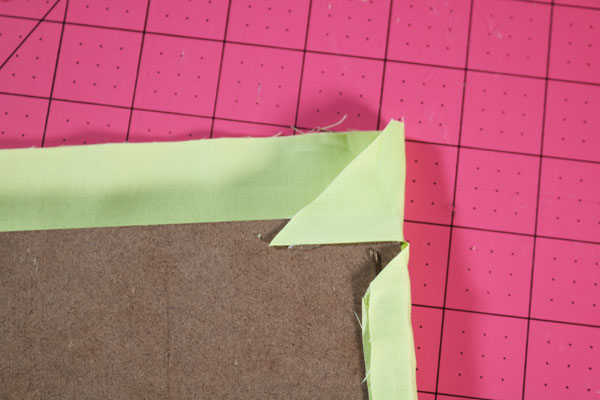
Repeat for the other side. Then repeat for the top and bottom. If you like, you can fold the edges of the top and bottom in to create more finished corners.
That’s it! Your custom fabric letterboard is complete!
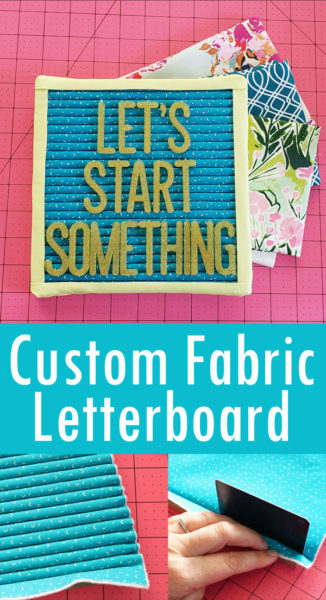
Make a custom fabric letterboard in whichever fabrics suit your mood! Once you know how to make it for yourself, it will be hard to make just one!

Leave A Reply!