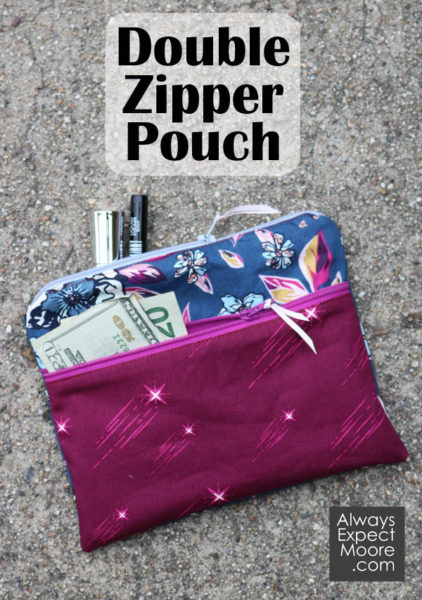
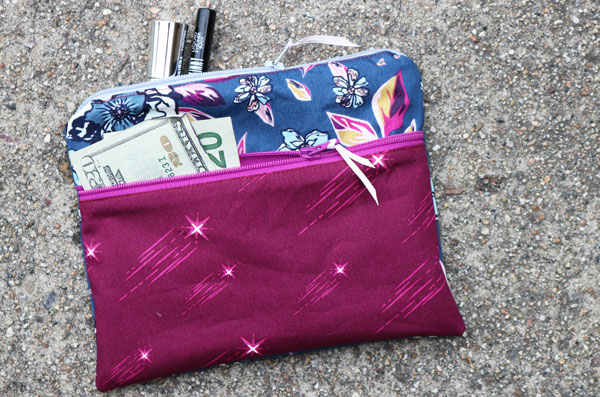
If you’re looking for a fun twist on the basic zipper pouch, this is it! This double zipper pouch really doesn’t take much more time to make than a regular zippered pouch, and it gives you the perfect place to stash extra stuff! The smaller pocket makes a great coin pouch, or place to stash some cash or lipstick. And the larger pouch is big enough to hold a cell phone or notebook. You’ll find so many reasons to make (and gift) this great zippered pouch!
This project is part of the Little Gifts series that Underground Crafter put together. Every other week, she or one of the other participants is sharing a fun project you can stitch up with a few fat quarters of fabric. Each of these projects is small enough to fit in a stocking. So, if you follow along, you’ll have over two dozen stocking stuffers ready by Christmas time!
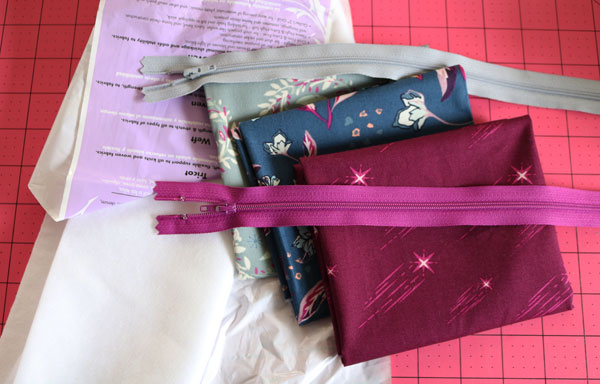
To make this double zipper pouch, you’ll need:
2-3 Fat quarters of fabric
2 zippers (8″ or longer)
1/4 yard of medium or lightweight interfacing
ribbon (optional)
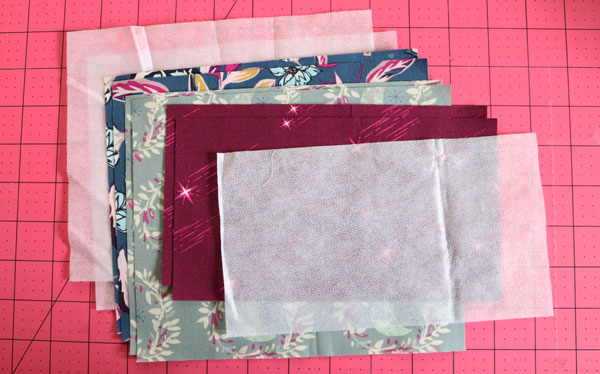
Cut the fat quarters as follows:
Outer fabric: 2 – 8″ x 6.5″
Lining fabric: 2 – 8″ x 6.5″
Outer pocket: 2 – 8″ x 4.5″
Interfacing: 2 – 8″ x 6.5″, 1 – 8″ x 4.5″
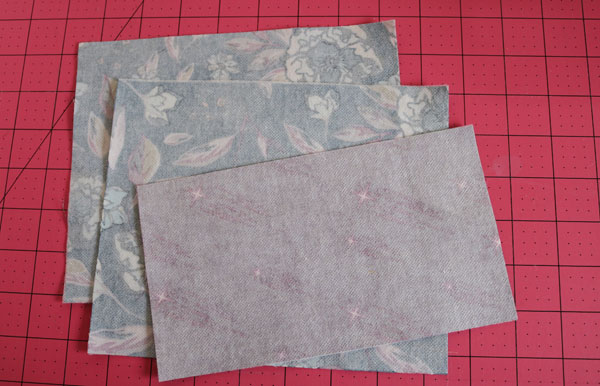
Fuse the interfacing to the back of the two outer fabric pieces, and the back of one of the outer pocket pieces.
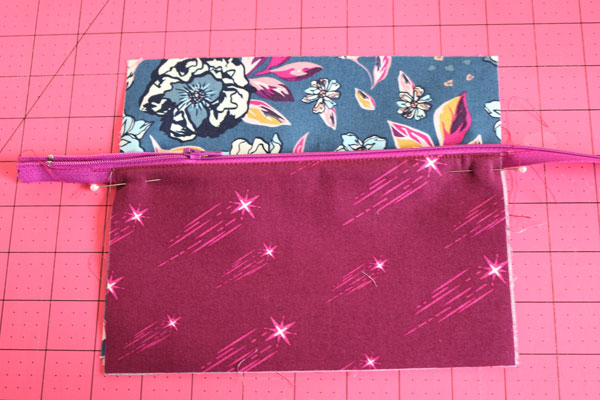
Grab your two outer pocket pieces, and the outer pocket zipper. Place the two fabric pieces right sides together. Put the zipper between the two, with the zipper flush with the long edge, and the zipper top facing the fabric that has the interfacing fused to it.
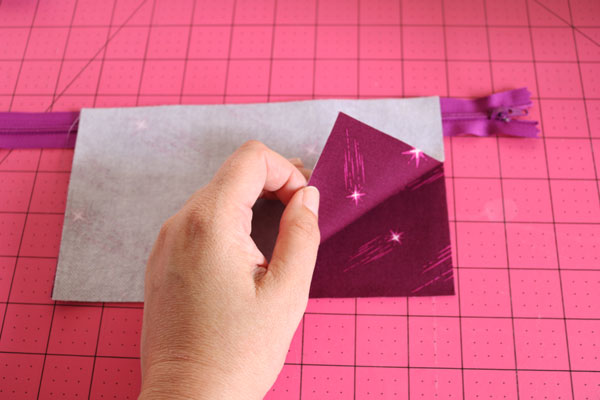
Pin in place.
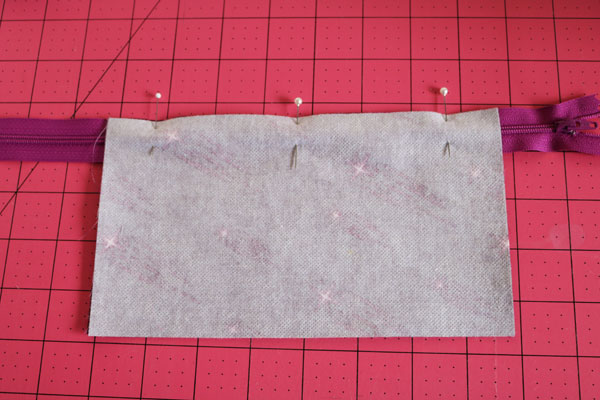
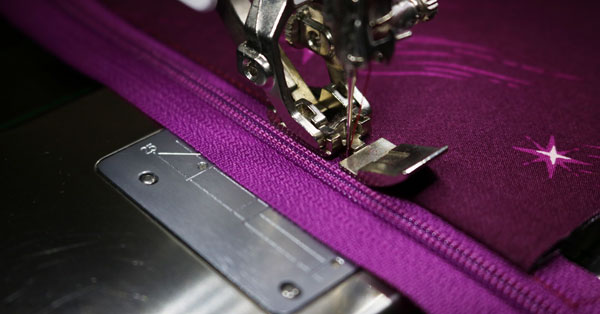
With the zipper foot on your sewing machine, stitch right up against the raised part of the zipper. Your stitches should be at least 1/16″ away from the raised part of the zipper.

Press both fabrics away from the zipper, so the right side of the fabric is now facing out. Top stitch along the top of the fabric to secure in place, and give your zipper a nice finished look.
These are the basic steps for adding a zipper. We’re going to do these steps two more times, but first we’re going to stitch the zippered pocket we just made to the front of the zippered pouch.
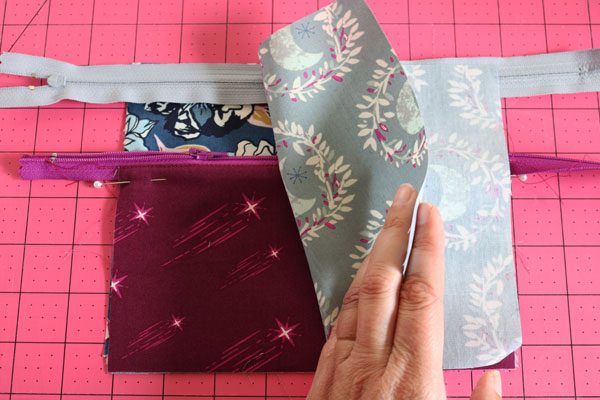
Lay a piece of the outer fabric on your cutting mat, right-side-up. Place the pocket on top. Then move it so that the ends of the zipper line up with one of the lines on the cutting mat (see where I’m indicating with my finger).
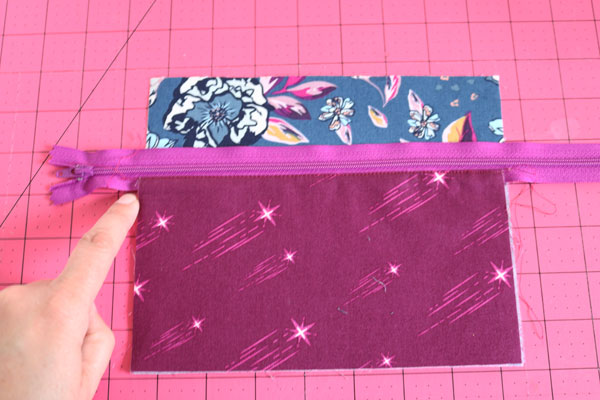
Then flip up the pocket so that the bottom of the zipper now lines up with these lines. Pin, and stitch in place.

You’ve now added the front pocket. Pin it down on the edges to keep it secure for now.
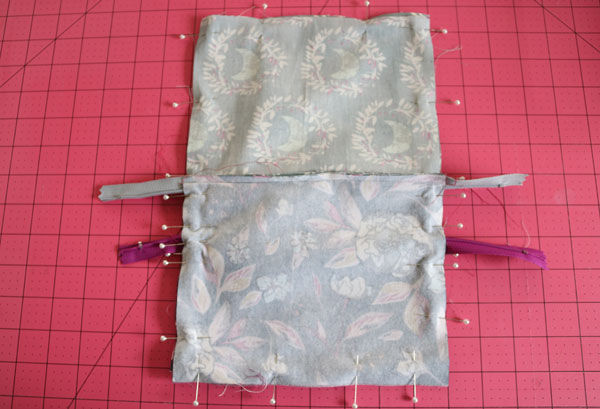
Place the second zipper on top, right side down, and then a piece of lining fabric on top, right side down.
Pin. Then stitch using the zipper foot. Just as before, press the fabric away from the zipper, and then top stitch.
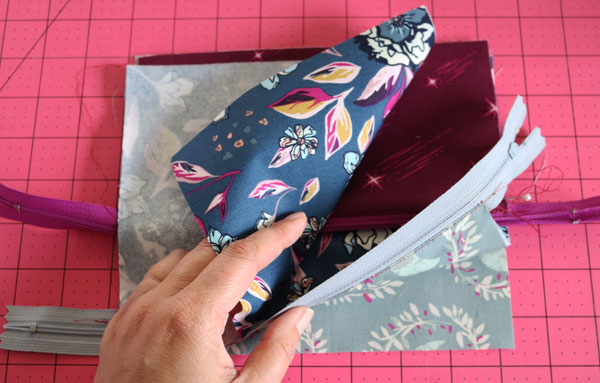
Repeat for the other side of the zipper. This time you’ll have the lining fabric right side up, then the zipper (which has one side of the pouch stitched to it already), and then the other outer piece of fabric.
Pin. Stitch using the zipper foot. Press fabric away from zipper. Top stitch.
Your double zipper pouch is nearly complete! Before you move on to stitching it all together, open the second zipper halfway. This is super important and what makes it possible to turn the pouch right side out later. Make sure not to skip this step!
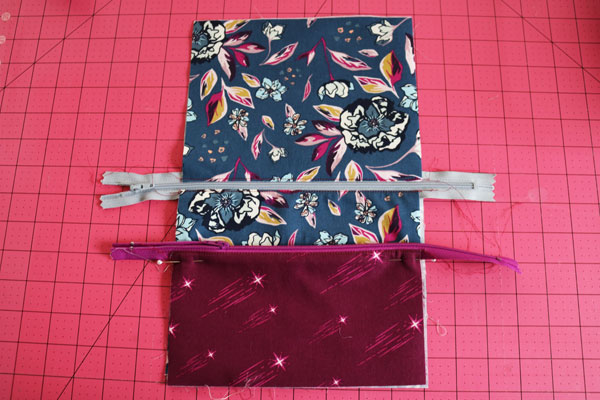
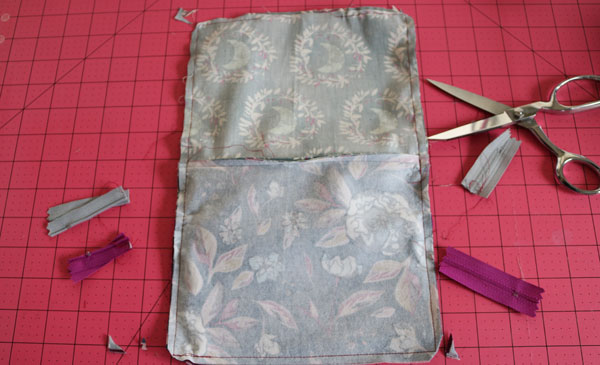
With the zipper in the middle, move the fabrics so that the the two outer fabrics are right-sides-together, and the two lining fabrics are right-sides-together. Pin all the way around.
Starting on the bottom edge of the lining, stitch all the way around. End a couple inches before where you started, leaving a 2-3″ hole along the bottom for turning.
Clip off the extra zipper ends and clip the corners.
Turn right side out through the hole.
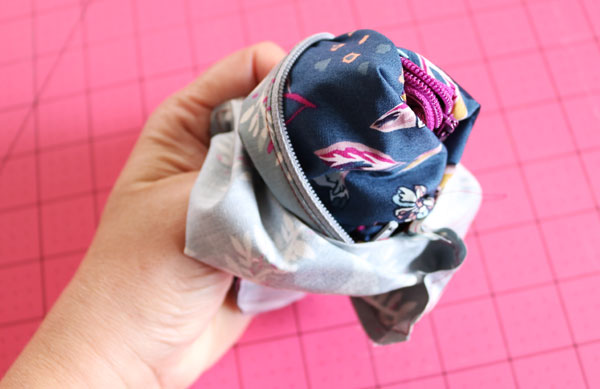
Find the hole in the lining.
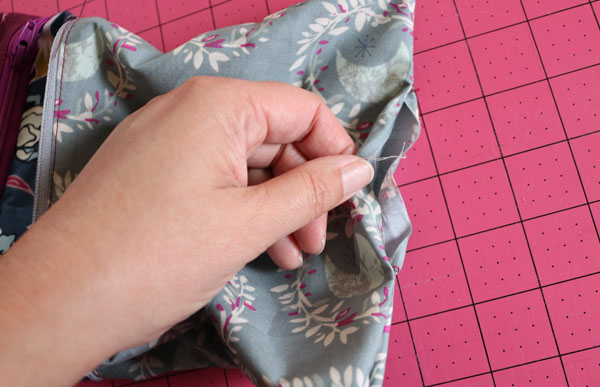
Stitch closed.

Tuck the lining inside the zippered pouch. Your double-zippered pouch is complete!
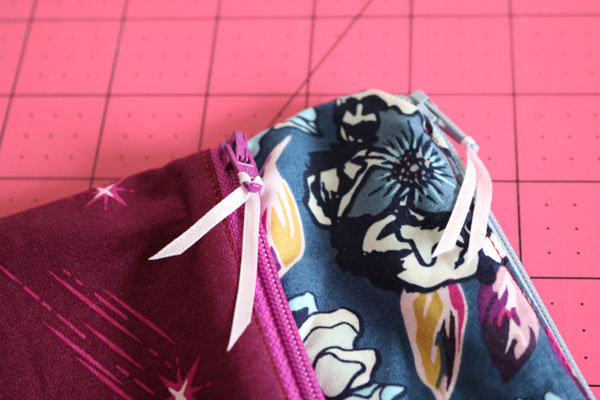
If you like, add some ribbon to the zippered pulls.
Check out all the other fun projects in this Little Gifts series!

Comments & Reviews
Im newer to sewing – could you tell me how I could make this a wristlet? I’m thinking it wouldn’t be too had. Thanks!
Not hard at all! Just add a strap when sewing the side seams together.