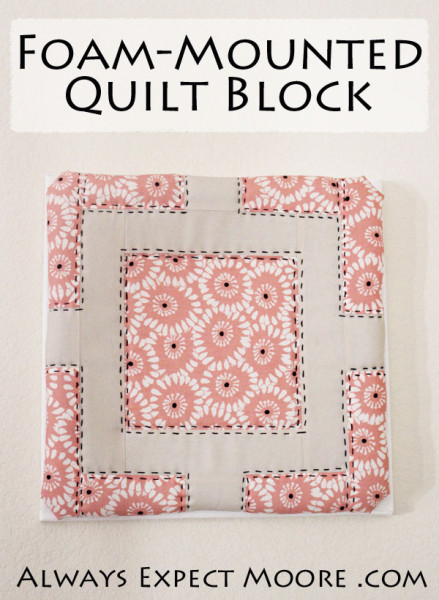
Do you have orphan quilt blocks lying around that need a home? Maybe one day you might turn them into a scrappy quilt… or maybe not. Maybe you have quilt blocks given to you by a friend or relative, and you have no idea what to do with them! Here is a super simple way to turn quilt blocks into home decor – mount them onto foam! I was sent a box of foam to play with, and I’m so excited to share what I came up with!
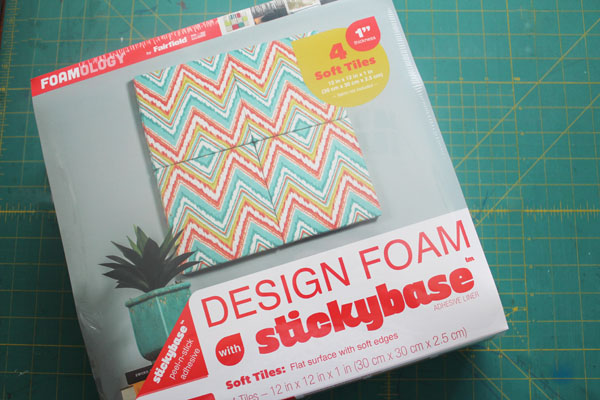
Foamology is a brand new product, and so easy to use! You can check out the whole line on the Fairfield website. I used just one sheet of foam for this project … imagine what you could do with more! I’ll show you how I made this simple foam mounted quilt block, and you can think of more ways to use this same foam block… once the wheels start turning, you’ll come up with so many ideas!
I started with a package of the Design Foam with Stickybase soft tiles. The tiles are 12″ square – perfect for most quilt blocks.
If you have a 10″ or even a 12″ quilt block, add a border around your block. I used a block that was 16″, which gave me plenty to wrap around the back.
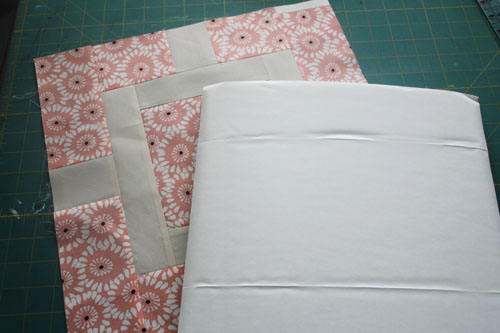
The process is simple. Lay your quilt block right side down on the table, then center the foam square with the sticky side up. Peel back the adhesive strip on one side, and fold over the fabric. Then peel the strip on the other side, and fold the fabric over.
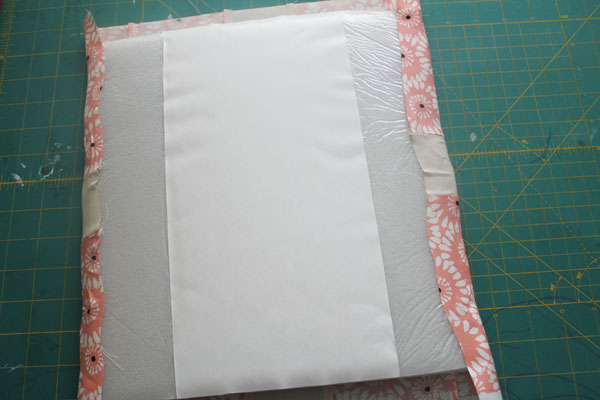
Lift up the center paper on one side, and pull the fabric over, then repeat on the other side. And just like that, you’ve mounted your quilt block onto a foam square! You can peel back the rest of the paper, and stick the mounted quilt block right to a wall. Bam. Done.
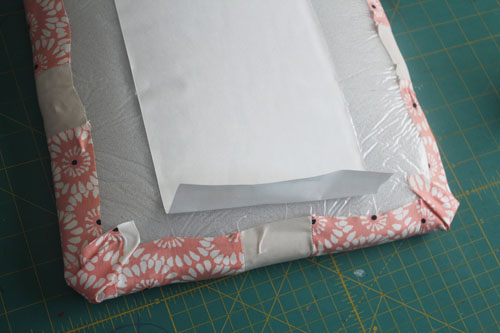
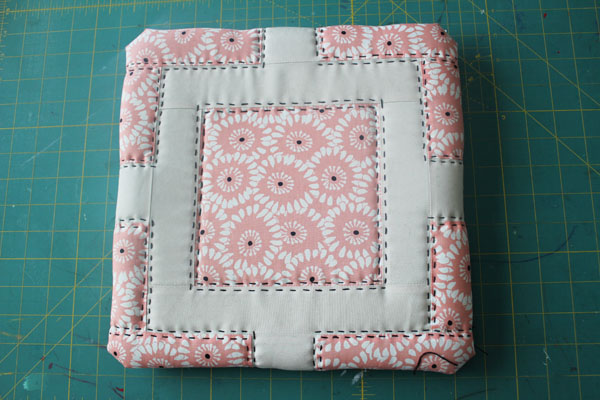
I decided to add some big stitch quilting to my block, just for fun. So I covered the exposed adhesive with the paper I’d removed.
Using 3 threads from a skein of embroidery floss, I tacked the thread in place on the back of the block.
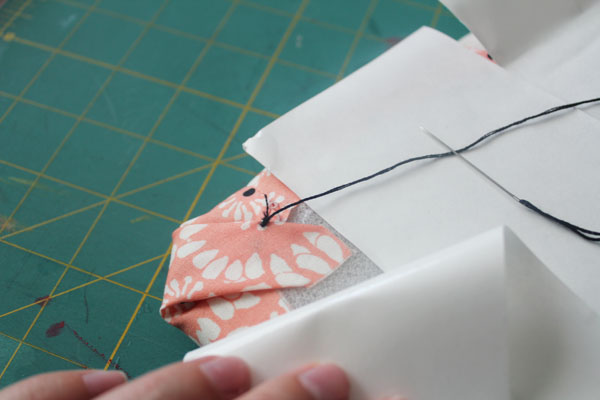
Then I stitched into the fabric and foam, creating a running stitch.
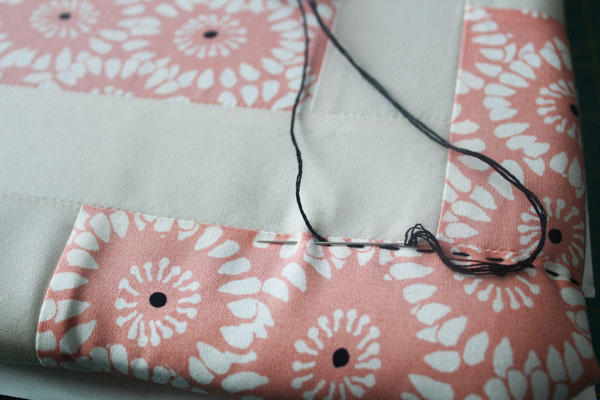
Normally, when I do a running stitch, I load up my needle with several stitches before pulling it through. This foam was dense, though, so I could only do one stitch at a time. Which was fine. However, if you have poor strength in your hands, you might want a set of pliers handy to help pull the needle through.
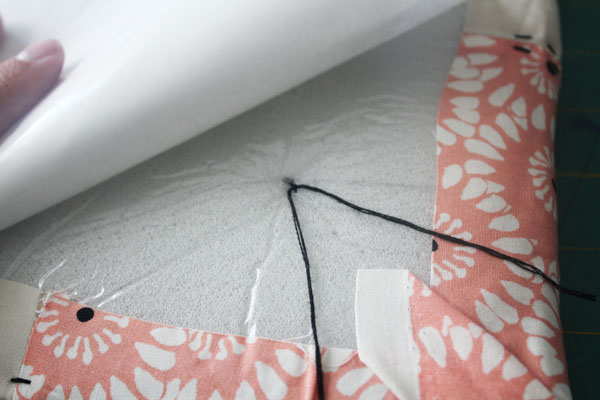
To stitch the center, I just poked my needle up from the back, leaving a long tail.
I stitched all the way around.
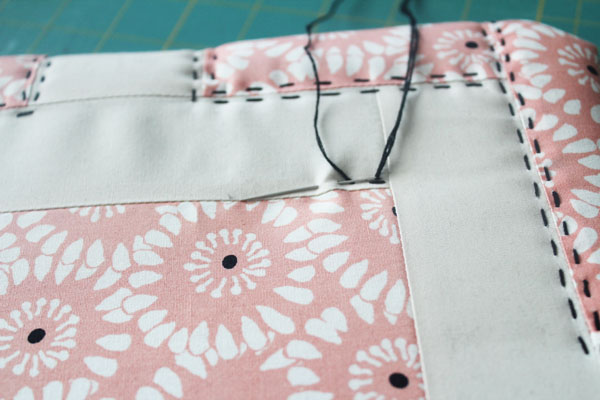
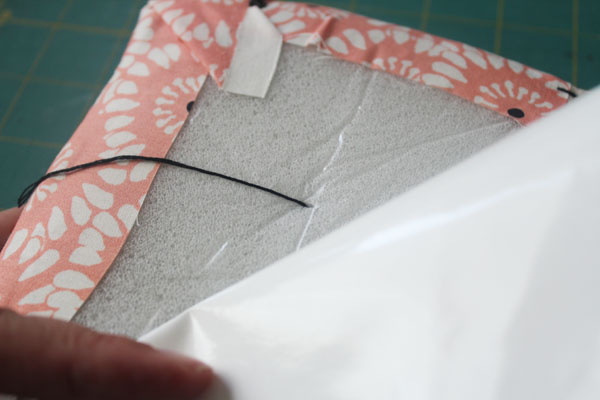
When done, I poked the needle back through to the back, and tied a knot with my beginning and ending threads.
It took about 2 hours to complete the big stitch quilting, but I love the added texture that the quilting gives!
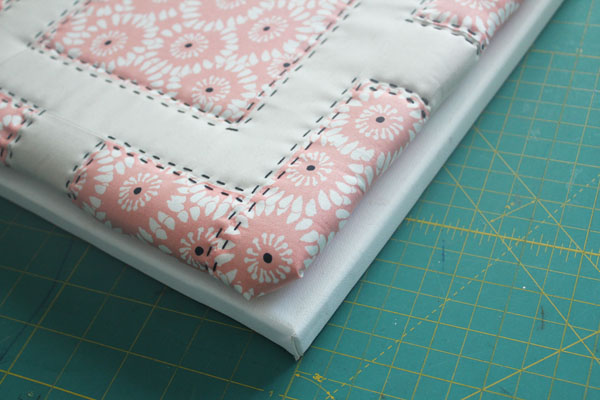
I’m not sure where I want to hang it yet, so to give myself lots of options, I stuck the foam mounted quilt block to a 12″x12″ canvas. This way I can lean it on a shelf, hang it on a wall, or do whatever I like.
Wasn’t that simple? What kinds of decor would you make using Foamology? While you’re deciding on your first project, head over to JoAnns or Fairfield to order yourself some foam squares! If you order on the Fairfield site use the promo code 14FOAM25 at checkout for 25% off of your Foamology order.
Make sure to check out Fairfield on on Pinterest and Facebook, and Foamology on Facebook for more inspiration!
Thanks Foamology for sending me this fun new product to play with! It makes home decor so simple!

Leave A Reply!