• Skip to primary navigation
  • Skip to main content
  • Skip to primary sidebar
Home About Subscribe Summer Sew Camp Disclosures

Always Expect Moore

Quilts & Pattern Design

  • Cricut Maker BOTW
  • Quilty5k
  • Gallery Wall QAL
  • Trunk Show
  • Guild Resources
  • Pattern Shop
  • Free Patterns
Home About Subscribe Summer Sew Camp Disclosures
  • Cricut Maker BOTW
  • Quilty5k
  • Gallery Wall QAL
  • Trunk Show
  • Guild Resources
  • Pattern Shop
  • Free Patterns
Home » Blog » Holiday Crafts » Organizing Holiday Cards: Christmas Card Book

Organizing Holiday Cards: Christmas Card Book

Created On: January 2, 2014  |  Updated: January 2, 2014  |   4 Comments

Holiday Card Storage Book

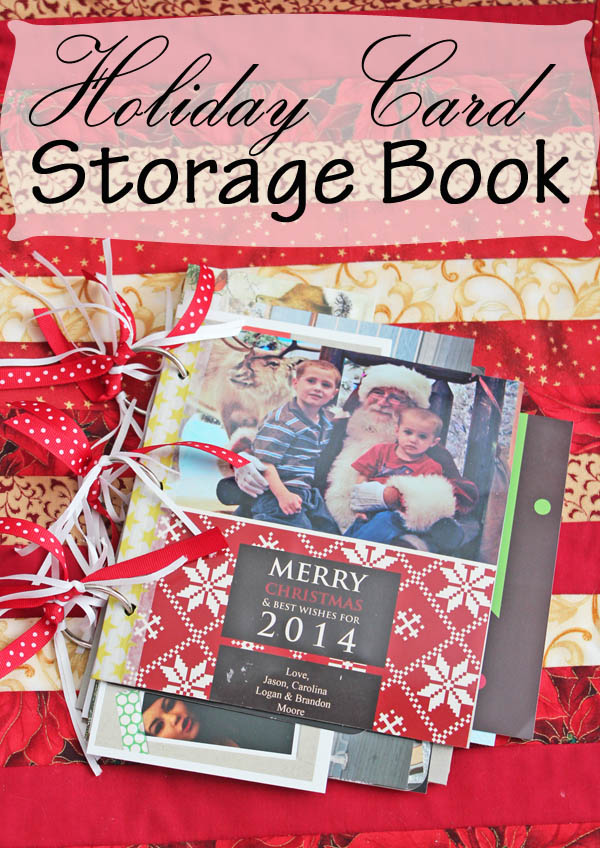
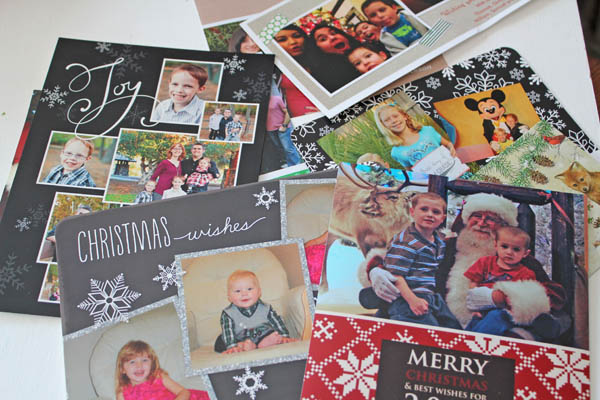
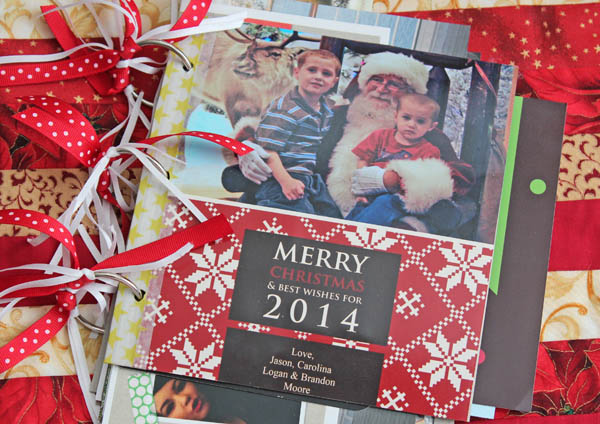
Every year as I take down my holiday decorations, I take down the display of Christmas Cards, put them in a pile, and want to DO something with them. I love getting Christmas Cards each year (and I love sending them out, too), but after the season is over, I have no way to store them… until now! Several years ago I saw a similar idea to bind Christmas Cards into a book that can be enjoyed for years… and thanks to the inspiration brought on by this week of cleaning and organizing that I’m hosting with Angie from The Country Chic Cottage and Gina from the Shabby Creek Cottage, I have my First Annual* Christmas Card Book!

Holiday Cards

chipboard book covers
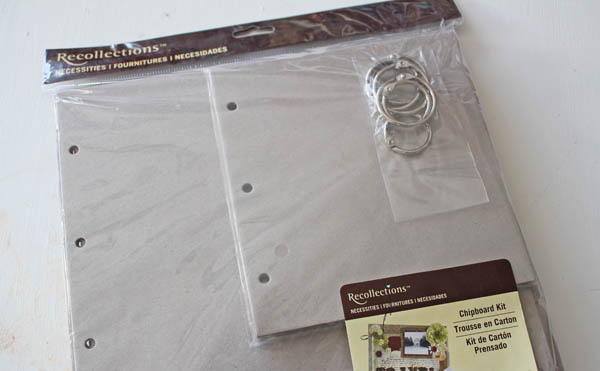
To make your own Christmas Card Book you need:
Chipboard Covers (with rings)
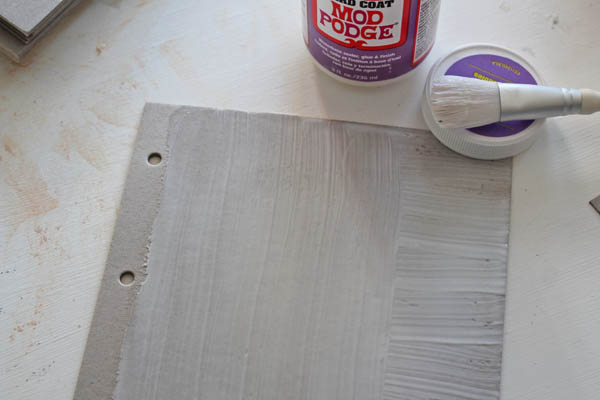
Mod Podge Hard Coat
Washi Tape (optional)
Scissors
Paintbrush
Hole Punch
Pen or Pencil
Ribbons (optional)
All your Holiday cards from this year
The Card you sent out this year
Your holiday letter (optional) shrunk down to size

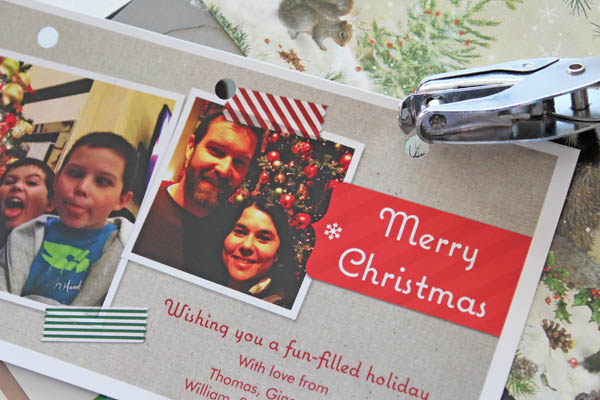
I started by Mod Podging my card to the front cover. It was a little bigger than the cover size I chose. I could always go with a bigger cover, but I liked this size. After Mod Podging the card on, I just trimmed off the excess.

Mod Podge onto Chipboard

I had some of the chipboard showing over on the side where the holes were. I could have just left that part plain, but it felt… well… too plain. So I covered it up with some Washi Tape. Then I put Mod Podge over the washi tape to really secure it – Washi Tape has a habit of becoming un-stuck over time, and I want this book to really last.

Washi Tape and Mod Podge

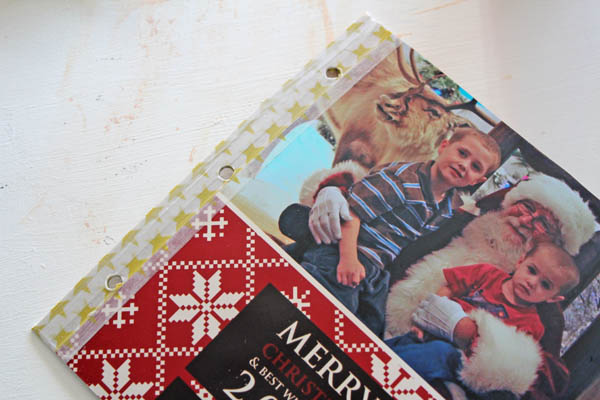
I used the back cover as a template to mark where the holes needed to go on the cards.

Use cover as template

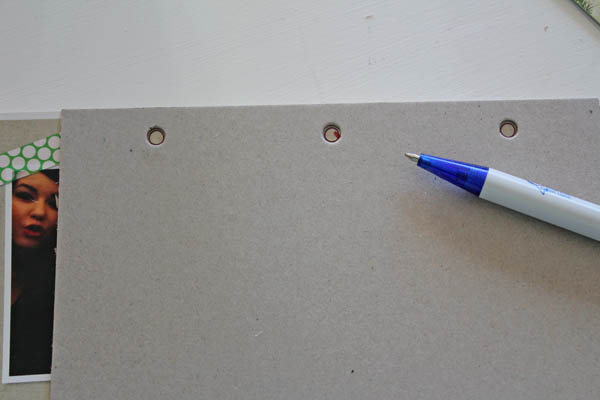
Then punched holes in the cards. I had fun with this part. I knew some of the cards were going to stick out – so I embraced it. I let cards stick out on the top, bottom, and right. Not all the cards are perfectly centered. I think it adds to the fun.

punch holes in card

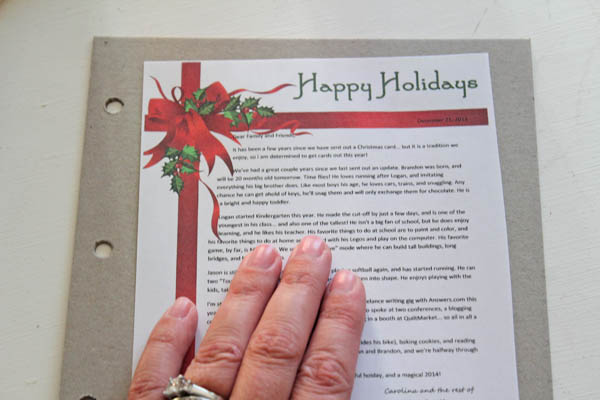
I always think it is a shame that I don’t store a copy of our holiday letter somewhere. Sure, I could look it up on the computer, but what fun is that? I shrunk down our holiday letter to 60% so that it would fit on the back cover, then Mod Podged it in place. I used Mod Podge Hard Coat because I find it dries less tacky, and that will keep it from sticking to the cards as it goes into storage for the next 11 months or so.

Christmas Letter shrunk down

Once my covers were dry, I put it all together. For a little extra flair, I tied ribbons to the rings.

Store and Organize Christmas Cards in a cute book

I’m looking forward to keeping up this tradition each year, creating volumes of Christmas Cards from all of our family and friends that we can look back at.


*Yes, I know “First Annual” isn’t an actual “thing”. But I’m ok with that.

posted in: Holiday Crafts, Organization, Personal, Scrapbooking

Previous
Organizing 2014: Simple Expense Sheet
Next
Organize 2014: Tips for Using a Paper Planner

Reader Interactions

    Leave A Reply! Cancel reply

    Share your thoughts!
    Your email address will not be published. Required fields are marked with *

    This site uses Akismet to reduce spam. Learn how your comment data is processed.

    Comments & Reviews

  1. jaclyn says

    January 3, 2014

    aww what a great idea 🙂 xoxo

    Reply
  2. Kristine says

    January 4, 2014

    Love these tips! I want to do this also with my anniversary cards from my hubby.

    Reply

Primary Sidebar

Hi, I'm Carolina!

I’m a Quilt Pattern Designer, Award Winning Quilter, and fan of all things quilting. I live in San Diego with my husband, our two boys and our pets. I love keeping both my hands and mind busy, so I’m always working on lots of projects. You’ll find lots of them shared here!

More About Me

Let's Keep In Touch!

I'll let you know about what's new in quilting, freebies you'll want to snag, and brighten your inbox about once a week!

Thank you for subscribing!
subscribe
90% Faster Than Rotary Cutters

Fat Quarter Shop Quilting Fabrics and Supplies

Projects With Pre-Cuts - 7 Colorful Designs

Featured Projects

  • Everything you want to know about Pre Cut Fabrics!
  • Scrappy Placemat - easy to make scrap project
    Scrappy Placemat using Strips and Scrap Tape
  • Sewing Kaleidoscope SVG File
  • Drawstring Backpack
  • Carolina holding fabric marking pens
    Choosing Fabric Marking Pens

Let's Keep In Touch!

Brighten your inbox about once a week!

Always Expect Moore Submark Shop Patterns

Browse

  • Ruler of the Month
  • Quilty5k
  • QuiltMath
  • Cricut Maker BOTW

Shop

  • Digital Download Patterns
  • Quilting Notions
  • Quilt Stickers
  • Quilt Tees

Connect

  • YouTube
  • Instagram
  • Facebook Group
  • TikTok
©2023, Always Expect Moore. All Rights Reserved. About Disclosures
Back To Top
Design by Pixel Me Designs
×

Let's Keep In Touch!

I'll let you know about what's new in quilting, freebies you'll want to snag, and brighten your inbox about once a week!

Thank you for subscribing!