• Skip to primary navigation
  • Skip to main content
  • Skip to primary sidebar
Home About Subscribe Summer Sew Camp Disclosures

Always Expect Moore

Quilts & Pattern Design

  • Cricut Maker BOTW
  • Quilty5k
  • Gallery Wall QAL
  • Trunk Show
  • Guild Resources
  • Pattern Shop
  • Free Patterns
Home About Subscribe Summer Sew Camp Disclosures
  • Cricut Maker BOTW
  • Quilty5k
  • Gallery Wall QAL
  • Trunk Show
  • Guild Resources
  • Pattern Shop
  • Free Patterns
Home » Blog » Uncategorized » Pocket Week – Pocket Quiet Book

Pocket Week – Pocket Quiet Book

Created On: August 3, 2010  |  Updated: August 3, 2010  |   7 Comments

Have you checked out today’s giveaway sponsor? Country at Heart Gifts has an Etsy shop filled with amazing items! Make sure that you’re a follower here for a chance to win!

You can also link up any of your pocket projects to the Pocket Week Linky for another chance to win!

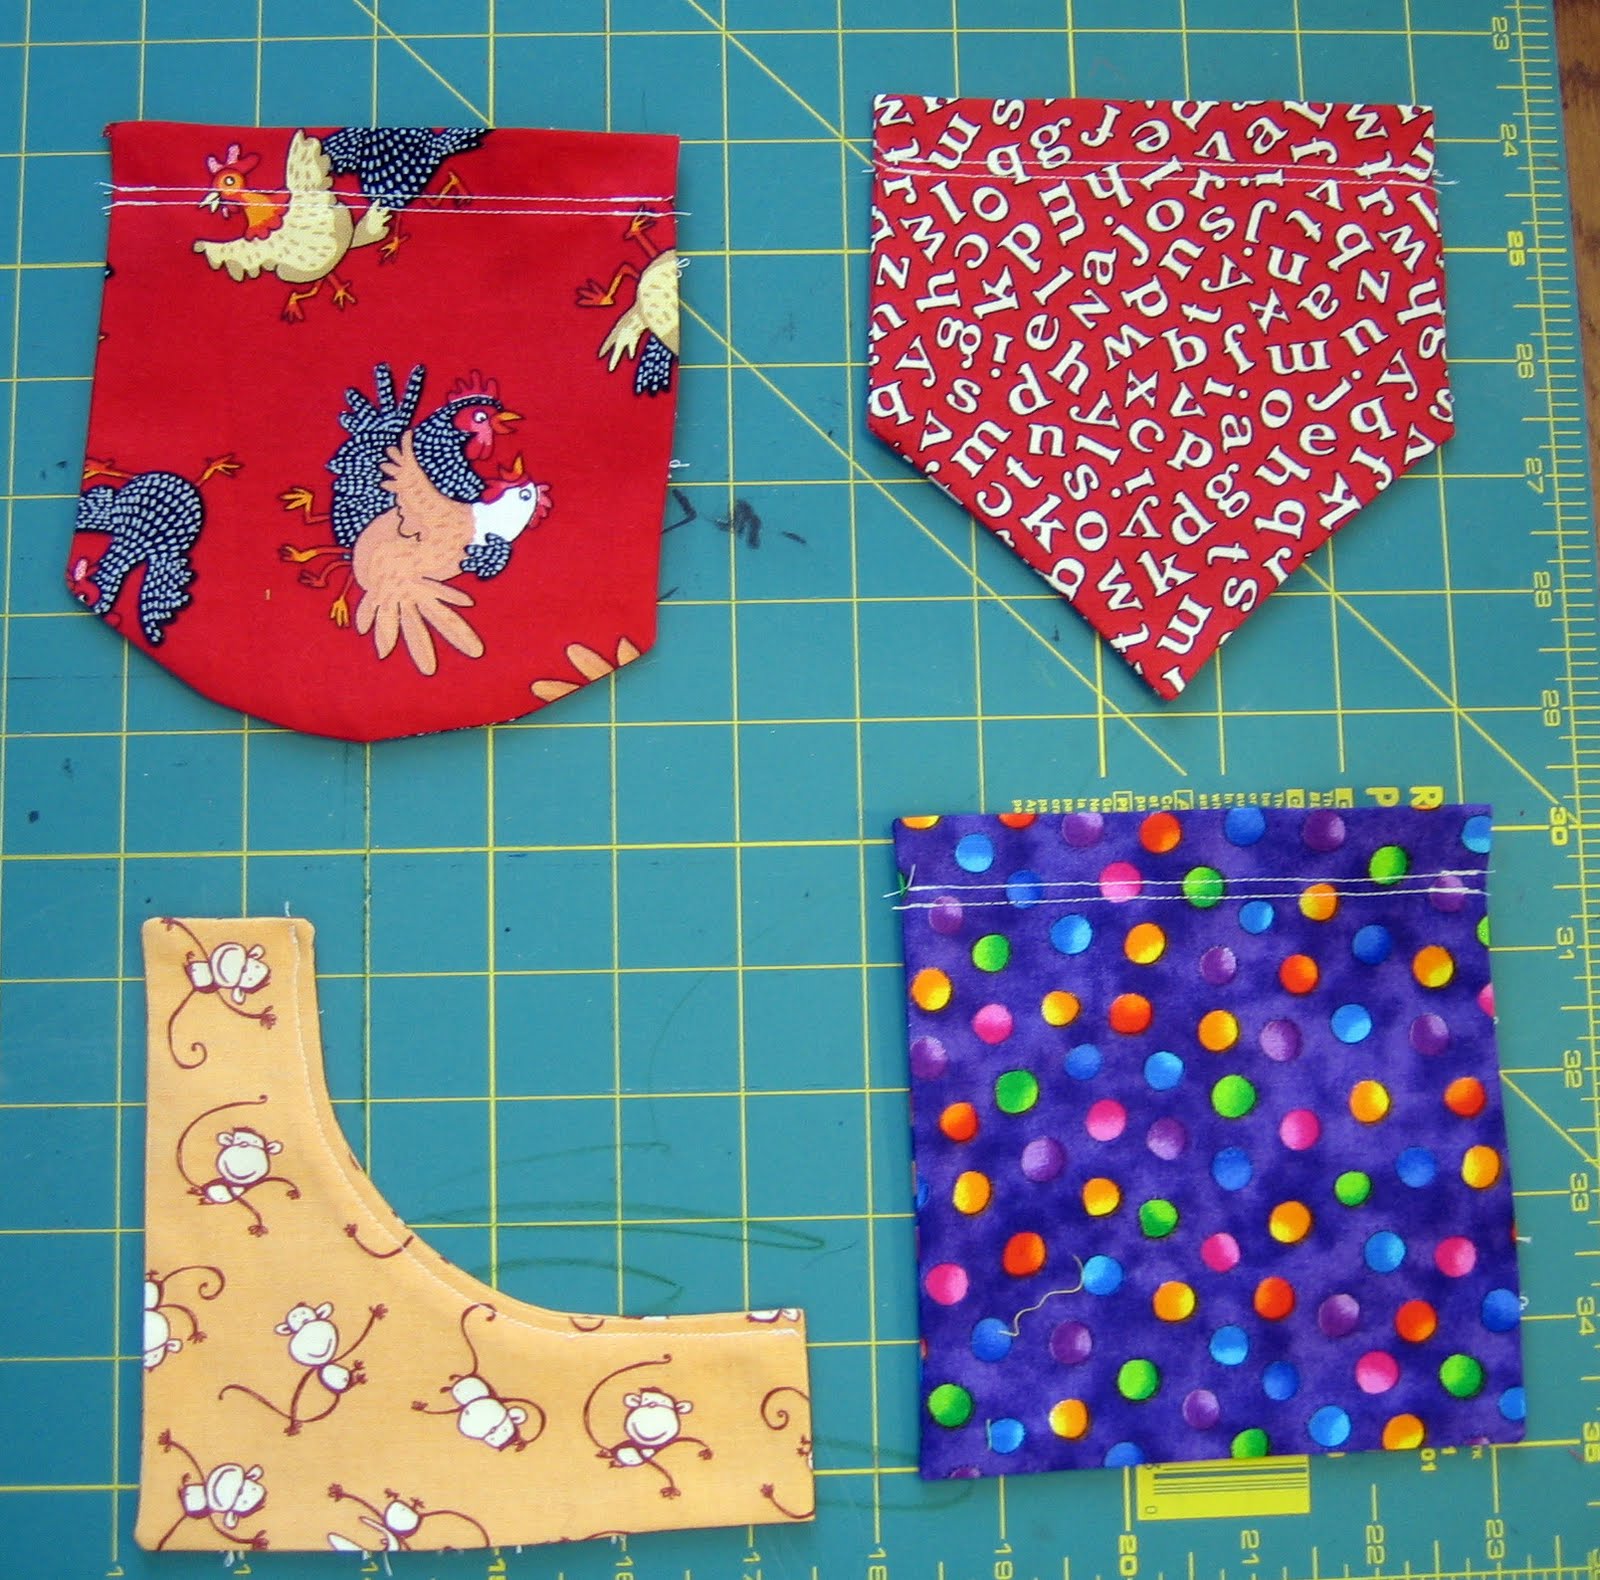
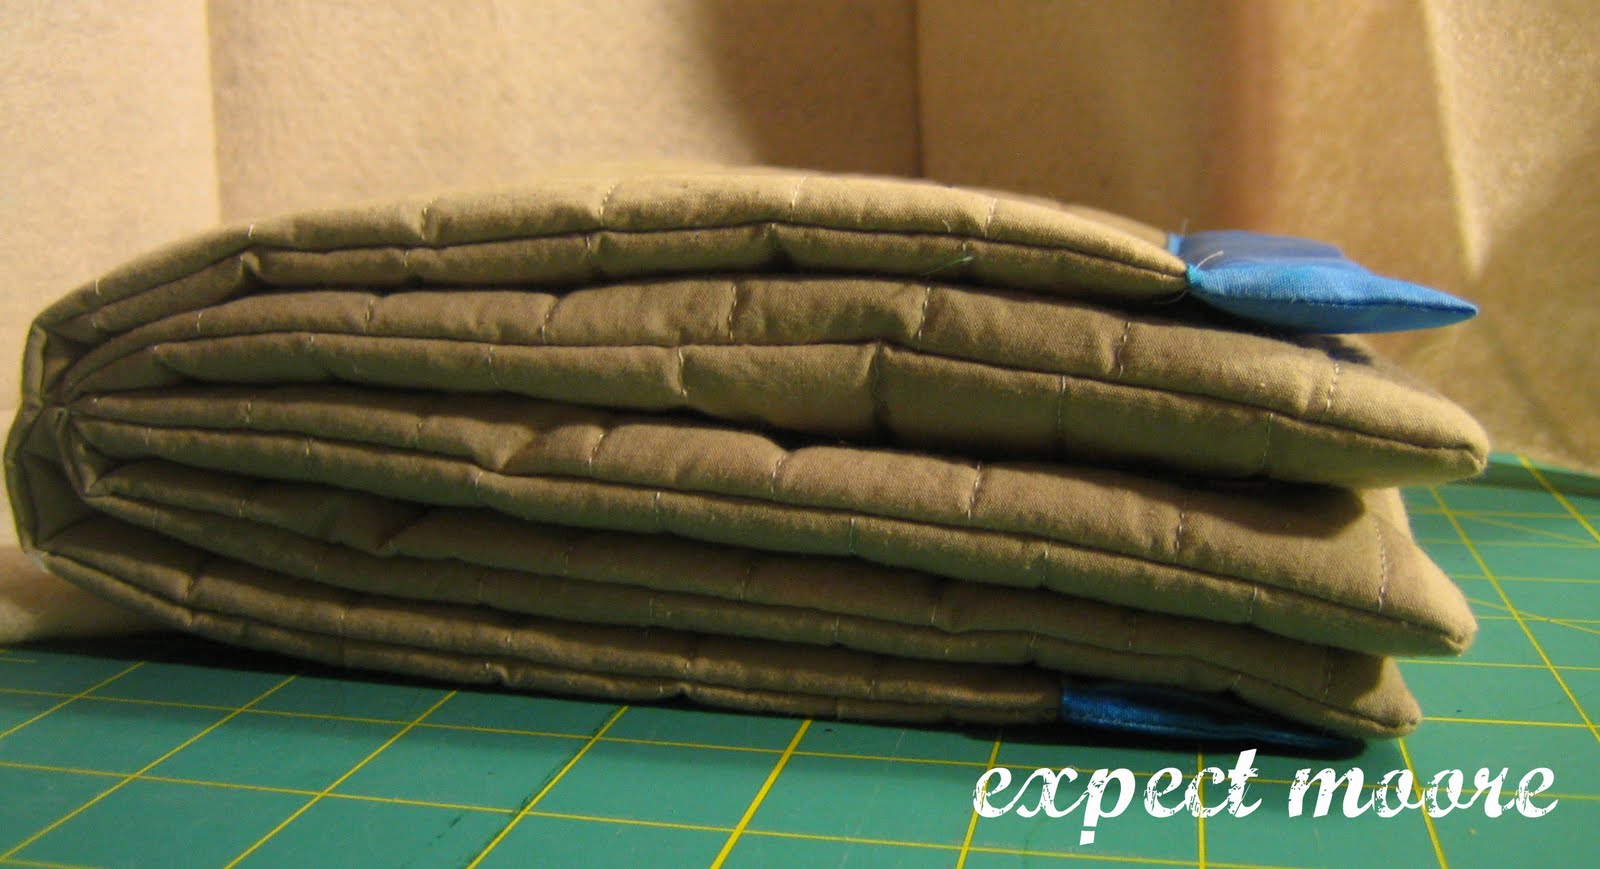
I’ve been wanting to make a quiet book for LM for a while. But as young as he is, his interests keep changing, and so does his skill level. Pocket Week gave me the opportunity to make a great quiet book that grows with him, and never gets boring, because I can constantly put new things in the pockets to keep him busy!

I made some mini quiet books to tuck in the pockets, but I can just as easily put in small toys or candies, some of the pockets are even large enough for a small notepad and a couple crayons. Because I can put different things in the pockets, it means the book will never get boring, and I can keep the activities age-specific, and location specific (if we’re taking the book to go somewhere)!

I love Quiet books that have some volume to them, or are quilted. I found this pre-quilted fabric in my stash. I think it was in a big box of hand-me-down fabrics from my mom. It had a large spot where the color was bleached out, probably from exposure to the sun. I made sure to cut around this.
I cut 5 pieces each 8″ x 16″. Four will become the pages, and the 5th will be the cover.
I then cut 4 different pocket shapes, I folded the fabric in half and cut through a double layer, with the fold at the top so that I was cutting out 2 of each that are connected at the top by the fold.
I then turned them so that I had the right sides together, and sewed around the edges, leaving a hole for turning. I then clipped the corners.
After turning the pockets right side out, I to stitched two lines across the top, to give them that “finished” look.
I then pinned each in place on 4 of the quilted fabric squares.
I marked 8 inches in along the 16″ side, to mark the middle.
I pinned together two pieces, making sure that the tops of the pockets were facing up. I pinned around one half, using my 8″ mark as a guide. I did the same to the other set of pages, and then sewed where I had pinned.
After sewing the two sets of pages, I put these 2 sets of pages together the same way. Then it was time to pin the cover to the book. Pin the cover to the first and last pages, which should be the only exposed pages left, all the rest should be right sides together, making up the rest of the pages in the book.
Sew around one half, with the pages folded over to the other side. Then, fold the pages over to the other side, and sew around the other half. Make sure that you leave one end open for turning.
Turn the book right side out, using the hole you left (make sure to clip all your corners first. Double-check that all of your pockets are facing up.
When you fold up your book, you’ll notice that the cover page on the front and back are too short. This is caused by the bulk that all the pages in the book create. We are going to fix this, add some decoration, and close the turning hole we left – all at the same time!
Cut two pieces of fabric, each 4″ x 7 3/4″. Fold in half “hot dog style,” and sew down the short sides. Clip corners, and turn right side out.
Tuck in 1/4″ of the raw edges and press. Then pull these end pieces over the ends of the cover pages, and adjust until they make the covers the right length, then pin down. Make sure that you pin on the front and the back, and get the seams as even as possible.
Top stitch these end pieces on, clip your threads, and you can enjoy your Quiet Book!

Expect Moore… soon!

Linking to:
Transform Tuesdays
Anything Related
Toot Your Horn Tuesday
Take a Look Tuesday
Sew Cute Tuesday
Tutorial Tuesday
Letting Your Creative Juices Flow
Topsy Turvy Tuesdays 
      Tot Tuesdays

posted in: Uncategorized

Previous
LINED FELT CHANGE PURSE
Next
Pocket Week – Monday Night Winner!

Reader Interactions

    Leave A Reply! Cancel reply

    Share your thoughts!
    Your email address will not be published. Required fields are marked with *

    This site uses Akismet to reduce spam. Learn how your comment data is processed.

    Comments & Reviews

  1. Mandi says

    August 3, 2010

    I love this book! But getting out the sewing machine to sew one straight line freaks me out, let alone a whole book. Can I beg and plead for you to make me one?

    Reply
  2. Cheech says

    August 4, 2010

    Very cute idea! I will keep it in mind for a gift!

    Reply
  3. Melissa says

    August 4, 2010

    This is a great idea! My son loves pockets. You should stop over at MyCraftieLife.Blogspot.com and link up! Hope to see you there!

    Reply
  4. Ashlee @ I'm Topsy Turvy says

    August 4, 2010

    CUTE~ And how great to start with such a nice base! Thanks for linking up to Topsy Turvy Tuesdays!

    Reply
  5. Megan says

    August 4, 2010

    What a great way to use up those fabric scraps that I can’t bear to part with but don’t really match anything else! Cute book!

    Reply
  6. casserole says

    August 6, 2010

    That’s such a great little book!!! I had a Fisher Price pocket book when I was a little bitty kid. Each page had a different kind of closure and there were large plastic coins that you could put in each one. My daughter plays with it now.

    I linked to your tutorial over at Craft Gossip Sewing:
    http://sewing.craftgossip.com/tutorial-fabric-quiet-book-loaded-with-pockets/2010/08/05/

    –Anne

    Reply
  7. Sarah @ The Pumpkin Patch says

    August 7, 2010

    This is VERY cool. My kids would love one of these. Thanks for the great tutorial.

    Thanks for linking up to Transform Tuesday too. 🙂

    Reply

Primary Sidebar

Hi, I'm Carolina!

I’m a Quilt Pattern Designer, Award Winning Quilter, and fan of all things quilting. I live in San Diego with my husband, our two boys and our pets. I love keeping both my hands and mind busy, so I’m always working on lots of projects. You’ll find lots of them shared here!

More About Me

Let's Keep In Touch!

I'll let you know about what's new in quilting, freebies you'll want to snag, and brighten your inbox about once a week!

Thank you for subscribing!
subscribe
90% Faster Than Rotary Cutters

Fat Quarter Shop Quilting Fabrics and Supplies

Projects With Pre-Cuts - 7 Colorful Designs

Featured Projects

  • Everything you want to know about Pre Cut Fabrics!
  • Scrappy Placemat - easy to make scrap project
    Scrappy Placemat using Strips and Scrap Tape
  • Sewing Kaleidoscope SVG File
  • Drawstring Backpack
  • Carolina holding fabric marking pens
    Choosing Fabric Marking Pens

Let's Keep In Touch!

Brighten your inbox about once a week!

Always Expect Moore Submark Shop Patterns

Browse

  • Ruler of the Month
  • Quilty5k
  • QuiltMath
  • Cricut Maker BOTW

Shop

  • Digital Download Patterns
  • Quilting Notions
  • Quilt Stickers
  • Quilt Tees

Connect

  • YouTube
  • Instagram
  • Facebook Group
  • TikTok
©2023, Always Expect Moore. All Rights Reserved. About Disclosures
Back To Top
Design by Pixel Me Designs
×

Let's Keep In Touch!

I'll let you know about what's new in quilting, freebies you'll want to snag, and brighten your inbox about once a week!

Thank you for subscribing!