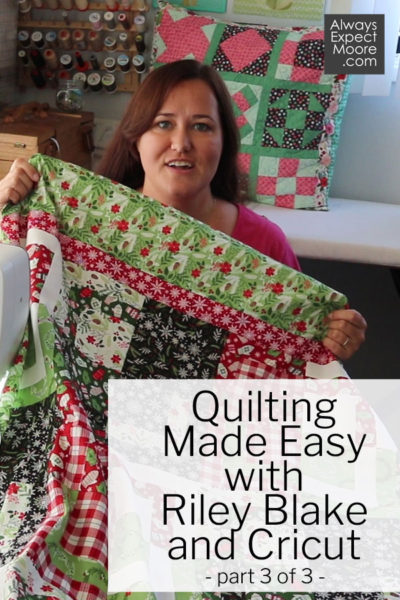
Welcome to the 3rd part of this video and quilting series! Over the past weeks I have been working on making a Christmas Quilt using Riley Blake Fabrics and the Cricut Maker. In Part One I showed you how I selected the fabric and pattern. In Part Two I showed you how all the pieces were cut. And today… today we are piecing the Half Log Cabin Throw quilt top!
To finish up this series I’ve created another video. This video is long, but oh-so-comprehensive! I’ll be holding your hand and taking you step-by-step through how to make this quilt. It is always more fun to make a project with a friend, and I hope you’ll stitch along side me as we make this quilt together!
We’ll make the units, put together the blocks, build the rows, and stitch up this quilt top. When we get to adding the borders, I’ll give you some tips on how to get a nice smooth border with no ruffles!
If you’d rather read along, I’ll lay out the basics of making the quilt here. Remember that a full set of PDF instructions is in Design Space that will also help you in making the quilt.
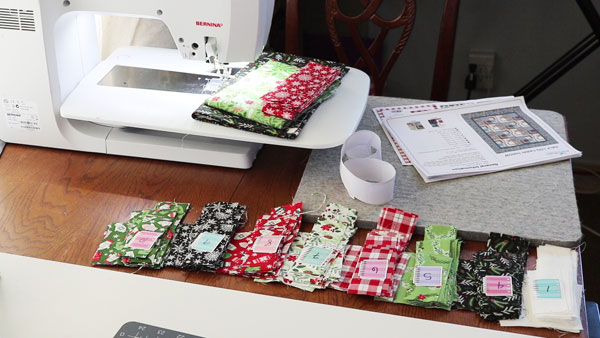
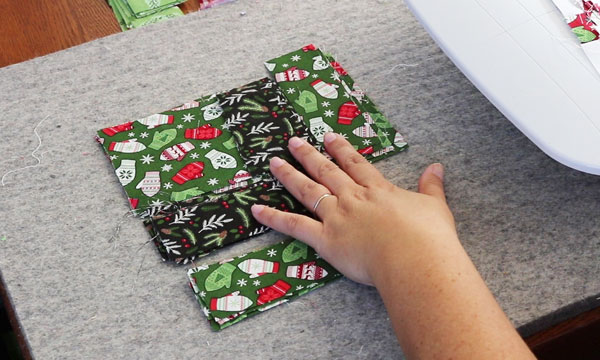
We’re going to start by laying out all of our fabrics. The inner border, outer border, and binding fabric can be put aside. Label the other fabrics by fabric number to make it easier to grab the right fabric as you lay out the block units.
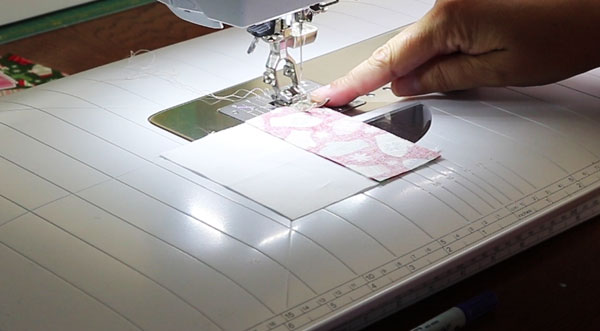
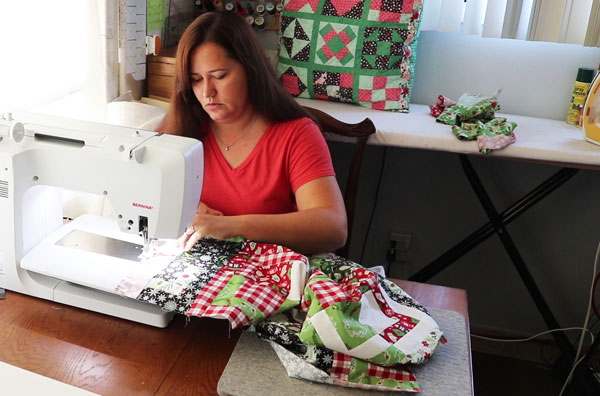
Using the PDF instructions, grab a square of fabric one and the smallest rectangle in fabric 8. Place them right sides together and stitch.
(BTW – all seams in this quilt are 1/4″.)
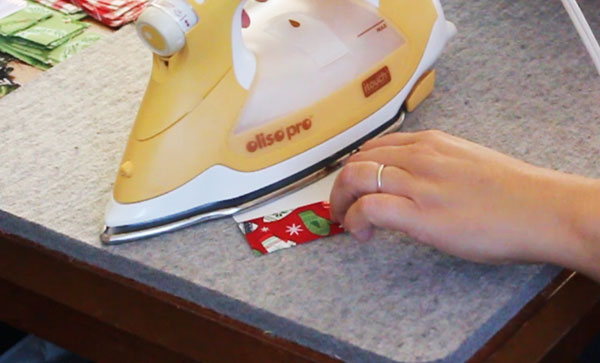
Then press your seam towards the dark.
Add the next size up of fabric 8. Stitch and press. Repeat with the same size of fabric 1, and then the largest strip of fabric 1. You’ll have your first block unit complete!

Repeat the process for all the block units – you’ll be making 6 of each. Check the PDF for all the fabric combinations. If you watch the video, I’ll show you how you can save time making these units by strip piecing.
Once you have all your block units, lay out block A. Stitch the top and bottom units together. Press the seam to the right. Repeat with the bottom two units, pressing the seam in the opposite direction. Then stitch the top and bottom together. You can press the middle seam up, down, or spin the seam (watch the video and I’ll show you this technique)! Make 6 of this block (Block A).
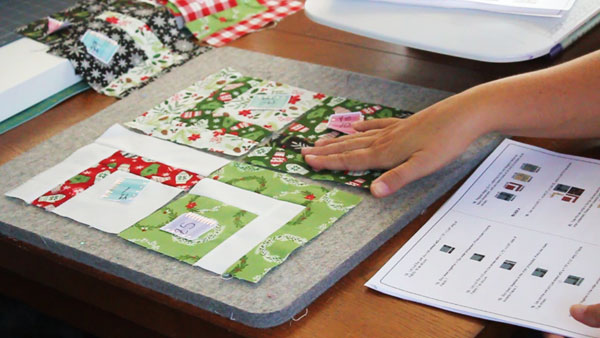
Now you’ll follow the same steps as Block A, but to make Block B. Which is the same, but with different fabrics.

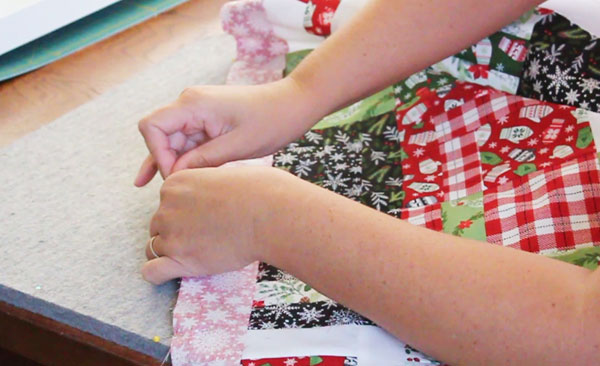
Once your blocks are done, stitch them into rows! You’ll have 4 rows, each with 3 blocks. 2 of the rows have a block A flanked by block B on either side. The other 2 rows are block B flanked by Block A on either side. Press the seams of the first row in one direction, and the seams on the other row in the other direction.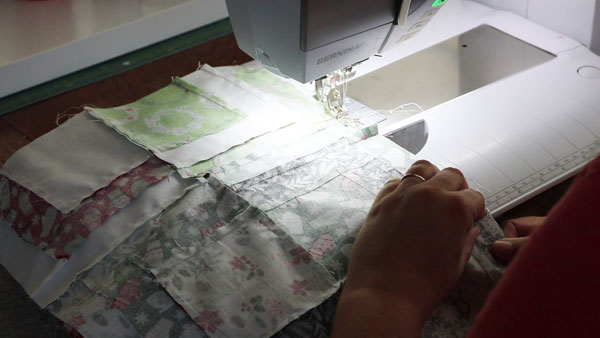 Then stitch your rows together (alternating the A row with the B row), and press all the seams in one direction. Your blocks are all together! Now it is time to add the borders! I want to share my special border-adding tip with you.
First we’ll be adding the side borders. Measure both sides of your quilt, then measure the center of your quilt from top to bottom. This tells you the height of your quilt on both sides and in the middle. Add these 3 numbers together then divide by 3. That is the size you should cut your side borders. This will keep you from having wavy borders.
Pin the border in place. First by pinning each end. Then pinning the middle. Then pinning along each half so that the border is smoothly in place. Once it is pinned, you can stitch.
Repeat the process of measuring the top, bottom, and middle to cut the top and bottom borders to size. Pin them the same way, then stitch. Repeat all these steps to cut, pin, and stitch on your outer borders. Once your borders are on, your quilt is done!
This quilt has been so much fun to put together – I hope you enjoyed it, too! I’m considering putting together a bonus video to show you how to quilt this lap sized quilt on a domestic sewing machine. But if you prefer, you can absolutely have a long-arm quilter do the quilting, and then you just have to bind it. You can search this site for lots of tips on quilting your quilt, and binding it!
Thanks to Cricut and Riley Blake for asking me to put together this series! I can’t wait to show you more quilting and crafting fun!
This is a sponsored conversation written by me on behalf of Cricut. The opinions and text are all mine.

Comments & Reviews
Fantastic information in an entertaining way!
Hello I am making your block of the month flying geese pattern. Do the 2 flying geese pieces form a 12inch block? Or do you need to add those white & green strips of fabric to make the 12 inch block. I am wanting a 12 inch block without any side pieces added.
The Block of the Week quilt is made of 6 inch blocks. So, 4 of them together would make a 12 inch block. 🙂
I’m new to Cricut. I just got a Maker. I want to try your block of the weeks. I do get the notices. My problem is I can’t find links or how to get the pieces in design space. I need step by step basic newbie how to. I’m so anxious to use maker to cut fabric and paper for paper piecing. I just can’t find your links to cut out templates and then how do I get them into or out of design space?
Absolutely everything step-by-step and in order can be found here: http://www.AlwaysExpectMoore.com/CricutMakerBOTW