• Skip to primary navigation
  • Skip to main content
  • Skip to primary sidebar
Home About Subscribe Summer Sew Camp Disclosures

Always Expect Moore

Quilts & Pattern Design

  • Cricut Maker BOTW
  • Quilty5k
  • Gallery Wall QAL
  • Trunk Show
  • Guild Resources
  • Pattern Shop
  • Free Patterns
Home About Subscribe Summer Sew Camp Disclosures
  • Cricut Maker BOTW
  • Quilty5k
  • Gallery Wall QAL
  • Trunk Show
  • Guild Resources
  • Pattern Shop
  • Free Patterns
Home » Blog » Uncategorized » Simple, Inexpensive Jewelry

Simple, Inexpensive Jewelry

Created On: September 30, 2010  |  Updated: September 30, 2010  |   2 Comments

In case you missed my blog post over at The Life of Ann James earlier this month, here it is… several tutorials on making some simple and inexpensive jewelry…

I know that Erin loves to shop… and she’s really good about finding deals. I can hardly believe that she found designer jeans for $26! She’s always on the lookout for a great sale, and sharing it with her readers here. She’s so gracious! And in the spirit of that graciousness, when she offered up a guest-posting spot… I jumped at it!

And then I thought… holy cow… what am I supposed to talk about? I’m a Craft Blogger! I do tutorials on making pincushions, using your Cricut, and making Quiet Books for the kiddos. Most of my shopping is not done at the mall… but at the craft store and fabric store.

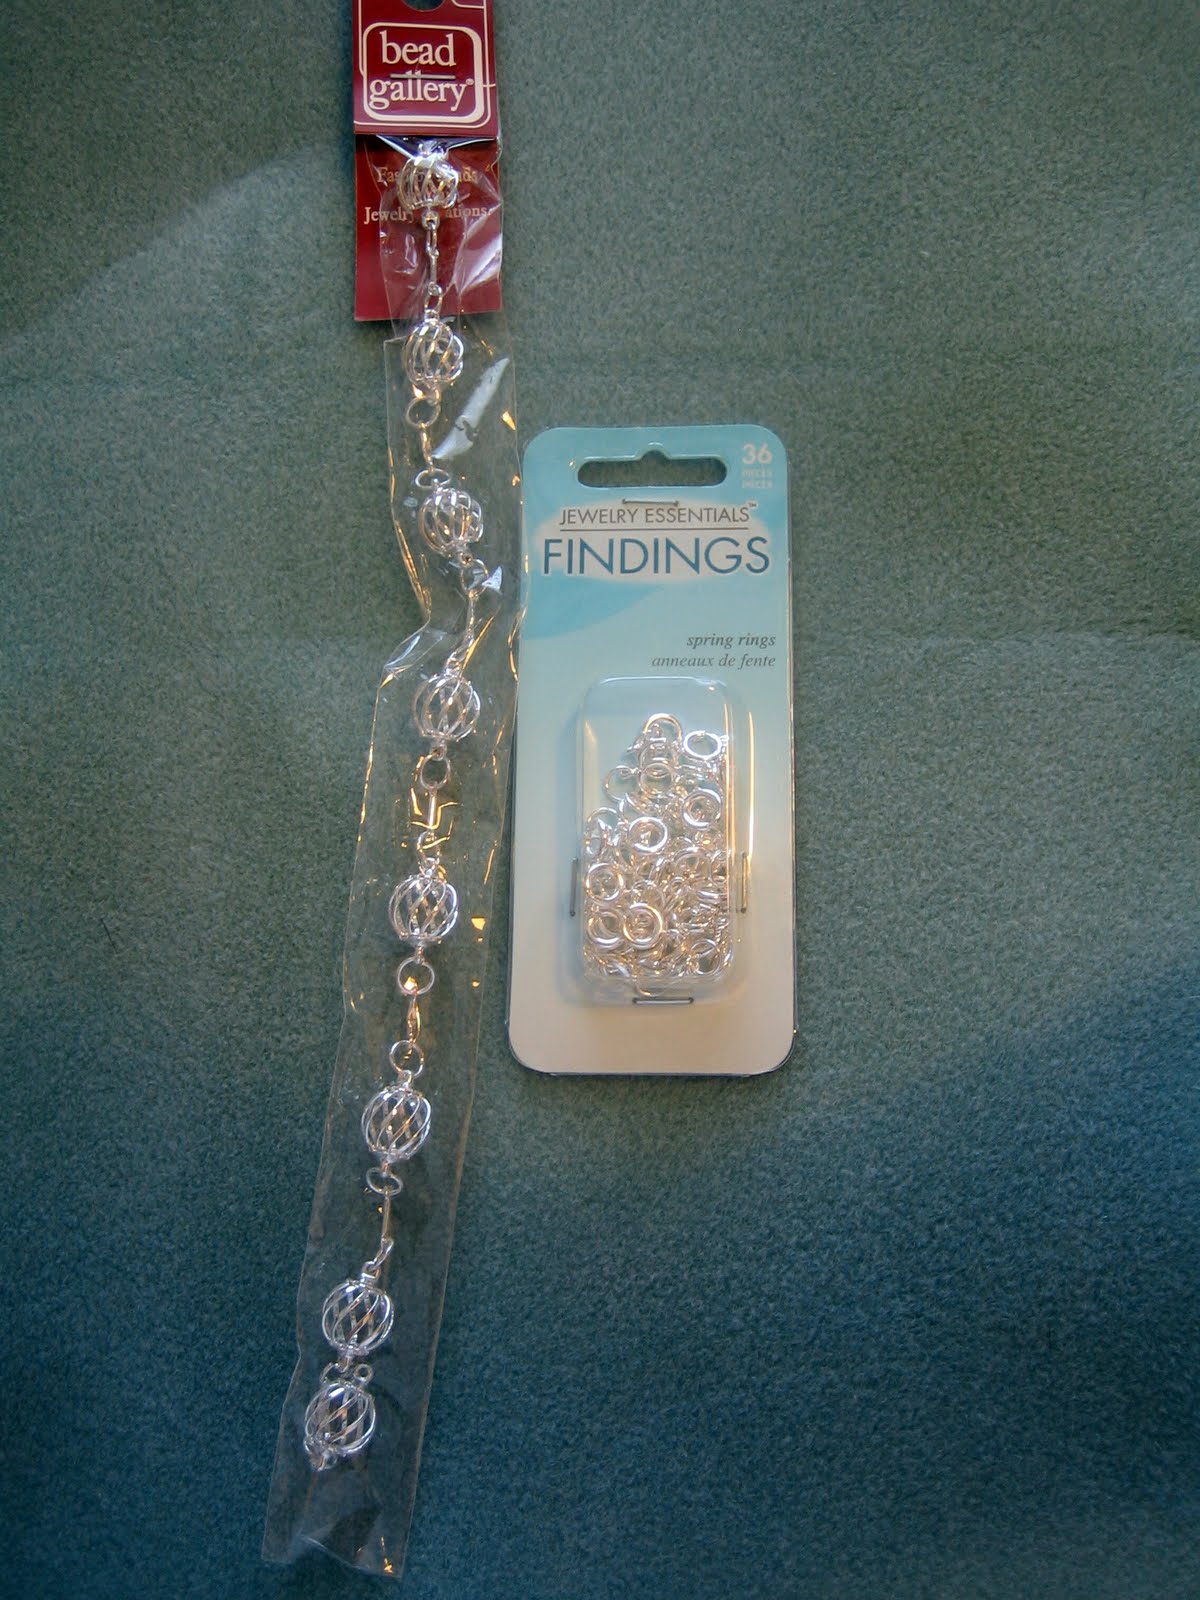
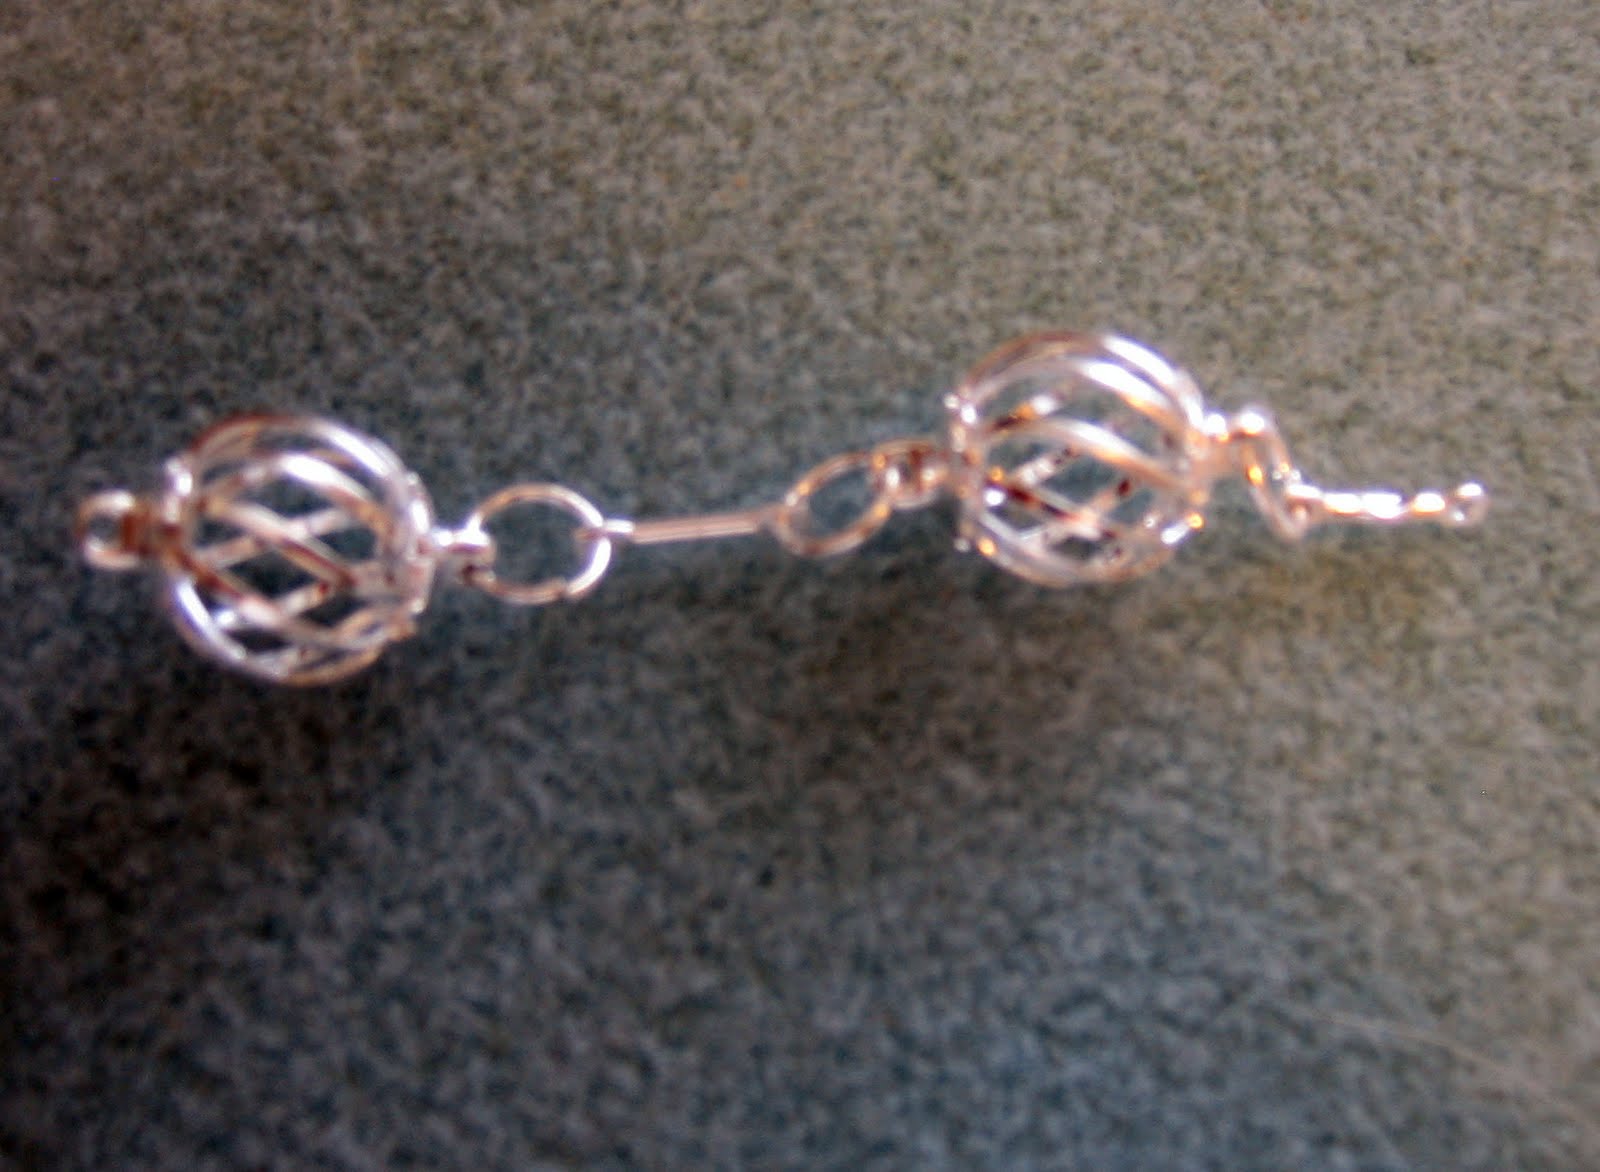
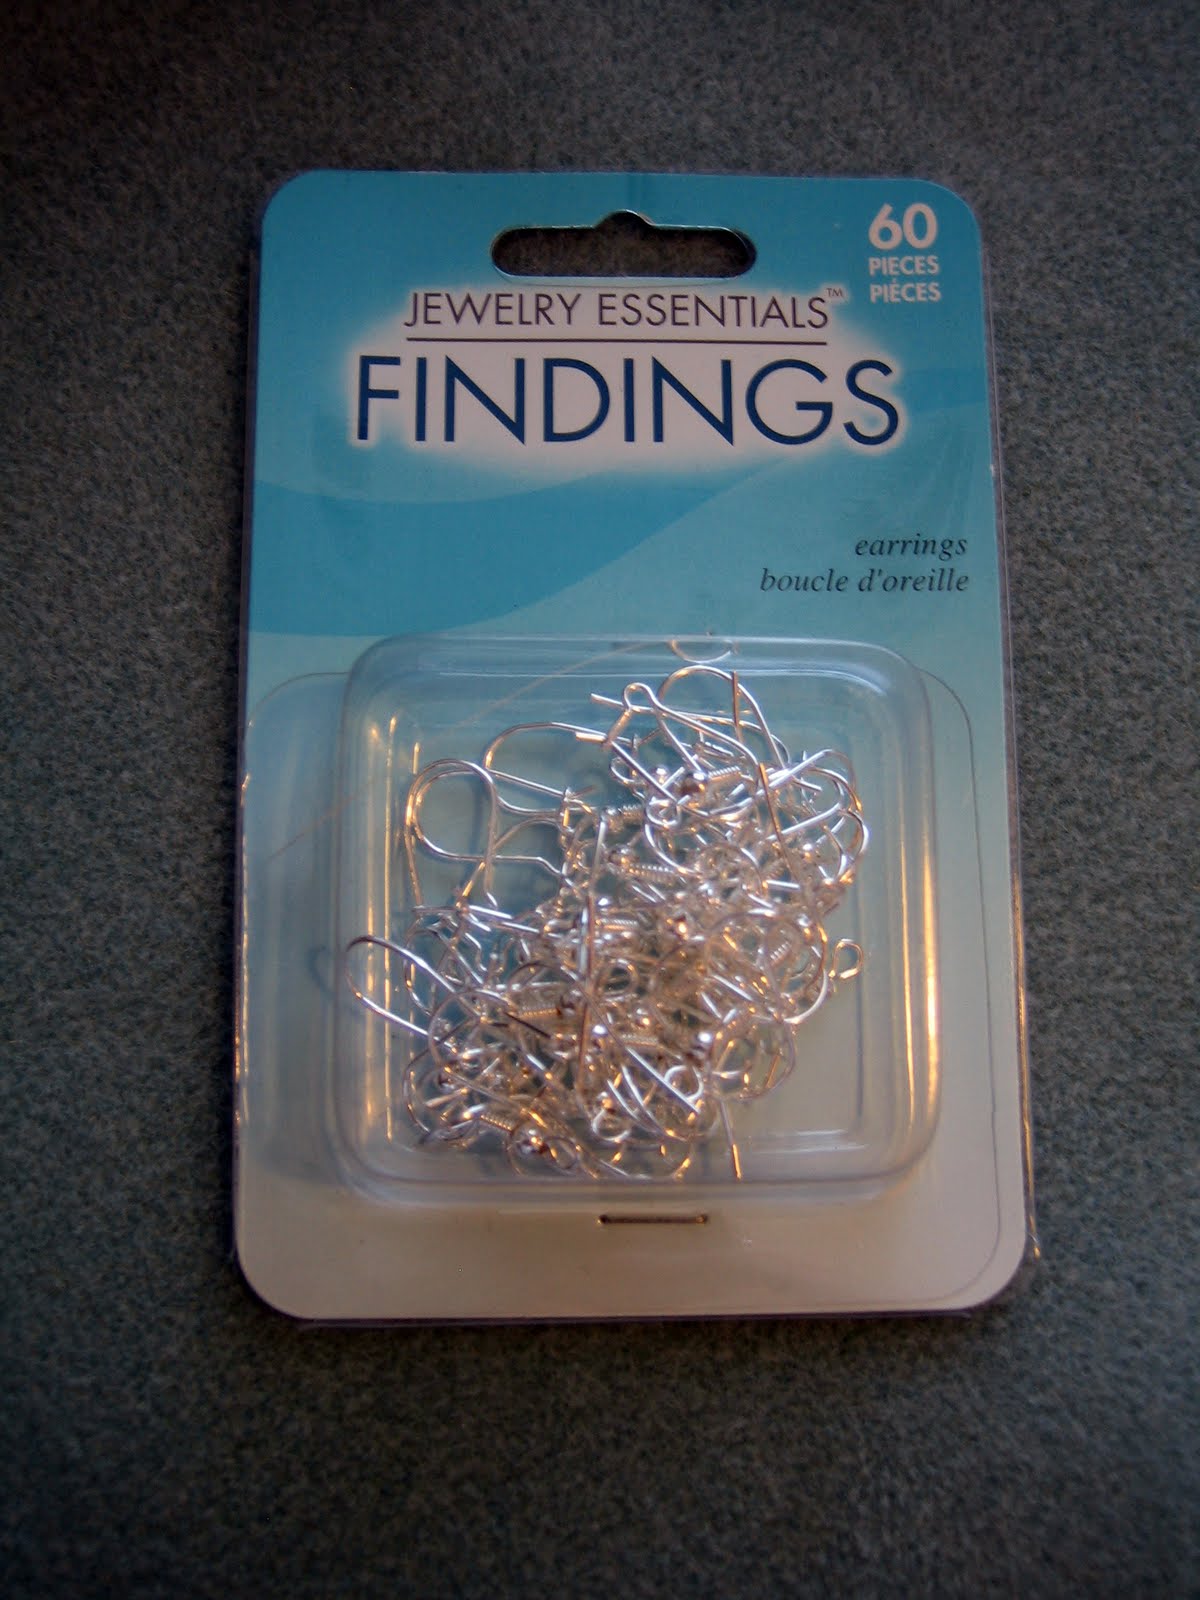
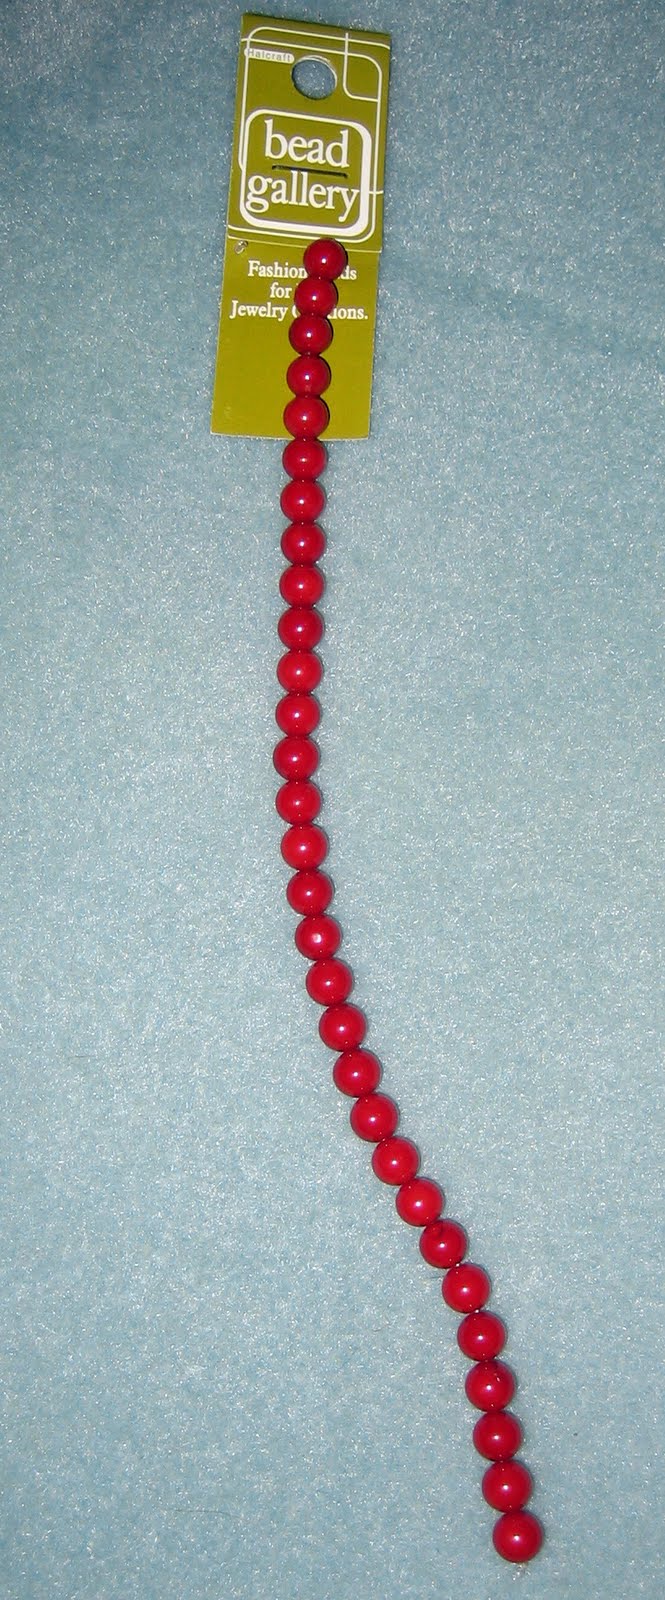
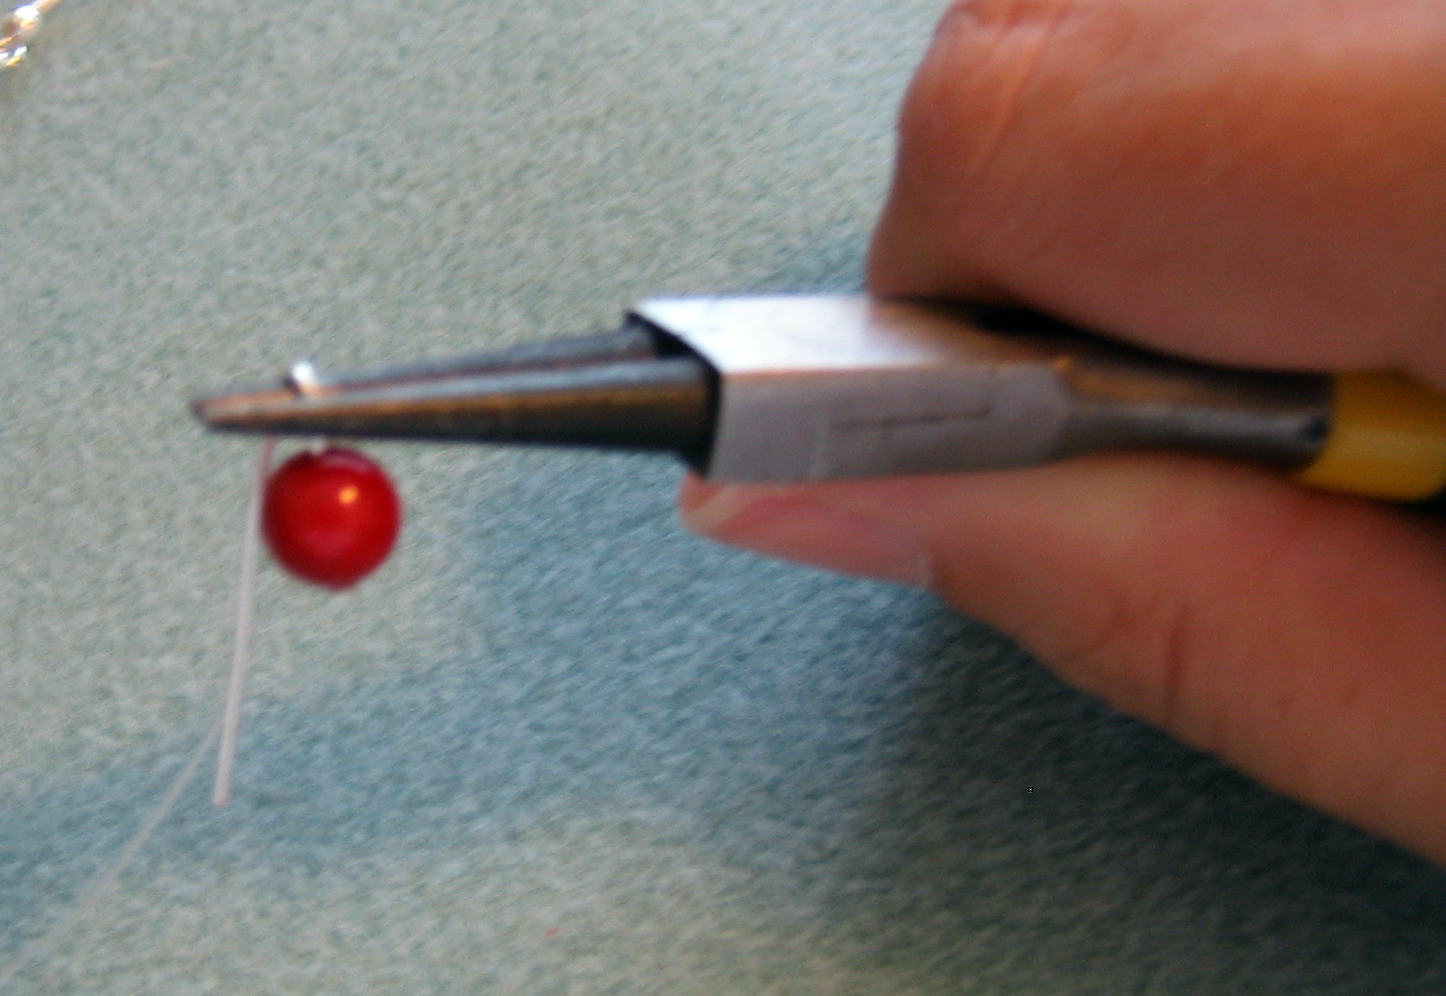
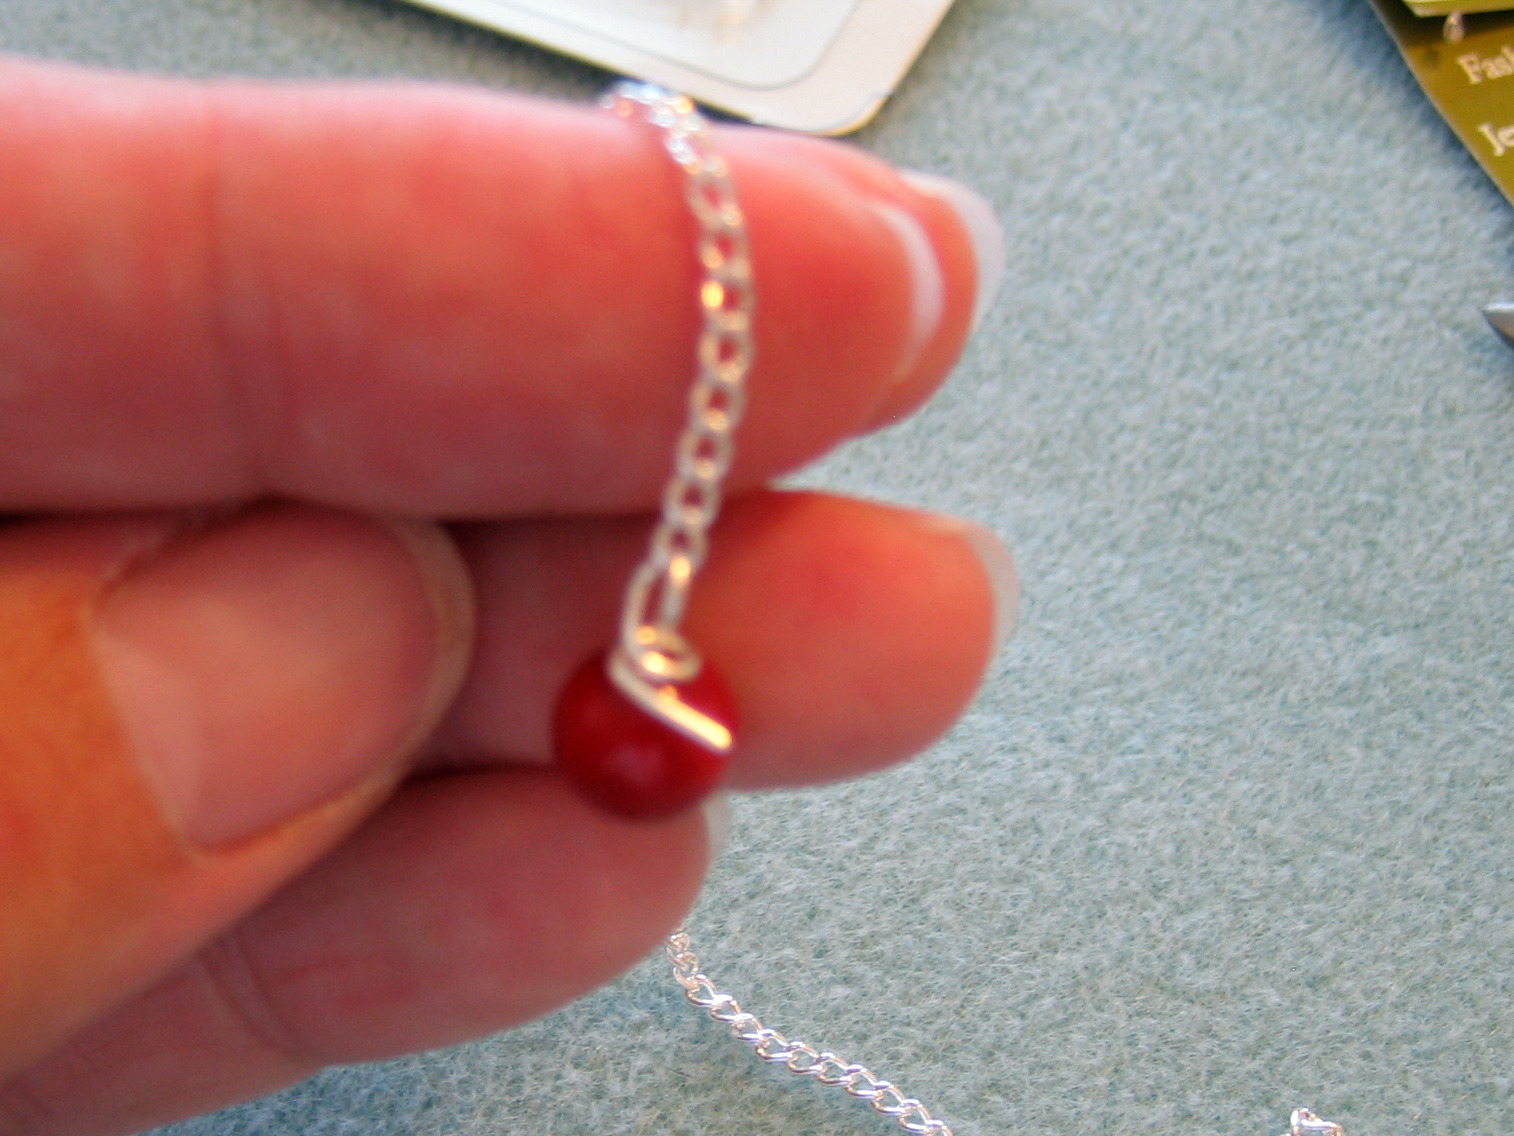
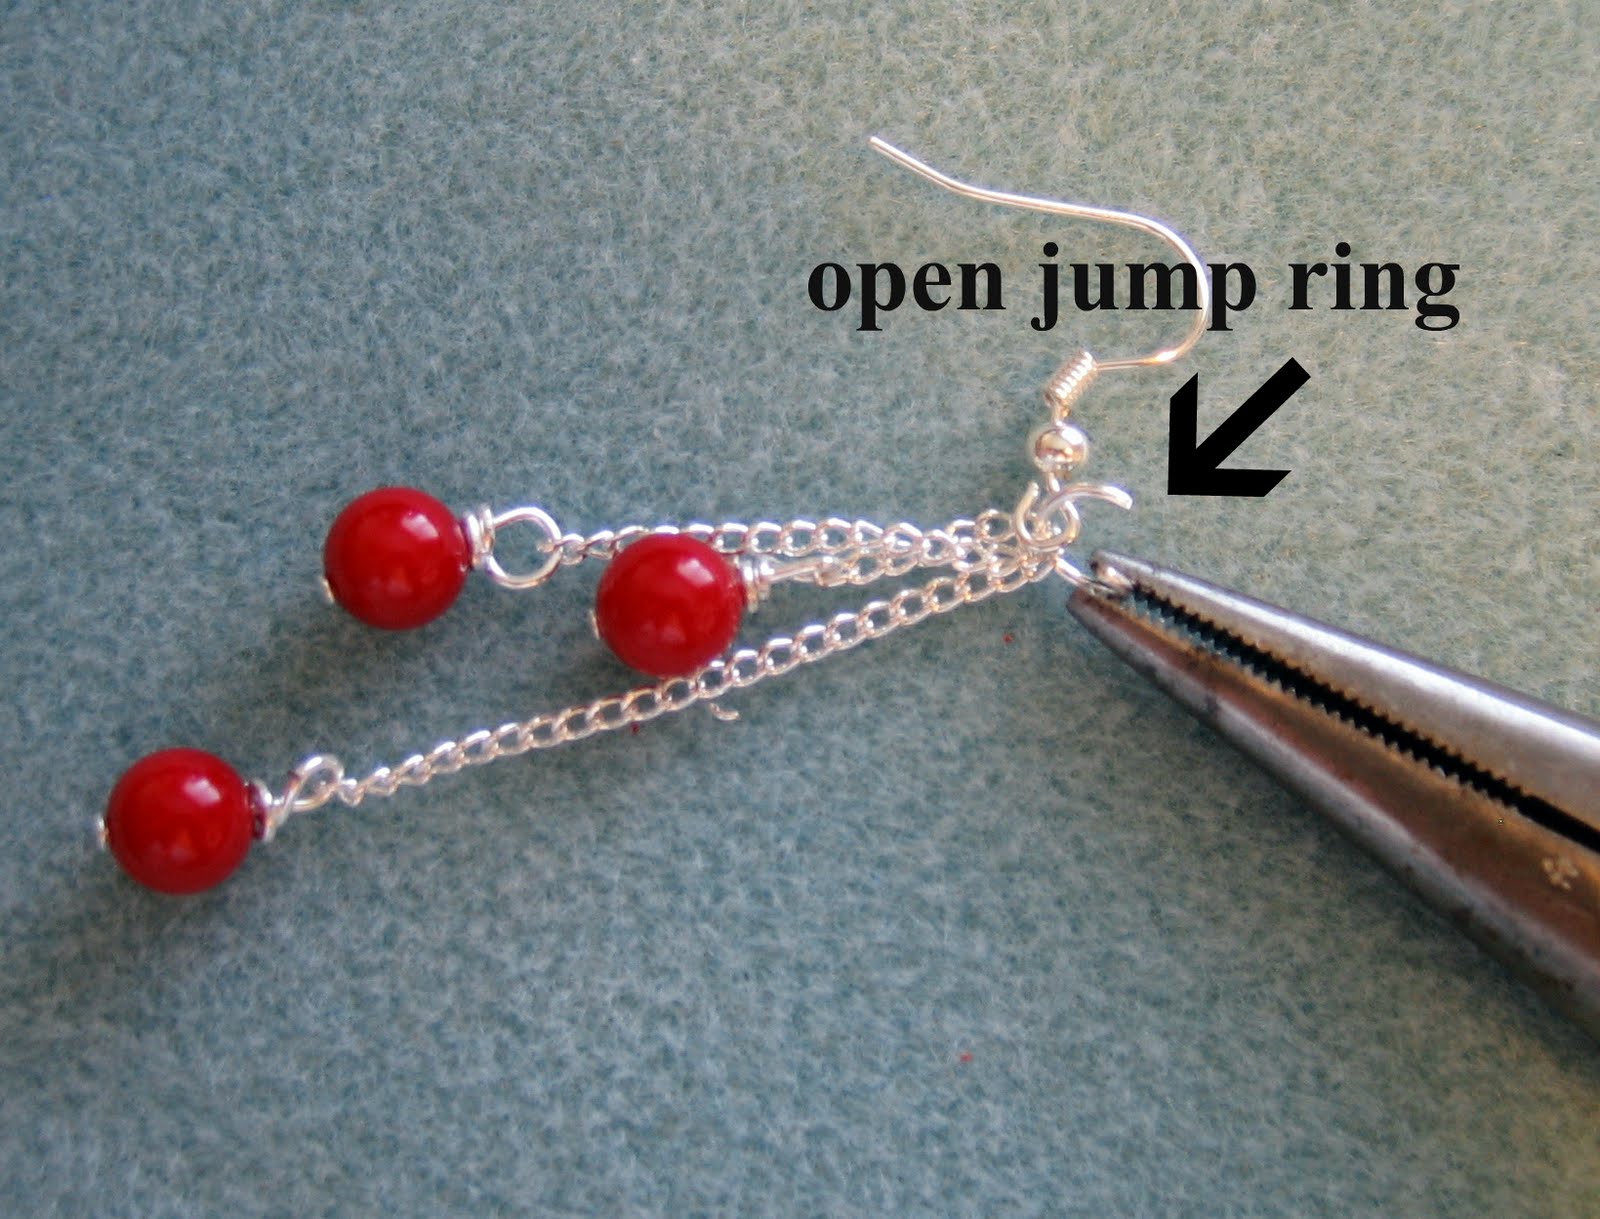
But… did you know that they sell amazing jewelry at the craft store? Yup… but there is a catch (isn’t there always?)… they sell it in pieces. Luckily, it is easy to put together… and I’m here to show you how it is done, with THREE pretty projects. The first two are super easy, and the third is a little trickier…

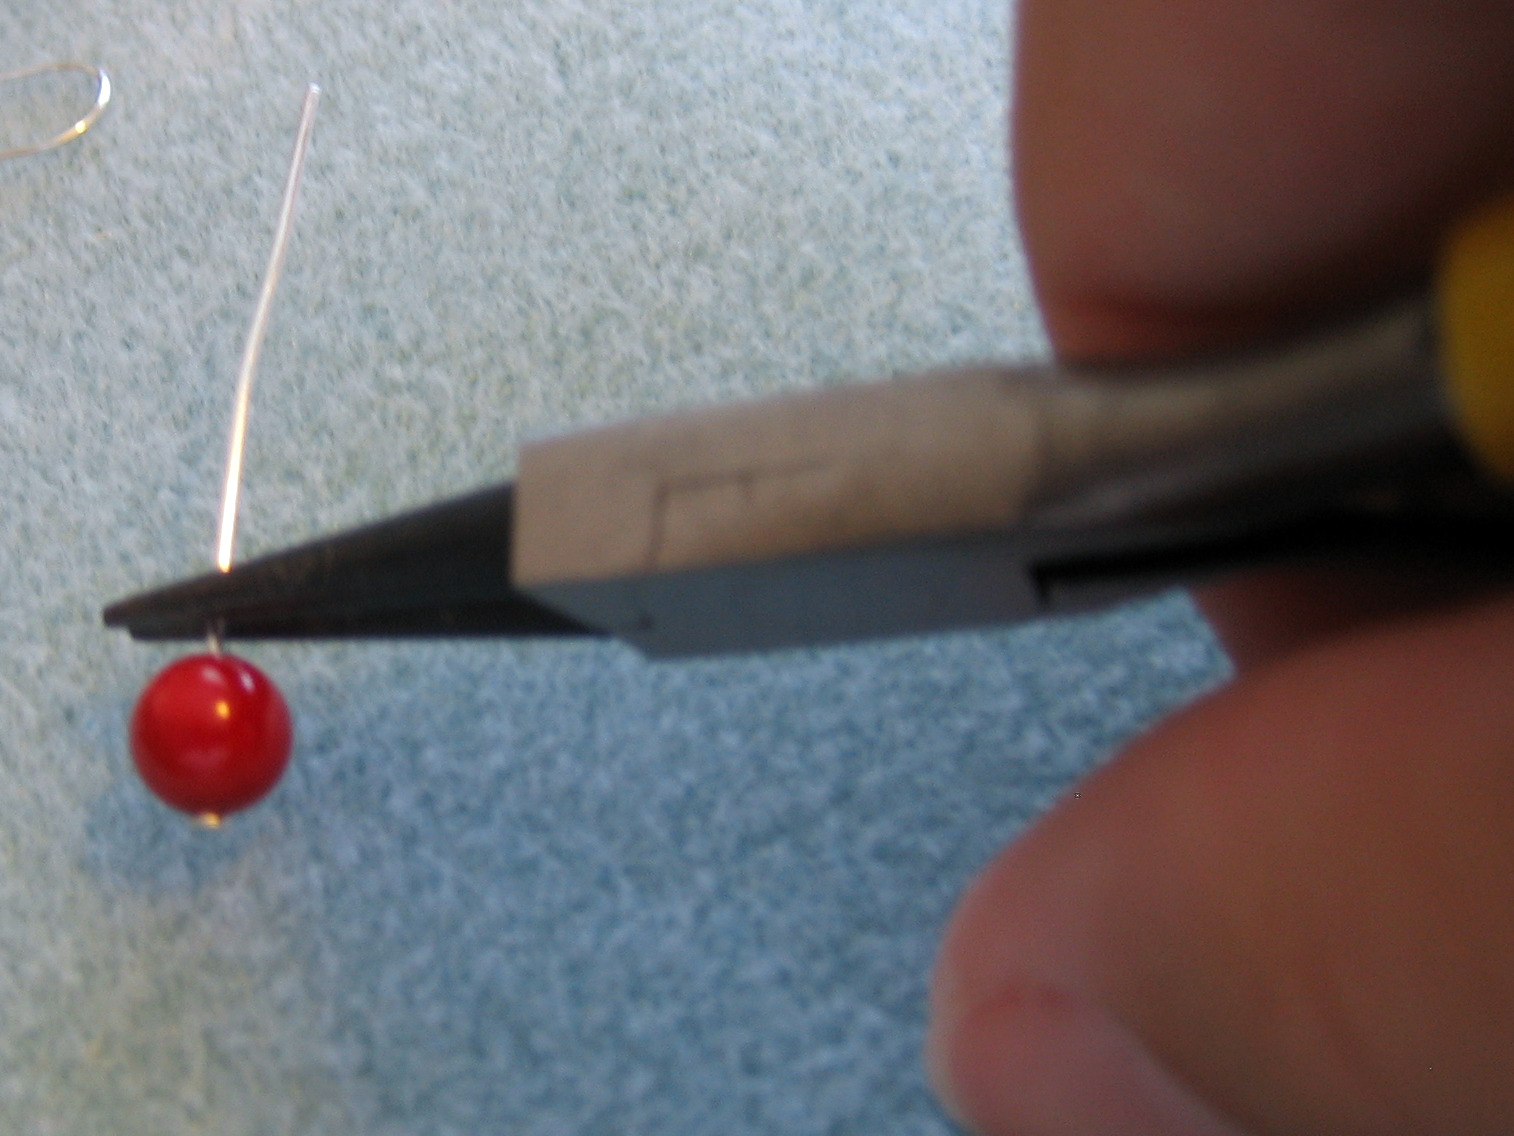
For all three of these projects, all you’ll need is some inexpensive supplies ($20 for all three projects), two pairs of pliers (one round nosed), and a pair of wire cutters… any decent toolbox should have these supplies… go ahead and raid your dad’s/husband’s/boyfriend’s toolbox for them… just be sure to put them back when you’re done!

{First Project}
A simple bracelet… here are the materials. A fun chain ($4) and plain ol’ clasps ($3 for the whole package).
You take your clasp…
… and attach it to one end. This is really the only tricky part, but there is a secret. Whenever you’re opening a ring, you need to use two sets of pliers… one in each hand. You hold the jump rings in the pliers like this:
You then twist open the ring by pushing the top away from you with one hand, and towards you with the other. This keeps the perfect O shape of your ring. When you look at the ring from the top, you can barely tell it has been opened:
But from the side you can see the difference. To close the ring, just do the same thing in reverse – two sets of pliers, towards you with the one hand, away from you with the other.
 After attaching the clasp, if you want, you could be done! But, I wanted to have a little more fun with this project. When I measured the bracelet around my wrist, it was one little silver ball too long.
I decided to take off two of the silver balls.
Because now the bracelet would be too short, I added jump rings to the end, to add length. I opened and closed the jump rings to attach them, just like shown above.
Adding jump rings like this is also a great idea if you’re making the bracelet as a gift. It makes the bracelet fit more wrist sizes.
{Project Two}
A matching pair of earrings. I got these earring hooks, ($3).
I opened up the hook similar to the way I opened the jump rings.
I added one ball with a piece of chain to each hook, and closed the loop. Done! A matching set. These make great gifts, by the way… for $10 you can give these to a friend, and when you tell them you made it yourself, they look at you in total amazement! They have no idea how simple it was!
{Project 3}
Making beaded earrings. These are a little trickier, but with a little practice, you’ll be whipping these out! You do need those round-nosed pliers and some wire cutters for this one.
Supplies… we’ll need some chain ($3).
And some head pins ($3). These are assorted, but long ones are best.
And some pretty beads ($4).
Put a bead on a headpin.
Grab the headpin with the round-nosed pliers close to the bead, but not touching.
Fold the wire over the top of the headpin.
Take off the pliers, and string the headpin onto one end of the chain. Grab the whole thing with the pliers, keeping the chain at the top and out of the way.
Keeping the chain in that top loop, use the length of the headpin to wrap it around the headpin base at least once, tightly and as close to the bead as possible. Having a nice long headpin makes this easy to do with one hands, while gripping the loop with the pliers in the other hand.
Clip off the end of the headpin. Probably even closer than I did in this picture.
Use your pliers to tuck and squeeze the sharp end of the wire in. Trim the chain to about 1.5″. Repeat this process, trimming the chains to 1″ and .5″.
Open a jump ring like we did for the last projects. String on the earring hook and the 3 chains, then close the jump ring. First earring finished!
Make your second earring the same way, but instead of measuring your chain with a ruler, hold it up against the finished earring to know how long to cut the chain. This will keep the two earrings more symmetrical.
Yay! A finished set of earrings! And you have enough materials left over to make a second pair… and a third…

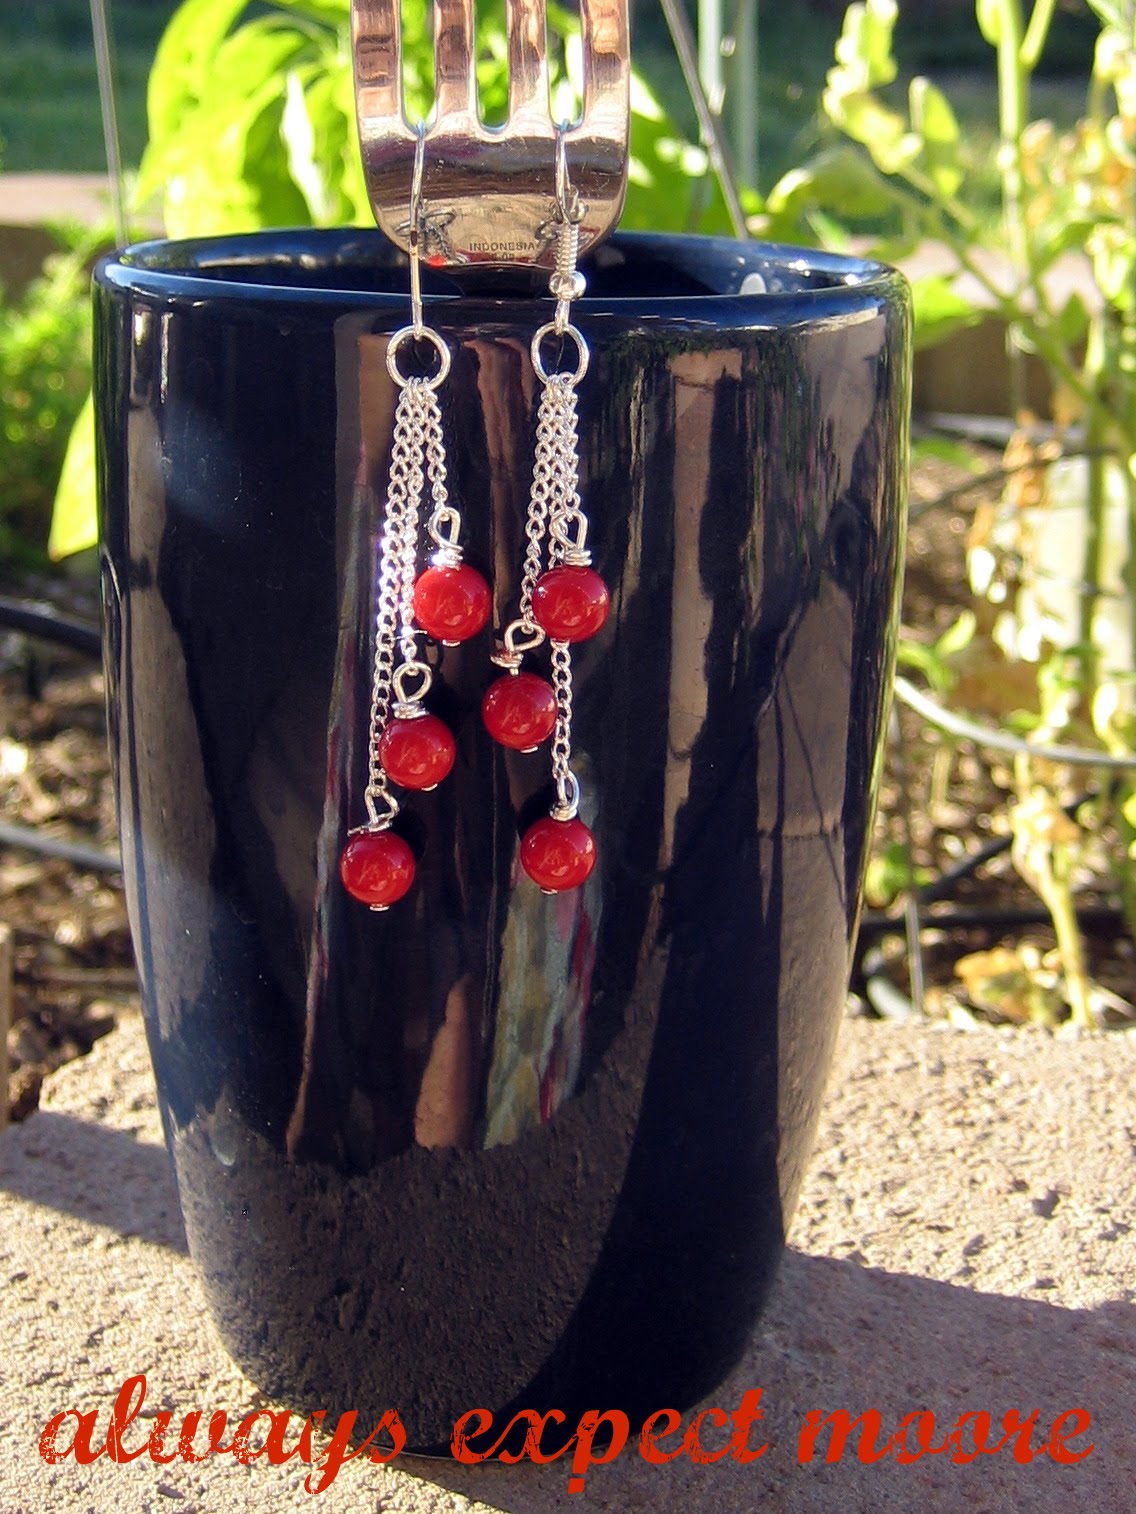
I hope you enjoy making your own jewelry. If you find that you really enjoy the creating (and the savings) that come from making these for yourself and friends… there are lots of other blogs and websites that will show you oodles of other techniques!

Happy Crafting!
Always,

posted in: Uncategorized

Previous
A break from the norm, Relay for Life
Next
Pumpkin Week

Reader Interactions

    Leave A Reply! Cancel reply

    Share your thoughts!
    Your email address will not be published. Required fields are marked with *

    This site uses Akismet to reduce spam. Learn how your comment data is processed.

    Comments & Reviews

  1. Madigan at madiganmade says

    September 30, 2010

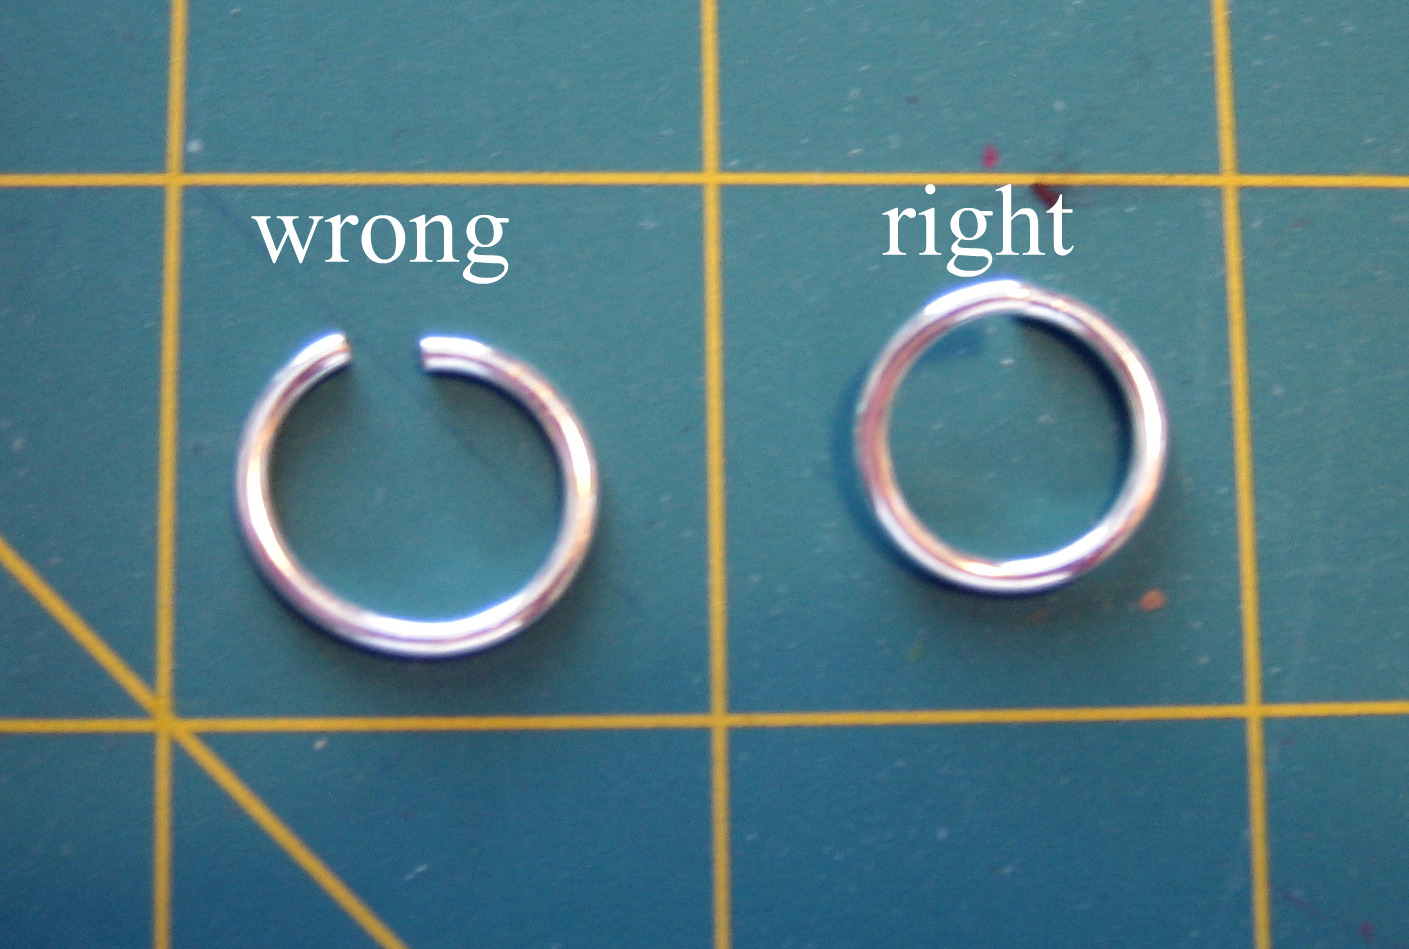
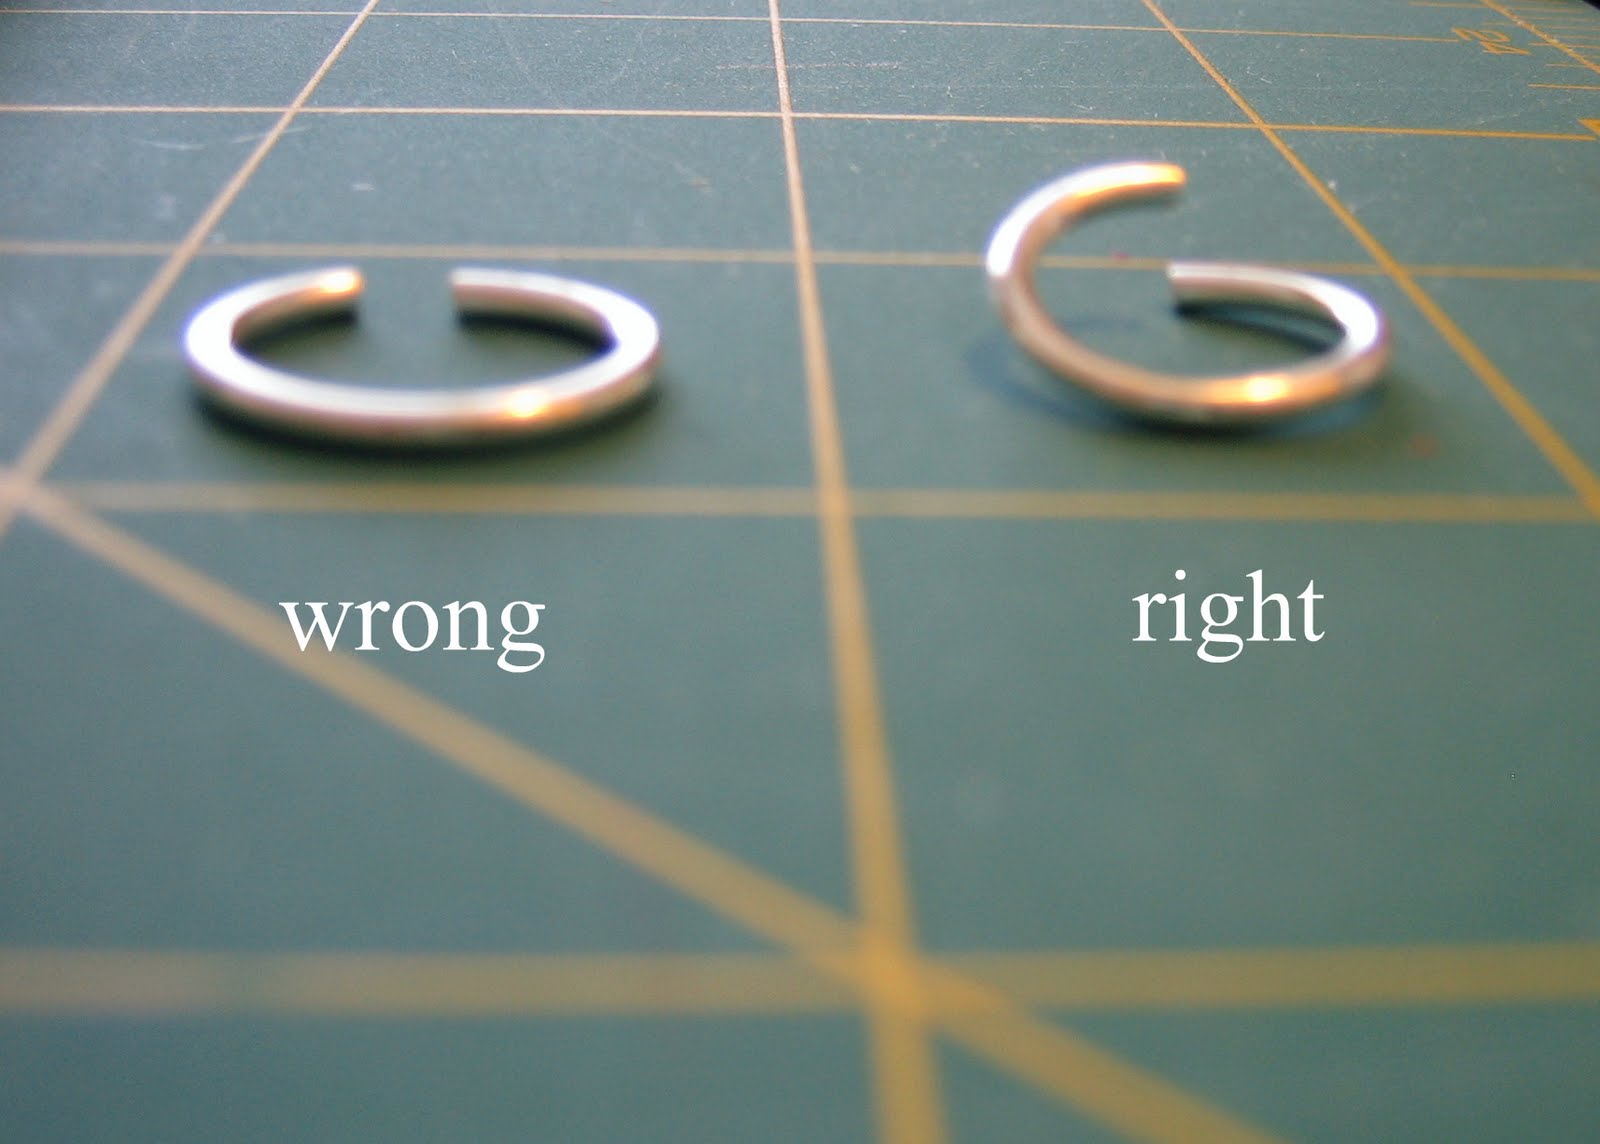
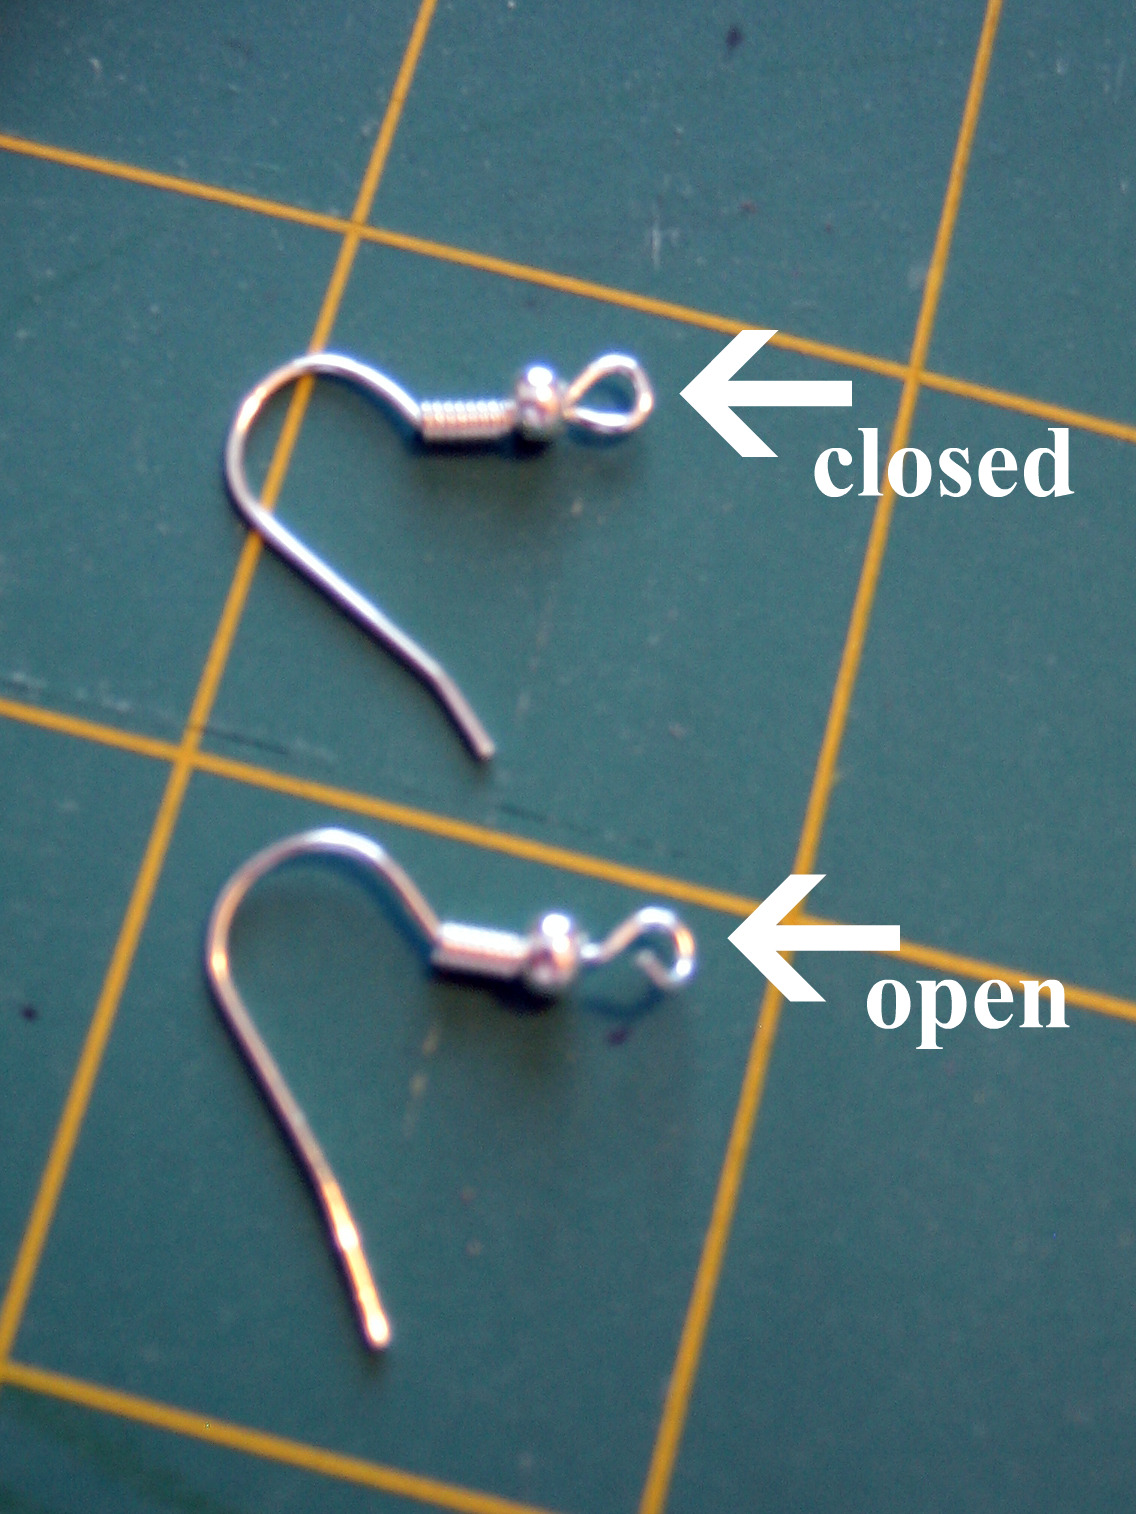
    This is a great tutorial. I especially like the pics of the open jump rings.

    Reply
  2. Erin says

    October 1, 2010

    One of my favorite guest posts! I still need to get myself to a craft store!

    Reply

Primary Sidebar

Hi, I'm Carolina!

I’m a Quilt Pattern Designer, Award Winning Quilter, and fan of all things quilting. I live in San Diego with my husband, our two boys and our pets. I love keeping both my hands and mind busy, so I’m always working on lots of projects. You’ll find lots of them shared here!

More About Me

Let's Keep In Touch!

I'll let you know about what's new in quilting, freebies you'll want to snag, and brighten your inbox about once a week!

subscribe
90% Faster Than Rotary Cutters

Fat Quarter Shop Quilting Fabrics and Supplies

Instagram Facebook Pinterest YouTube

Recent Posts

  • Flying Pig Quilt Block
  • Bunny and Carrot Quilt Block
  • Free Fancy Drink Quilt Block
  • Dutch Row Houses Quilt Block
  • Quilted Sports Jersey Numbers

Archives

Featured Projects

  • Everything you want to know about Pre Cut Fabrics!
  • Scrappy Placemat - easy to make scrap project
    Scrappy Placemat using Strips and Scrap Tape
  • Sewing Kaleidoscope SVG File
  • Drawstring Backpack
  • Carolina holding fabric marking pens
    Choosing Fabric Marking Pens

Let's Keep In Touch!

Brighten your inbox about once a week!

Always Expect Moore Submark Shop Patterns

Browse

  • Ruler of the Month
  • Quilty5k
  • QuiltMath
  • Cricut Maker BOTW

Shop

  • Digital Download Patterns
  • Quilting Notions
  • Quilt Stickers
  • Quilt Tees

Connect

  • YouTube
  • Instagram
  • Facebook Group
  • TikTok
©2025, Always Expect Moore. All Rights Reserved. About Disclosures
Back To Top
Design by Pixel Me Designs
×

Let's Keep In Touch!

I'll let you know about what's new in quilting, freebies you'll want to snag, and brighten your inbox about once a week!