I’ll admit.. It has been a long time sine I’ve done any Tie Dye. The last time was in Girl Scouts, and involved large vats of dye… and plenty of adult supervision. I decided to try out some traditional Tie Dye methods to dye the fabric for this Tie Dye Sampler Quilt… check back tomorrow for a fun non-traditional project!
I was super excited to try out this new tie dye from Tulip. No giant vats, no worrying about water temperature – just add water to the fill line of the bottle, shake until the powder is dissolved, and start squirting! All the techniques I used for the blocks and backing (excluding the heart) are outlined in the package insert.
Along with my tie dye kit, I picked up a bottle of Tie Dye Resist, and some craft aprons (so that the dye didn’t travel to my clothes).
To make the quilt I bought 5 yards of plain white flannel. Flannel is 100% cotton, so would accept the dye well. I wanted a nice, soft, fuzzy quilt – the flannel was perfect for that. And, sweet serendipity, it was on sale!
I washed the whole 5 yard piece of fabric, and ran it through the dryer. Pre-washing fabrics is important in dying, because it removes any sizing or chemicals that might interfere with the dye. In this case, it also helped take any “shrink” out of the fabric so that the quilt does not pucker up as much in future washings.
After taking the fabric out of the dryer, I cut it up. I cut a large, 65″ x WOF piece for the quilt back. I then cut 4 – 15″ strips, which I sub-cut to get 3 – 15″ squares out of each strip for a total of 12 squares. The 15″ squares would later be cut down into 12.5″ squares to make 12″ finished blocks. The remaining fabric I kept for my binding.
Because these fabric squares are going to be washed later, it is a good idea to either cut them with a pinking blade or trim them with pinking shears at this point. This will prevent extreme fraying in the wash. The extra inches on the fabric squares are to account for the inevitable fraying that happens when washing fabric… but pinking the edges will also help prevent all those threads and strings from becoming a tangled mess in the wash. I neglected this step, and though my fabric wasn’t any worse for the wear, I did spend an extra 20 minutes cutting threads and de-tangling a jumbled mess after the next washing.
Once the fabric was cut – it was time to dye! I started with the resist. Quilts need quilt labels, so I thought it would be fun to dye the “label” right into the fabric! I wrote “Made for Logan” on the back of the quilt back.
While the resist was drying, I prepared my quilt square fabric. Rather than make 12 completely different blocks, I used 2 stacked pieces of fabric for each different method, so that each block would have a mate. I did 3 spiral method block sets, and 3 bulls-eye method block sets. The rubber bands come in the kit. On the left, you can see the detailed insert that shows how to create the different designs.
On my thoroughly covered surface, I applied the dye to both sides of the fabric.
I wanted a stripey binding (love striped bindings!) on my quilt, so I used the accordion-fold method to make the binding.
I had some leftover rectangular bits of fabric from cutting the squares, and I used a couple of these to pick up the drips of dye. I just put the fabric down on the drop cloth and let it absorb the dye drips, then picked up the fabric and moved it to another spot, and another, until I had absorbed all the extra dye. This pick-up-put-down created pretty splotches, rather than smears. I then sprayed the dry, dyed fabric with water so that the splotches would blend. This will be used in tomorrow’s project.
Now that I had all my blocks done, it was time to dye the backing. I used this video to learn how to dye a heart, and created a heart around my resist on the backing fabric.
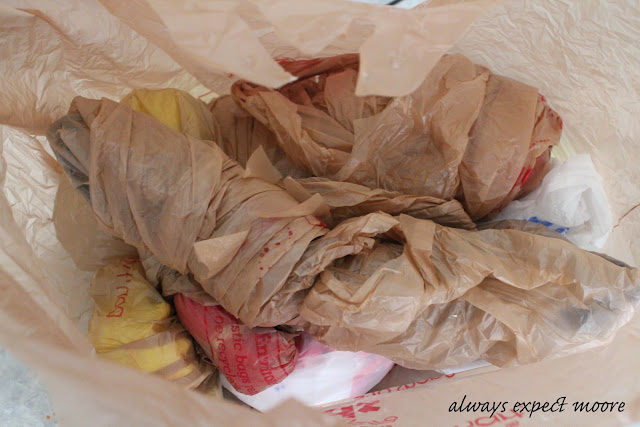
I covered the heart in a plastic bag to protect it from the blue dye, and then used the crumple method to dye the rest of the backing fabric.


Comments & Reviews
How large is your quilt at the end? It looks great! Can’t wait to start my own