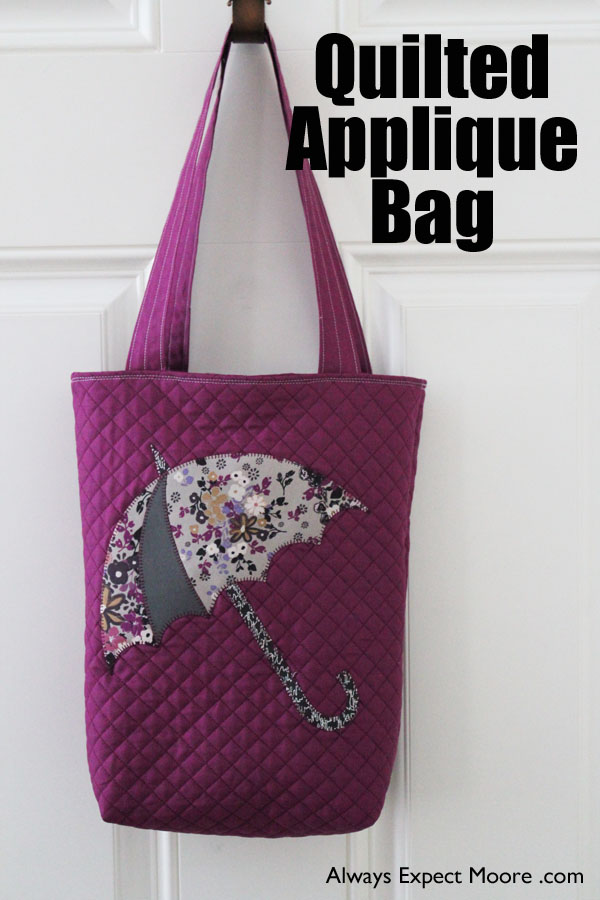
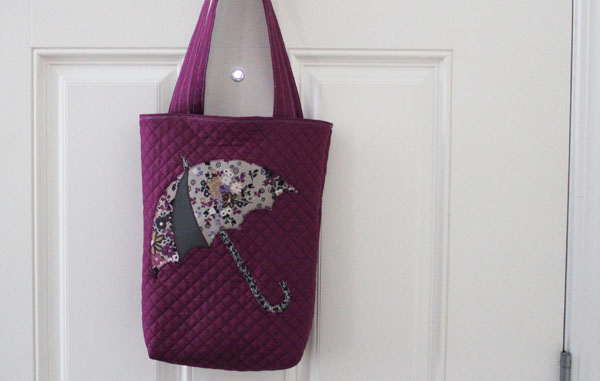
This Appliqued tote is simple to make, and makes a great gift. You can applique any design you like onto the front, quilt it however you like, and customize it for the recipient. I appliqued an umbrella on this tote, but you could just as easily applique their first initial in their favorite color. Or forget about customizing this applique tote bag for someone else – make it for yourself!
I’m sharing this project as part of a week-long series. Each day this week I’ll share a fun handmade project that makes a great gift… and I’ll be sharing projects from around the web. Together with my friend Niki from 365 Days of Crafts, and our creative friends, we’ll be sharing over 99 Handmade Holiday gifts this week!
Let me show you how easy it is to create this tote!
Supplies:
1 1/4 yards of fabric
1 yard fusible fleece
scraps of fabric for applique
fusible adhesive (I used Heat n Bond Lite)
basting spray
Accuquilt Umbrella Applique Die (optional)
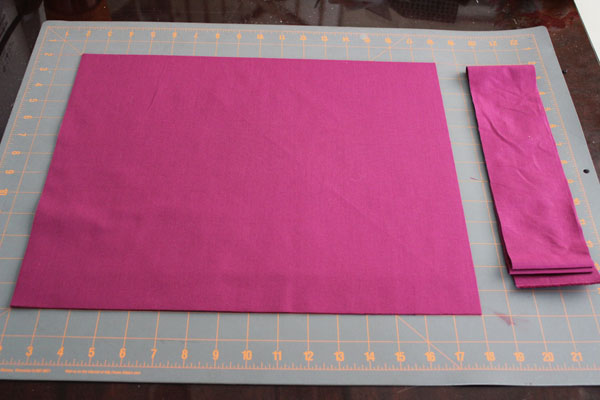
Cut 4 pieces 17″x13″.
Cut 2 pieces each 3″ wide by Width of Fabric
Cut 2 pieces of fusible fleece, each 17″x13″.
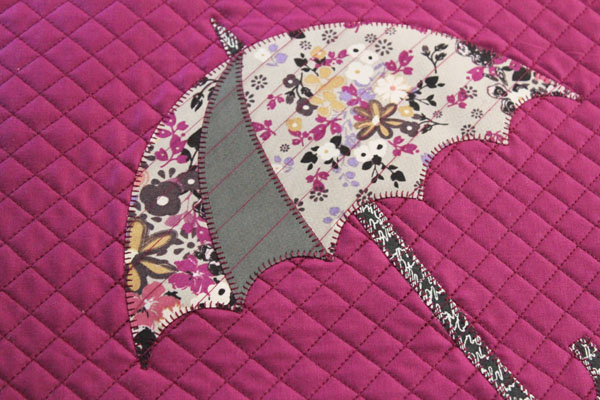
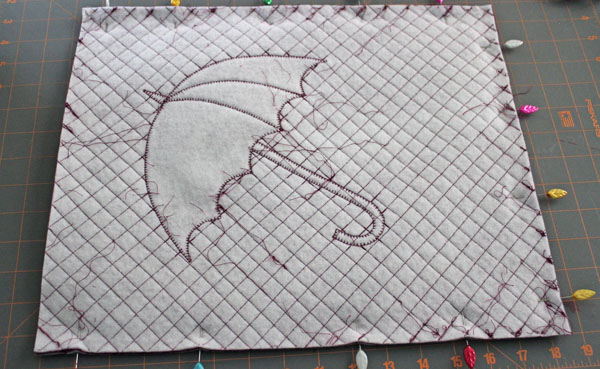
Fuse the fusible adhesive to the back of the fabric scraps, and cut out your applique. I used the Accuquilt GO! to cut mine, but you can use whatever method you like.
Select two of the 17″ x 13″ pieces to be the outside. Set the rest of the fabric aside. Fuse the fusible fleece to the back of each rectangle. Fuse the applique to the front of one. Center left-to-right. Do not center top-to-bottom. Leave about twice as much space under the applique as above the applique.

Quilt the front and back pieces. I did simple cross-hatch quilting.
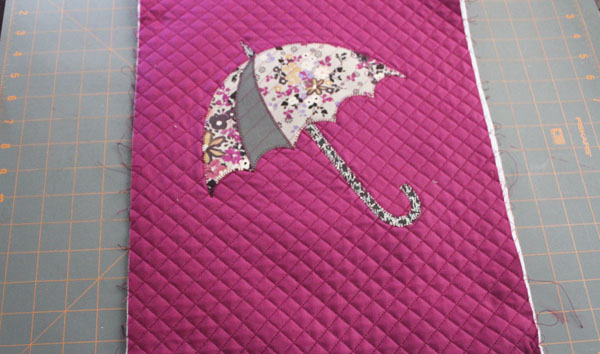
To make the applique stand out, don’t quilt over the applique.
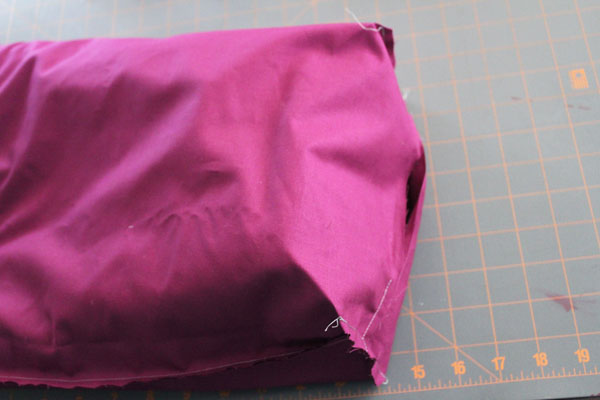
Place your front and back right-sides-together. Stitch around the sides and bottom.
Box the corners by marking 2″ in from each bottom corner, stitch across, then cut away the excess.

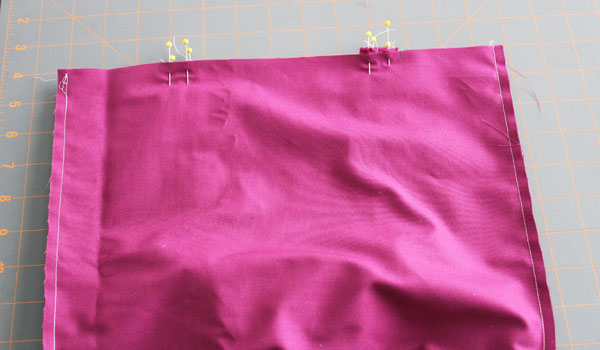
Using the two pieces reserved for the lining, stitch around the sides and bottom, leaving a 6″ hole along the bottom seam for turning later. Then box the corners exactly as you did in the last step.
Make the handles by folding the two long strips in half, then stitching all the way down to make tubes. Turn the tubes right-sides-out to hide the seams on the inside. Stitch the handles in three places to secure – 1/8″ from each side, and down the middle. Trim the handles to your desired length.
On the lining, mark 4″ in from each seam on each side. Use these marks to pin the handles in place.
Open up the lining. Turn the outside right-side-out, then insert into the lining.
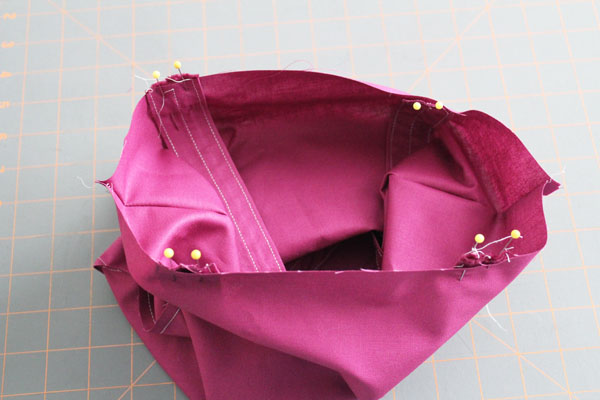
Pin the layers together all the way around the top. Stitch all the way around.
Turn right side out using the hole left in the bottom of the lining. Hand-stitch the lining closed.
Machine stitch 1/8″ from the top edge, all the way around. Your bag is complete!
Check out these other fun projects, and enter the giveaway below!
