• Skip to primary navigation
  • Skip to main content
  • Skip to primary sidebar
Home About Subscribe Summer Sew Camp Disclosures

Always Expect Moore

Quilts & Pattern Design

  • Cricut Maker BOTW
  • Quilty5k
  • Gallery Wall QAL
  • Trunk Show
  • Guild Resources
  • Pattern Shop
  • Free Patterns
Home About Subscribe Summer Sew Camp Disclosures
  • Cricut Maker BOTW
  • Quilty5k
  • Gallery Wall QAL
  • Trunk Show
  • Guild Resources
  • Pattern Shop
  • Free Patterns
Home » Blog » Craft Tutorials » Carved Styrofoam Pumpkin

Carved Styrofoam Pumpkin

Created On: October 10, 2013  |  Updated: October 13, 2013  |   1 Comment

Styrofoam Pumpkin

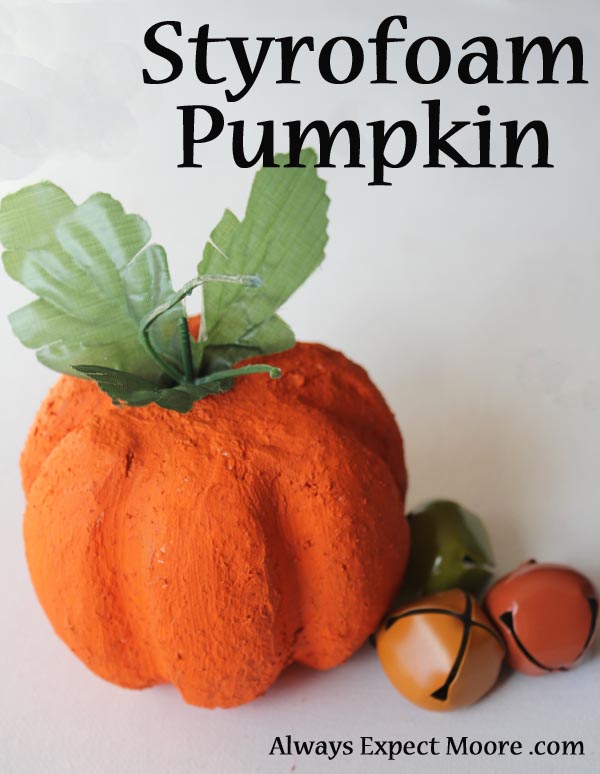
Between Halloween and Fall Decor, you can’t really have too many pumpkins… I thought I would carve up a styrofoam pumpkin to use as part of my decor. It was fairly simple to do…

To carve your own styrofoam pumpkin, you’ll need:
Styrofoam ball
Styrofoam Cutter
Styrofoam carving tools
Smooth Finish
Sponge & Water
Paint
Leaves from the floral dept.

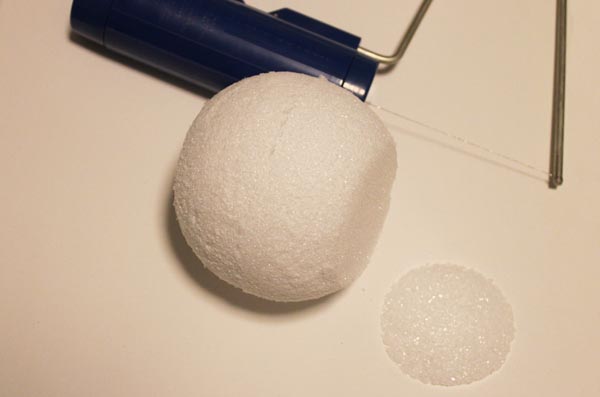
Start by cutting the top and bottom off of the styrofoam ball. This gives it a steady base.

cut off base

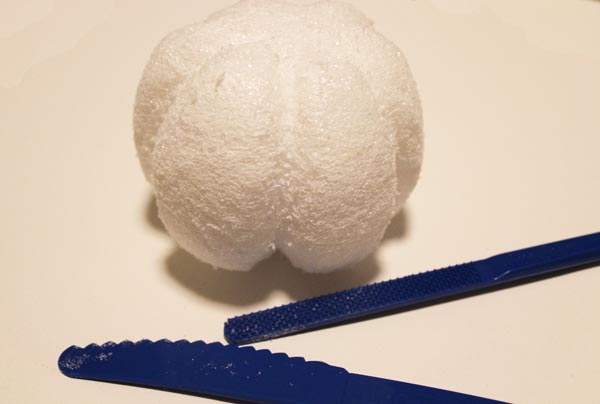
Cut six small wedges out of the curved sides of the styrofoam ball.

cut in wedges

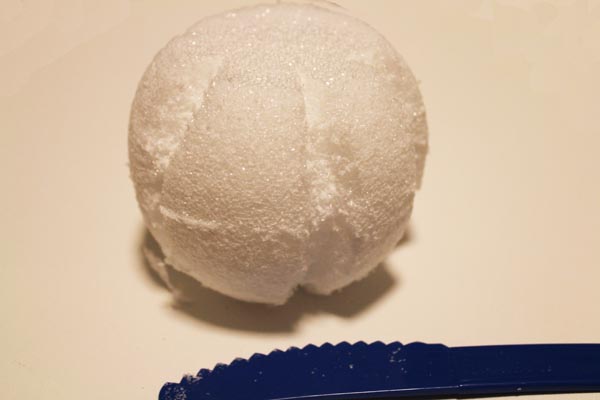
Use the styrofoam carving tools to smooth out the edges.

carve foam pumpkin

Open up your Smooth Finish and spread it into the crannies of the styrofoam. Get it as smooth as you like.

smooth finish spread on foam

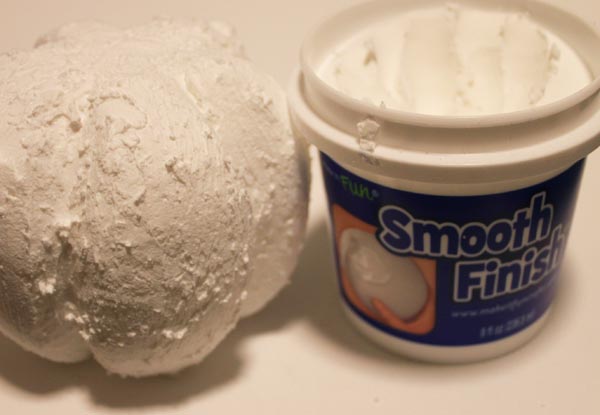
You can use a damp sponge to smooth out the Smooth Finish. I smoothed mine out a little bit, but I wanted to keep some texture.

I let the pumpkin dry. Overnight is fine, but I ended up letting it dry for a few days.

smooth finish covered pumpkin

I could sand the pumpkin down a little at this point if I didn’t like the texture, but I really did like the texture.

paint pumpkin

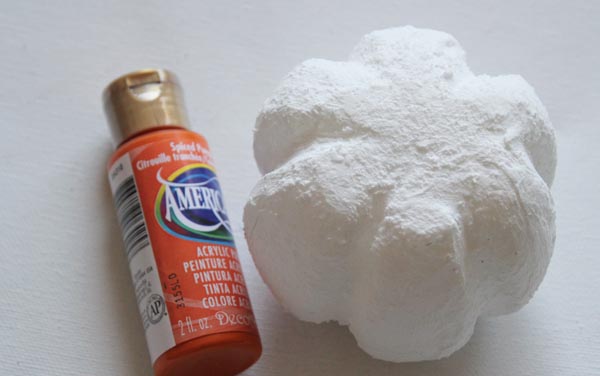
I got out my Multi-surface paint (the color is spiced pumpkin), and painted the whole thing. It only took one coat to paint.

Finished Styrofoam Pumpkin

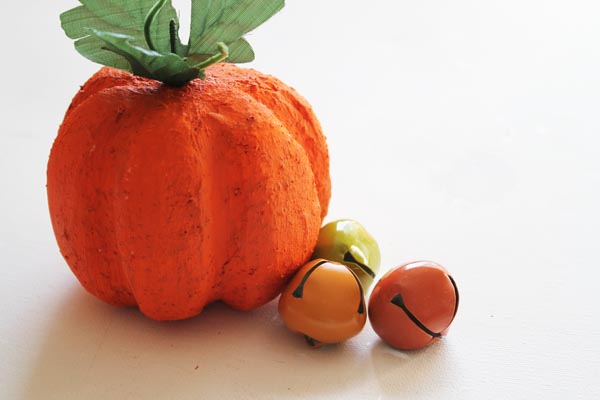
After the paint dried, I stuck a faux leaf and stem from the floral section into the top of the pumpkin, and it was all done!

posted in: Craft Tutorials

Previous
Five Year Finish
Next
Catbearding and other kitty love… (like cat litter)

Reader Interactions

Primary Sidebar

Hi, I'm Carolina!

I’m a Quilt Pattern Designer, Award Winning Quilter, and fan of all things quilting. I live in San Diego with my husband, our two boys and our pets. I love keeping both my hands and mind busy, so I’m always working on lots of projects. You’ll find lots of them shared here!

More About Me

Let's Keep In Touch!

I'll let you know about what's new in quilting, freebies you'll want to snag, and brighten your inbox about once a week!

subscribe
90% Faster Than Rotary Cutters

Fat Quarter Shop Quilting Fabrics and Supplies

Instagram Facebook Pinterest YouTube

Recent Posts

  • Flying Pig Quilt Block
  • Bunny and Carrot Quilt Block
  • Free Fancy Drink Quilt Block
  • Dutch Row Houses Quilt Block
  • Quilted Sports Jersey Numbers

Archives

Featured Projects

  • Everything you want to know about Pre Cut Fabrics!
  • Scrappy Placemat - easy to make scrap project
    Scrappy Placemat using Strips and Scrap Tape
  • Sewing Kaleidoscope SVG File
  • Drawstring Backpack
  • Carolina holding fabric marking pens
    Choosing Fabric Marking Pens

Let's Keep In Touch!

Brighten your inbox about once a week!

Always Expect Moore Submark Shop Patterns

Browse

  • Ruler of the Month
  • Quilty5k
  • QuiltMath
  • Cricut Maker BOTW

Shop

  • Digital Download Patterns
  • Quilting Notions
  • Quilt Stickers
  • Quilt Tees

Connect

  • YouTube
  • Instagram
  • Facebook Group
  • TikTok
©2025, Always Expect Moore. All Rights Reserved. About Disclosures
Back To Top
Design by Pixel Me Designs
×

Let's Keep In Touch!

I'll let you know about what's new in quilting, freebies you'll want to snag, and brighten your inbox about once a week!