Last weekend, I took a class on hand-dye techniques. Specifically, Shibori techniques. Shibori is a term that covers a ton of different resist techniques to create different dye patterns. We folded, twisted, wrapped, rubber-banded, squished, stitched, and more to create different designs on the fabric. I had a blast. Here are the different fabrics I created in the class, and the night after the class.
This triangle design was one of the favorites among the students in the class. I’ll be honest and say it was one of my least favorite. I think there isn’t a whole lot of variety in the look from one student to the next… they all look very similar to me. Even so, it is a very cool look. And you know if this was one of my least favorite, the rest are going to be pretty awesome, right?
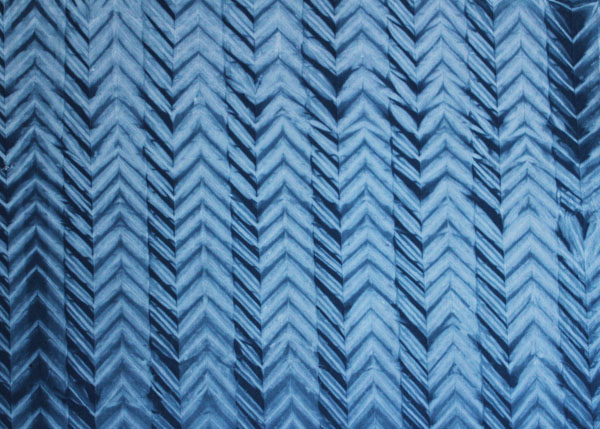
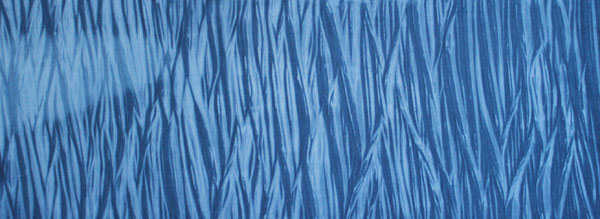
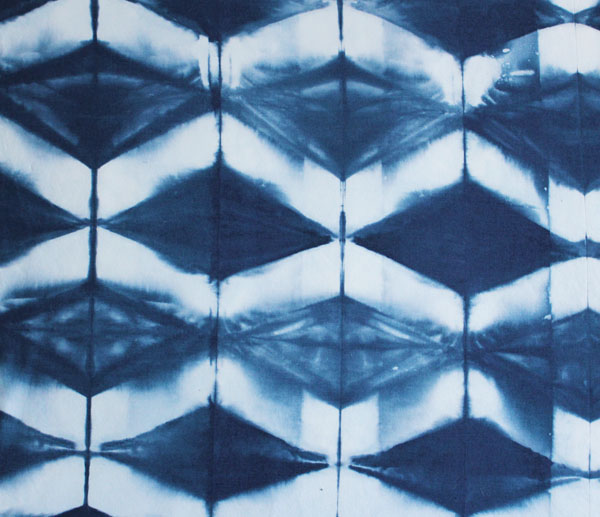
This is one of my favorites. A herringbone pattern created by carefully pleating the fabric, and then pole-wrapping and scrunching the fabric. It is fairly labor-intensive, but the result is so cool!
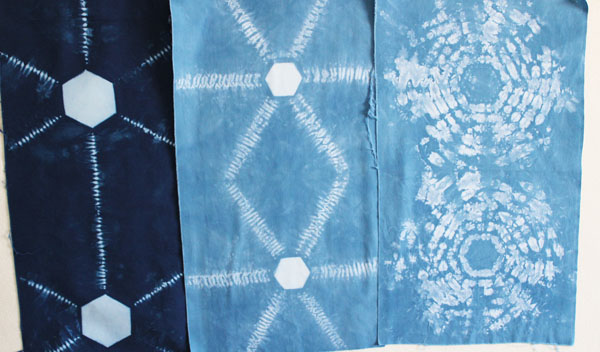
These three hexagon fabrics were fun to create. The dark one on the left was done in class. the other two I did at home after rinsing out the first. they were only in the dye for about an hour, which explains why they are so much lighter.
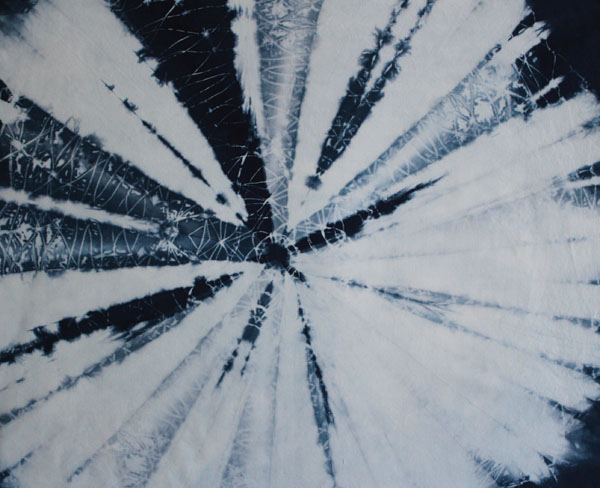
This one was the most surprising of all the pieces. I absolutely love how it turned out. wrapped tightly in rubber bands, this was one of the first pieces we made in class, and it sat in the dye for most of the day before being washed out. All the contrast is awesome!
When I first unwrapped this piece, I was disappointed. I was expecting something much different. But as I looked at it, it really grew on me. So many different areas of interest.

I did this piece in a rush. Accordion folded, and wrapped in rubber bands, I spent about 2 minutes on this piece of fabric before dying it. An awesome 2 minutes. I love how it turned out!

The next piece was stitched into a sleeve to fit snugly on a pipe, then squished down tightly. You’ll notice a light area on the left hand side – that is where the fabric wasn’t fully immersed in the dye. It all turned out pretty amazing, though!
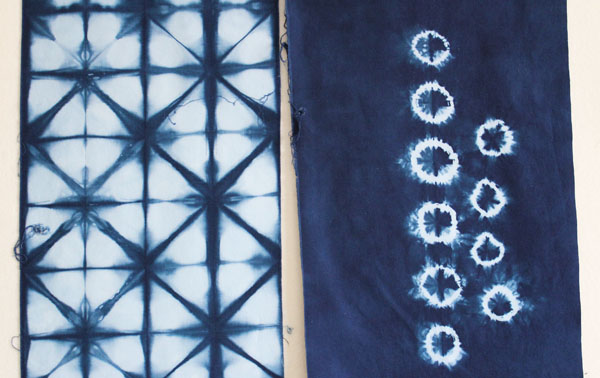
The piece on the left is another triangle fabric, done similarly to the first piece. As you can see – they are very similar. The piece on the right was wrapped in sinew to make the circles.
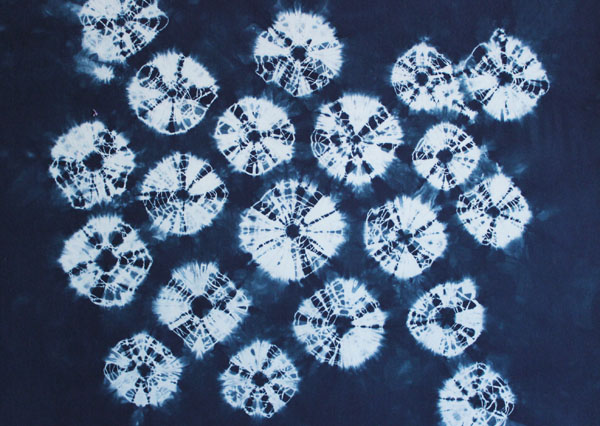
These little spider webs were made the same way the large spider web was made, just lots and lots of them, and smaller. Still lots of great contrast. I love these mini spiderwebs – they look a lot like stars, or fireworks.
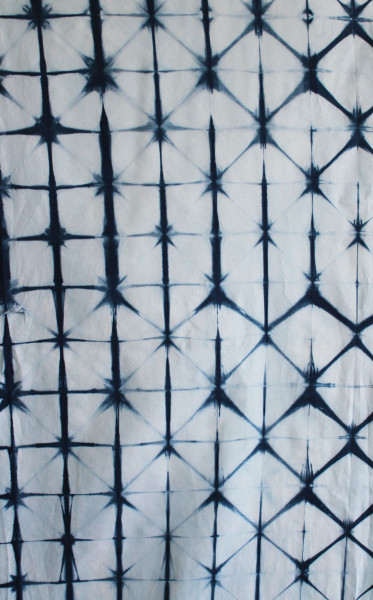
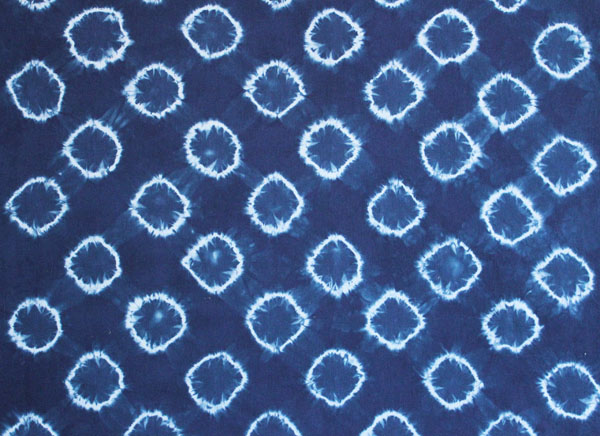
This piece was made by marking dots on my fabric, then wrapping a small pebble at each mark. Organic, yet organized.
This piece took the most time of any of the techniques. Lots and lots of stitching made this design. I only wish I had left it in the dye twice as long to get darker colors.

Wood resist was a technique I was looking forward to learning in class. This piece was created by clamping wood shims in place. Another simple technique, and I love the variety in the results. Each student that shared theirs in class had a slightly different look to their fabric.
I absolutely loved learning all the different techniques in the class – my next step is to cut up these fabrics, and turn them into a sampler quilt!

Leave A Reply!