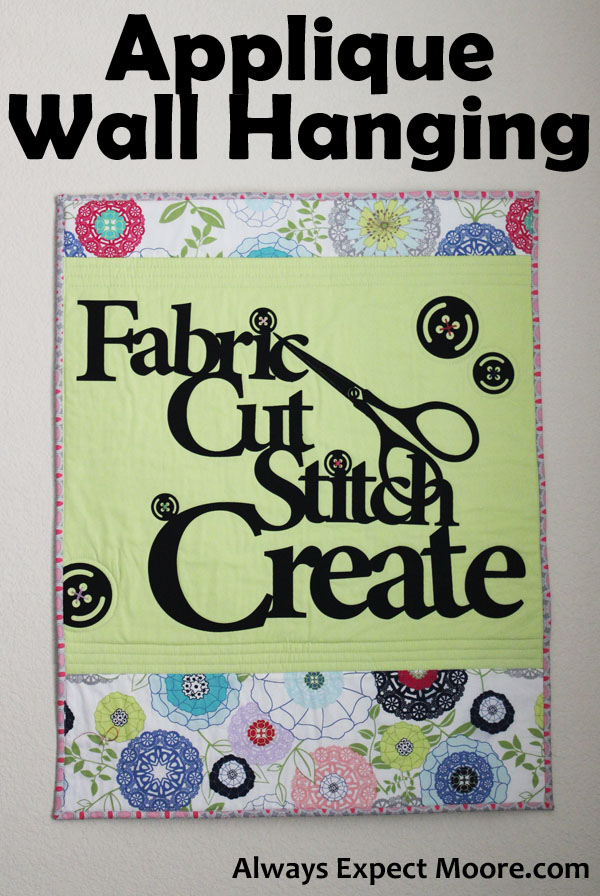
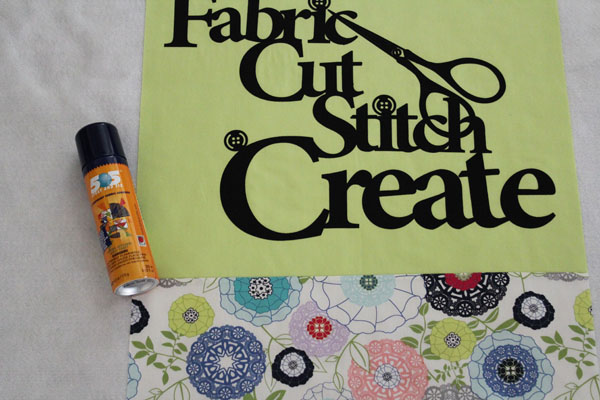
I’m sure you’re wondering what a Laser Cut Fusible Applique is! A Laser Cut machine is like a printer, but instead of printing, it uses a laser to cut shapes out of different objects, including fabric. It is doing amazing things in the fabric world – including allowing us to laser cut intricate applique shapes with the fusible already adhered to the back! Nancy Zieman has created a whole line of these appliques with fun words on them. When she approached me to share them with you, I jumped up and down and said YES! There are quite a few Laser Cut Appliques to choose from, I chose the “Fabric Stitch Sew Create” with the buttons. The “Sew” with the tomato pincushion outline was a really close second, though!
The applique looks like this in the package. They are made of black fabric, and the back has the fusible attached, and a paper backing.
Before removing the paper backing, I unfolded the applique and gave it a light press to get out the creases. This helps it lie flat when I place it later.
Then I started auditioning different fabrics from my stash. I ended up choosing these fun prints and solid from Art Gallery Fabrics.

To make your own laser cut fusible applique wall hanging, you’ll need:
Laser Cut Fusible Applique from Nancy Zieman
Scissors
3 Fat Quarters for the front
Rotary Cutter, Ruler, and Mat
1/2 yard fabric for the back
505 or your favorite basting spray
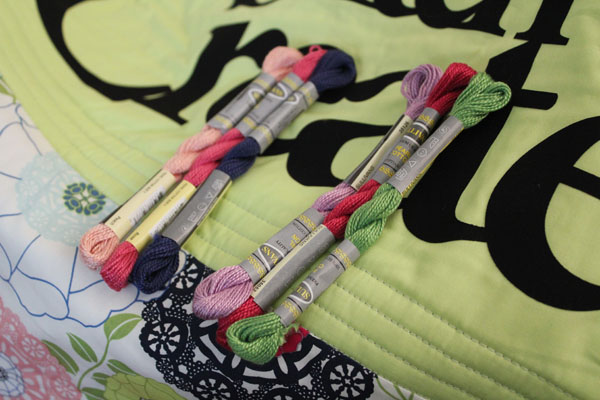
#5 Pearl Cotton in coordinating colors (or Embroidery Floss)
Needle
Before taking off the paper backing and fusing the applique, I cut the support pieces from the applique. Look carefully! There are three. Once you fuse the applique down it will be permanent, so you want to make sure you cut them all out.
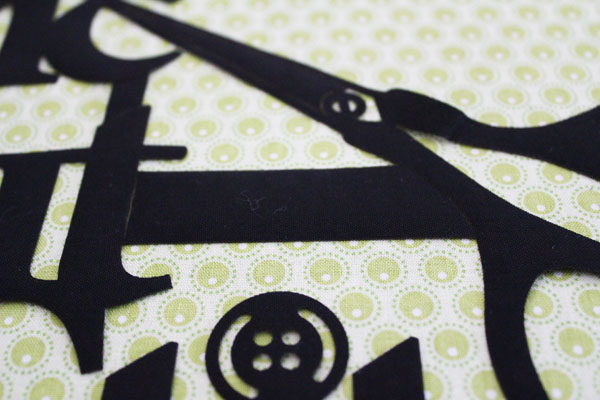
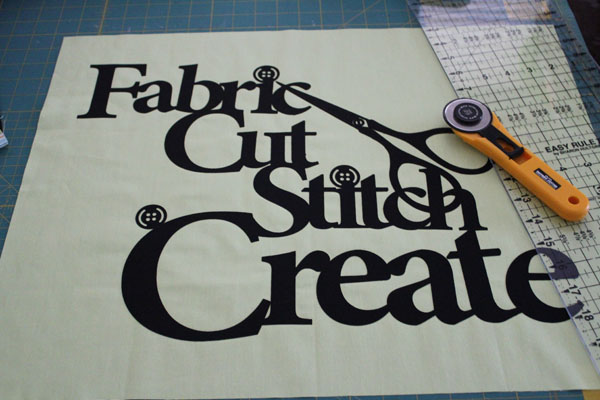
I carefully removed the backing paper and fused the applique to my solid background fabric. The applique is fairly detailed, so as I auditioned fabrics, I found that it looked best on a solid color or a small print.
After fusing the applique to my fat quarter, I trimmed it down. Trimming my fabric after pressing down the applique helped me get the perfect positioning, and I didn’t have to worry about the applique shifting as I secured it.
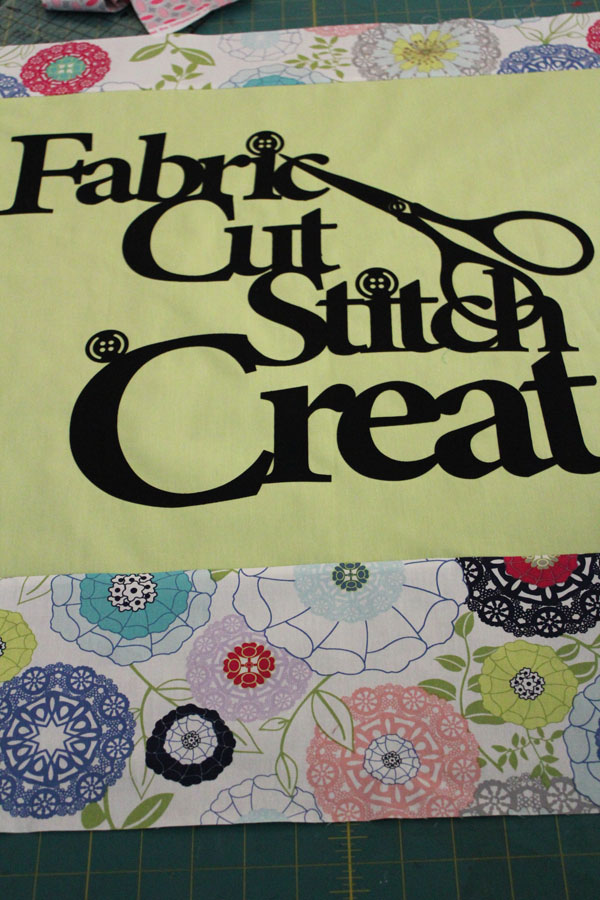
I added a 4 ” strip of my large print to the top and a 6″ strip to the bottom of my wall hanging.
I prefer to spray baste (rather than pin baste), especially on small projects like this one, so I used my basting spray to put together my quilt sandwich – backing fabric on the bottom, right side down, then batting, then the applique top. I trimmed it down, leaving a few inches on all sides, and added some quilting.
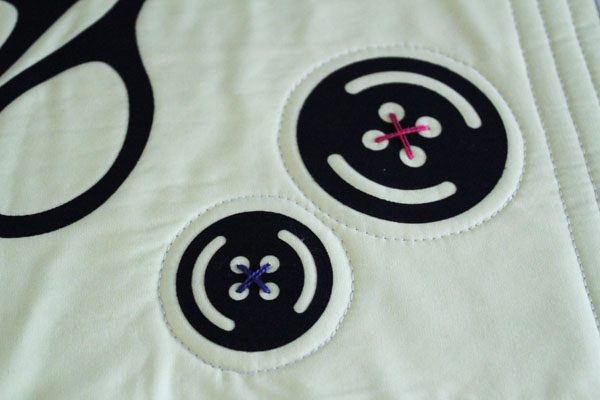
I wanted to add a little more fun, so I ironed on a few of the applique button shapes that came with the applique, and quilted around them. I picked out Pearl Cotton that coordinated with my print, and added stitching to the buttons.
The thread was tied off on the back of the wall hanging. I tried tying it on the front, but it looked to messy for me, tying it on the back looked cleaner
All that was left was to bind the quilted wall hanging, and I was all done! I used 2″ binding that I applied by machine, but you can bind your wall hanging in whatever way you’re most comfortable.
These laser cut appliques are so simple to use, and since I put mine on a wall hanging that isn’t going to get washed or see much wear, I didn’t have to worry about stitching it down. The applique will stay permanently after fusing it with the heat from my iron!
I’m just one of the bloggers sharing fun projects made with these appliques – check out Nancy Zieman’s Blog all week for more fun ideas!

Comments & Reviews
This is so beautiful, Carolina! I am impressed with how crisp everything is!
What a fantastic idea and your wall hanging turned out great!
We have always loved Nancy Zieman.
I am still a very old school crafter, but I may need to get some “new” technology!
That is really cute. Thanks for sharing.
Love the added dimension..gives me new ideas. Thanx.
Love the fabric choices! Really adorable wall hanging. Thanks!
Such a neat product, and I love how you used it for such a pretty wall hanging!
Love your blog and hints
That is SO awesome!! I hadn’t seen or heard of this…headed over to check it out…oh the possibilities!!
This is super cool and I love the added touch of the embroidery floss!
Cute tutorial..thanks for sharing
great blog…I’m hooked.