• Skip to primary navigation
  • Skip to main content
  • Skip to primary sidebar
Home About Subscribe Summer Sew Camp Disclosures

Always Expect Moore

Quilts & Pattern Design

  • Cricut Maker BOTW
  • Quilty5k
  • Gallery Wall QAL
  • Trunk Show
  • Guild Resources
  • Pattern Shop
  • Free Patterns
Home About Subscribe Summer Sew Camp Disclosures
  • Cricut Maker BOTW
  • Quilty5k
  • Gallery Wall QAL
  • Trunk Show
  • Guild Resources
  • Pattern Shop
  • Free Patterns
Home » Blog » Craft Tutorials » Rit Dye Pearl Necklace

Rit Dye Pearl Necklace

Created On: April 29, 2014  |  Updated: April 29, 2014  |   2 Comments

Rit Dye has compensated me for this post.

DIY Faux pearl necklace with dyed wood beads

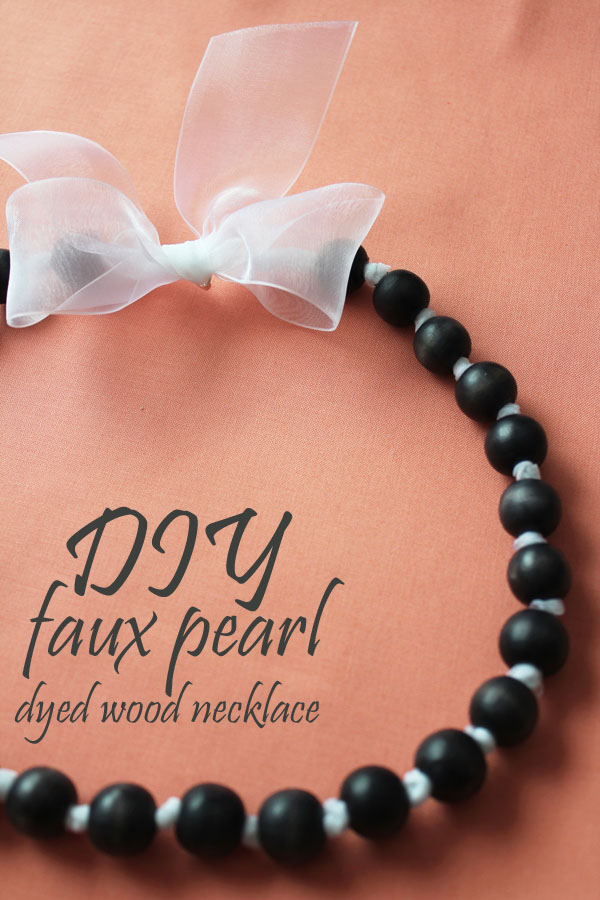
When the folks at Rit Dye contacted me to come up with a project using their new Pearl Grey dye, I knew I wanted to make a pearl necklace! I love the look of dark pearls, and an homage to real pearls made out of dyed wooden beads would perfect.

The challenge I had to overcome was that dyed wood takes on a very flat look, and pearls are not. They have a luster that comes from inside the pearl itself – and I found a way to replicate that look with wood! Check out how these Rit dyed pearl beads are made.

To make the necklace you will need:
RIT Dye
HOT water
Small containers
Large Wooden Beads
Ribbon
Wooden Skewers
Darice Americana Decor Wax
Paintbrush
Soft Cloth (I often use an old sock)
Jewelry Clasps and Jump Rings
Krazy Glue

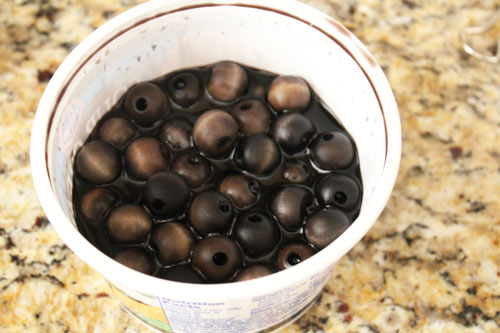
Put the hot (almost boiling) water in the small containers, and add a little of the Rit Pearl Grey dye. With this color – a little goes a long way! Mix, then add your wooden beads.

dye the beads pearl grey with Rit

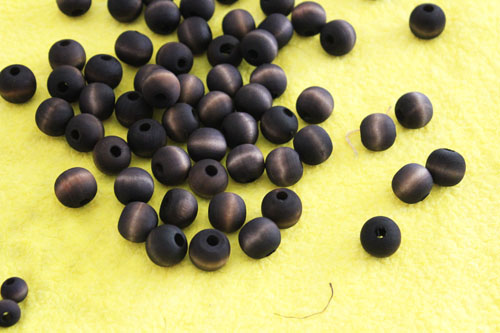
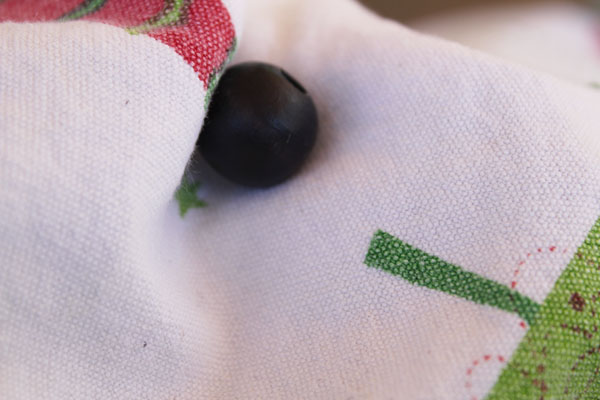
Once the beads are your desired color, rinse them until the water runs clear, then lay them on a towel to dry overnight. The beads will have a stripe through the middle, as a result of the grain of the wood absorbing the dye. Don’t worry about this – it will virtually disappear by the end of the project!

allow beads to dry

Time to wax the beads! Pour a small amount of wax into a disposable container. Add a dash of dye and stir to mix.

add dye

Using a paintbrush, paint each bead with the dye-wax mix. I found the best way to do this was to thread them onto skewers and paint several at a time.

paint wax onto beads

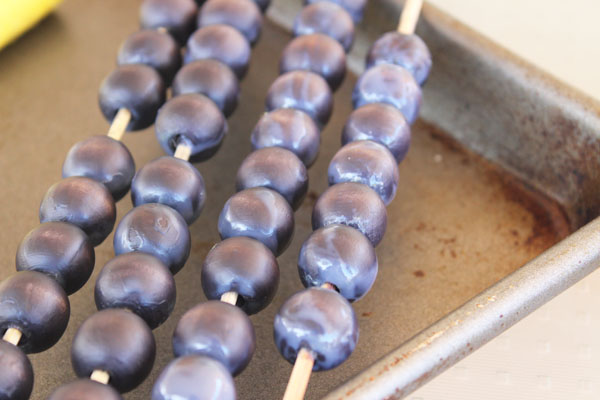
Paint on three coats of the dyed wax, allowing it to dry for a few minutes between each coat. Then let the beads dry completely.

Time to bring out the shine! Using a soft cloth (I used an old tea towel), buff each bead until it glows.

buff beads

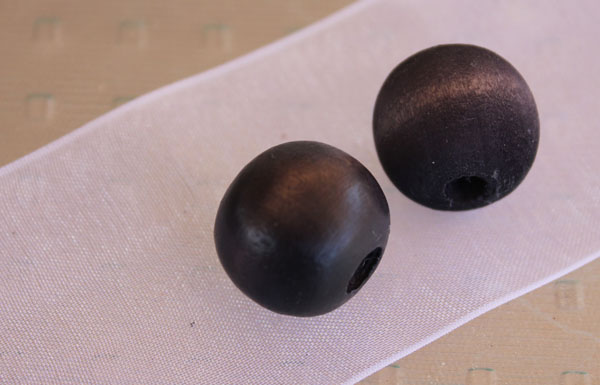
Here you can see the difference. The bead on the left has been waxed and buffed. The bead on the right has only been dyed.

buffed bead vs non waxed bead


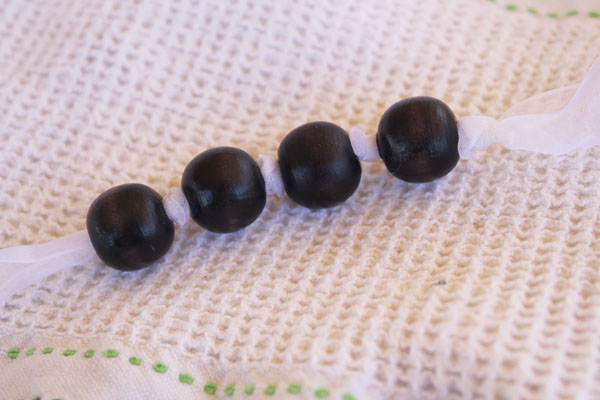
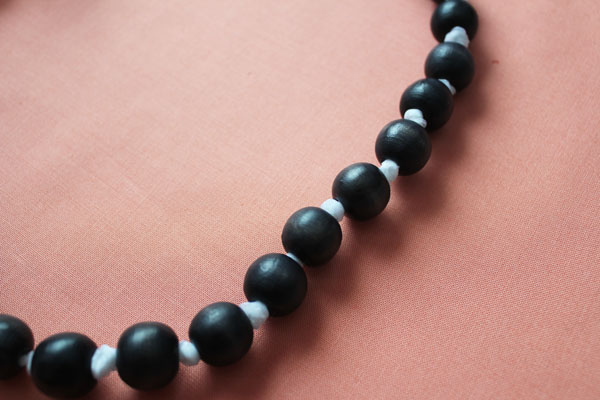
Once the beads are buffed, start stringing them onto the ribbon, tying an overhand knot between each bead.

string and knot beads

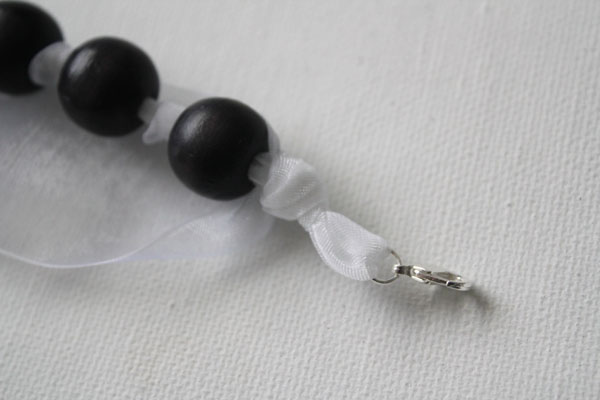
Once you have your faux pearl string at the desired length, add a jewelry finding to each end. I threaded one side on.

add lobster clasp

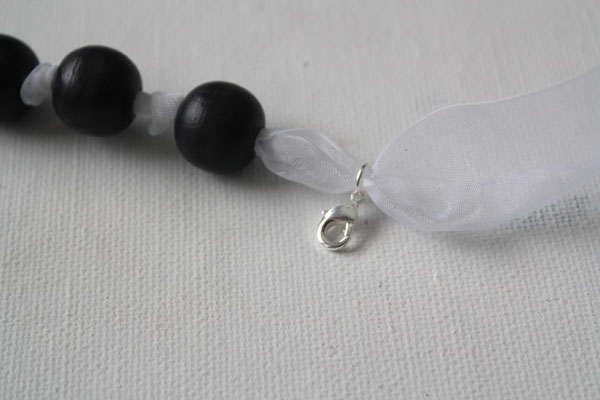
Then tied it in place with an overhand knot.

add overhand knot

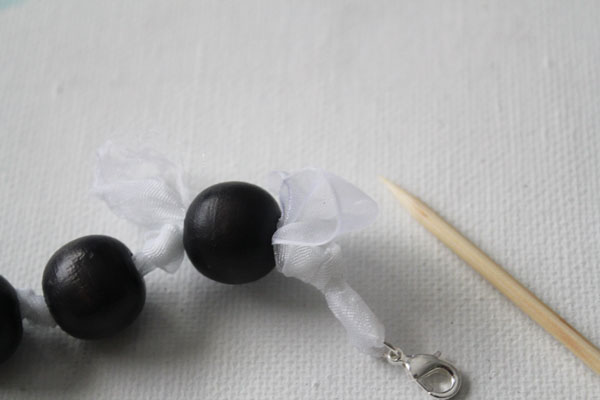
I tucked the tail into the hole of the last bead using the pointy end of a skewer, then cut off the excess.

poke excess ribbon in

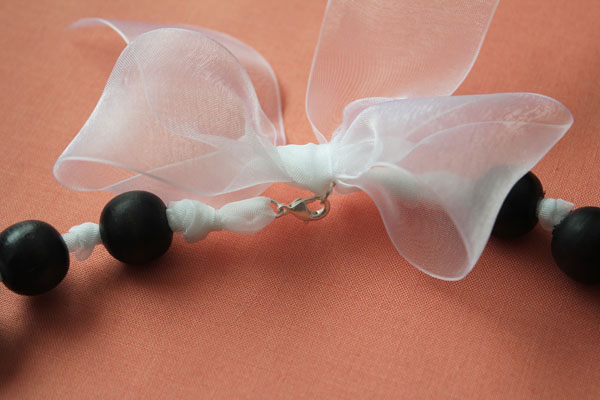
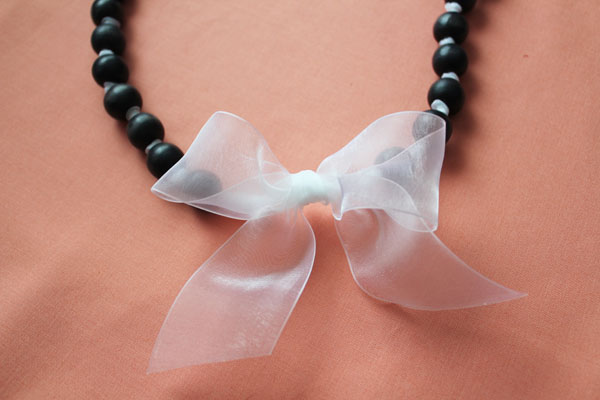
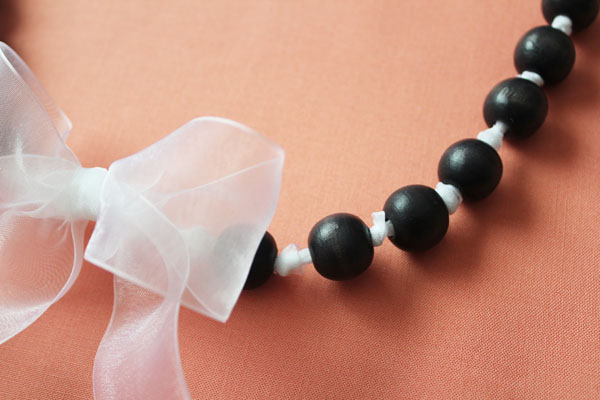
I repeated this process with the other side, then added a bow to cover the clasp.

faux pearl necklace with ribbon

I dabbed some Krazy Glue at the knot, and ends of the cut ribbon. This will keep the ends of the ribbon from fraying, and keep the knot secure.

glue on ends of ribbon to prevent fray

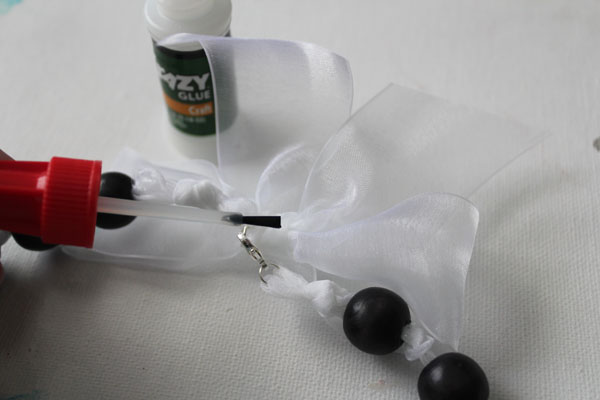
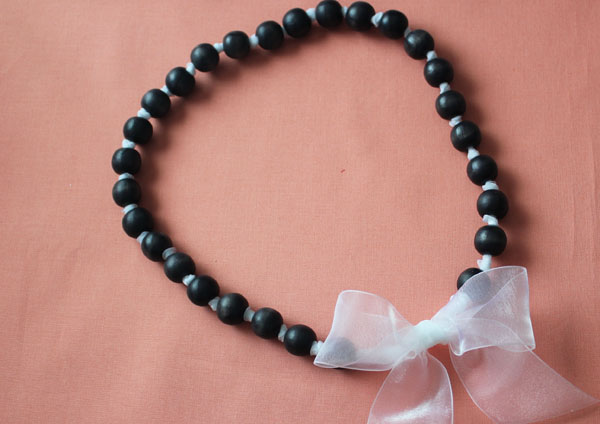
Let the glue dry, and you are all done!

make a diy dyed pearl necklace


dyed beads no longer look like wood


dyed bead pearl necklace


wooden beads are made to glow like pearls


posted in: Craft Tutorials, Design Team

Previous
Quilt Block Refrigerator Magnets
Next
How to Make a Duck Tape Dress

Reader Interactions

    Leave A Reply! Cancel reply

    Share your thoughts!
    Your email address will not be published. Required fields are marked with *

    This site uses Akismet to reduce spam. Learn how your comment data is processed.

    Comments & Reviews

  1. Cher @ Designs by Studio C says

    April 30, 2014

    So clever!! I really love the necklace and now want to make one of my own! Thanks for sharing!

    Reply
  2. Laura says

    May 20, 2014

    Such a good tutorial! This is a really cute project. Thanks for sharing!

    Reply

Primary Sidebar

Hi, I'm Carolina!

I’m a Quilt Pattern Designer, Award Winning Quilter, and fan of all things quilting. I live in San Diego with my husband, our two boys and our pets. I love keeping both my hands and mind busy, so I’m always working on lots of projects. You’ll find lots of them shared here!

More About Me

Let's Keep In Touch!

I'll let you know about what's new in quilting, freebies you'll want to snag, and brighten your inbox about once a week!

subscribe
90% Faster Than Rotary Cutters

Fat Quarter Shop Quilting Fabrics and Supplies

Instagram Facebook Pinterest YouTube

Recent Posts

  • Flying Pig Quilt Block
  • Bunny and Carrot Quilt Block
  • Free Fancy Drink Quilt Block
  • Dutch Row Houses Quilt Block
  • Quilted Sports Jersey Numbers

Archives

Featured Projects

  • Everything you want to know about Pre Cut Fabrics!
  • Scrappy Placemat - easy to make scrap project
    Scrappy Placemat using Strips and Scrap Tape
  • Sewing Kaleidoscope SVG File
  • Drawstring Backpack
  • Carolina holding fabric marking pens
    Choosing Fabric Marking Pens

Let's Keep In Touch!

Brighten your inbox about once a week!

Always Expect Moore Submark Shop Patterns

Browse

  • Ruler of the Month
  • Quilty5k
  • QuiltMath
  • Cricut Maker BOTW

Shop

  • Digital Download Patterns
  • Quilting Notions
  • Quilt Stickers
  • Quilt Tees

Connect

  • YouTube
  • Instagram
  • Facebook Group
  • TikTok
©2025, Always Expect Moore. All Rights Reserved. About Disclosures
Back To Top
Design by Pixel Me Designs
×

Let's Keep In Touch!

I'll let you know about what's new in quilting, freebies you'll want to snag, and brighten your inbox about once a week!