
After making my Valentine’s Day Tealights using the table scatter from Target, I still had lots of Xs and Os left over. It only took me a second to realize that these pieces were perfect for playing Tic-Tac-Toe! And, by putting the pieces in a little zippered pouch that doubles as a game board, this game is ultra-portable.
Tic-Tac-Toe is fun to play… and you could probably make a similar game board using washers and tile spacers from the hardware store. You could spray-paint them to match your color scheme, or find some cute “tools” fabric to make a hardware-inspired game board for any time of the year. The different ways you can play with ideas are limitless!
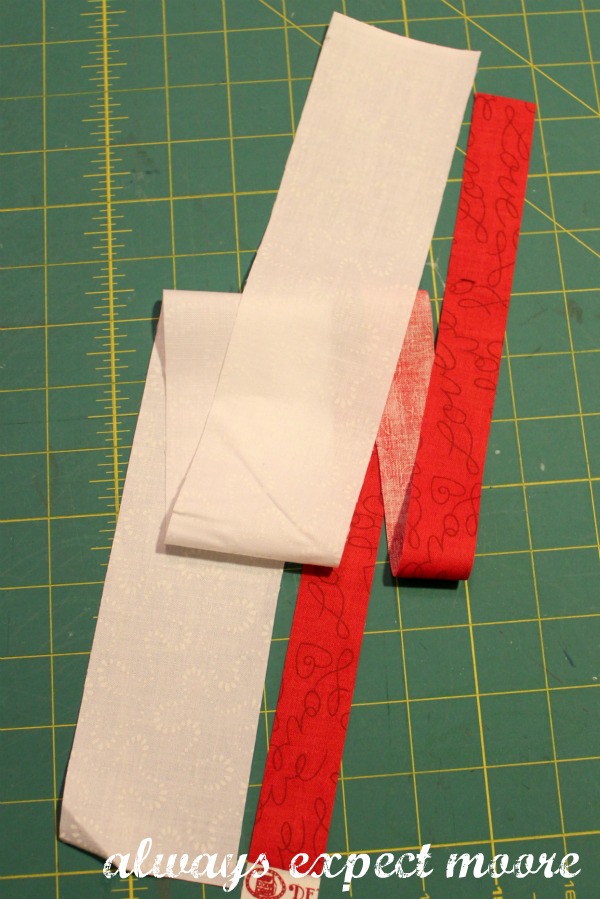
To make the pouch, I started with 2 fabrics – some white-on-white print that I had, and a fun simple red Valentine’s Day print. I cut a strip of each – a 2.5″ strip of the white, and a small 1″ strip of the red. I then cut these strips in half along the fold.
I stitched half of the white strip and half of the red strip together along the long side, and pressed open. I then cut it down into 6 pieces each 2.5″ wide. Using my leftover half of the white strip, I cut 3 2.5″ squares.

I set them all out to make sure I had everything right, and then stitched the rows together.

Using my leftover half of my red strip, I stitched a red piece to the bottom of the top two rows.

Then I stitched the rows together to make my tic-tac-toe board. I trimmed it down to 7″x7″, and then cut 3 squares of my red fabric the same size. These will be my back and lining.

Time to add the zipper. If you’ve never sewn in a zipper before, they are really nothing to be afraid of! I put the zipper between my front and lining piece, with the fabric right sides together. The “top” of the zipper (where the zipper pull is) is facing the game-board piece of fabric. I then stitched down the zipper.

After pressing open the two pieces of fabric away from the zipper, I did the same thing to the other side, using the lining and backing pieces. I top-stitched close to the zipper to keep everything in place.

To put the bag together, I opened up each side, so that the fabrics were right sides together, with the zipper down the middle, and then pinned all the way around. Before you start stitching, you always want to make sure that your zipper is about halfway open. Once you stitch it, it will be tough to open the zipper if you don’t do this ahead of time!

I stitched all the way around, leaving a gap in the stitching of about 3-4″ on the red-on-red side (the two lining pieces). I then clipped the corners to reduce bulk… and it was time to turn!

After turning everything right-side-out, and hand-stitching the opening closed, I was ready to play! I actually let Little Moore and the hubby play first. Little Moore had never played tic-tac-toe before… but I must say that he takes after me, because he won the very first time!

Always,

Comments & Reviews
That is so cute! These table scatter Xs & Os are so versatile!
Really cute idea! I want one!
You DIYers make these things look so easy but I know it would take me days to complete! 🙂 Cute project!
Yea, what Stefanie said. It loos so easy and so adorable but I just don’t seem to have the knack for crafts. I can make a mean popsicle stick box though! LOL
That looks super easy but I know I could never do it myself…when will mine be ready for pickup? Just kidding, sort of.
Wow, this is so adorable. One of my readers just shared this post with me, and I love it. Would love if you woul dshrae this at my Made for You Monday link up http://www.clipwithpurpose.com/?p=8933
I loved your Tic Tac Toe pouch and have included it in a round up of awesome ways to play the game…thanks for the great tutorial!
Here’s the link
http://www.colouredbuttons.com/2013/09/new-ways-to-play-ageless-game.html