Headbands are the ideal mom-accessory! I can throw on a t-shirt and jeans (ok… maternity jeans…), and toss in a headband, and suddenly I have an “outfit.” Yes, I just made style-bloggers everywhere crunch their keyboards… but here in crafty-mom-land, anything dressier than sweats totally qualifies as an “outfit.” And, thanks to my sock-bun curls, it totally looks like I spent more than 5 minutes doing my hair!
Instead of sharing just 1 headband with you, I’ll be showing you how to make FOUR fun, feisty headbands… and then on Friday, I’ll share a round-up of fun headband tutorials from other blogs!
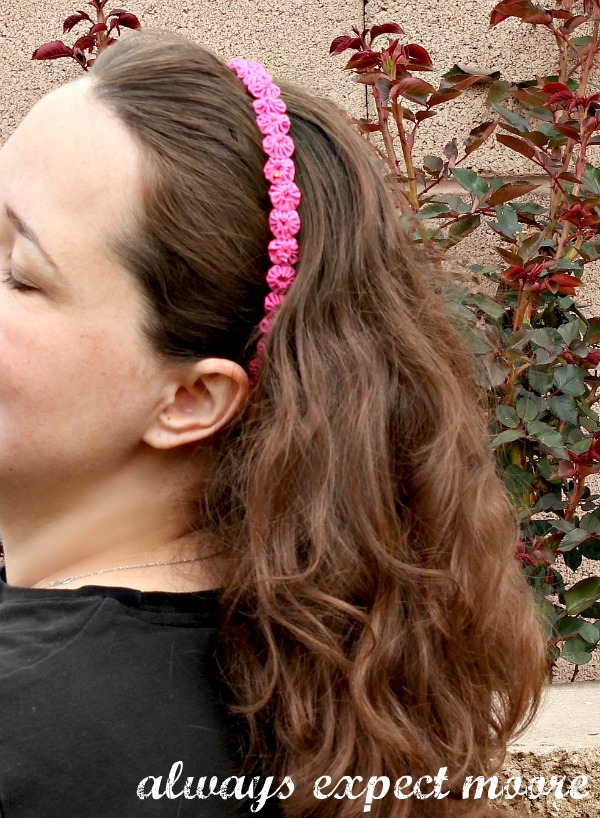
This first headband is one of my favorites (I’m probably going to have to say that three more times this week)! I made it similar to my Yo-yo bangle bracelet, but with a fun punch of color. If you want to make your own, it isn’t hard, here is how:
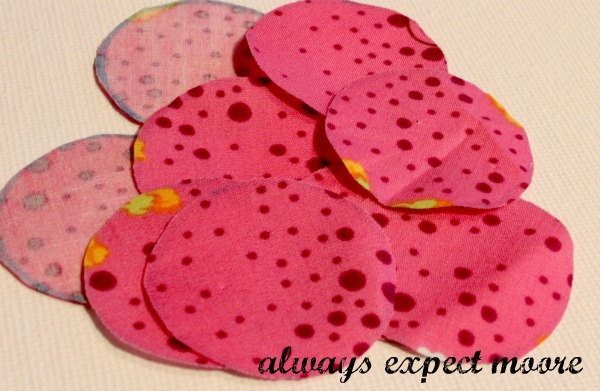
I started with this fun fabric from Art Gallery Fabrics. I wanted the headband to be mostly one color, so I drew my circles in the background area, rather than over the flowers. To make my circles, I traced one end of a spool of thread, remembering that my finished yo-yos will be about half the size of my circles.

I cut lots and lots of circles…
And then stitched them into yo-yos. To make the yo-yo, I folded about 1/8″ in, and ran a gathering stitch all the way around the circle.

When I got back to where I started, I tied a knot tightly, then cut the threads. Then, I squished the yo-yo between my fingers to make it more flat, rather than pouch-like.

I made lots and lots of little yo-yos. This headband took about 30.

For the base of the headband, I used this simple wire headband from the dollar store.
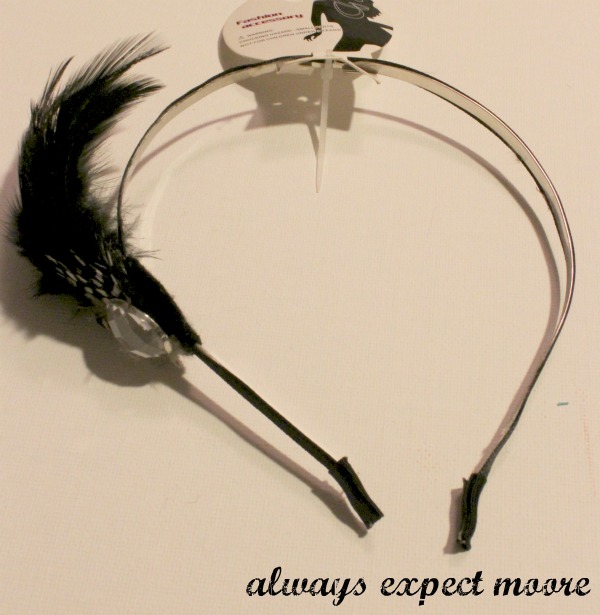
I peeled off all the ribbon and embellishments. Under the ribbon was a line of double-stick tape. I just left it there. It is hard to remove completely, I was covering it up anyway, and it actually helped a little as I was positioning the yo-yos.
I tacked each yo-yo to the previous one with a couple stitches.

Here are all the yo-yos stitched in place. As I went from one spot to the next to stitch the yo-yos together, the thread made a “Z” shape, which also helps to keep the yo-yos attached to the headband.

Using hot glue, I covered up the threads on the inside with a piece of coordinating ribbon, as well as covered up the ends.

It took a little time, but making yo-yos is a fun and easy activity to do on a TV tray while watching a movie with the family. So, it really does fly by!
I made this headband with Art Gallery fabrics as part of their monthly contest. If you want to see all the contest entries, check out their album on Facebook.
I’ll be back tomorrow with another fun headband as headband week continues!
Always,


Comments & Reviews
I love your tiny yoyos!!
I can’t wait to try this. Thanks for the great idea.
Blessings,
Heather