• Skip to primary navigation
  • Skip to main content
  • Skip to primary sidebar
Home About Subscribe Summer Sew Camp Disclosures

Always Expect Moore

Quilts & Pattern Design

  • Cricut Maker BOTW
  • Quilty5k
  • Gallery Wall QAL
  • Trunk Show
  • Guild Resources
  • Pattern Shop
  • Free Patterns
Home About Subscribe Summer Sew Camp Disclosures
  • Cricut Maker BOTW
  • Quilty5k
  • Gallery Wall QAL
  • Trunk Show
  • Guild Resources
  • Pattern Shop
  • Free Patterns
Home » Blog » Craft Tutorials » Gilded Holly Holiday Wreath

Gilded Holly Holiday Wreath

Created On: November 16, 2013  |  Updated: November 16, 2013  |   1 Comment

Gilded Holly Wreath on Always Expect Moore

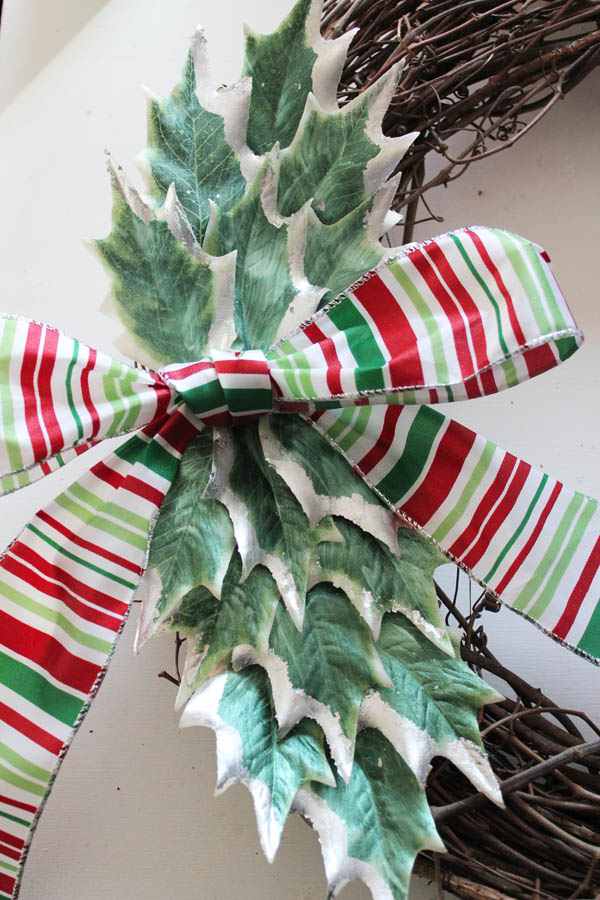
Wreaths are a great way to spruce up any part of the house that has a door… but especially the front door. I love having a wreath on my front door. I think it makes it welcoming and inviting… before my guest even crosses the threshold. For the last 10 years or so I’ve used my jingle bell wreath… so this year I thought it was time for a new wreath. I whipped up this Gilded Holly Wreath in about an hour… it was simple to make, and has just the right amount of shimmer and glam, while still being simple. Totally my style – and a great way to welcome guests at my front door!

gilded holly leaf wreath supplies
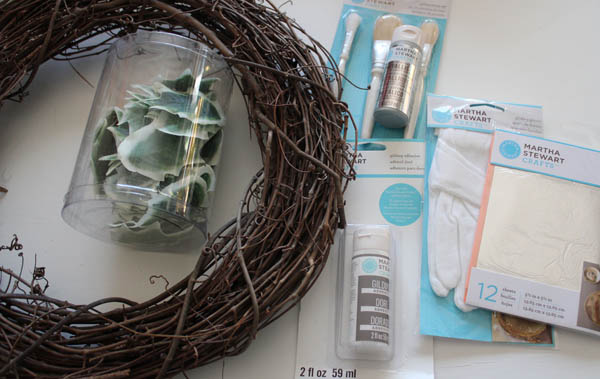
To make your own wreath you need:
Grapevine Wreath
Holly Leaves (I got mine at Consumer Crafts .com)
Martha Stewart Gilding adhesive & Gilding
Martha Stewart Decoupage in Opal
Paint brushes
Hot Glue
Ribbon


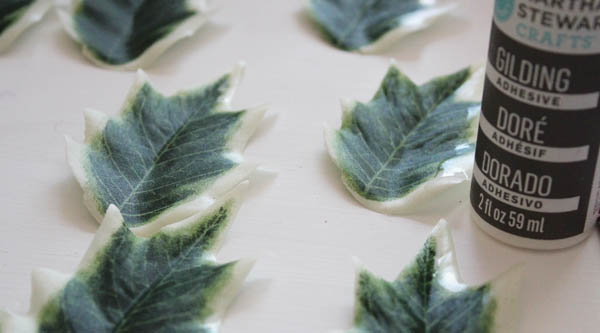
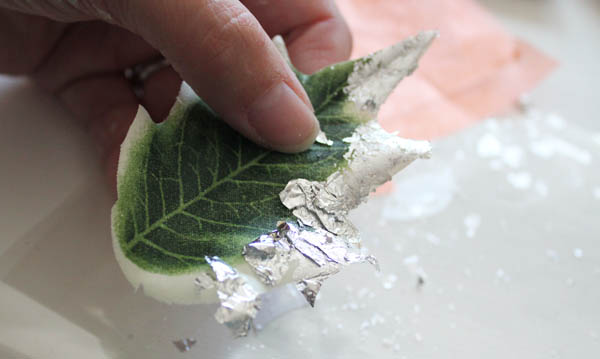
Start by laying out the Holly Leaves – they stick together, so make sure you get them individually laid out. Then run a line of gilding adhesive down one side of the leaf.

paint edges with gilding adhesive

Once the glue goes clear, press the leaves to the gliding sheets.

press leaves to gilding

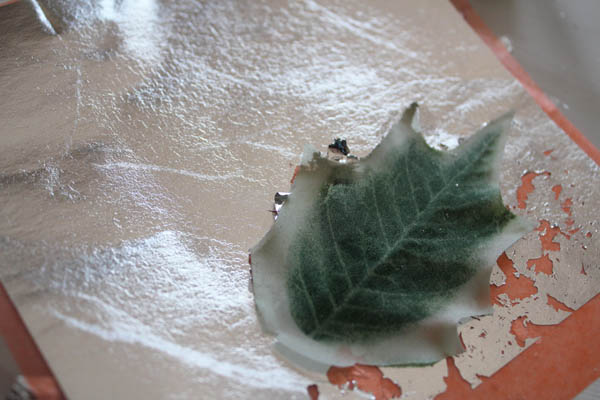
When you lift up the leaf, if there are any bald spots, just press it back onto the gilding sheet. Once all the bald spots are covered, rub the leaf between your fingers to rub away any extra gilding.

rub off gilding

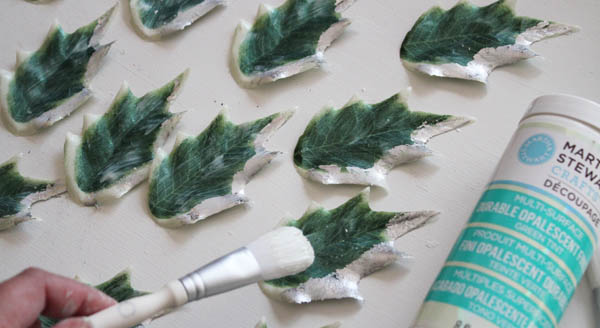
Once you have all your leaves gilded, put a light coat of decoupage over the leaves. This seals in the gilding and adds a little extra sparkle.

Decoupage over the leaves

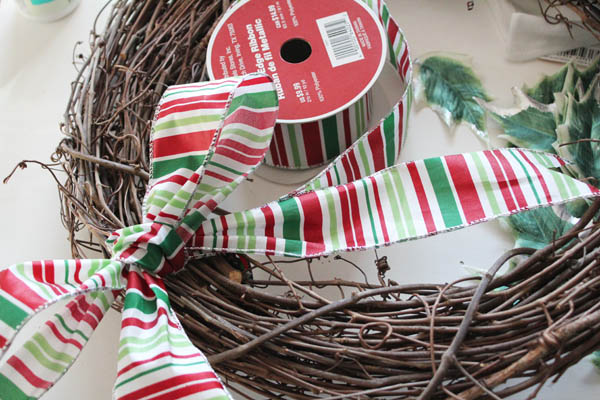
While the decoupage dries, which won’t take that long, tie the ribbon around one side of the wreath.

tie bow

Then start gluing the leaves into place.

Hot glue on the back of leaves

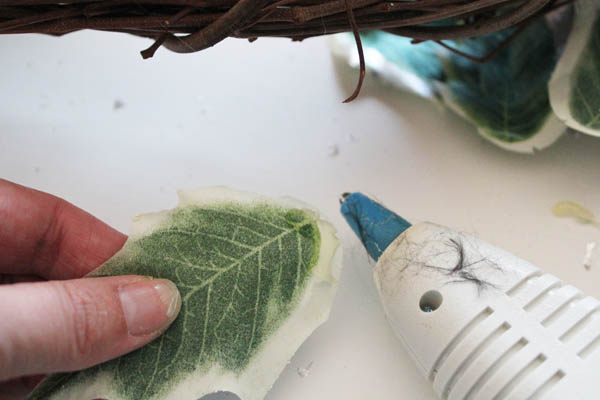
I start with the leaves closest to the bow, and then move out, lifting the leaves and adding others underneath.

place leaves

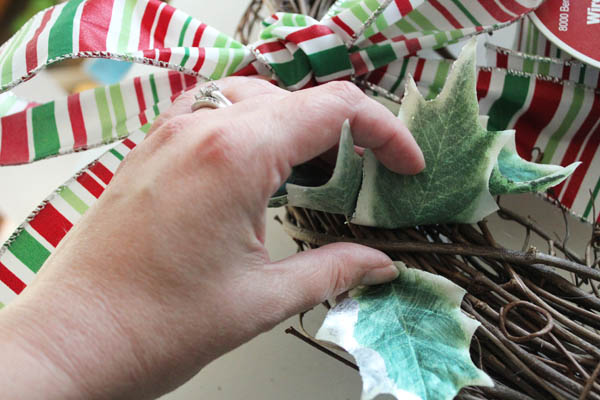
To give the wreath some balance, I added some leaves on other parts of the wreath.

glue extra holly wreaths

And it was that easy!

all holly leaves in place

posted in: Craft Tutorials, Holiday Crafts

Previous
Holiday Crafty Goodness at Consumer Crafts!
Next
“Gone to the Beach” Seashell Door Hanger

Reader Interactions

Primary Sidebar

Hi, I'm Carolina!

I’m a Quilt Pattern Designer, Award Winning Quilter, and fan of all things quilting. I live in San Diego with my husband, our two boys and our pets. I love keeping both my hands and mind busy, so I’m always working on lots of projects. You’ll find lots of them shared here!

More About Me

Let's Keep In Touch!

I'll let you know about what's new in quilting, freebies you'll want to snag, and brighten your inbox about once a week!

subscribe
90% Faster Than Rotary Cutters

Fat Quarter Shop Quilting Fabrics and Supplies

Instagram Facebook Pinterest YouTube

Recent Posts

  • Flying Pig Quilt Block
  • Bunny and Carrot Quilt Block
  • Free Fancy Drink Quilt Block
  • Dutch Row Houses Quilt Block
  • Quilted Sports Jersey Numbers

Archives

Featured Projects

  • Everything you want to know about Pre Cut Fabrics!
  • Scrappy Placemat - easy to make scrap project
    Scrappy Placemat using Strips and Scrap Tape
  • Sewing Kaleidoscope SVG File
  • Drawstring Backpack
  • Carolina holding fabric marking pens
    Choosing Fabric Marking Pens

Let's Keep In Touch!

Brighten your inbox about once a week!

Always Expect Moore Submark Shop Patterns

Browse

  • Ruler of the Month
  • Quilty5k
  • QuiltMath
  • Cricut Maker BOTW

Shop

  • Digital Download Patterns
  • Quilting Notions
  • Quilt Stickers
  • Quilt Tees

Connect

  • YouTube
  • Instagram
  • Facebook Group
  • TikTok
©2025, Always Expect Moore. All Rights Reserved. About Disclosures
Back To Top
Design by Pixel Me Designs
×

Let's Keep In Touch!

I'll let you know about what's new in quilting, freebies you'll want to snag, and brighten your inbox about once a week!