Even before we moved to social isolation and stay-at-home orders, I had a crazy thought. What if we swapped my sewing studio with the master bedroom? And when my friend Cheryl asked if I’d like to join in her annual Spring Clean your Studio Blog Hop, the idea really started to take hold – ne sure to scroll to the bottom of this post to check out the links of everyone else participating in the sewing room spring cleaning challenge!
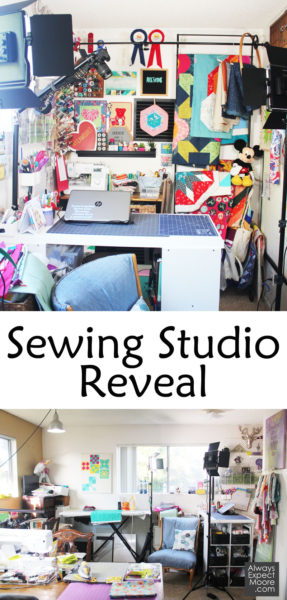
We live in a 1950s bungalow in San Diego. It is less than 1200 square feet, which was an adjustment when we moved here five years ago from our 2400 square foot new construction home in Las Vegas.
The largest room was the master bedroom, and also had my husband’s desk and computer. The children like to play video games on his computer, which means they’re often in my bedroom when I’m looking for a quiet place to relax. And my office space wasn’t large enough for me to keep my filming lights or tripod up. So as soon as I was done with a video, I had to pull them down or risk tripping all over the legs and cords.
Before moving all the things between the two rooms, I did some measuring to make sure that our bedroom furniture would fit in the new master bedroom. I graphed everything out on graph paper to check the layout. It would be snug, but it would work. Armed with this information, I asked my husband what he thought. He shrugged and said that it did not matter to him. That was all the encouragement I needed!
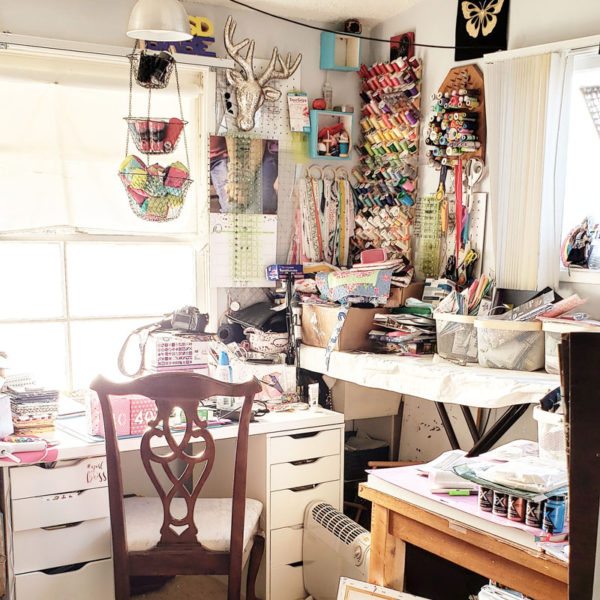
I’ve shared my sewing space in the past. I move things around as my needs change. You can see past versions here (2018) and here (2016) and here (2014). And here is what it looked like before moving things over. That ironing board is overflowing with … stuff!
It took a full day to move all the furniture and other stuff between the two rooms. The table in the sewing room had to be taken apart. As did the bed. The two doorways were right across from each other, which made some of the logistics easier. However, things had to be done in the right order to make space for the new things that were coming in. At the end of the day it was all moved… but a complete mess.
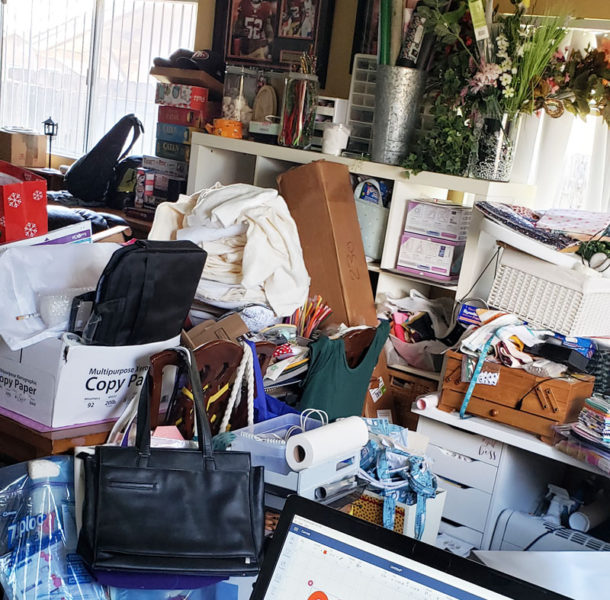
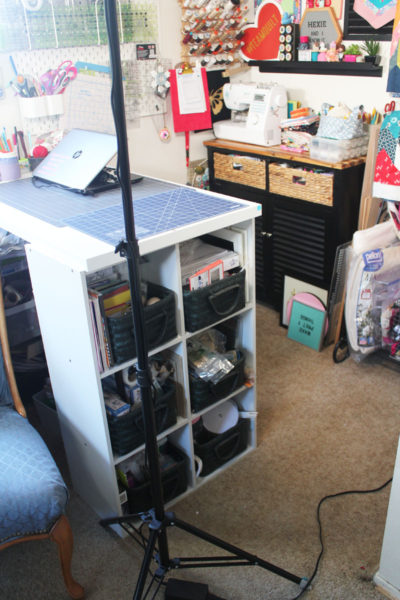
I spent the next week working my way through the mess. I still had deadlines and commitments to work on, so I needed functional space. The first area that was made functional was the filming desk. It also works as a computer desk, in a pinch.
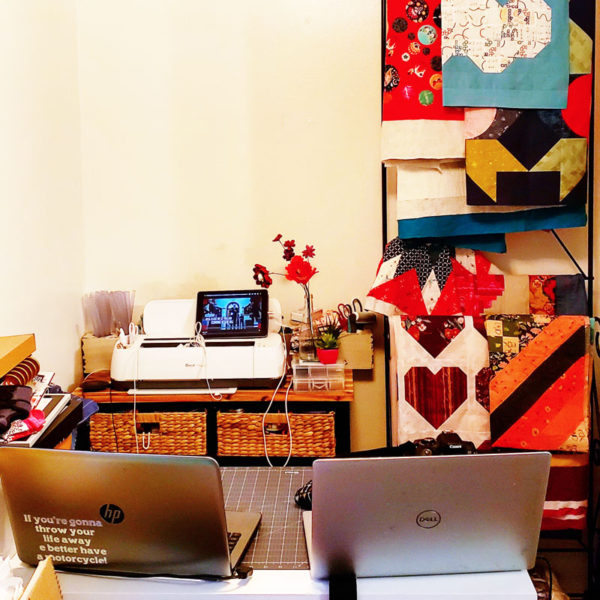
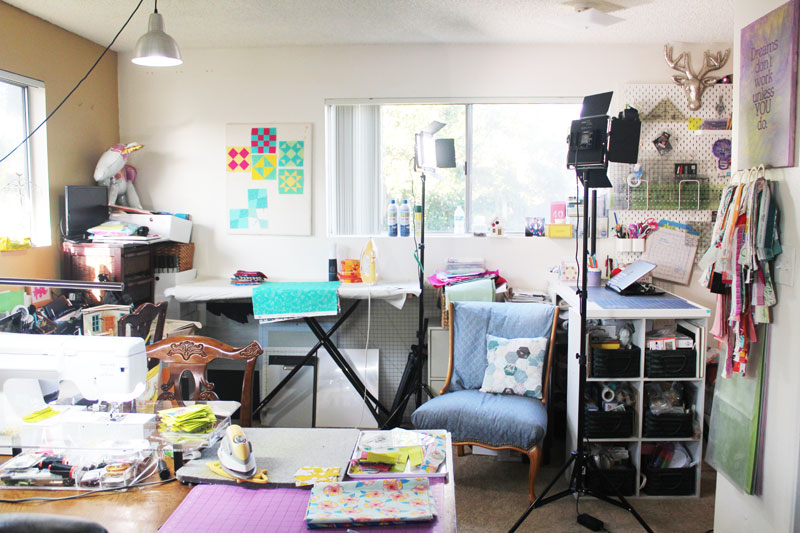
Because I was doing video meetings, I wanted to have a nice backdrop, so installing everything in this area was important. The background is very similar to what I had in my last space. There is a small cabinet against the wall on the left, with a sugar mold and shelf, and some of my mini quilts. To the right, I added a quilt rack that my mother found for me several years ago. I haven’t had it up in the house for quite a while, and was excited for it to get some use again.
I also love sitting in this space because I have a view of the Clementine tree in the backyard while I sit there. My old room faced the street, so I always had the windows covered for privacy. I’m loving this new view!
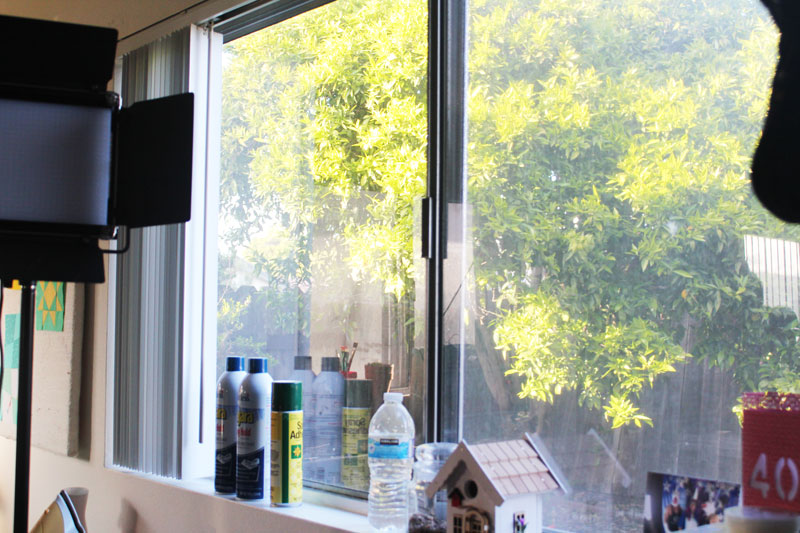
Maybe I should wash the windows so I can truly enjoy it?
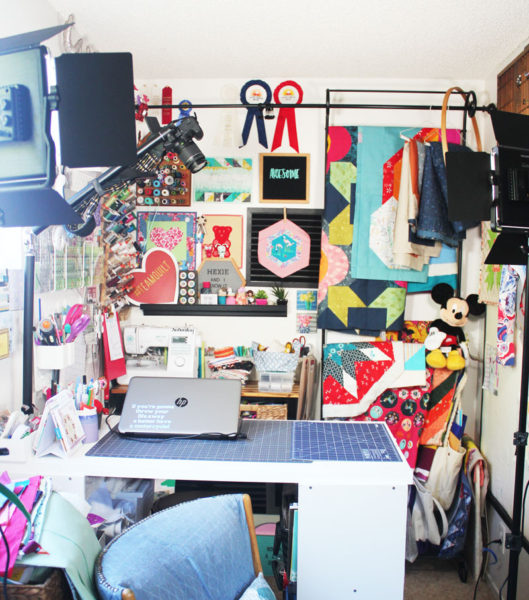
Because of the extra space, I’m able to keep those big filming lights up all the time. This will be such a time saver when I just want to film a quick video!
And when I’m on camera, I’ll have a fun and colorful backdrop behind me.
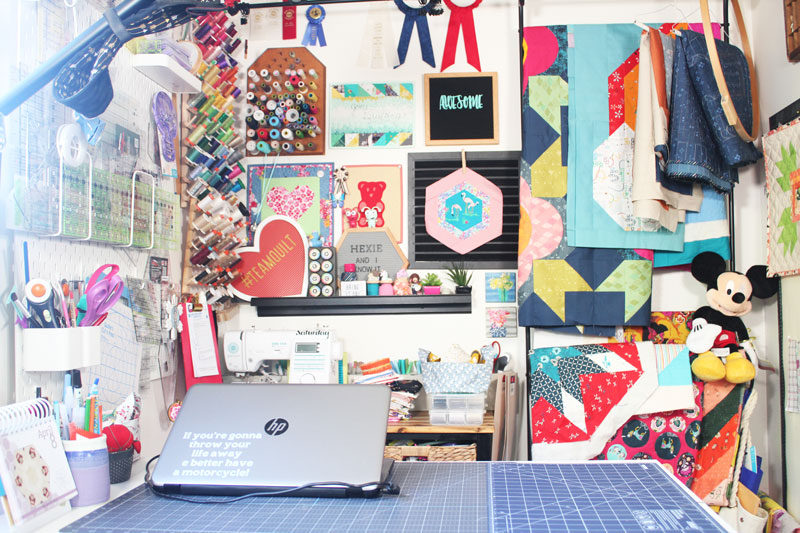
A few things in the background that you may enjoy … On the top left, you’ll see the spool holder that was a gift from my mom. Below that, to the right of the heart letter board, you’ll see eight circles. These are from the sewing machine that I learned on, and controlled the decorative stitches.
Below the shelf, you’ll see my Baby Lock Jubilant. I’m an Influencer for Baby Lock, and I’ve named my Jubilant “Saturday.” To the right, in the middle of the photo you’ll see the nesting baskets from the pattern that I just launched. The quote on my laptop is from Gilmore Girls and says “If you’re going to throw your life away, he better have a motorcycle!”
Also, if you look at the very top, you’ll see a spot where one of my ribbons is missing. I finished this wall up the morning that I did my Facebook Live Trunk Show, and one of the ribbons fell down during the live! I still have to put it back up.
And, below the tabletop is the entrance to our bomb shelter. Yes, you read that right – this house was built in the 1950s and the original owners added a bomb shelter to the house. We did go down there once you can watch the video here.
On the left, I installed two large Ikea pegboards for all of my quilting rulers. I have a decent-sized collection, and keep adding to them. I also have my threads, and my glittered deer head which is a nod to my friend Beth Kingston from The Kingston Home.
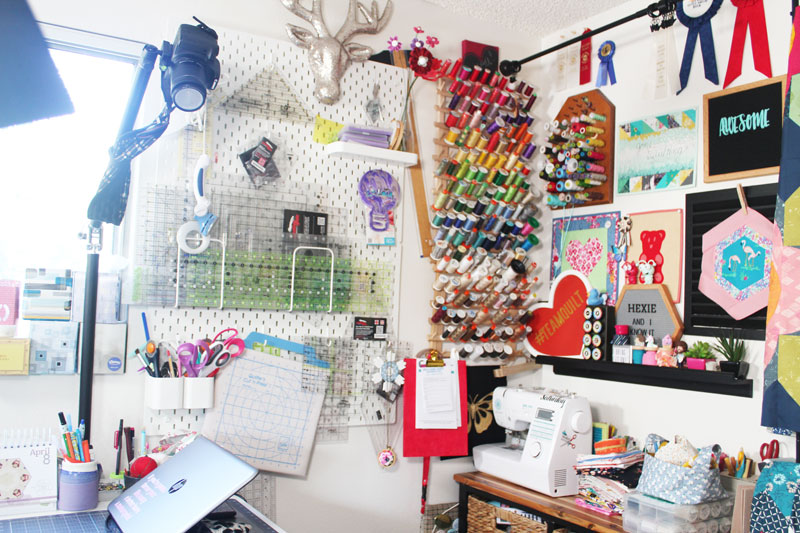
Above the filming table, you’ll see my camera. I have it clamped on a mount that can move in all directions – but is great for filming overhead when I want video of my hands.
To the right, I have a large frame that I picked up at a yard sale years ago to turn into a design wall. Above the design wall I have an old letter tray that was in my childhood bedroom. In the letter tray are Lego Minifigures that I’ve collected.
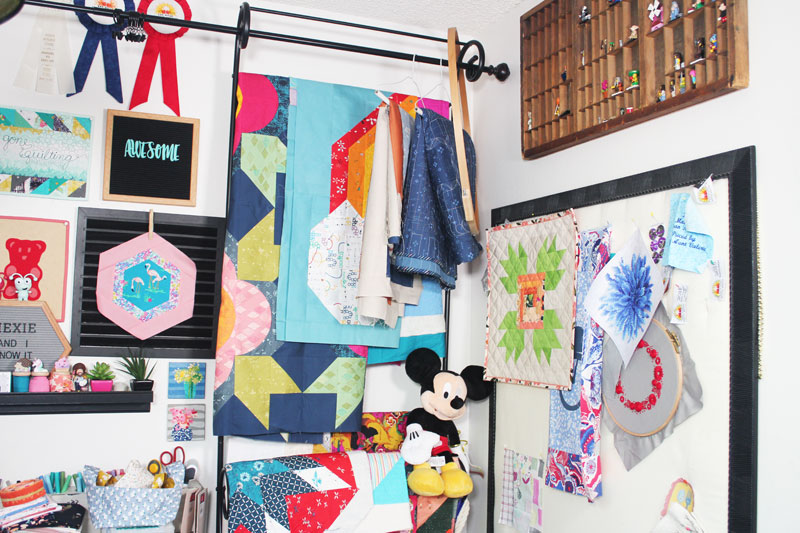
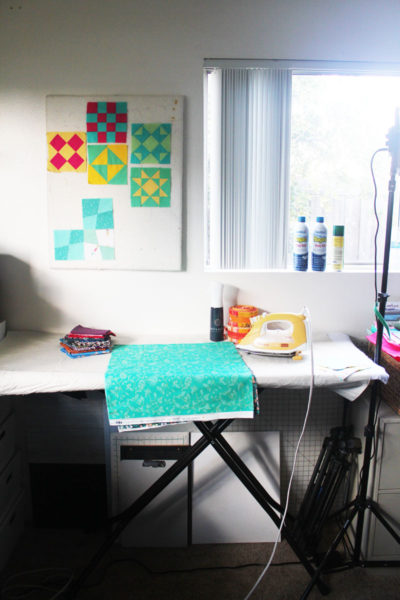
Moving to the left is my ironing table. I have a beautiful large ironing table that is perfect for pressing whole quilt tops. I haven’t added decor to the walls yet, just a small design board that is a large canvas covered in batting. On this design board you can see blocks from the Quilty 5k and from the Ruler of the Month.
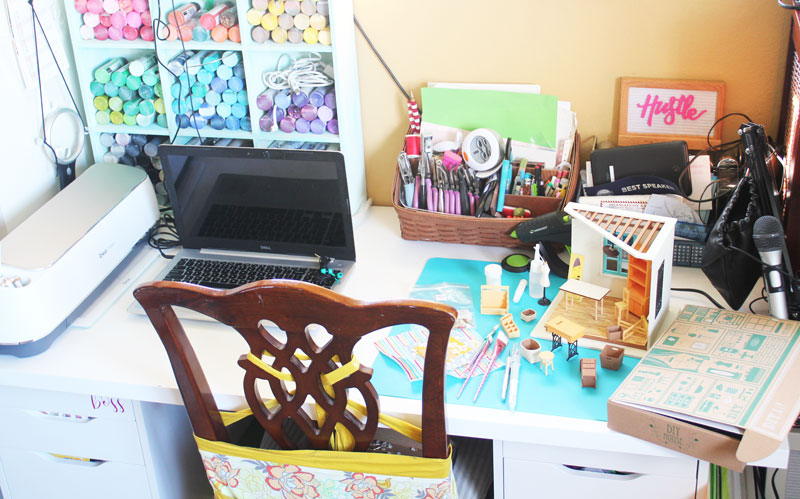
To the left again is my desk. Actually, there is a corner that is being used as storage. I have bins of paints, glue, old projects, and other items that need to be stored. Also, a wooden cabinet with a small TV on top. This TV gets plugged into my camera when I use a second camera angle, so I can see what the camera is filming.
I have my Cricut Maker on the desk, the laptop I use for school, paints and tools, my podcasting mic, and one of the projects I am working on.
This wall in the room is a dark mustard color. It isn’t my favorite at all. I had painted the other room a beautiful silver-blue that I loved, and so moving to a room with mustard walls is a bummer. I’m sure I could paint these walls eventually – but I’m not ready to take that on just yet!
I am working on putting together a miniature sewing room. Funny that I’m fixing up my actual sewing room while creating a minature sewing room, right?? If you want to learn about the mini sewing room kit, I have a Youtube Video where I go into all the details.
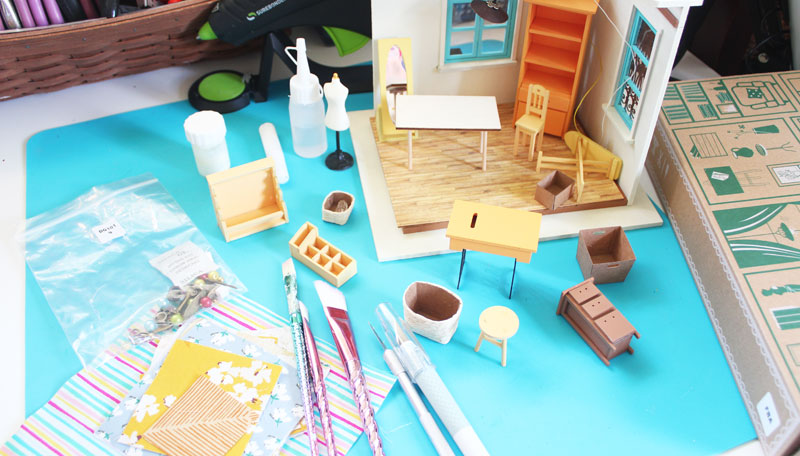
So far I have done the basic furniture assembly and the wall assembly. I still need to tuck away the wires from the lamp, and then I’ll start customizing – adding my own details to the project!
For anyone who wants to get their own mini sewing room, you can find the Amazon affiliate link here: https://amzn.to/39Y5sLQ
To the left of the desk is my sewing space. This is a dining room table that I got at a steep discount because it had a scratch in the top. The scratch is always covered by a cutting mat, so I never notice it! This table is in the middle of the room. In front of the table is a large reclining chair, bookshelves, my husband’s desk, and a large TV. I can see the TV while I sit here and sew, which is lovely. And when my kids are playing computer games, I’m in here with them.
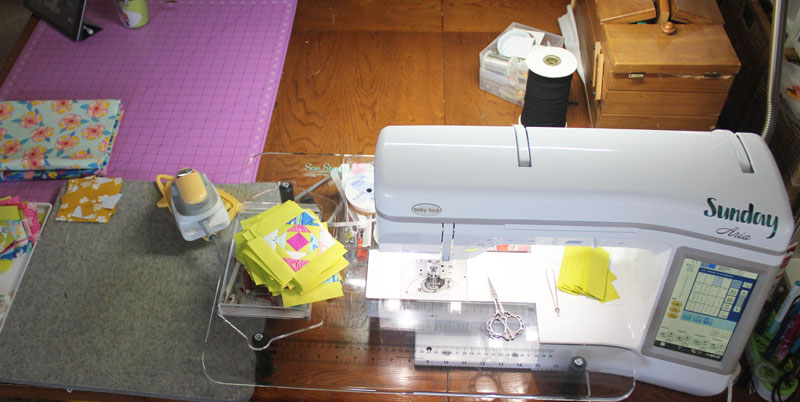
Right now I’m taking a break from mask sewing to try to finish up these pineapple blocks. They are the next Ruler of the Month pattern and I can’t wait to share with you how I set these blocks!
Also, you’ll see my Baby Lock Aria. I love sewing on this machine! Her name is “Sunday.” And if you caught the name of my Jubilant, you’ll see why I say “I only sew on Saturday and Sunday!”
Turn to the left again, and you’re back where you started in the filming space.
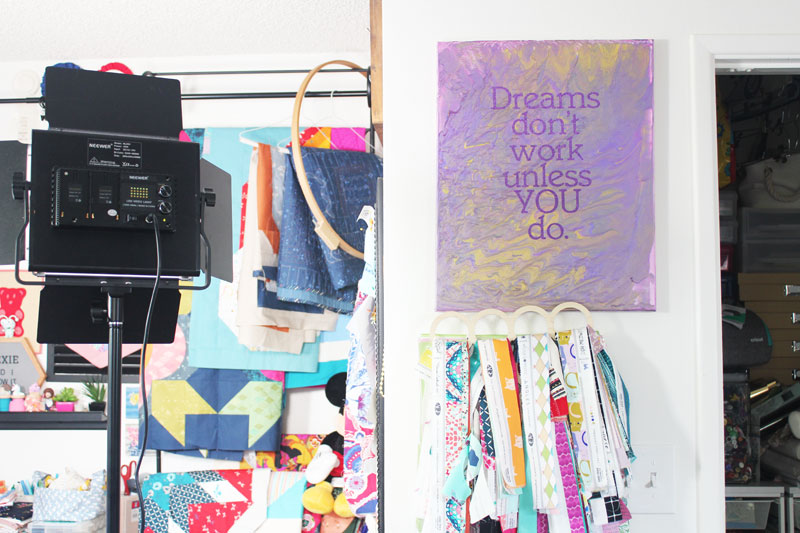
I made the marbled canvas quote art several years ago, and it is a great reminder.
Below the quote art I hang all of my Cricut mats, and over the mats is a piece of wooden lattice which I use for storing all my Art Gallery Fabrics selvedges. I’m a proud AGF Sewcialite, and I love collecting the selveges from each fabric that I cut into!
To the right of the art, you’ll see a peek into the closet. That was just moved over yesterday. Moving the closet and making the rest of the space ready for taking photos was a full day of hard work. The closet isn’t at all camera ready, but I’ll show you a peek inside. Because we’re friends now, right?
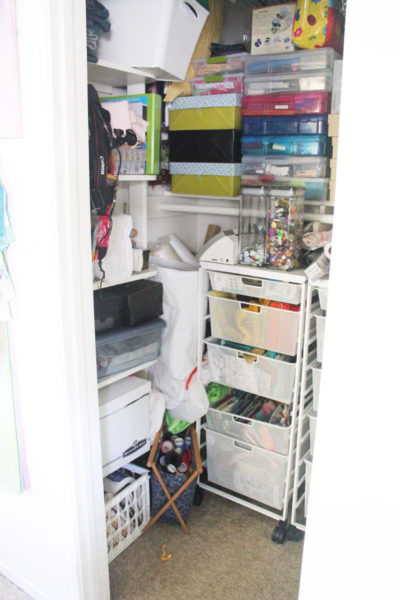
Eventually, I’ll tidy and organize this as well. But a closet’s job is to be functional rather than pretty. So, as long as I’m able to find what I need without things falling on me, I think I won’t worry about this space too much for now. Too many projects are calling to me!
For those of you who follow me on Instagram, you may have seen this peek of my messy floor in my filming space that I shared earlier this week.
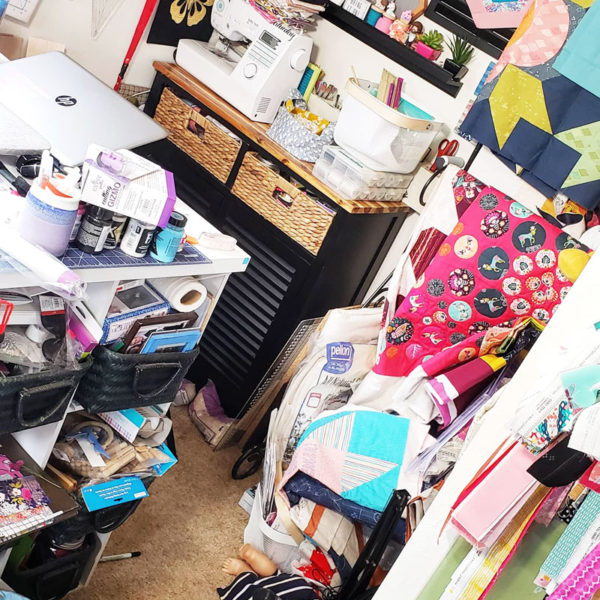
Well, I took a little time to clean the floor and also organize the green bins that were overflowing. They each have different kinds of supplies – clay, paper, wood, party, holiday … simple supplies that are good to have close by. But only if I can find what I need! So I went through them to see what was there and make it fit nicer.
Well, there you go – a full tour of my new sewing studio! I hope you enjoyed seeing my new space. I am so glad I’ve got it all set up and organized. An organized space feels so good to step into, don’t you think?
If you’d like to see the others in the blog tour, check out the links below!
April 1 – Sam Hunter – https://www.hunterdesignstudio.com
April 2 – Marian Pena – https://www.seamstobesew.com
April 3 – Jennifer Fulton – https://www.inquiringquilter.com/questions
April 4 – Martha Wolf – https://Www.pinwheelprodns.com
April 5 – Jennifer Strauser – https://www.dizzyquilter.com
April 6 – Steph Carton – https://www.theelimonster.com/blog
April 7 – Simone Fisher – https://www.simonequilts.com/blog
April 8 – Kate Colleran – https://www.seamslikeadream.com
April 9 – Carlina Moore – https://alwaysexpectmoore.com
April 10 – Jen Frost – https://www.faithandfabricdesign.com/blog
April 11 – Leanne Parsons – https://www.devotedquilter.com
April 12 – Becca Fenstermaker – https://www.prettypiney.com/blog
April 13 – Sarah Myers – https://www.quilted-diary.com
April 14 – Mitzi Redd – https://www.reddhomestead.com
April 15 – Jeanette Larson – https://www.Jenonthefarm.com
April 16 – Camille Ainsworth – https://www.stitchinthenw.com
April 17 – Becky Philips Jorgenson – https://www.patchworkposse.com
April 18 – Bobbie Gentili – https://www.geekybobbin.com/category/blog
April 19 – Janellea Macbeth – https://www.janelleamacbeth.com/blog/
April 20 – Lisa Ruble – https://lovetocolormyworld.blogspot.com
April 21 – Debra Davis – https://www.tuning-my-heart.com/blog
April 22 – Rona Herman – https://www.Ronatheribbiter.com
April 23 – Sue Griffiths – https://www.duckcreekmountainquilting.com
April 24 – Sarah Ruiz- https://www.saroy.net/
April 25 – Jessica Caldwell – https://www.desertbloomquilting.com/
April 26 – Tammy Silvers – https://tamarinis.typepad.com
April 27 – Ebony Love – https://www.lovebugstudios.com/blog
April 28 – Cheryl Sleboda – https://blog.muppin.com

Comments & Reviews
Loved the tour! You’ll love having a window with a view. And yes, everything organized and tidy is a great starting place for creativity. Love your camera setup. I’m thinking about doing videos too and a look into your setup is maybe just the push I need!