• Skip to primary navigation
  • Skip to main content
  • Skip to primary sidebar
Home About Subscribe Summer Sew Camp Disclosures

Always Expect Moore

Quilts & Pattern Design

  • Cricut Maker BOTW
  • Quilty5k
  • Gallery Wall QAL
  • Trunk Show
  • Guild Resources
  • Pattern Shop
  • Free Patterns
Home About Subscribe Summer Sew Camp Disclosures
  • Cricut Maker BOTW
  • Quilty5k
  • Gallery Wall QAL
  • Trunk Show
  • Guild Resources
  • Pattern Shop
  • Free Patterns
Home » Blog » Uncategorized » Spoonflower Pincushion

Spoonflower Pincushion

Created On: August 16, 2010  |  Updated: August 16, 2010  |   3 Comments

I got my Spoonflower fabrics in, chopped them up, and sent them on their way only a day later… but I did remember to snap a picture before I sent them off:

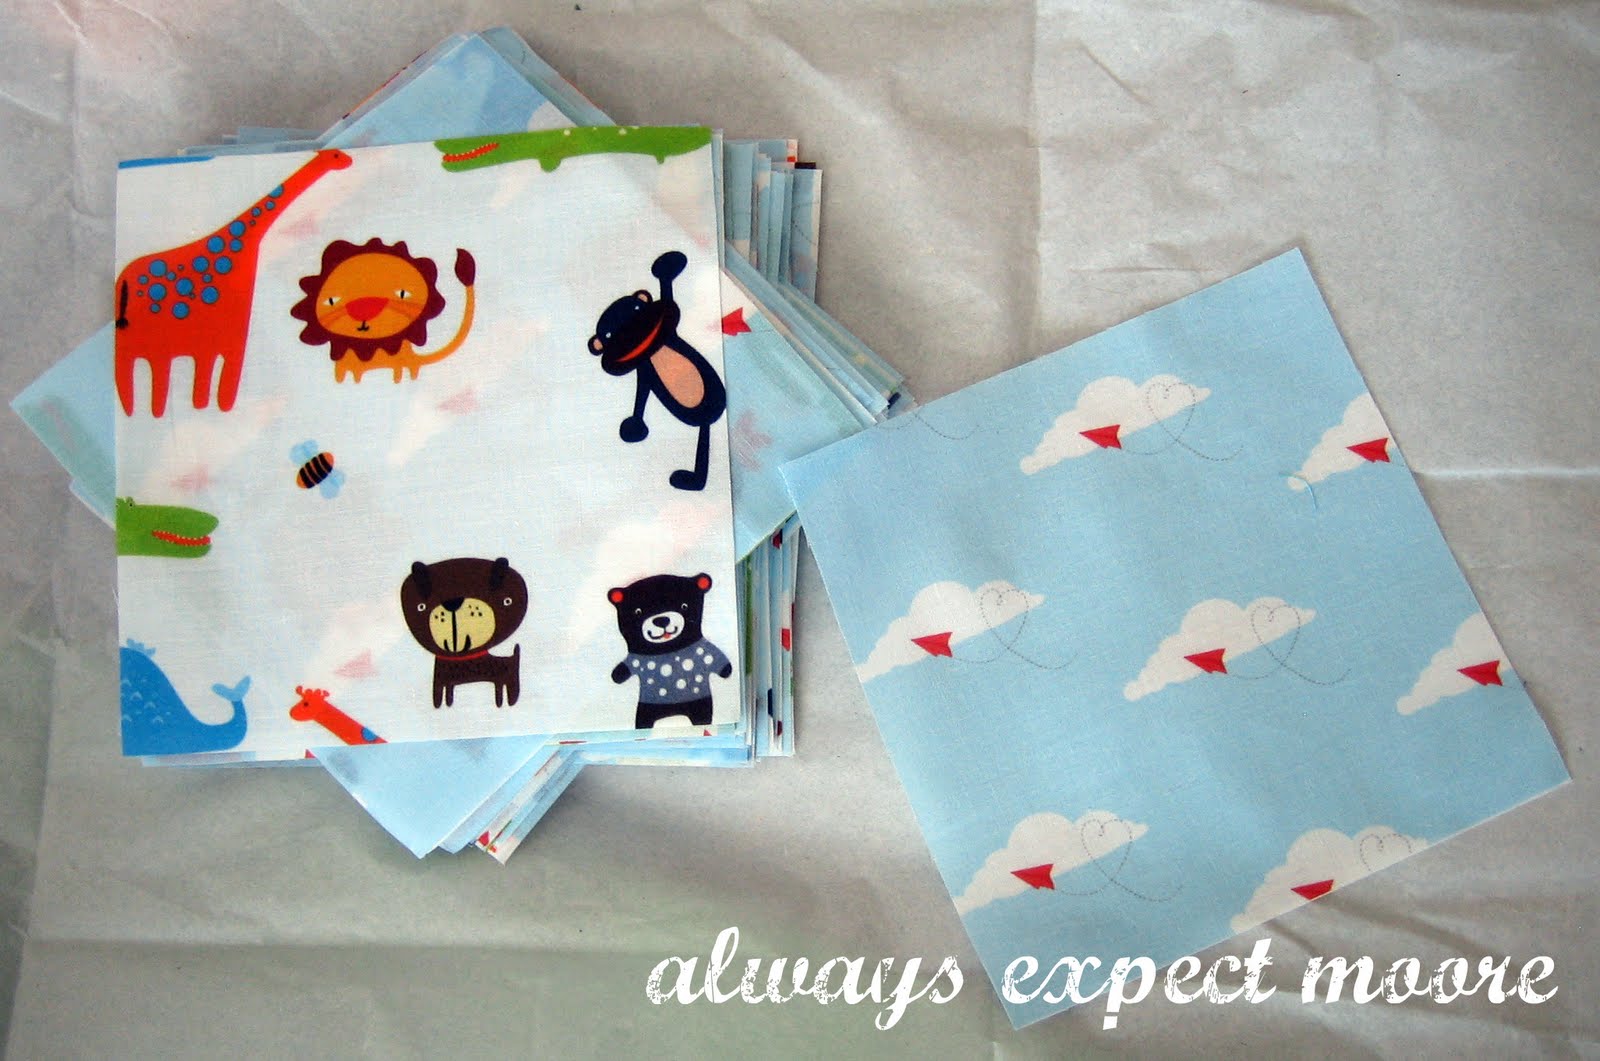
Here they are all stacked up, ready to go to MD, where they will be split up… and two will come back to me with new friends! It is all part of the I Spy Swap put together by Susan at Crafterhours.

When I was unfolding the fabric, this little guy fell out.

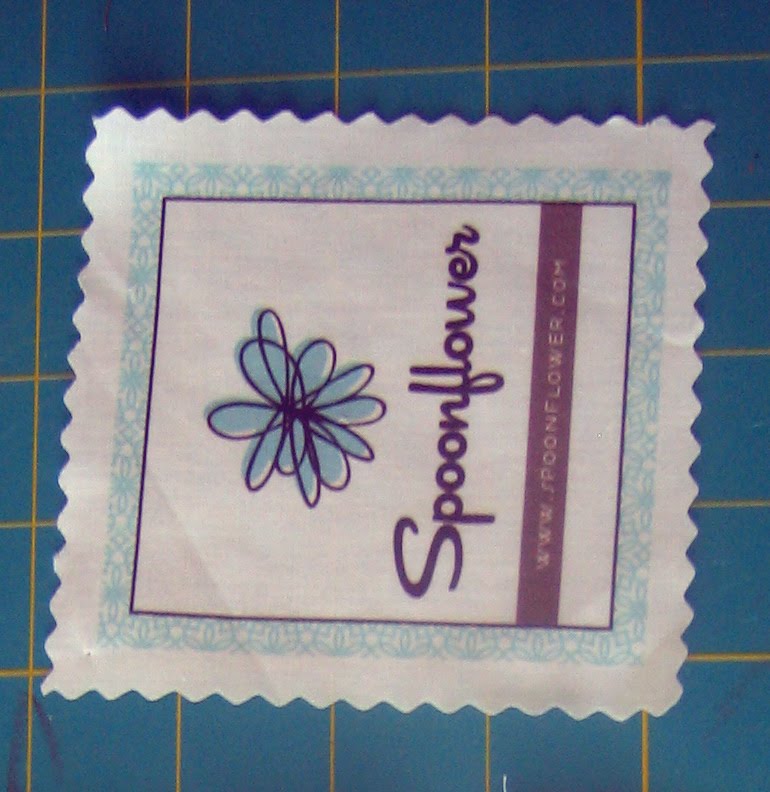
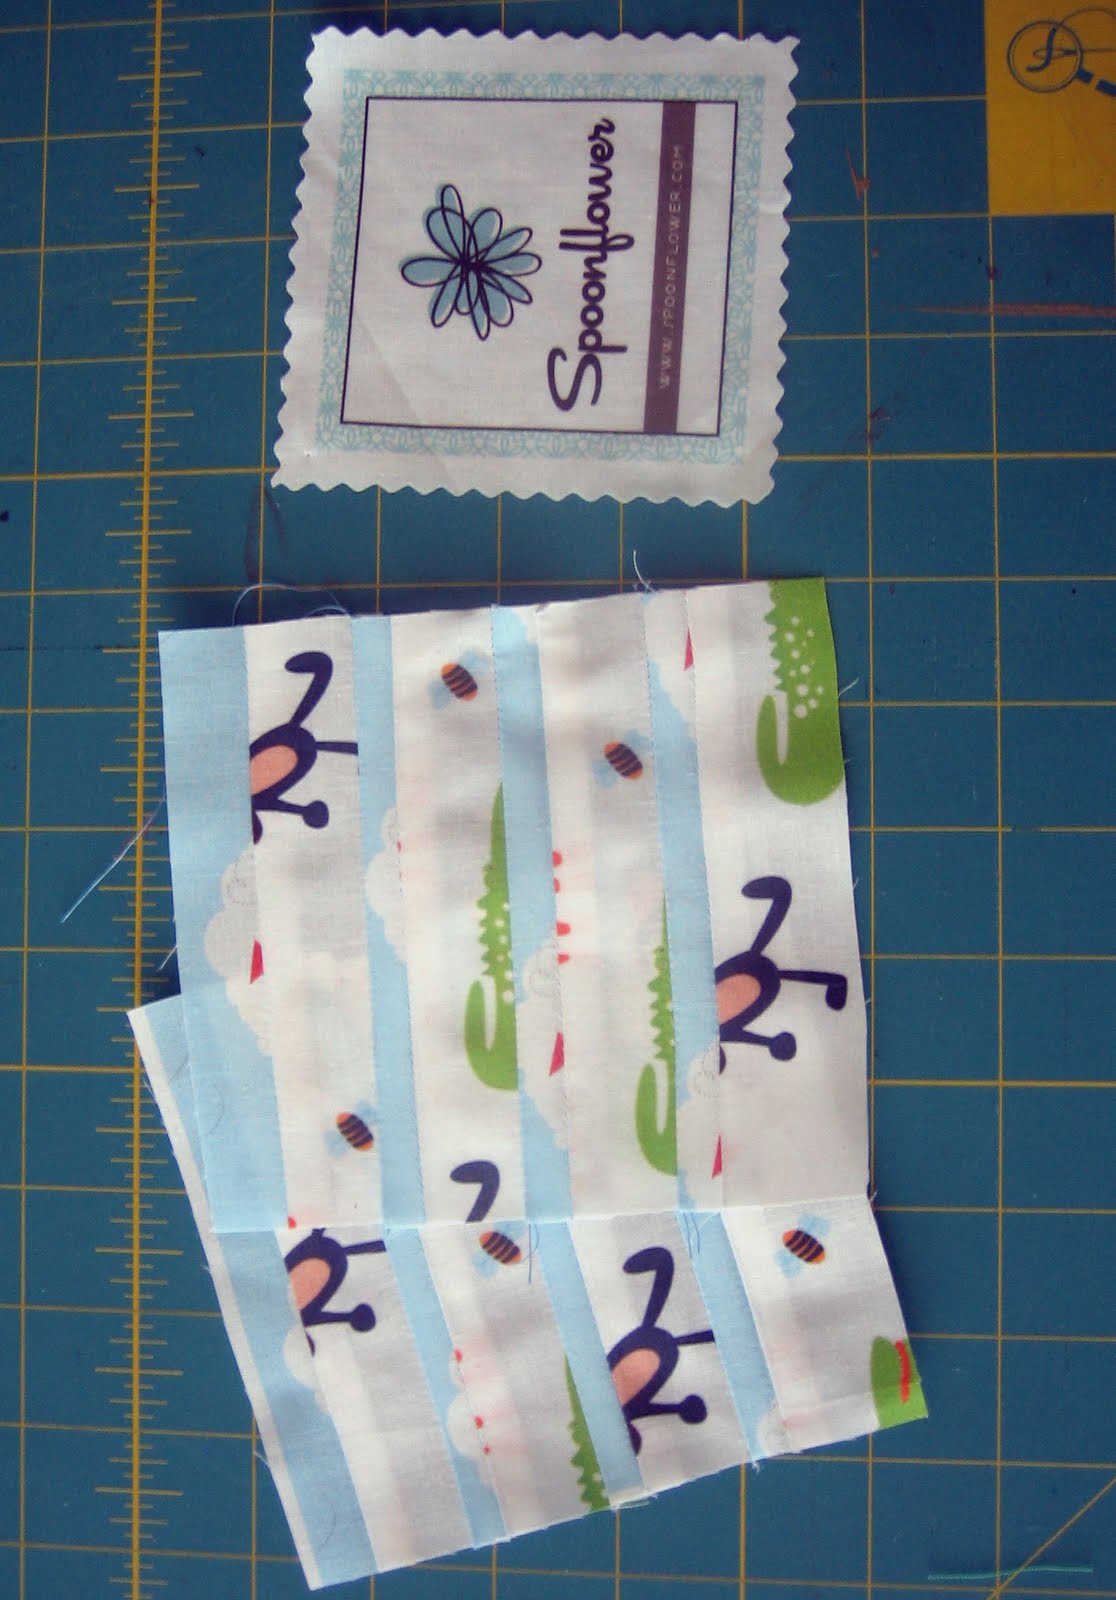
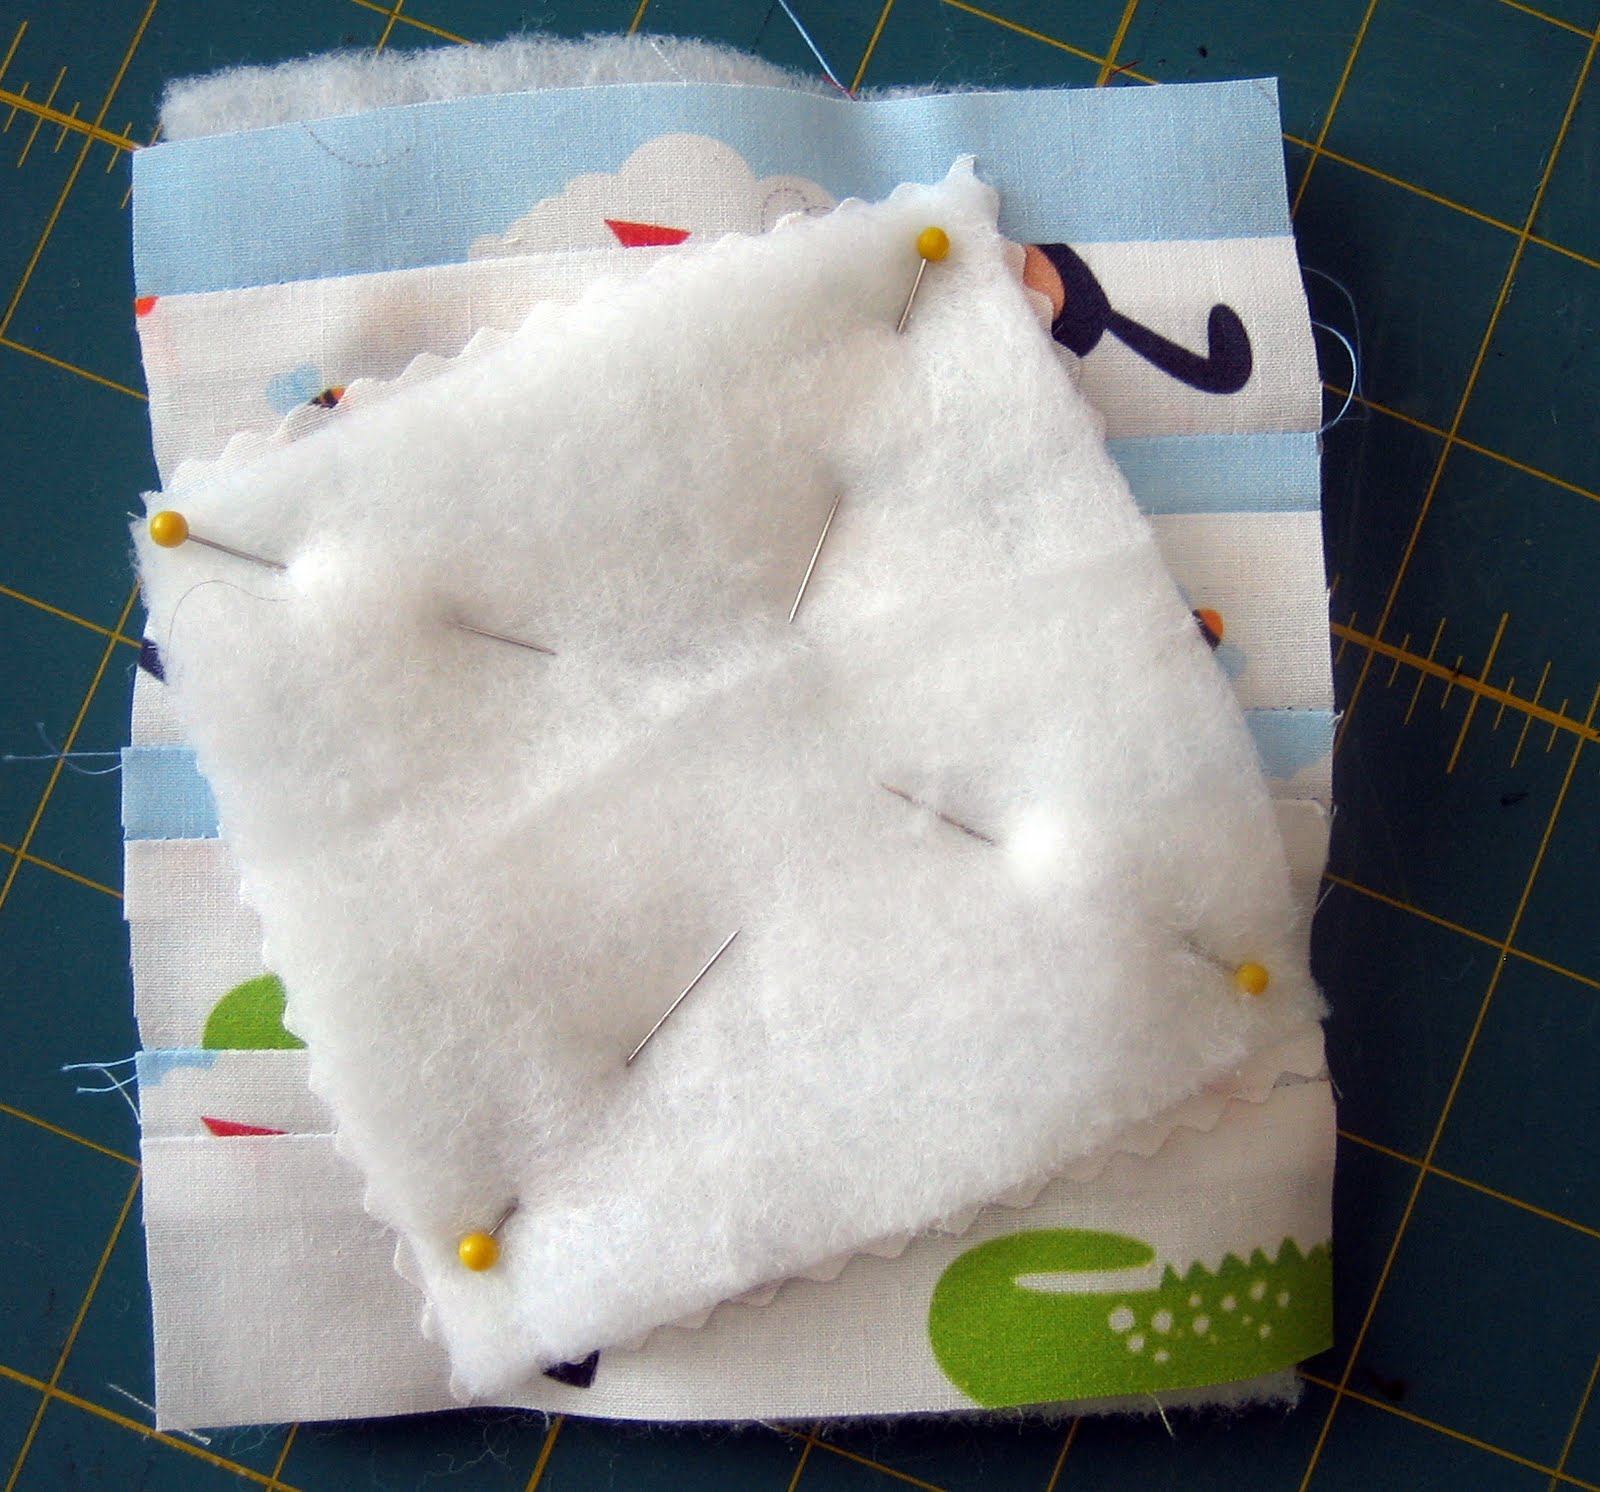
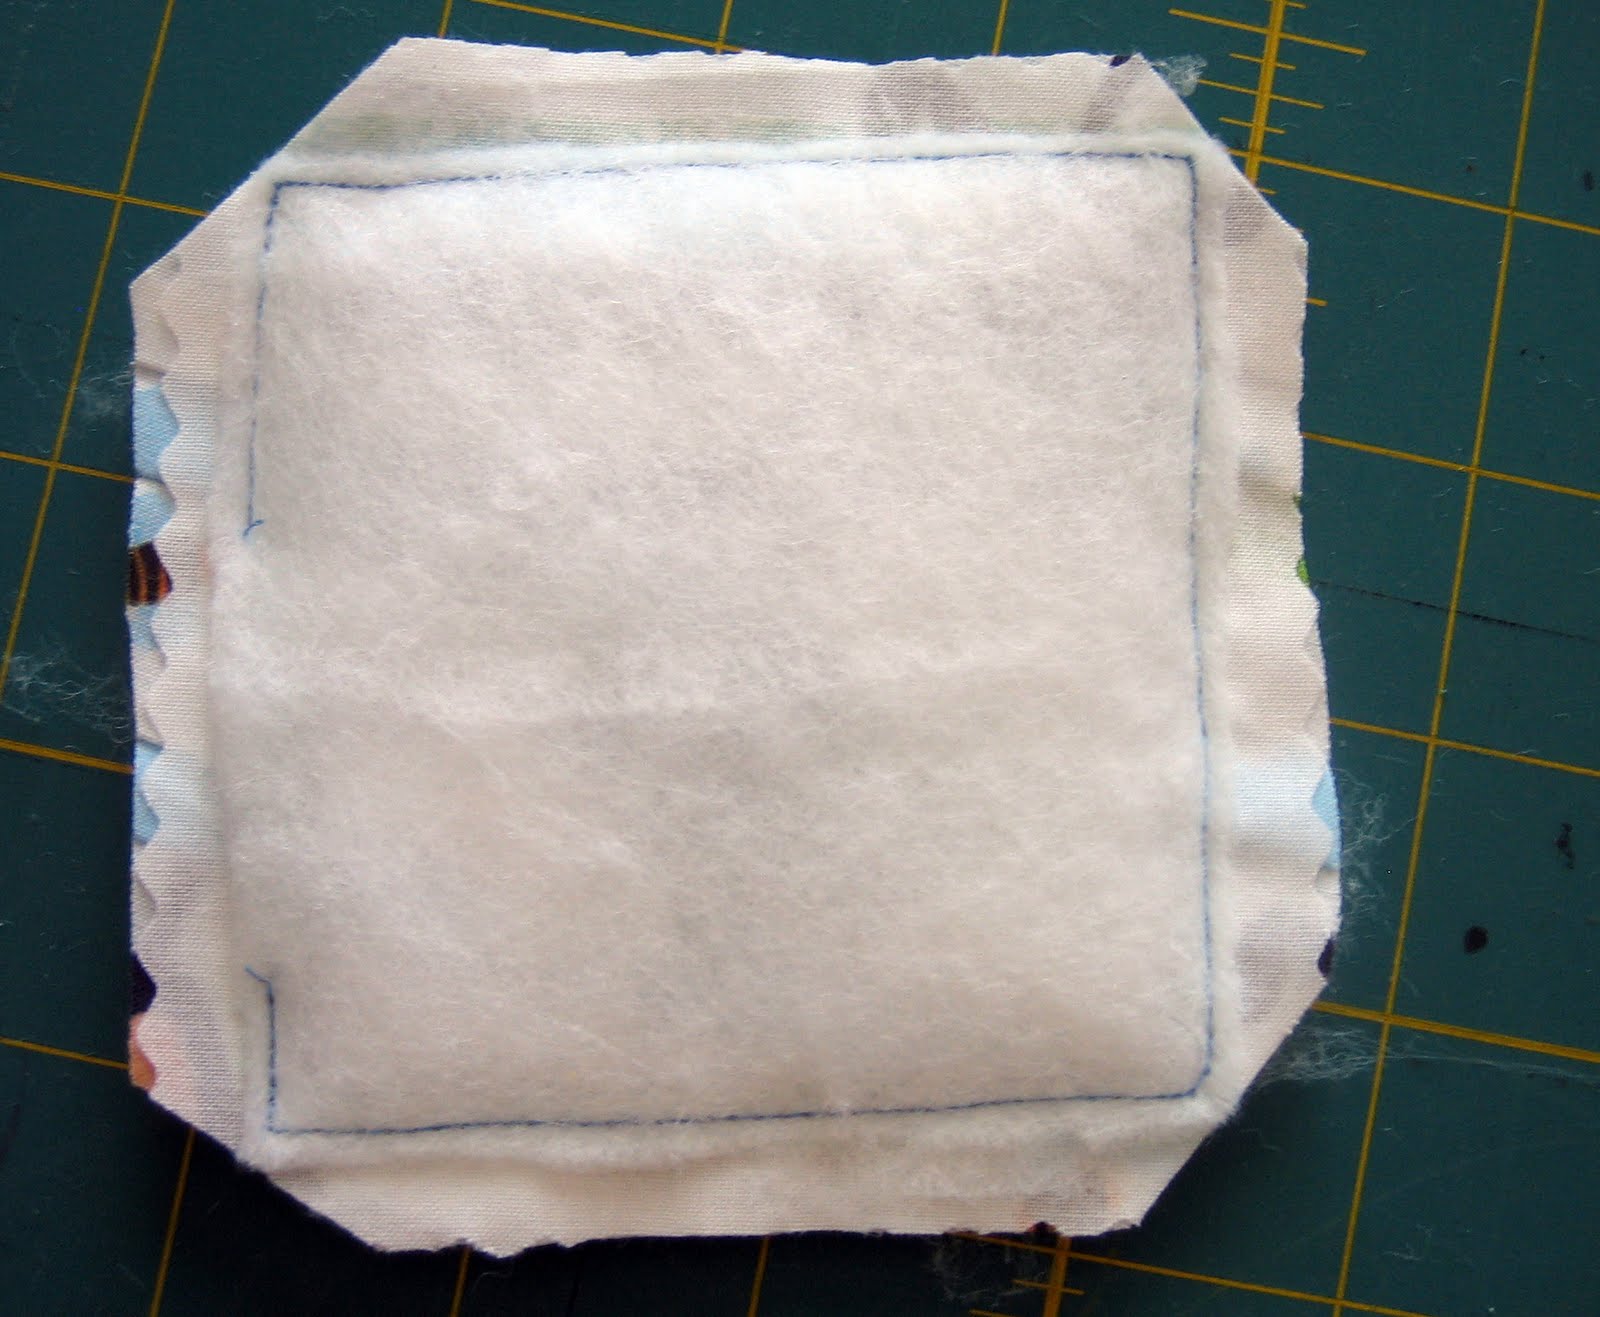
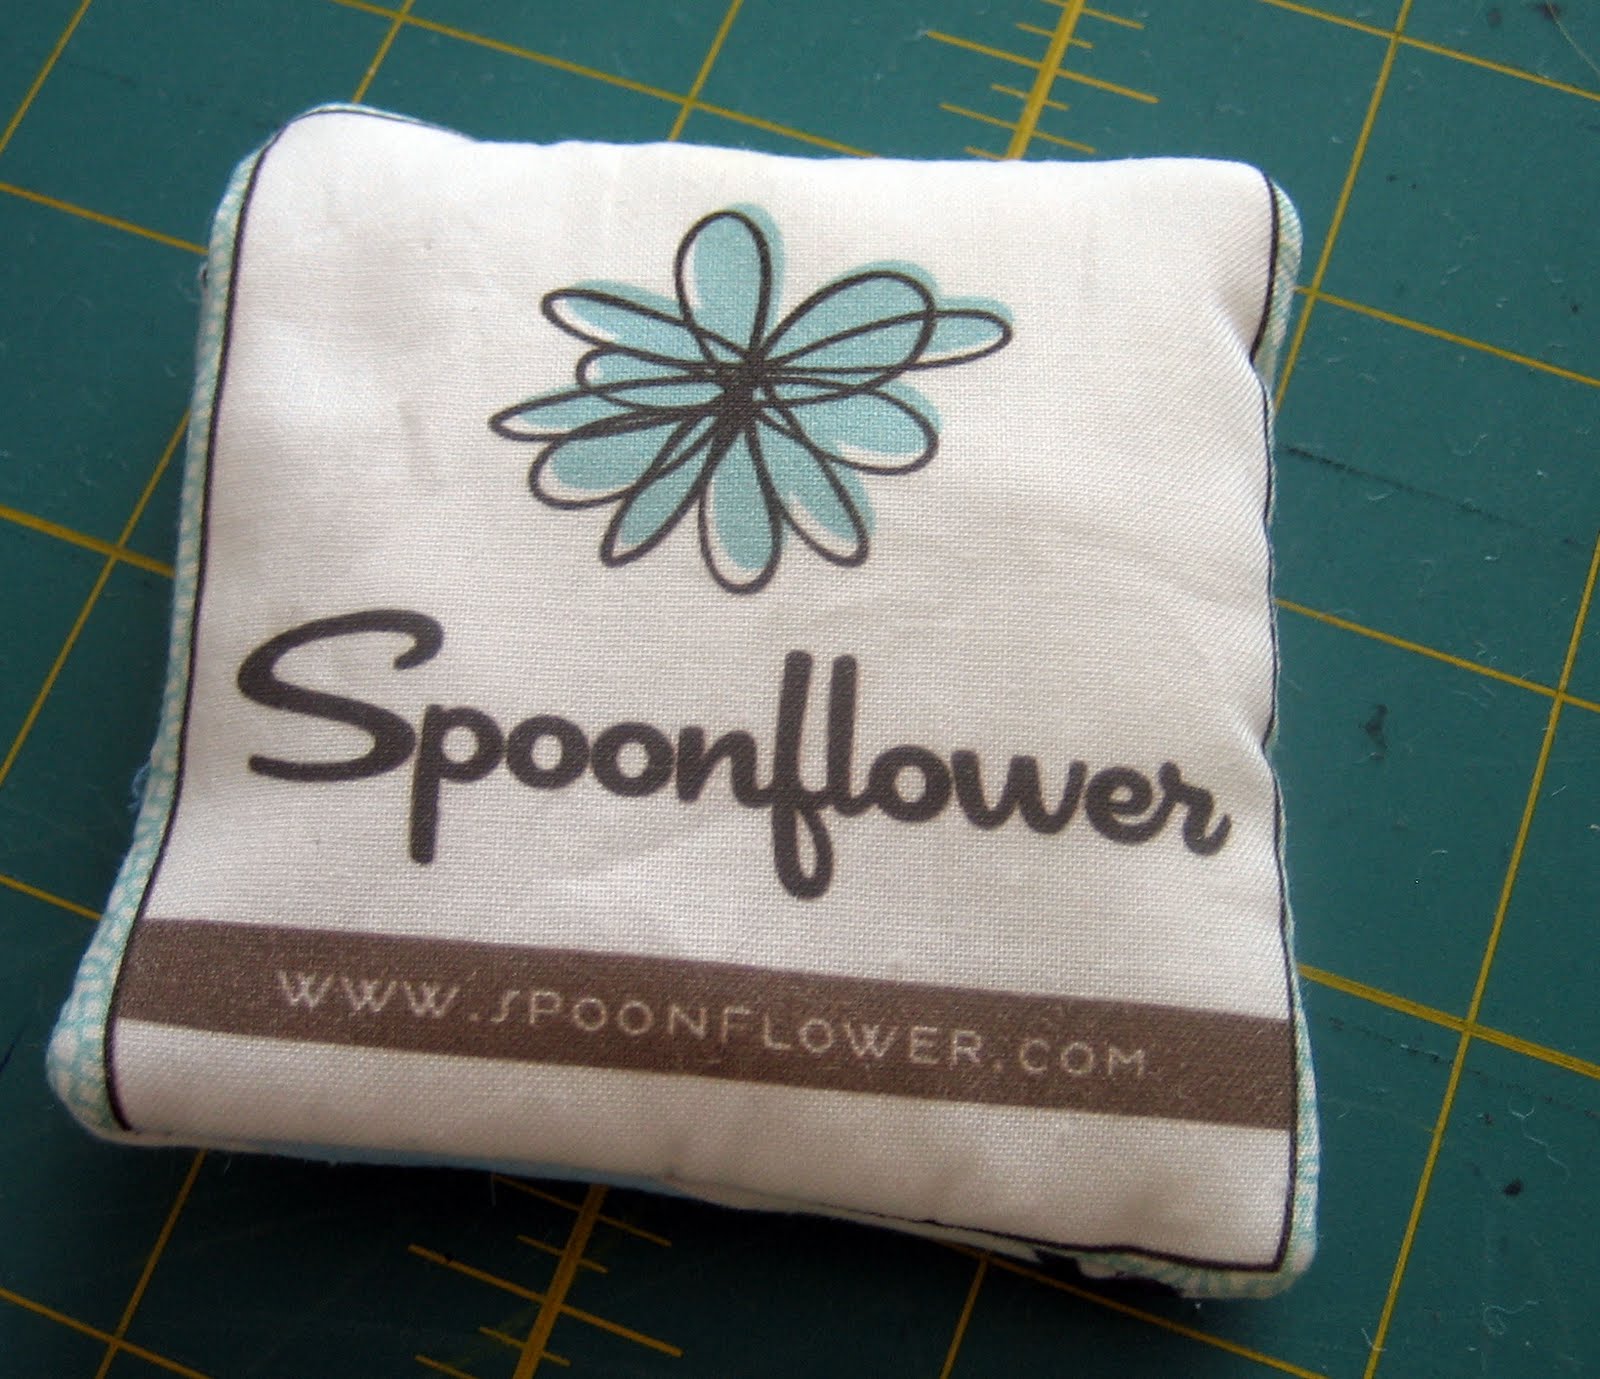
I didn’t want to throw him away, but what do you do with one little scrap? I wanted to do something, especially since I’d mailed off all of my Spoonflower fabrics, and wouldn’t have anything to show for it for weeks and weeks. I decided to turn the Spoonflower logo into a pincushion, and of course I couldn’t use non-Spoonflower fabrics, so I pieced together scraps to make the back. He’s not perfect, but here’s how I made him.

Spoonflower Pincushion: A Tutorial

First, I took the longest scrap strips from cutting my yardage into 5×5 squares. I took one strip from each fabric, and trimmed off the un-patterned parts (if you’re making one, remember that you’ll have 1/4″ seam allowance, so feel free to leave an unpatterned scant 1/4″ that will disappear into the seam allowance). I sewed the two strips together along the entire length, and pressed open.

Then I cut this long strip into 5″ strips, which is more than wide enough for the Spoonflower patch.
I took the 5″ strips, and sewed them together to make a nice big rectangle. I had enough fabric to make 2 rectangles that were large enough (hmmm what to do with the second one)! Once sewn, I ironed everything flat.

Time to put it together. I layered the scrapped back and the Spoonflower patch right sides together, with a 5×5″ piece of thin batting on both the top and bottom (I put the patch at an angle, instead of straight, just for something a little different). The batting is optional, but I was going to use rice as a filling and the batting will make the finished pincushion less bumpy looking.

I sewed through all four layers, leaving a hole for turning.

After trimming around the edges, the pincushion was turned right side out, using a chopstick to poke out the corners.

Last step – I needed to fill the bag with rice, stitch up the hole, and stick in some pins.
Now I have this little guy to keep me company while I wait for my I Spy fabrics to come in the mail!

Always,

posted in: Uncategorized

Previous
Selfish Sewing
Next
Engagement Party

Reader Interactions

    Leave A Reply! Cancel reply

    Share your thoughts!
    Your email address will not be published. Required fields are marked with *

    This site uses Akismet to reduce spam. Learn how your comment data is processed.

    Comments & Reviews

  1. Sharon Turner says

    August 18, 2010

    ‘When I was unfolding the fabric, this little guy fell out’…. made my day 🙂 waste not want not! Sharon xxx

    Reply
  2. Lori says

    August 19, 2010

    I LOVE LOVE LOVE pincushions!!! I am loving your blog woman!

    Reply
  3. Heather - Dollar Store Crafts says

    November 18, 2010

    Great use of your scraps!! 🙂 Have you made anything w/your swap fabrics yet?

    Reply

Primary Sidebar

Hi, I'm Carolina!

I’m a Quilt Pattern Designer, Award Winning Quilter, and fan of all things quilting. I live in San Diego with my husband, our two boys and our pets. I love keeping both my hands and mind busy, so I’m always working on lots of projects. You’ll find lots of them shared here!

More About Me

Let's Keep In Touch!

I'll let you know about what's new in quilting, freebies you'll want to snag, and brighten your inbox about once a week!

Thank you for subscribing!
subscribe
90% Faster Than Rotary Cutters

Fat Quarter Shop Quilting Fabrics and Supplies

Projects With Pre-Cuts - 7 Colorful Designs

Featured Projects

  • Everything you want to know about Pre Cut Fabrics!
  • Scrappy Placemat - easy to make scrap project
    Scrappy Placemat using Strips and Scrap Tape
  • Sewing Kaleidoscope SVG File
  • Drawstring Backpack
  • Carolina holding fabric marking pens
    Choosing Fabric Marking Pens

Let's Keep In Touch!

Brighten your inbox about once a week!

Always Expect Moore Submark Shop Patterns

Browse

  • Ruler of the Month
  • Quilty5k
  • QuiltMath
  • Cricut Maker BOTW

Shop

  • Digital Download Patterns
  • Quilting Notions
  • Quilt Stickers
  • Quilt Tees

Connect

  • YouTube
  • Instagram
  • Facebook Group
  • TikTok
©2023, Always Expect Moore. All Rights Reserved. About Disclosures
Back To Top
Design by Pixel Me Designs
×

Let's Keep In Touch!

I'll let you know about what's new in quilting, freebies you'll want to snag, and brighten your inbox about once a week!

Thank you for subscribing!